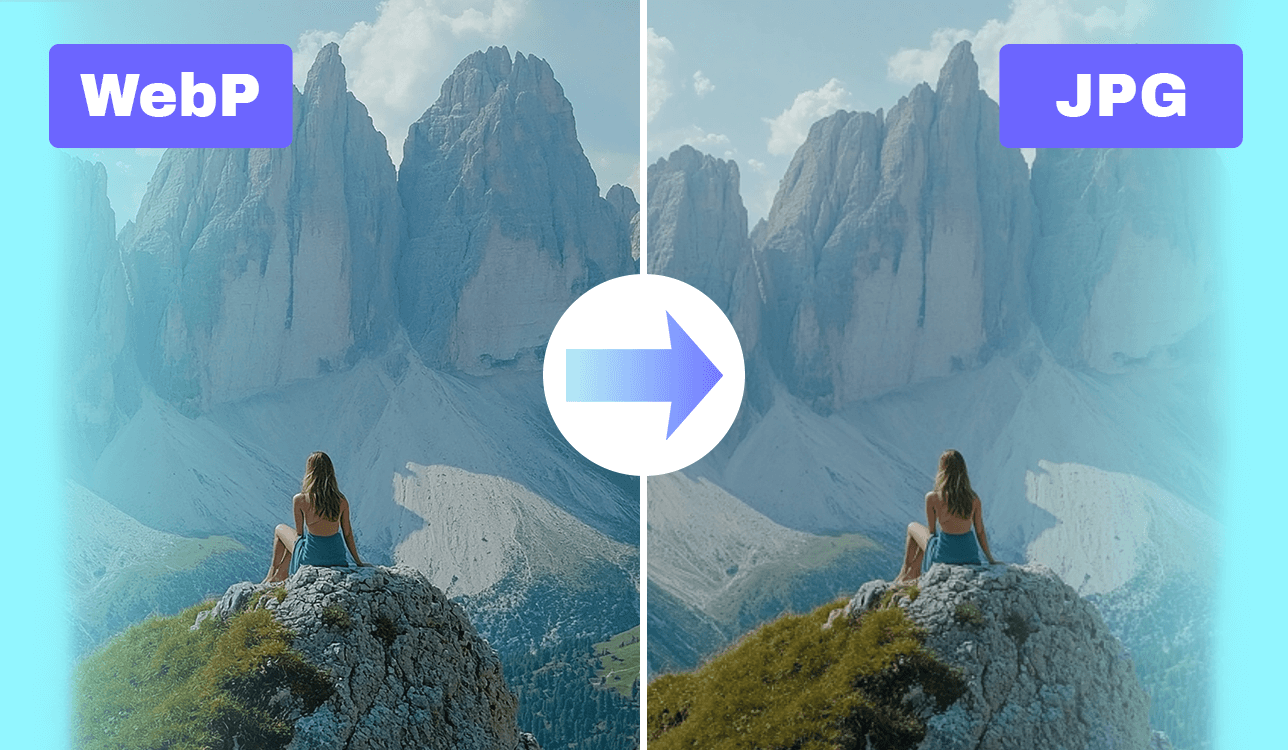
Working for FixThePhoto, I constantly deal with photos in different formats from RAW and PNG to WebP and JPEG. WebP has been becoming more and more popular when downloading images from the internet.
Whenever I need to retouch such an image and save it in a different format before sending it to a client, I have to rely on dependable software to convert WebP to JPG without losing quality or metadata.
That’s why I wanted to explore what the market has to offer. I talked to my coworkers about their favorite converters, contacted a couple of loyal clients, and read a bunch of Reddit threads. After putting together a shortlist of options, I dedicated five days to testing over 30 WebP to JPG converters while integrating them into my workflow, transforming and enhancing WebP images in Photoshop, Lightroom, and even on smartphone apps whenever I was on the go.
When shortening my list, I prioritized the following aspects: performance, result quality, batch processing support, absence of watermarks, and preferably, a clean interface. I also noted if a converter came with handy features like AI-powered background removal or editing presets.
As a result, I put together a list of the best WebP to JPG converter software options suitable for casual and professional users alike:
Having tried out more than 30 converters, I noted that even a straightforward task like converting a WebP image to JPG can cause unpredictable issues if you’re not paying attention. Some of the problems (and solutions to them) I’ve encountered include:
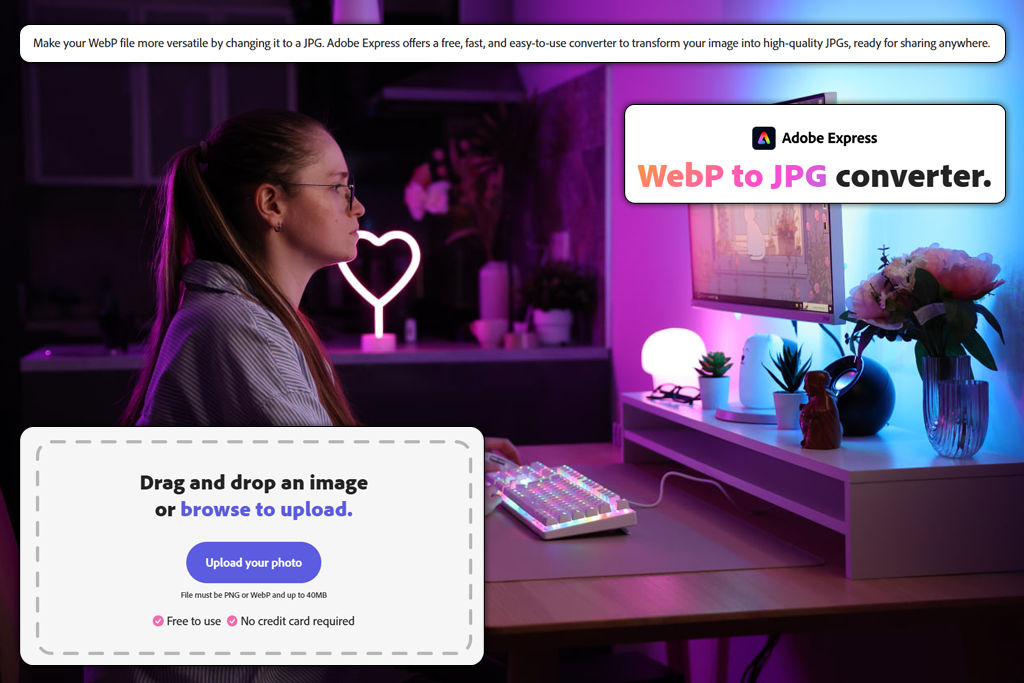
A coworker of mine suggested I try Adobe Express, and after using it for multiple actual projects, it earned the top spot on my list. I employed it to convert a folder of WebP images that needed to be included in a hardware brand product catalog. It was an urgent project that required JPG pictures to be enhanced in Lightroom before being sent to print.
“While the majority of free WebP to JPG converter software can only be used for format transformations, Express represents a universal creativity hub to enhance your images before converting them.”

My favorite aspects of Adobe Express are its seamlessness and performance. It also doesn’t have any ads and provides excellent color correction tools. Moreover, the UI is pleasantly intuitive, allowing me to resize, beautify, and save images in different formats without any issues or confusion.
Additionally, the latest version of Adobe Express introduced an automated resize feature. It has proven to be incredibly useful whenever I need to quickly edit images to match the size recommendations of different social media platforms, as the software resizes the canvas without stretching out or trimming parts of the picture. This allowed me to do all the processing in Express instead of having to use Photoshop as well.
Pricing: Adobe Express free plan, $9.99/mo
If you try to Google which software lets you convert a WebP file to JPG, AnyWebP will be on top of the results. I downloaded the standalone application and used it to convert about a hundred high-resolution WebP photos from a real estate marketing campaign, as the images covered a broad dynamic range and had highly detailed shadows and highlights.
I was instantly impressed by the speed of this image optimizer. I imported over 50 images, pressed convert, and the process was done within a minute. The interface is very simplistic, and I appreciated the ability to pick the export quality and targeted format (JPG, PNG, or ICO). AnyWebP is a great option for bulk conversions if you don’t need to do any image editing.
However, it’s a significantly more limited solution compared to Adobe Express. It doesn’t have any editing features, lacks a preview mode, and isn’t optimized for mobile or integrated with cloud storage. I also noticed a bit of softening applied to the converted files – nothing dramatic, but still, something to keep an eye on when preparing images for print.
Pricing: Completely free
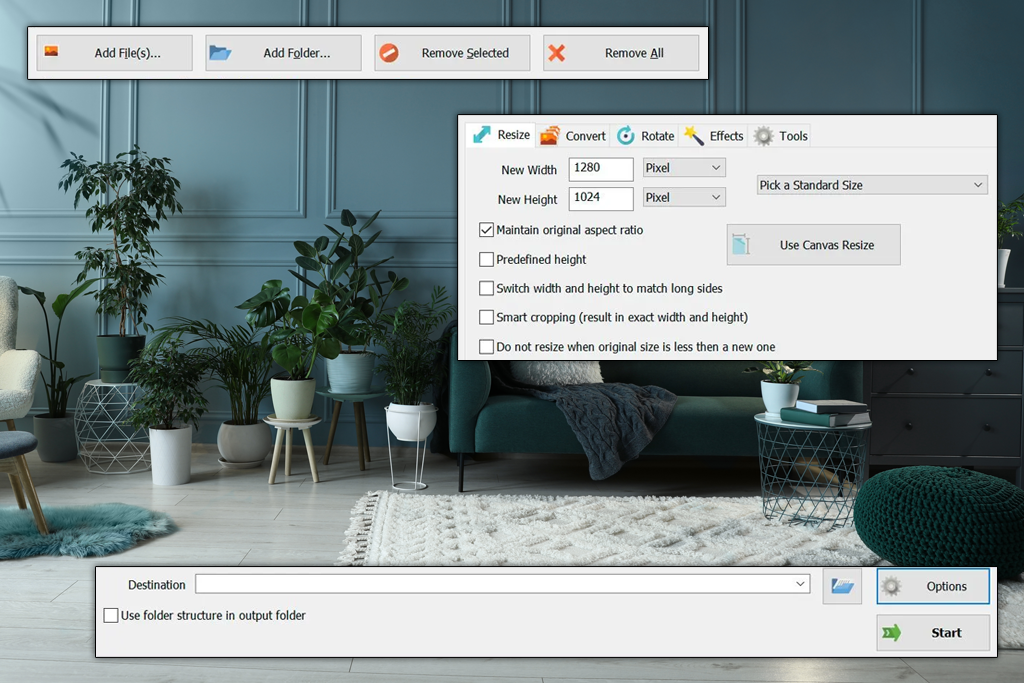
The web is full of people singing FastStone praises, so I tested it by batch-converting a folder of WebP food images to JPG. The exported files had to be watermarked and posted on a WordPress website. The tricky part was that each photo had a distinct dimension and file size.
I was instantly impressed by FastStone’s diverse feature set, as it allowed me to resize, rename, sharpen, and tweak the colors of my photos before converting them. In contrast to AnyWebP, FastStone offers a more manual approach. It shows you the result before you save it, and the batch renaming feature has proven to be very useful when sorting images by blog post.
Sadly, the UI looks quite outdated, but it’s still functional, even if it can’t compare to Adobe’s stylish and modern interface. This photo viewer has an old-school vibe, and considering it’s free, an unappealing UI is a small drawback compared to all the benefits that FastStone brings to the table.
Pricing: Free for personal projects, Commercial license: $34.95 (single-time purchase)

One of my coworkers claimed that CloudConvert offers the best way to convert WebP to JPG when it comes to quality. I tried it out by transforming a few dozen editorial WebP photos from a fashion eCommerce project. They had strong contrast, striking colors, and precise cropping.
“If you highly value compression quality and precise colors, CloudConvert should be near the top of your list.”

I instantly liked the advanced parameters provided by this free image converter, as it allowed me to set the resolution, output quality, and image size cap. I was also offered to keep the metadata, which is a rarity in such web-based solutions. However, CloudConvert might disappoint you with its speeds, as it’s noticeably slower compared to a platform like AnyWebP.
I enjoyed the versatility of this tool despite its slower conversion speed. However, don’t think CloudConvert has a trendy interface or any advanced photo editing features. You import the images, choose the desired parameters, and save the converted files – that’s it.
Pricing: Free: Up to 25 files/day; Pay-per-conversion: $8 for 500 conversion minutes; Subscription: From $9/mo for 1,000 conversion minutes
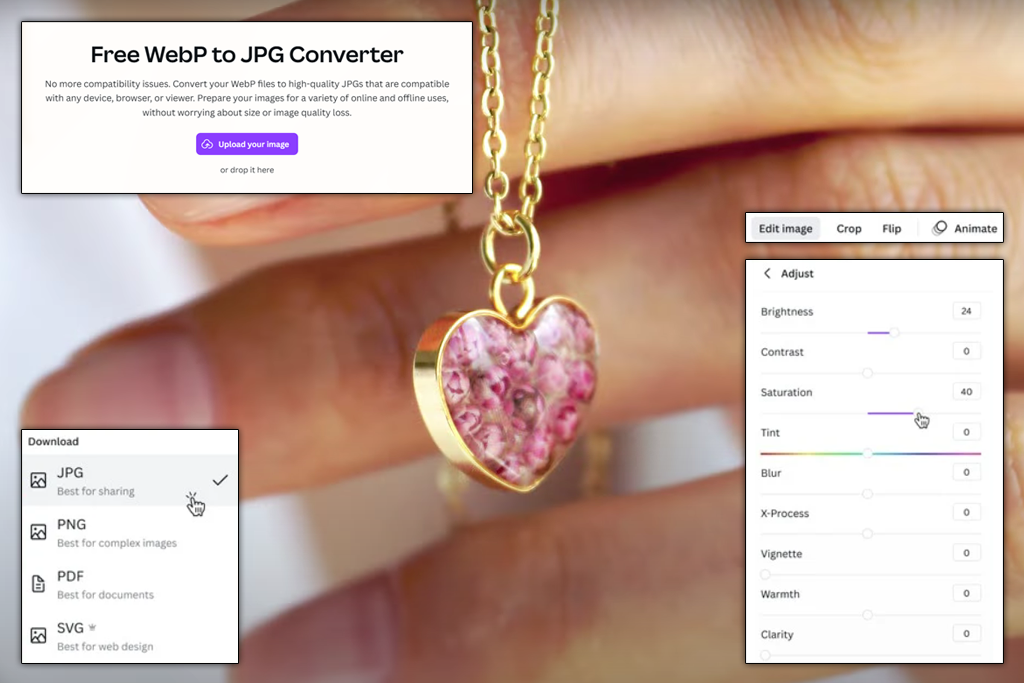
One of my clients recommended Canva’s free online WebP to JPG conversion feature, so I used it for a couple of product photos that featured handmade jewelry. If Canva editor is already a part of your workflow, then you don’t need to use any other converters. Simply import your WebP file and download it as a JPG image.
The conversion process was a success and the resulting JPG could immediately be edited or added to a mockup. The main disadvantage of this tool is that it doesn’t let you adjust the quality or file resolution. Additionally, the free plan of Canva is rather limited, not allowing you to change the size or delete the background.
When juxtaposed against Adobe Express, Canva comes across as more focused on its design functionality, while Express lets you adjust the export parameters, resize the image, and optimize it for different platforms. While Canva is a better fit for social media projects, graphic designers and photographers who are constantly dealing with high-resolution images will probably prefer Express.
Pricing: Free Plan: Basic conversion and design tools; Pro: $12.99/mo (expanded toolset and storage)
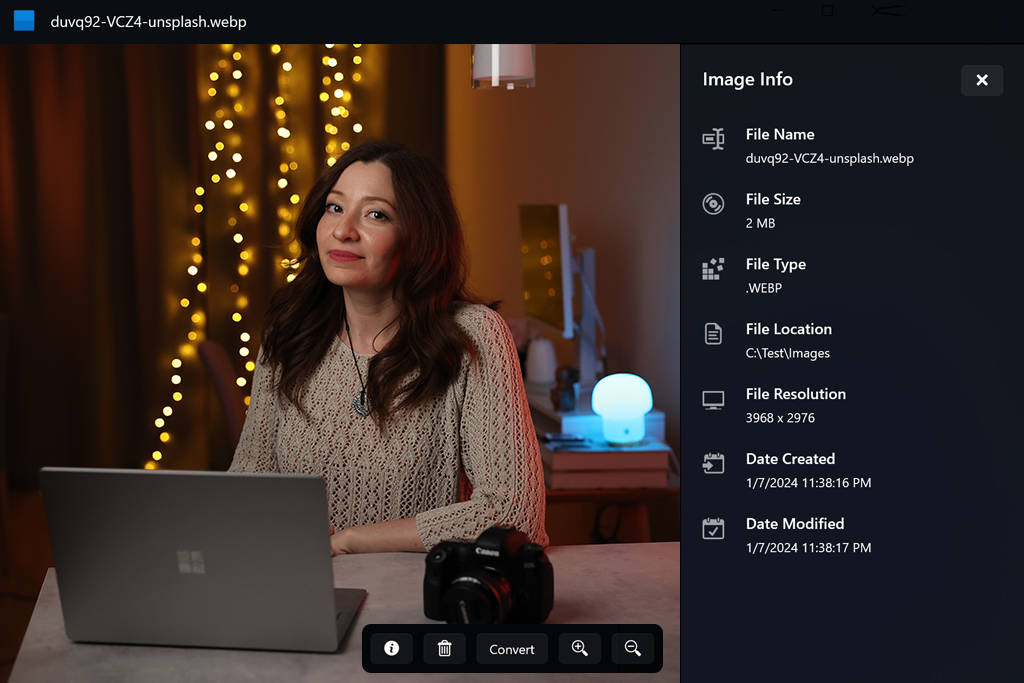
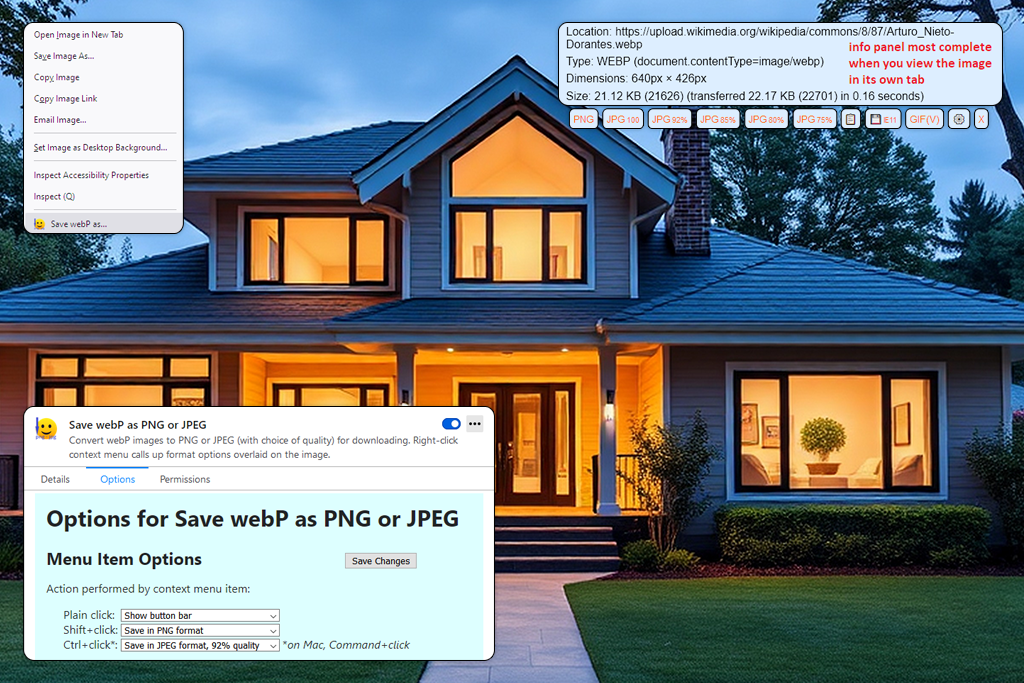
The Microsoft Photos App is often listed among popular suggestions on Reddit, so I tried it out when working with a couple of WebP pictures from a portrait photoshoot. If you’re using a Windows device, this option is very convenient. You merely need to right-click the file > "Open with Photos" > "Save as" and pick JPG – that’s it.
The key benefits of this solution are its intuitive controls and the fact that it doesn’t have to be downloaded or installed. The main drawbacks are the absence of batch conversion and the lack of output parameters (including size and compression level).
Compared to JPG to WebP converter software like CloudConvert, which offers a variety of customization settings, this option is a lot more simplistic, but that’s exactly what you might need for fast, occasional conversions. It’s not recommended for professional projects, but it’s a great free backup for your personal needs.
Pricing: Free
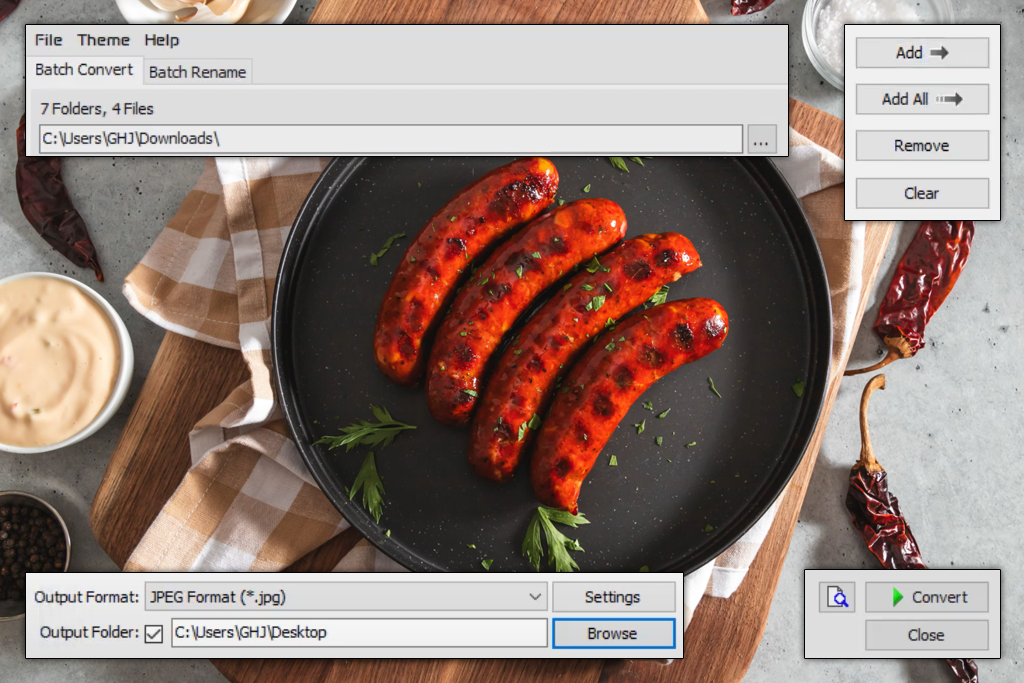
I stumbled upon SoftOrbits when googling different solutions, and you can often find it in overviews similar to this one. I used it for a set of real estate photos, which featured interior shots with different lighting conditions.
This WebP to JPG converter has impressed me with how batch-friendly it is. It allowed me to import a huge folder of WebP files, press convert, and receive JPGs extremely fast. Moreover, it lets me resize the image and add a watermark to it, which is useful when creating content for social media or blogs.
However, the UI of this tool looks a bit outdated, and the watermarks added to every image converted in the free trial version are a huge drawback. It’s a fantastic tool if you frequently need to deal with hundreds of images, but it lacks the expansive functionality of Adobe Express or the polished UI of Canva.
Pricing: Free Trial: Limited (watermark); Full Version: $24.99 (single-time purchase)
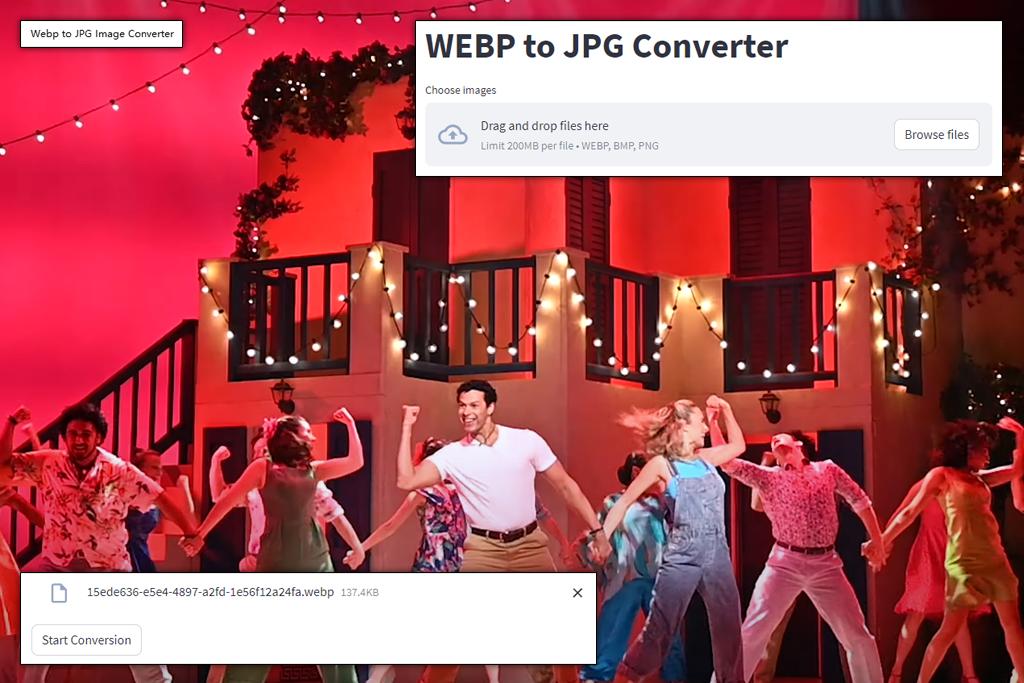
One of my customers suggested the WebP to JPG Image Converter, which I tested on a group of behind-the-scenes WebP pictures from a theater photoshoot. This tool only requires 30MB of space on your device and can be conveniently installed from the Microsoft Store.
I enjoyed the speed and user-friendliness of this file converter software. I simply dragged my images onto the workspace, clicked on convert, and received the desired JPGs without having to deal with ads, watermarks, or account creation. Sadly this solution doesn’t have bulk editing support and doesn’t allow you to change the output quality, file names, or destination path.
In contrast to the more feature-rich SoftOrbits, this solution looks very barebones, but that’s not always a bad thing. If you’re a complete beginner and need a simplistic tool without getting bogged down by the details, this can be the perfect converter for you.
Pricing: Free version: Limited toolset; Pro upgrade: $2.99 (single-time purchase)
I tried out Pixelied’s WebP to JPG converter software after a coworker recommended it, transforming a bunch of branded images from a product photoshoot. The best part about this option is that it represents a handy design solution packed into a web browser. Once you convert the file, it lets you crop, resize, or enhance it with filters without clicking away.
“Pixelied is my go-to whenever I have a tight deadline and want to convert and enhance a photo before sharing it with my client without having to mess around with Photoshop.”

The UI is sleek and user-friendly, but you are required to register to access the more advanced tools, and the import speeds are also rather slow when dealing with bigger files. It can be a problem for batch conversions, but for single photos, the extra few seconds aren’t really noticeable.
If you pit Canva vs Pixelied, you’ll notice that the latter isn’t as feature-rich and offers a more straightforward workflow. Meanwhile, if you look at an Adobe Express vs Pixelied head-to-head comparison, you’ll see that the former offers superior result control and integration options.
Pricing: Free Plan: Limited conversions; Pro: $9.95/mo (grants access to all features)
When testing WebP to JPG converters for this overview, my mission was to select the software that is suitable for creative experts like me and the rest of the FixThePhoto team. We have to convert and enhance images for a variety of projects, so the optimal solution has to be quick, dependable, and not lower the output quality.
I filled my shortlist with all kinds of solutions that I’ve found on Reddit or heard about from my coworkers from the FixThePhoto team and, while also googling the leading solutions across marketplaces and blogs. If any software was mentioned twice or had great reviews, I included it on my initial list.
I spent three weeks trying out more than 30 WebP to JPG converters while importing a variety of images, from high-resolution real estate photos to product images and detailed illustrations. I tested both desktop and mobile as well as offline and online versions to get the full picture. Additionally, my coworkers helped evaluate how efficient each option is when it comes to quality consistency, naming conventions, and metadata preservation.
Certain software failed to meet my expectations, including Zamzar, Convertio, XConvert, Online-Convert, and iLoveIMG. Even though they have their strengths, they were either filled to the brim with ads, demanded registration too soon, didn't have batch conversion functionality, or compressed the file too much, which are all deal-breakers when facing a tight deadline. My test followed this algorithm:
Step 1. Usability & workflow fit
Step 2. Result quality
Step 3. Speed & batch conversion
Step 4. Platform availability and extra features


