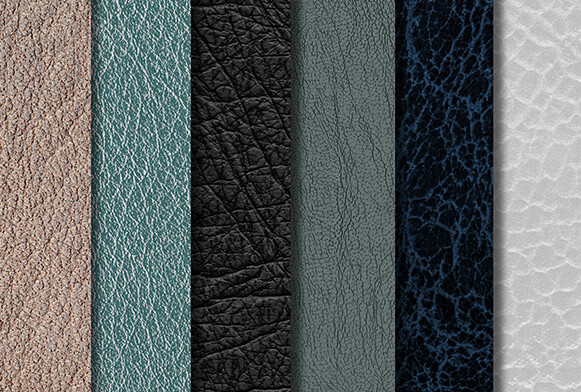
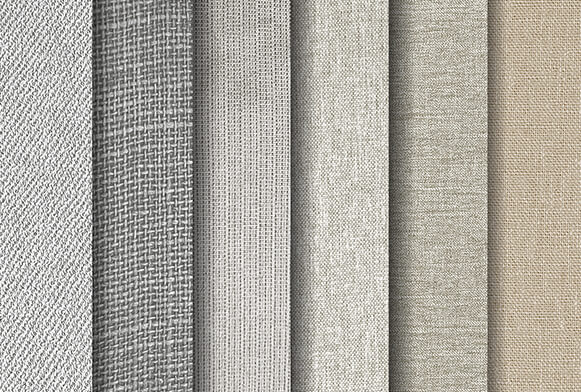
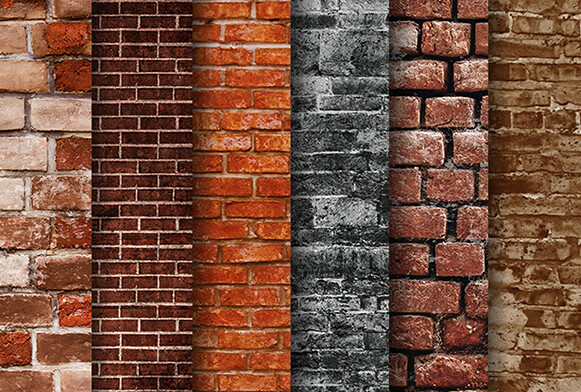
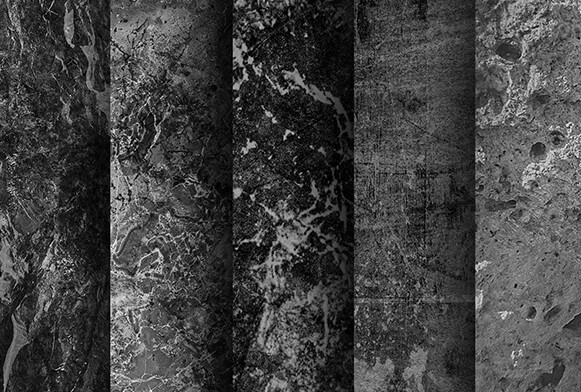
Free Photoshop Textures by FixThePhoto
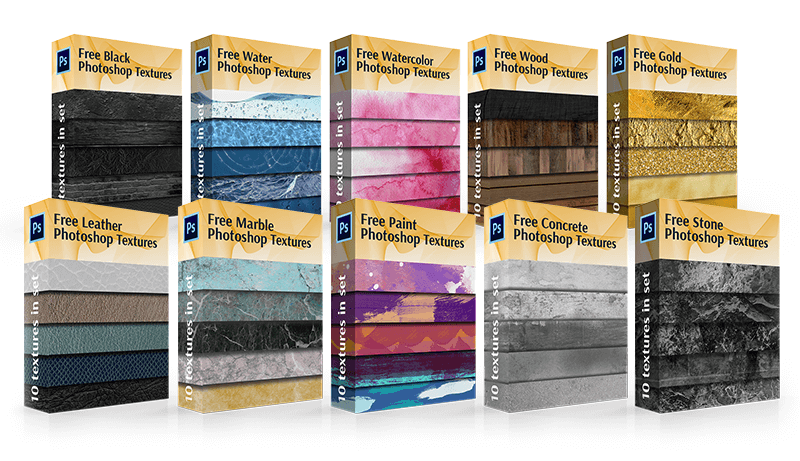
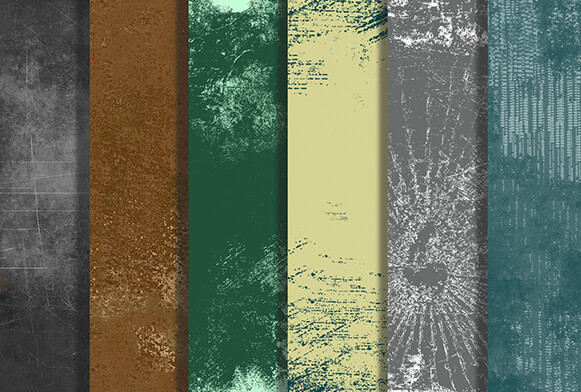
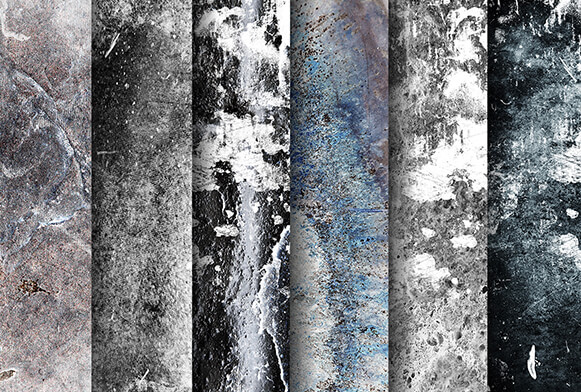
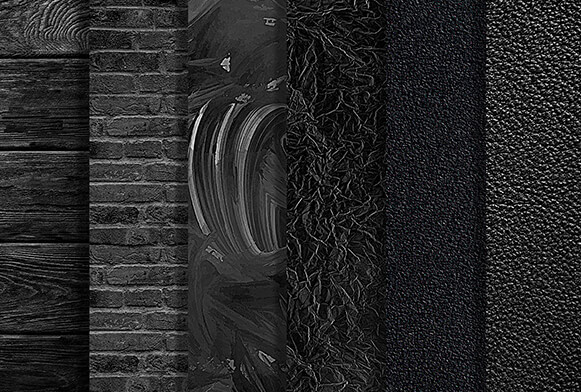
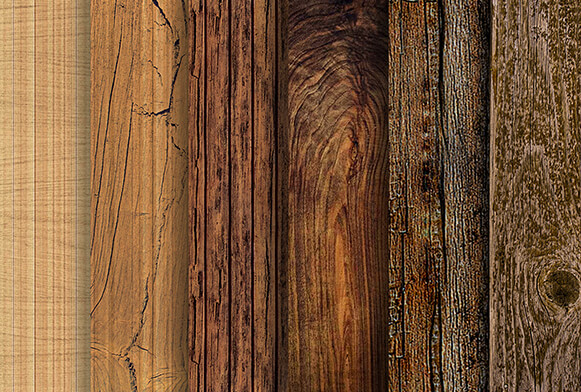
In this section of photo editing freebies for photographers/designers/creatives, we offer you professional sets of free Photoshop textures. You can apply any texture to the photo free and easy. It is a simple but very effective way to make an ordinary picture more creative and impressive. When creating this collection of free textures for Photoshop, we searched for various ideas everywhere. We used an interesting pattern of a leaf or a stone, clouds in the sky, a wooden surface, a rusty stain, or we got inspiration in the covers of old books, maps, wrinkled paper, even pieces of cloth, foil or a carpet. The team of our designers put a lot of efforts and imagination to create unique, beautiful and unusual sets of free textures Photoshop for your photo editing work. They are very easy to use. Free Photoshop textures for photographers will be helpful not only for photo editing but also for creating art projects, inscriptions, invitations, marketing materials, and backgrounds.
What are PS textures?
The texture is an image that reproduces the visual properties of any surfaces or objects. It is a rather additional detail of a digital photo. Remember, a careless use of a free Photoshop texture can easily spoil, "oversaturate" or make the photograph unnatural and overphotoshopped.
According to the type of the depicted textures, we offer you:
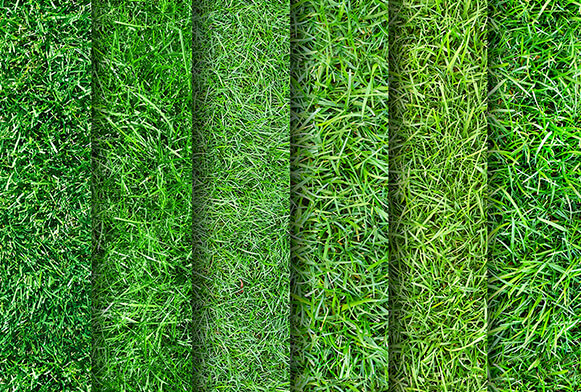
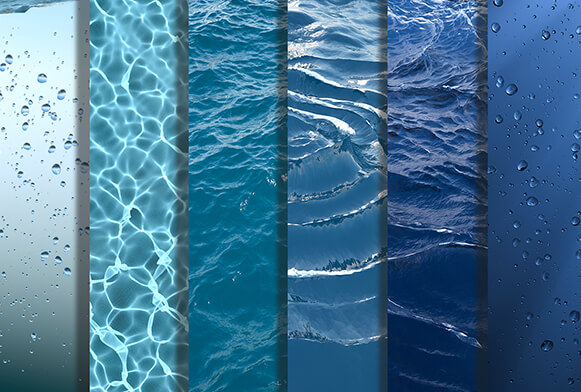
- Free Photoshop textures of natural objects (a tree bark, grass, the sky, etc.);
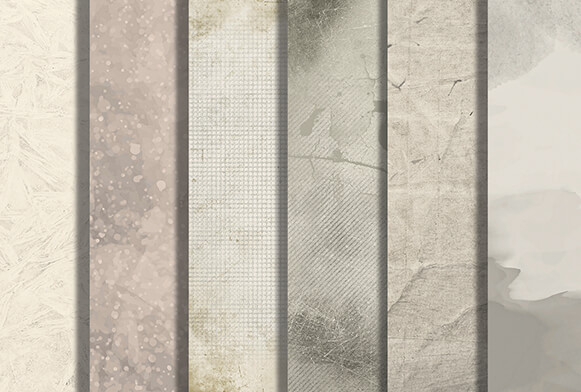
- Textures of various materials surfaces (wooden, metal, gold, clay, stone, paper surfaces, etc.);
- Photoshop free textures of noise, wind, scratches, and other damages;
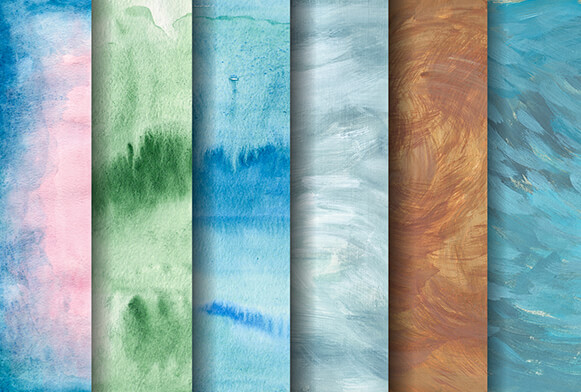
- Abstract textures where the objects are not depicted but there is more or less uniform background (watercolor).
How to work with a chosen Photoshop free texture pack
Step 1: Choose a texture and copy it
Having opened both the original photograph and a free Photoshop texture in the program, we should send the chosen texture to the photo document. Make sure that the window containing the texture is active, open the “Select” menu at the top of the screen, and click “All”. Thus, we select the whole texture. There will be an outline around it. After that, open the “Edit menu” at the top of the screen, and then “Copy”.
Step 2: Insert the texture into the document containing the photo
After copying one of the free Photoshop textures into the buffer, go to the window with the photo, go back to the “Edit menu” but this time select “Paste”. Photoshop will insert the texture into the document, more precisely, into a new layer which will be located above the photo. Depending on the size of the document with free texture Photoshop, it can completely cover the photo. But if you look at the Layers Panel, you can see that the original image was saved in the Background layer, and the texture is higher in a new layer entitled Layer 1.
Step 3: If it is necessary, change the size of the Free Transform tool
If the sizes of the image and the texture do not match, you may level them with the Free Transform command.
Step 4: Switch between blending modes
The layer blending function can be found in the top left corner of the layers panel. By default, the Normal mode is selected. The top layer does not mingle with the bottom one. That’s why the chosen free texture for Photoshop overlaps the photo. By clicking on Normal, you will see a list of other options - Screen, Multiply, Overlay, etc. Look through the blending modes and check how they work until you like some other options.
When applying some kind of Photoshop textures free, the most interesting results are achieved with the help of Multiply, Soft Light, Overlay, Screen, and also Hard Light Modes. We recommend testing them all to understand which of the options suits your goals in the best way.
Step 5: Decrease the color saturation of the texture
At the moment, the picture shows not only the texture itself but also its color. Perhaps, this is exactly what you need because mixing colors on different layers can give an interesting result. But if you want to preserve the original gamut of the photograph, you must remove the color from the free Photoshop texture. The easiest way to do this operation is to reduce its saturation.
Step 6: Decrease opacity of the texture
Finally, if the applied free texture Photoshop seems too catchy, it is possible to reduce its look by decreasing the opacity of the layer. This option is directly opposite the blending modes at the top of the layers panel. The default Opacity value is 100% but the lower it is, the more the original photo will become noticeable. We recommend reducing the Opacity to 50%.
