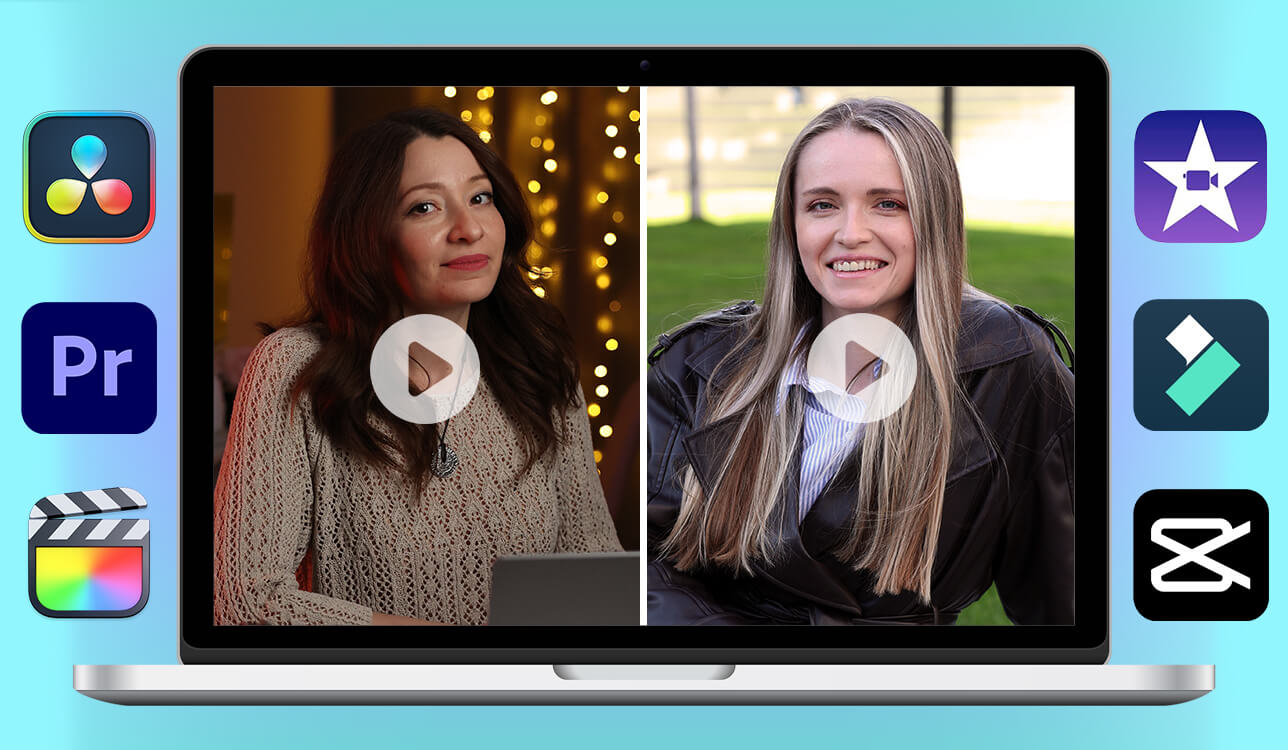
I rely on split screen video editors heavily in my job at FixThePhoto - for comparing before-and-after shots, showing different lighting options, or making short tutorial previews. This technique helps me explain concepts clearly and makes my videos more engaging.
Not every video editor handles this properly. Some stretch or damage 4K footage, others run slowly, and some make basic alignment difficult.
Before deciding which tools are worth recommending, I searched online, read user feedback on Quora and Reddit, and watched several YouTube reviews. After that, I personally tested 30+ split screen video editors with different types of footage. I evaluated their ease of use, export quality, templates, clip alignment, support for 4K/60FPS, and editing speed.
After trying many video editors, I realized that split screen videos are more difficult than they seem. When I place behind-the-scenes clips next to final results or show two editing processes side by side, the same problems appear again and again. Below are the issues I see most often and the simple ways I usually solve them.
Split screen editing looks simple, but the small details matter: matched formats, consistent color, clean borders, and purposeful storytelling. Once those elements are handled, even basic editors can produce highly polished split screen videos.
Price: 7-day free trial, then $22.99/mo
Availability: Windows, macOS
I spent a full day testing Adobe Premiere Pro as a split screen video editor at FixThePhoto. To keep the test practical, I worked with different kinds of footage, including 4K portrait retouching tutorials, slow-motion lighting scenes, and product comparison videos.
Instead of following a complex workflow, I focused on real tasks: building several split layouts, syncing clips, manually lining up edges, adding borders, and checking how well Premiere handled various aspect ratios and export options.
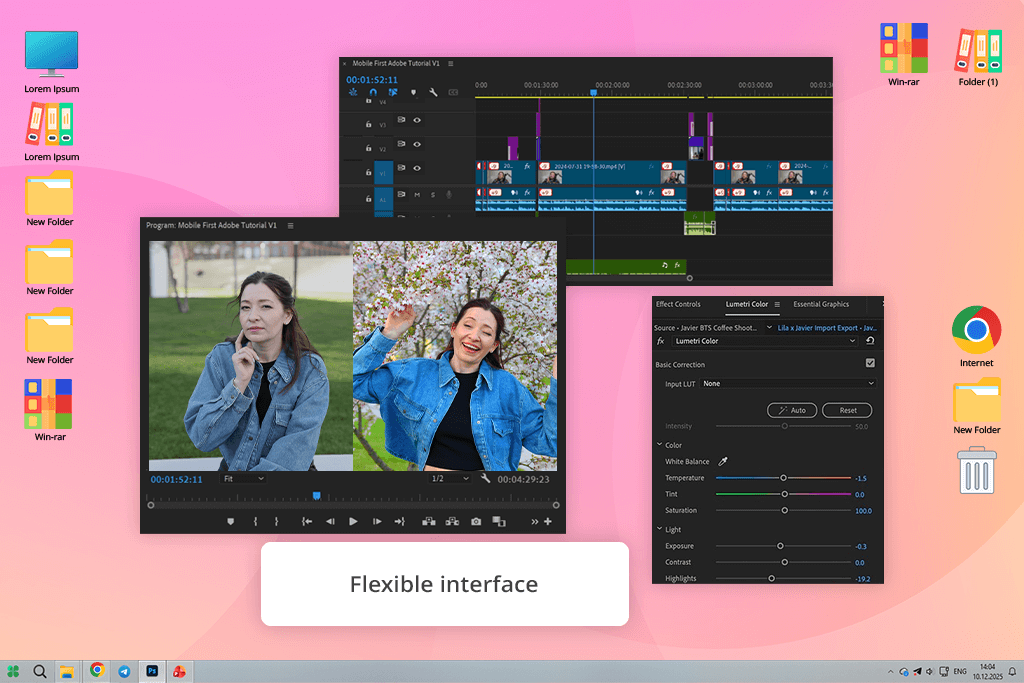
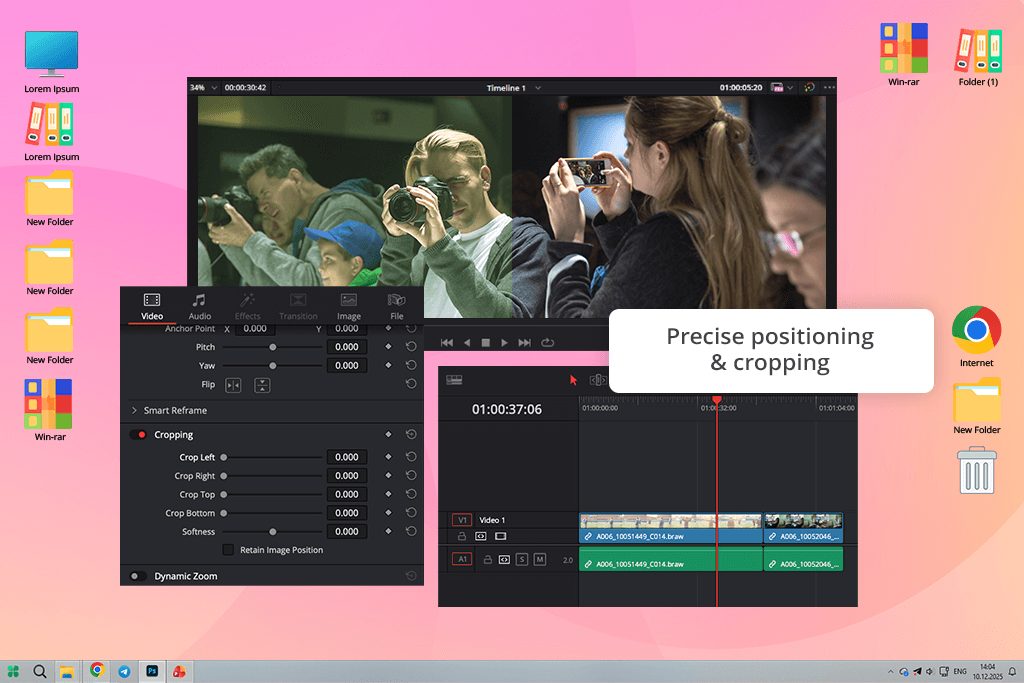
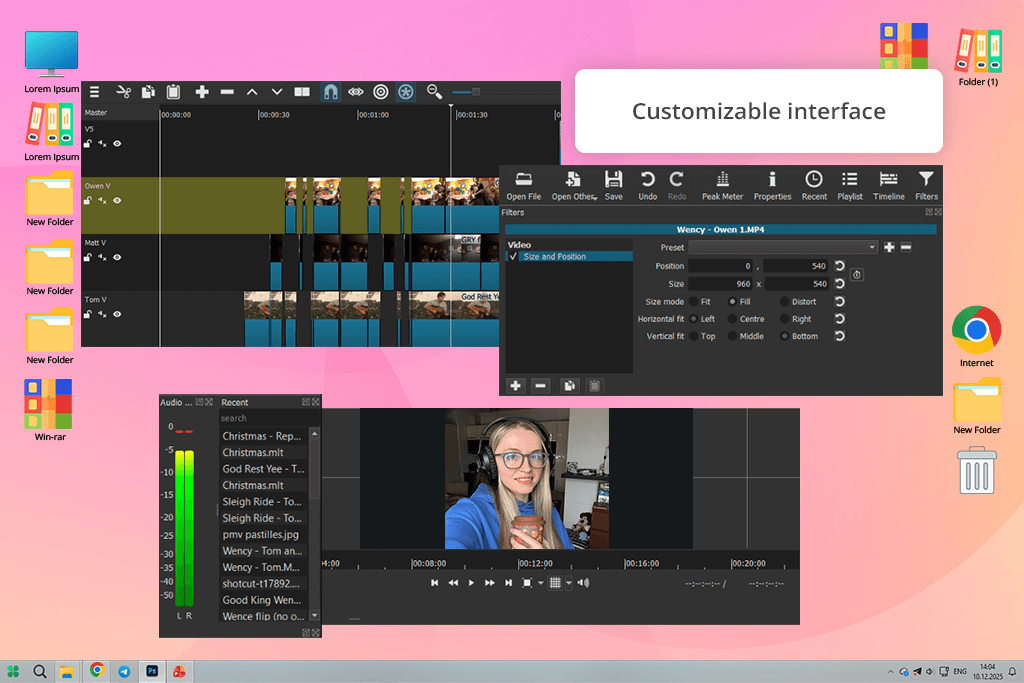
Adobe Premiere Pro has an interface that is full of tools but still neat and easy to navigate. Once you learn the fundamentals, creating split screen in Adobe Premiere Pro is quick. You use settings like Effects Controls, Motion, and Essential Graphics.
I appreciated being able to fine-tune the size, position, and crop of each video with such accuracy. My finished videos looked sharp and clear, even when using high-quality 4K footage. The outcomes were polished and reliable - just what you’d want from top-tier editing software.
However, it doesn’t have a free version, so it can be harder for beginners to start with. On the plus side, the company provides Adobe discounts, sales, package deals, and special pricing for students, which help make it more affordable.
“For professional multi-angle videos, Premiere Pro is ideal because it offers the best control over split screen layouts, editing on multiple layers, and color correction.”

Price: 90-day free trial, then $299.99
Availability: macOS
Final Cut Pro provides strong tools for creating split screen videos and performs especially well with 4K footage thanks to Apple’s system optimization. It allows you to stack multiple video layers, resize clips accurately using on-screen guides, and scale footage smoothly.
With support for third-party plug-ins, you can move beyond basic side-by-side layouts and build more advanced grids or animated split-screen designs.
To test this split screen video maker properly, I spent several hours using it on real FixThePhoto projects, such as before-and-after comparisons, lighting demonstrations, and product showcases. I built different layouts with two, three, and four panels to check how flexible the workflow was.
The magnetic timeline takes a little time to get used to, but once it clicks, arranging clips becomes quick and smooth. Making a split screen is a manual process: you stack your video clips, switch on the layout tool to move and resize them, and then fine-tune everything in the settings.
On my Mac laptop, 4K clips ran smoothly and exported fast, with clear, high-quality results. That said, Final Cut Pro’s built-in split screen features are fairly simple. They handle basic side-by-side layouts well, but more complex grids or animated designs usually need extra plug-ins, which cost more.
Price: Free or $295
Availability: Mac, Windows, Linux
DaVinci Resolve is special because its free version includes a professional video editing tool for split screen. I tested it for a few hours using 4K tutorial videos, clips comparing different lighting, and product demonstration footage.
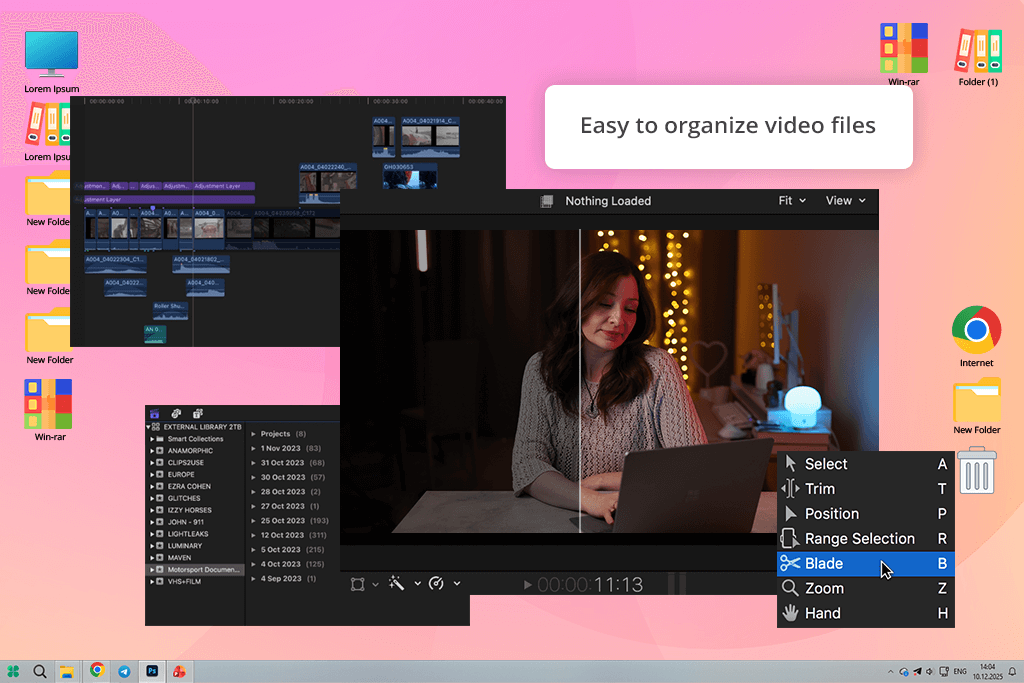
I began my work on the Edit page, where I brought in all my clips and tried out the built-in split screen features. Using the Transform, Zoom, and Crop controls to move and resize each video was easy, and I was impressed by how accurately I could adjust the position of every clip.
DaVinci Resolve feels like a full post-production studio, which can be both good and bad. It’s very powerful, but the interface has a lot going on. Still, when it comes to performance, this free video editing software with no watermark handled big, heavy files surprisingly well.
The software provides smooth performance and clean final videos, with excellent color grading tools for a cohesive split-screen look. The main drawbacks are its high system demands, especially on the GPU, and the fact that some advanced features require the paid Studio upgrade.
“DaVinci Resolve has pro-level color tools, lets you layer many clips, and gives you exact control over where everything is placed.”

Price: Free or from $9.99/mo
Availability: Web, Windows, macOS, Android, iOS
CapCut is a great, free split screen video editor, which is perfect for social media. I tried it out on both my phone and computer, making comparison clips, quick how-tos, and product showcases. I spent a few hours putting together layouts with multiple videos, changing their sizes, and moving them around. T
This free video editing app was very easy to use. The desktop version worked fine for basic projects, but it sometimes slowed down with more complicated layouts. For longer or more detailed videos, the desktop app doesn’t feel as powerful.
Working with split screens is simple - just add your clips, move them into place, and resize them exactly how you want. I also tried out some smart AI tools, like automatic captions and removing backgrounds, which helped speed up my work. The videos were exported without any issues and lokked professional and ready to share on platforms like TikTok or Instagram.
Price: Free
Availability: macOS, iOS
iMovie is a free and split screen video layout editor on a Mac. It’s perfect for users who want clean, professional-looking results quickly and without a complicated process. Its split-screen feature lets you arrange two clips either side-by-side or one above the other. You can do basic editing like resizing, cropping, and moving each clip into position.
Beyond split screens, iMovie also includes other effects like overlays, picture-in-picture, slide-in transitions, and audio controls. However, while this video editing software for Mac is excellent for fast split-screen edits, its limits are clear. You can only use two video tracks at once, and it offers very few options for more complex multi-screen layouts.
“Creating split-screen videos in iMovie is fast and simple, thanks to its drag-and-drop controls and basic overlay features - perfect for beginners.”

Price: Free (no AI credits, watermark) or from $9.99/mo
Availability: Windows, macOS, Android, iOS
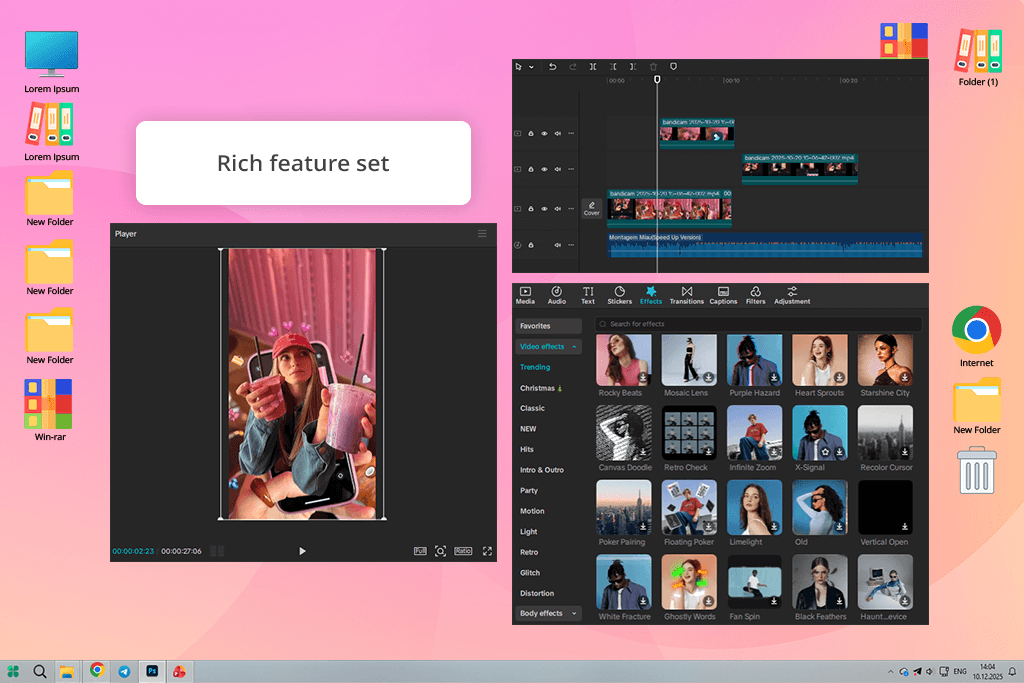
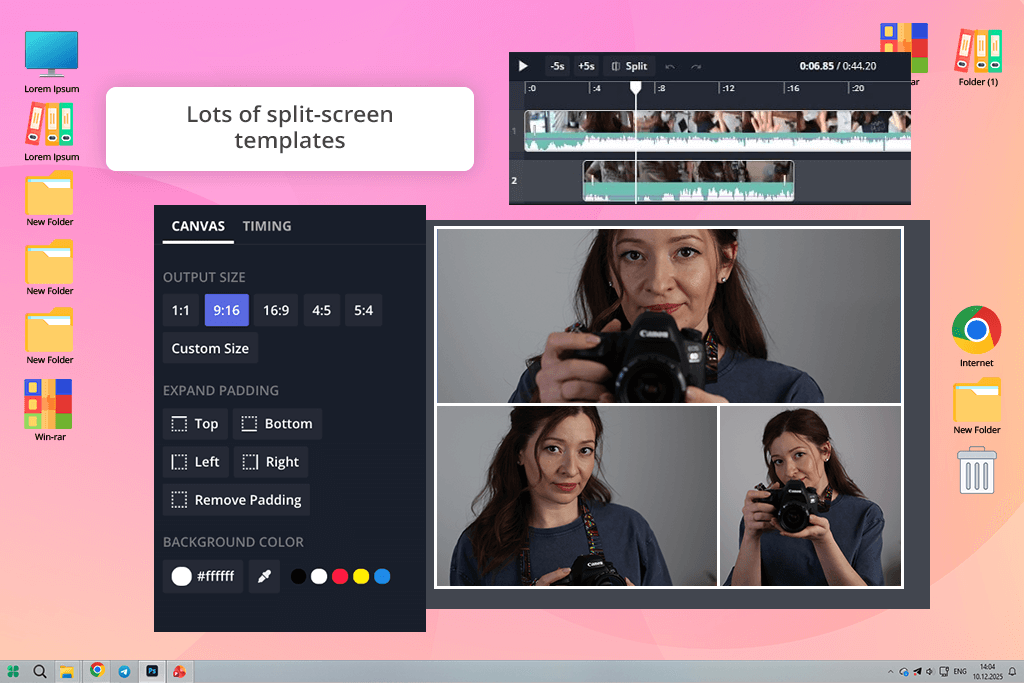
What first caught my attention in Filmora video editor was its tool for creating split-screen video layouts, which offers a simple way to produce engaging videos with multiple clips. To test it, I created a video showing the setup of a home studio.
The modern, intuitive interface uses drag-and-drop, making it fast and simple to place clips in up to six sections. I then fine-tuned the composition by resizing clips, adding borders, and applying slight rotations to make it visually interesting.
This split screen video effect editor includes helpful AI features, such as turning text into video and generating AI music, which made the story feel richer without much manual work. However, some templates don’t come with their own animations, so you have to add transitions yourself to create motion between clips.
Price: Free
Availability: Windows, macOS, Linux
Shotcut is a powerful free split screen video editor that gives you a lot of control once you learn how the interface works. I tested it by putting together a portrait-editing workflow video with a behind-the-scenes studio clip, showing both the editing and the photo shoot at the same time.
To do this, I imported both videos, placed them on different tracks, and then resized and positioned each one to create a clean side-by-side layout. Since Shotcut lacks pre-made split-screen templates, you have to build layouts manually, which takes more effort.
I added simple transitions and color filters to make my clips look consistent. The interface of this open source video editor gets the job done, but it seems slightly outdated and can be challenging for beginners. The final video was exported without issues and looked polished and clean.
“Shotcut offers strong free split-screen editing, allowing you to place clips exactly where you want and improve them with filters and effects.”

Price: Free or from $12.99/mo
Availability: Web, Windows, macOS, Android, iOS
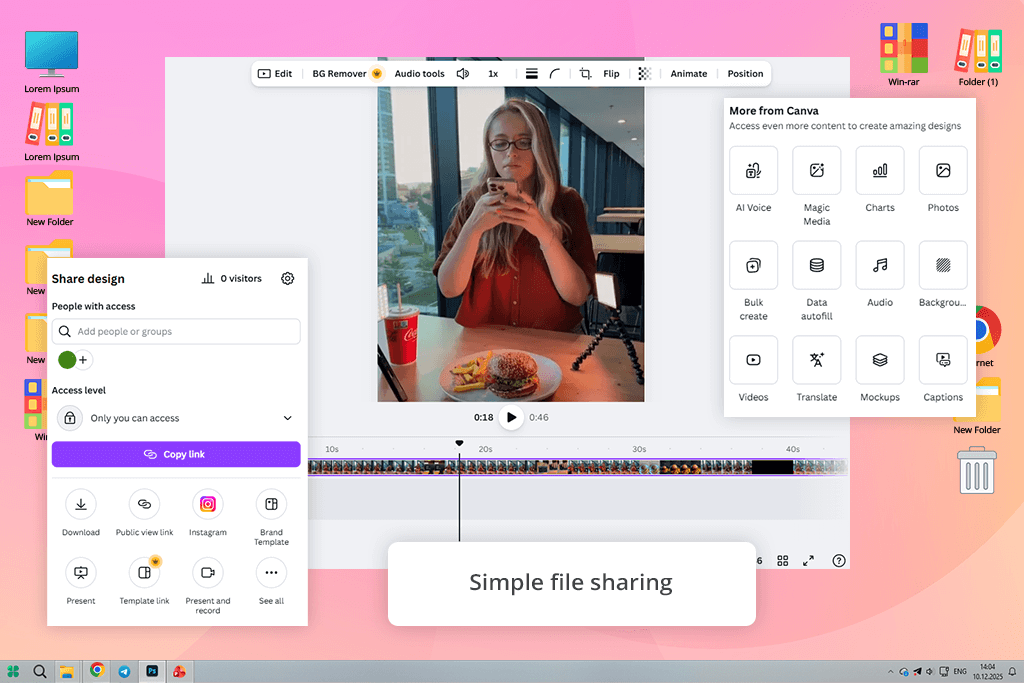
Canva is great for creating and edit split screen videos without complex software. I tested it by combining a travel vlog with a craft tutorial. After uploading the clips, I used the timeline to cut out parts I didn’t need and arranged them side-by-side.
Earlier, I had used Canva as a free video cropping software, which made it easy to trim and split clips quickly. The interface is simple, user-friendly, and works the same across devices. For longer or more complex split-screen projects, performance can slow down, and some templates or transitions require the Pro plan.
Price: Free (with watermark) or from $16/mo
Availability: Web
I first used Kapwing as an online stop motion maker, and liked how easy and accessible it felt. Later, I tested it as an online split screen video editor for short clips, including a product demo and a before-and-after portrait comparison. The entire workflow took around 30–35 minutes.
This online split screen editor lets you place several clips in one frame - next to each other, stacked, or even overlapping - so you have full control over the layout. Adding music and text was easy, and exporting worked smoothly. The free version allows 720p exports with a watermark, which is fine for casual use, though uploading large files can be slow at times.
“With Kapwing, you can build split-screen or grid-style videos and include music, text, and basic effects, all online without installing anything.”

Price: Free (up to 1080p) or from $11.99/mo
Availability: Web
Clipchamp video editor impressed me as a fast, easy-to-use online split screen editor, especially for Instagram and other social apps. The whole project took around 25-30 minutes. My workflow was easy: I put the clips onto the timeline, placed them on separate layers, and adjusted their size in the preview window.
Clipchamp’s easy shortcuts made it simple to crop clips, move them around, and align them accurately. I also tried out its social media templates and added animated text, stickers, and adjusted the audio so both clips were clear. The 1080p export was quick, and the finished videos looked clean and ready for Instagram.
While Clipchamp works great as a video editor for Instagram, it doesn’t offer some of the advanced options like complex effects or multi-layer split screens that professional editing programs provide.
Price: Free (watermark) or from $16/mo
Availability: Web
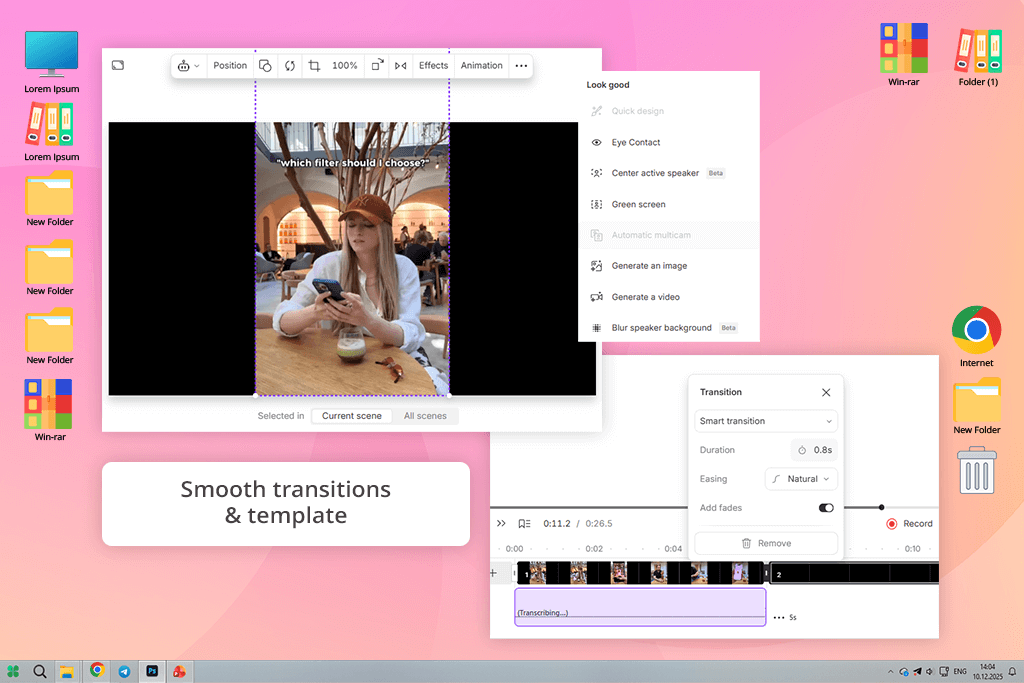
Descript stood out with how it handles multi-screen and split-screen layouts. To try it out, I uploaded a short podcast promo and a tutorial comparison video. The workflow was quick: I added both clips, picked a split-screen design from Descript’s Multi-cam gallery, and adjusted each video on the canvas by dragging and resizing it. The project was finished in about 35 minutes.
To finish the video, I tried out a few transitions, added captions, and placed background music to give it a more polished feel. Descript’s layout is clean and easy to learn, and its text-driven editing style makes it surprisingly simple to line up and sync several clips. Exporting worked without issues, but the free plan is limited to 720p.
For bigger projects, this free video editor for YouTube can be a bit, and some of the more advanced AI tools are locked behind the paywall.
“By offering multi-cam layouts and easy clip resizing, Descript streamlines split-screen creation for YouTube content, webinars, and tutorial-style videos.”

Yes. Video editing software for Windows, such as Adobe Premiere Pro, DaVinci Resolve, and Final Cut Pro, offer free versions or trials that support advanced split-screen editing. However, free plans often come with limits like watermarks, lower export resolution, or fewer effects and AI tools.
Tools like iMovie, CapCut, and Canva are great for beginners. They offer easy drag-and-drop controls, simple timelines, and ready-made templates that make creating side-by-side or stacked videos quick and straightforward.
Yes. Tools like Kapwing, Canva, and Clipchamp let you make split-screen videos online without downloading anything. They are easy to use and great for quick projects, social media videos, or working with others.
Yes. Most video editors allow you to add music, text, captions, transitions, and special effects to split-screen videos. For example, Adobe Premiere Pro, Filmora, and Descript offer AI features, built-in stock media, and animation effects to enhance your videos.
The time needed to create a split-screen video depends on the project. A basic layout with two clips can be finished in about 10-30 minutes. More complex videos with many clips, text, transitions, color adjustments, or layered elements can take 30-60 minutes or longer, especially if you are still learning the editing software.
Yes. Split screen editors let you use more than two videos at the same time. For instance, Filmora supports up to six clips in one screen, DaVinci Resolve can handle unlimited layers depending on your system’s power, and Kapwing allows you to line up multiple clips side by side online.
Together with my colleagues from FixThePhoto, I reviewed many split-screen video editors to see which ones really work well. We began with a large list of tools, including InShot, Perfect Video Editor, Collage, Movavi Video Editor, VSDC, etc.
We didn’t include every tool we tested. Some weren’t good enough - they couldn’t do much, didn’t work well on two screens, or had problems like old designs, slow saving, or annoying watermarks. To make sure this guide is actually helpful, we only picked the tools that reliably make videos look neat, run smoothly, and offer easy ways to work with split-screens.
Here’s my testing process :
Preparing identical test clips. I tested each video editor using three different video clips: a before-and-after photo comparison, a quick product demonstration, and a clip filmed from multiple angles. This helped me check how well each tool managed different layout styles and video qualities.
Setting up the timeline. I tested how simple each editor was by adding my video clips, placing them in order, and finding the split-screen tools. Some offered ready-made layouts, while others made me resize and move everything myself.
Testing layout flexibility. I made a number of different layouts: side-by-side, stacked, three panels, and sometimes even more complex grids. For each one, I tested how accurately I could adjust things, add borders, crop the videos, and how much creative control I had.
Evaluating performance. I checked how well each program ran with several clips at once – if there are lags, crashes, or slow previews. I also timed how long it took to save the final video and watched how smoothly it played back.
Checking free-version limitations. For the free versions, I checked if I could save videos in good quality without watermarks, and which important features I could actually use without paying.
Reviewing final output quality. I checked each finished video to see if it was clear, had good colors, if the sound matched the picture, and whether the quality had been lowered.
Judging real FixThePhoto workflow compatibility. I tested how well each editor worked for the kinds of videos we usually make: side-by-side photo comparisons, how-to previews, showing off a product, and videos with shots from different angles.
After testing so many video editors with split screen functionality, I found that the best ones are easy to use, flexible with layouts, produce good-quality videos, and run smoothly. Some apps are great for quick, simple edits perfect for social media, while others offer more detailed controls for complicated projects with multiple screens.


