If you want to compare two and more different clips simultaneously on one screen, our guidelines on how to create split screen in Adobe Premiere Pro will probably come in handy. The split-screen is used for commercial purposes (e.g. to show comparisons of two products from the same category) and creating entertainment content for social networks.
First, you should download Adobe Premiere Pro CC to get access to its extensive editing toolset. If you want to get Adobe Premiere Pro for free, we recommend using the official source only, otherwise, you may damage your OS.
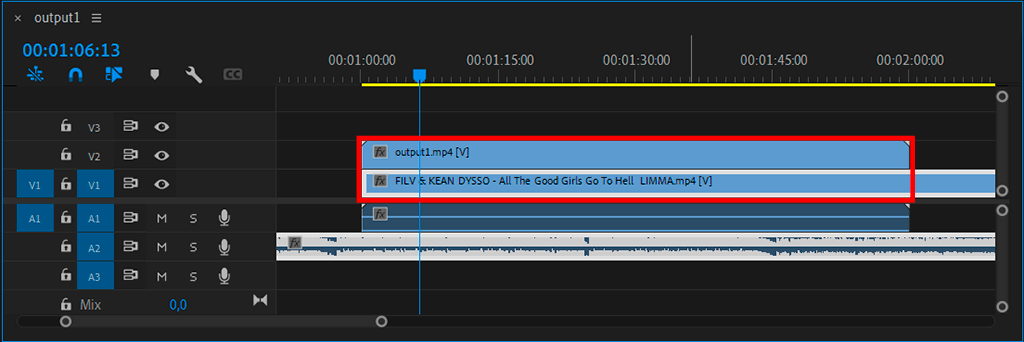
Add your videos into Adobe Premiere Pro and create a new sequence. You just need to drag them from the folder to the program interface and place them on the timeline to get a sequence.
Keep in mind that both videos must be the same duration, so do the necessary manipulations beforehand.
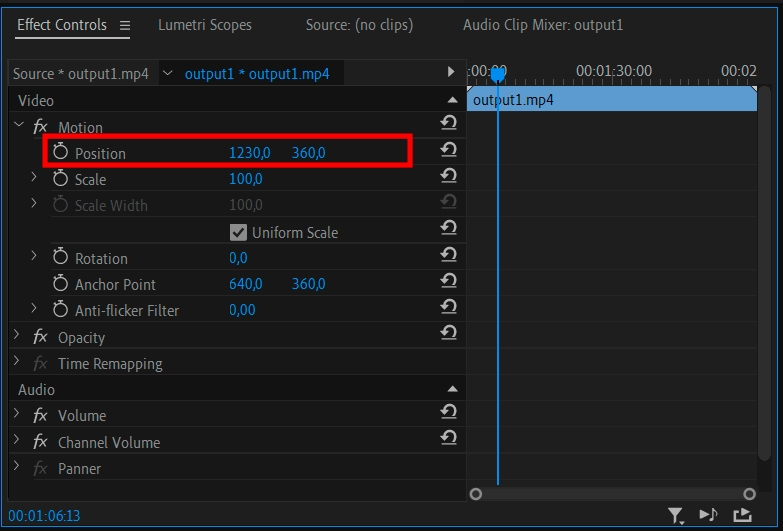
Adjust the video position settings as described in the Adobe Premiere Pro CC tutorial. To do this, you need to select your first clip in the timeline and then go to the Effects Controls panel.
You can indicate the position of videos using the Motion option. If you want each video to take half a screen, you need to set the position value to 1920.
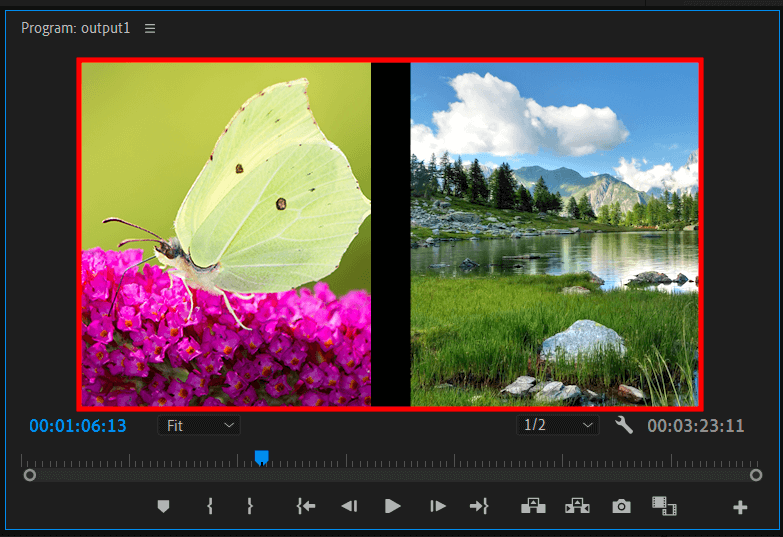
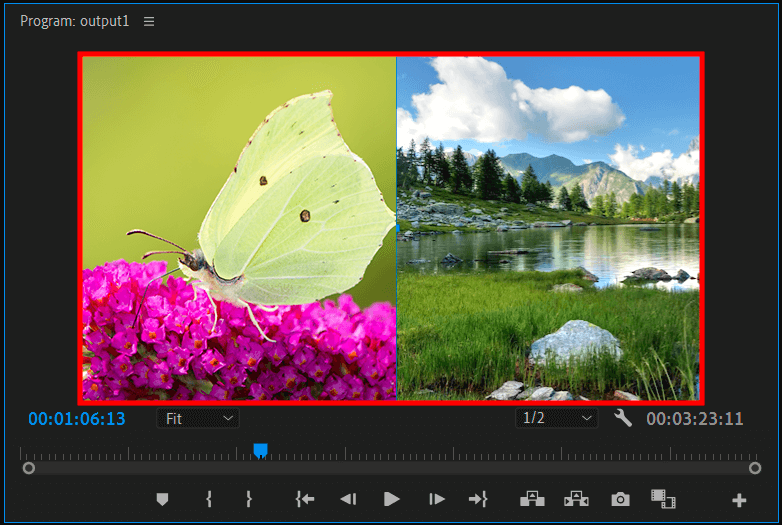
To make sure you get the proportion you want, go to the Preview window. The screen should be split clearly in the middle. However, you should be aware that the picture may not be perfect. The problem is that you will not see many objects as only half of the screen will be available.
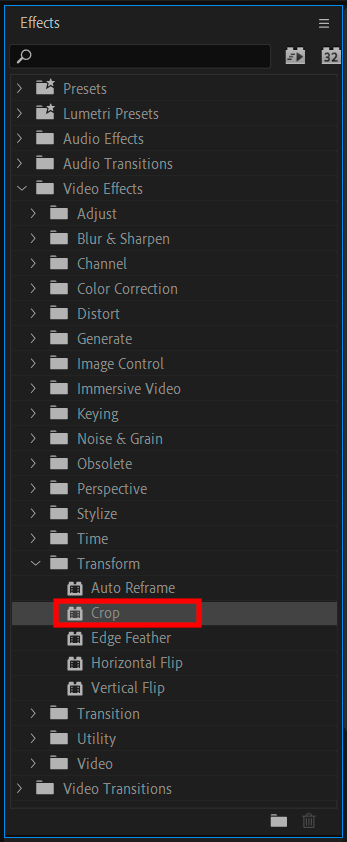
Apply a crop option to adjust the center position. Open the Effects menu, go to the Video Effects tab and select Crop. Move the Crop option on the top of the first video by dragging and dropping it to the timeline window.
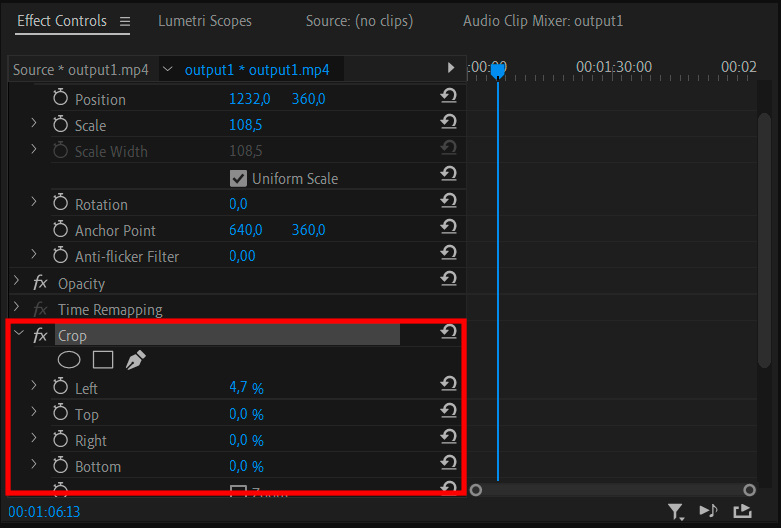
If you are wondering how to create split screen in Adobe Premiere Pro, the next step involves adjusting the cropping parameters. First, adjust the sizes for the right and left sides. Move the slider to get the desired values. This will allow you to lock the inner side near the split line. Save the resulting parameters.
The final stage is to adjust the position of the second video by repeating the same steps as with the first one. You can check the result in the preview window and then make changes to get the look you want.
If necessary, you can add a black or colored bar separating the two videos. To add a bar, you need to increase the distance between the videos on the screen. Besides, you can choose the split style and other visual video effects in the settings. Follow a variety of Adobe Premiere Pro tips to create impressive clips.
After learning how to create split screen in Adobe Premiere Pro, you can also try processing your videos. If you want to enhance your videos professionally, but do not know editing techniques, contact the experts of the FixThePhoto service.
The professional team will handle even the most complex video editing challenges and provide you with a flawless and immersive product in no time.

If you are just taking your first steps in video editing, things may seem overwhelming for you. However, your life can be made easier with high-end collections of effects that you can use to enhance your clips. With these awesome LUTs, you can turn boring and plain videos into eye-catching movies just in a few clicks.


