If you want to draw attention to your YouTube videos, we recommend creating a picture-in-picture effect in Adobe Premiere Pro. Thus, you can place one video in a small frame on top of another so that they play simultaneously. Thanks to a detailed tutorial, both a beginner and a professional can improve their videos by adding such an interesting effect.
You can create this effect in Adobe Premiere Pro in 7 steps. This Premiere Pro CC tutorial dwells on how to create a video with screencast and blogger comments, talk about your journey and supplement the story you’re your emotions on the other side of the screen.
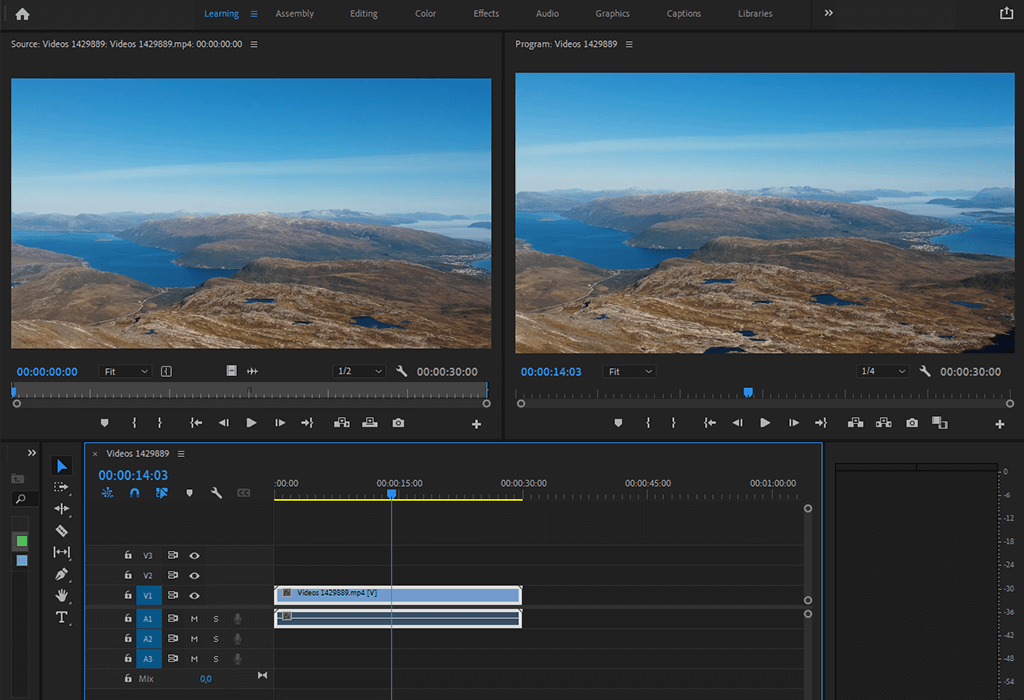
Run Adobe Premiere Pro and import your videos. You need to adjust the position of a clip. You can do this in the Effects Control Panel using the Scale and Position tool.
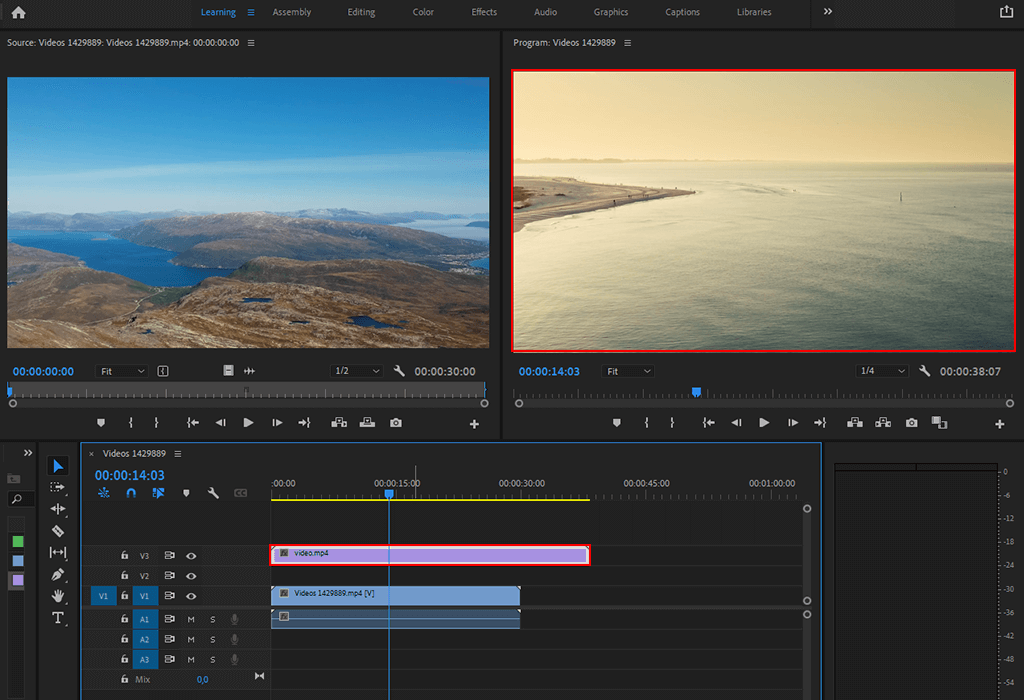
Choose the shot for the footage card. You should put it 2 layers above the original video in the timeline.
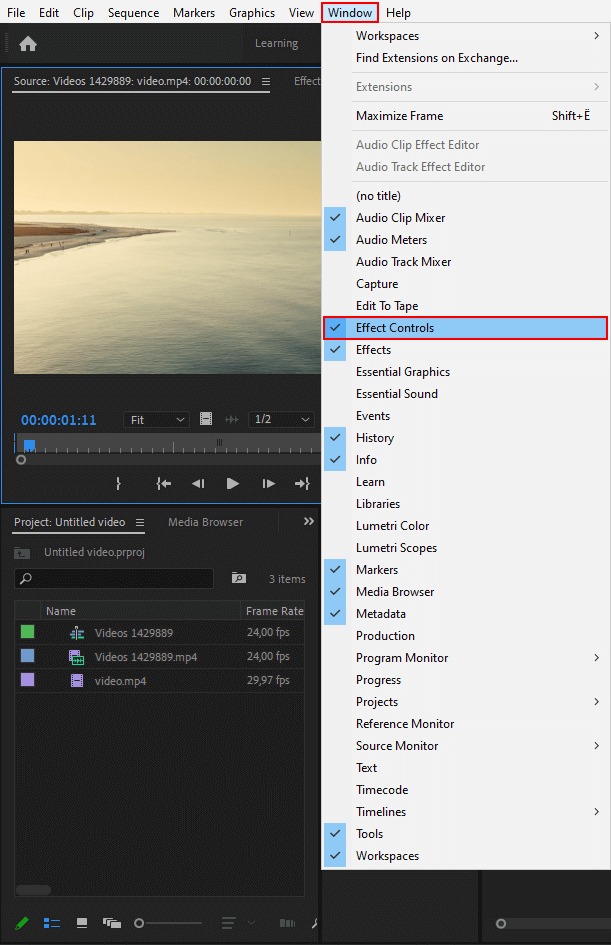
Open the Effect Controls panel to see the effects available for your video. If you need to adjust the interface for editing effects, move to the Effects tab: Window > Workspace > Effects.
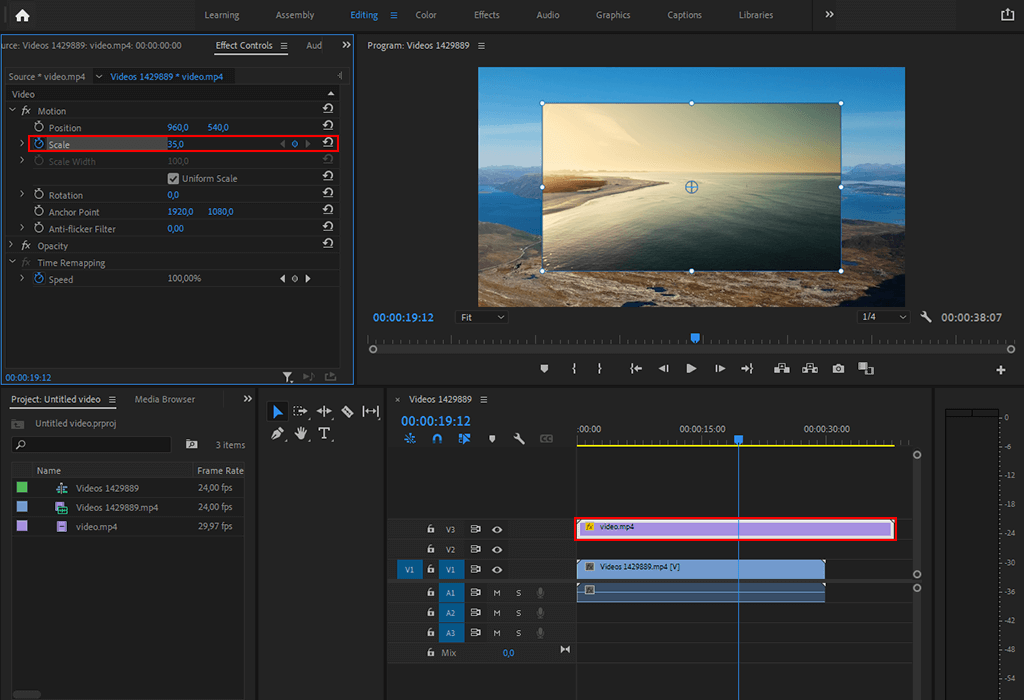
The Effects Control panel contains tools for photo resizing so that you can place it in the right-hand corner. You’d better make it 35-40% smaller to have a bit of buffer room around the footage card.
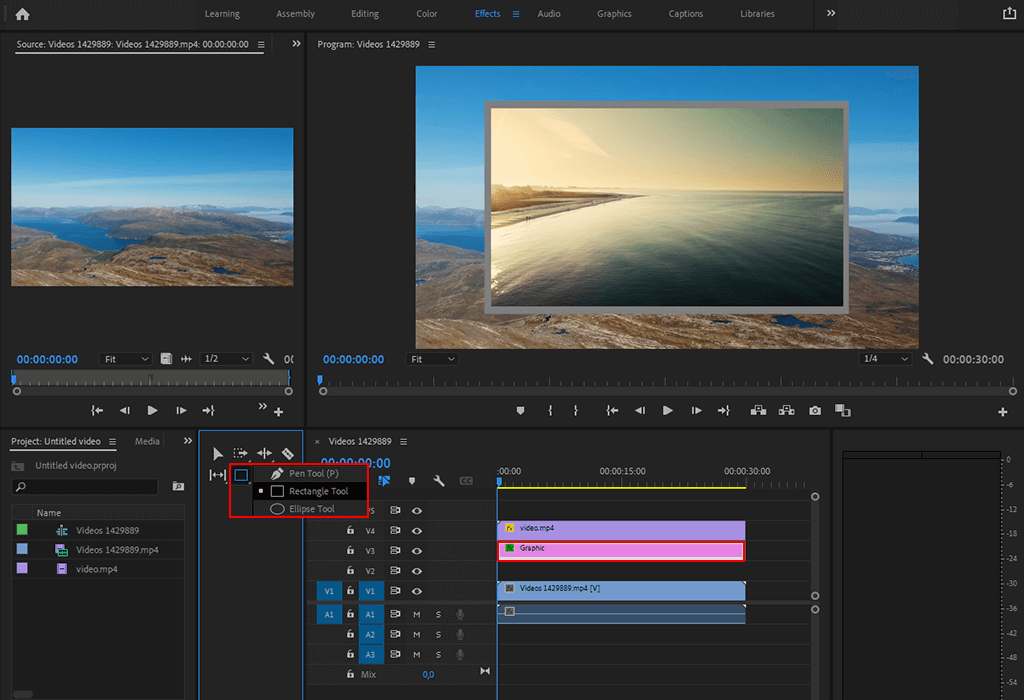
When you create a picture-in-picture effect, add a rectangle as a stroke for the video on top. You can make a shape with the "graphics" tab. To find the one, go to the toolbar at the top of the editor. You can either choose the Pen Tool and draw the shape or select the Rectangle tool directly. Locate the tool under the second video.
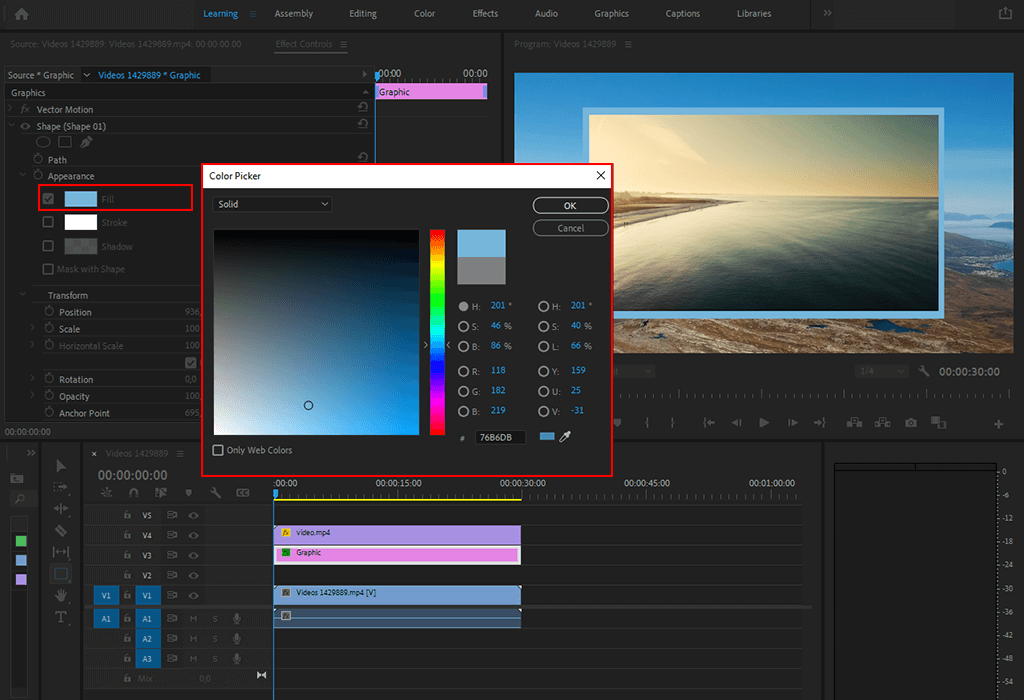
You are free to adjust the created frame as you want, including its shape, blending mode, and add shadow to make it more noticeable. Besides, you can choose the stroke color for the second video.
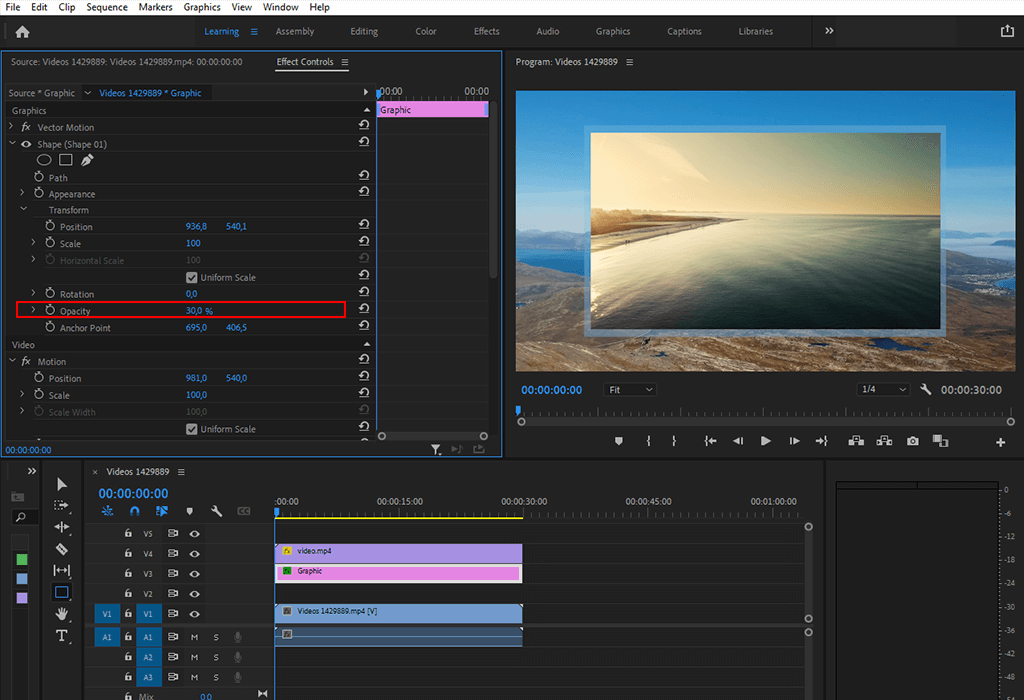
To make the stroke look neat in the video, I’d recommend making it a bit transparent.
If you don’t have time to add a PIP effect, turn to professionals to get a proper result. Experts can merge two videos into one, adding transitions and effects. They can also improve colors and stabilize the frame.
Now you know how to create a picture-in-picture effect in a video. However, you can edit your video further using free LUTs and overlays. LUTs help you correct the colors, white balance and achieve a certain effect.
If you want to add creative touches such as smoke or glitch to your video, you can overlay videos in Premiere. These tools work for videos in different genres.


