If you want to alter the timing of your video in Premiere Pro, you can use Slip and Slides tools. With the help of the Premiere Pro Slip Tool, it is easy to change the timing regardless of the length of your clip. The footage will be rolled forward and backward in accordance with the current duration.
In case you need a clip to appear earlier or later, you should use the Slide Tool. It works by sliding a video up or down on Premiere Pro timeline.
Launch Premiere Pro and open your project with several elements by clicking File > Open Project.

Adobe Premiere Slide Tool is located on the left. Select it.
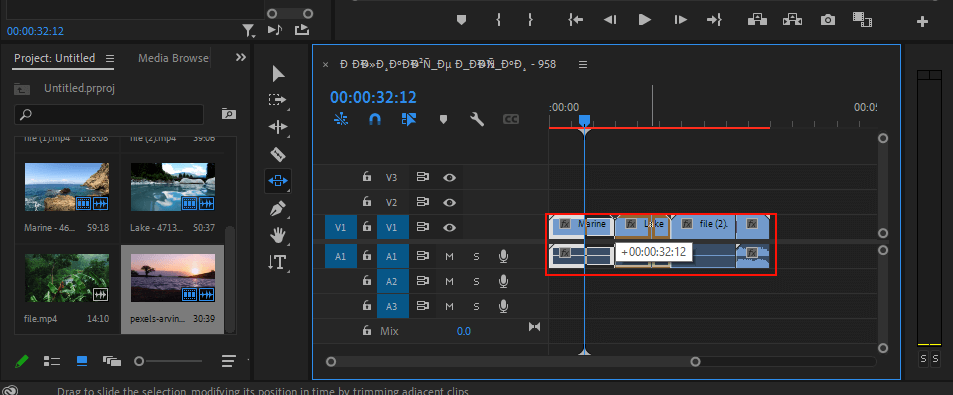
Put the pointer on the clip that you need to reposition. Move it to the left so it occupies the place before the specific clips in your footage. While you are moving a mouse, the software will apply adjustments to every clip that is a part of your sequence.
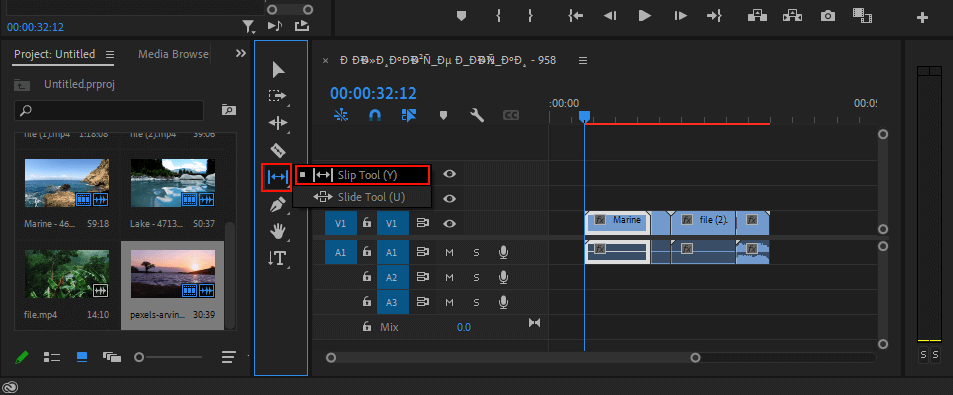
Adobe Premiere Pro Slip Tool is on the same panel. In general, you can perform video slipping in 3 different ways:
All you have to do is select those clips and then move them to the left if you want them to be played forward. Move them to the right for the opposite result.

Download the collection of top-notch LUTs for virtually any video editing scenario. They are suitable for different travel, nature, romantic, wedding, cityscape, and lots of other clips.
You can use these plugins for creative experiments. Starting with basic color correction and proceeding with more elaborate changes – everything is possible with this pack. Besides, they allow users to cope with rigmarole tasks in a quicker way.
Premiere Pro is top-tier video editing software packed with a huge variety of tools and features. Users prefer it to other programs due to the possibility to handle various video editing tasks, as well as improve audio and images in one place.
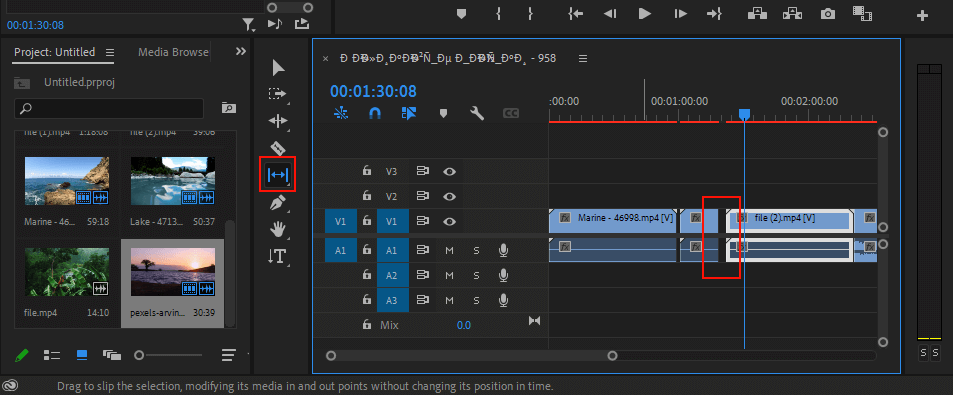
The main purpose of this instrument is to alter the in and out points of a clip on the timeline simultaneously. You can make this change without affecting the time span between these points.
This tool does wonders if you want a specific segment of your video sequence to appear earlier or later than other pieces. With the help of the Slide Edit, you can move your clip up or down the timeline in a fast manner.
There are should be visible handles in a clip so that you can slip it. Is the clip you want to slip makes up the entire content of your video? If so, there is no “room” for Adobe Premiere to slip anything because all available frames of a video are currently displayed. So, the program can’t do anything. You need to load a clip to the source monitor.


