This method will work well if you have basic skills of using Adobe Premiere Pro and allows adding and editing text on a new layer with the help of built-in tools.
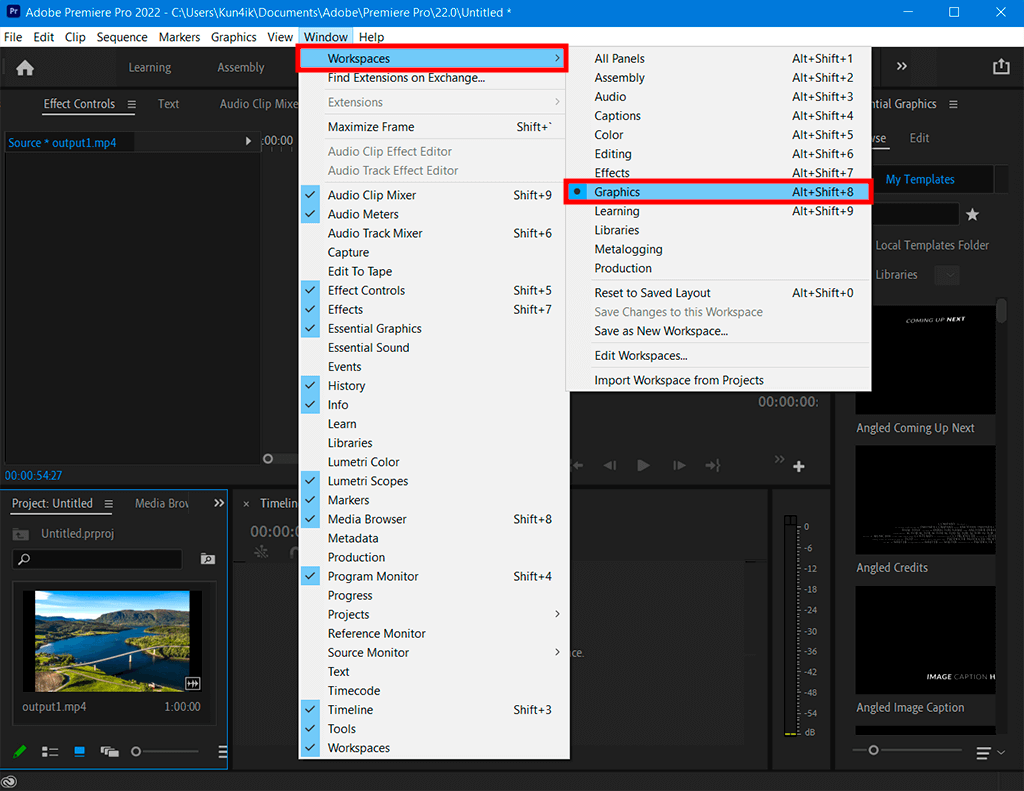
Go to Window > Workspaces > Graphics. We recommend pinning this panel if you work with text often to avoid doing the same actions every time.
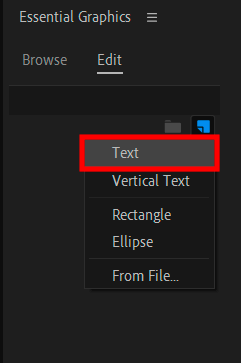
To edit text in Premiere Pro, open the Essential Graphics panel, navigate to Edit > New Layer and then choose Text from the drop-down list. The elements for controlling font, style, and text alignment are available in the Adjust panel.
Besides, you can find other features for editing text in a pop-up window that can be activated by right-clicking anywhere in the Monitor panel (or left-click while holding down the Ctrl key).
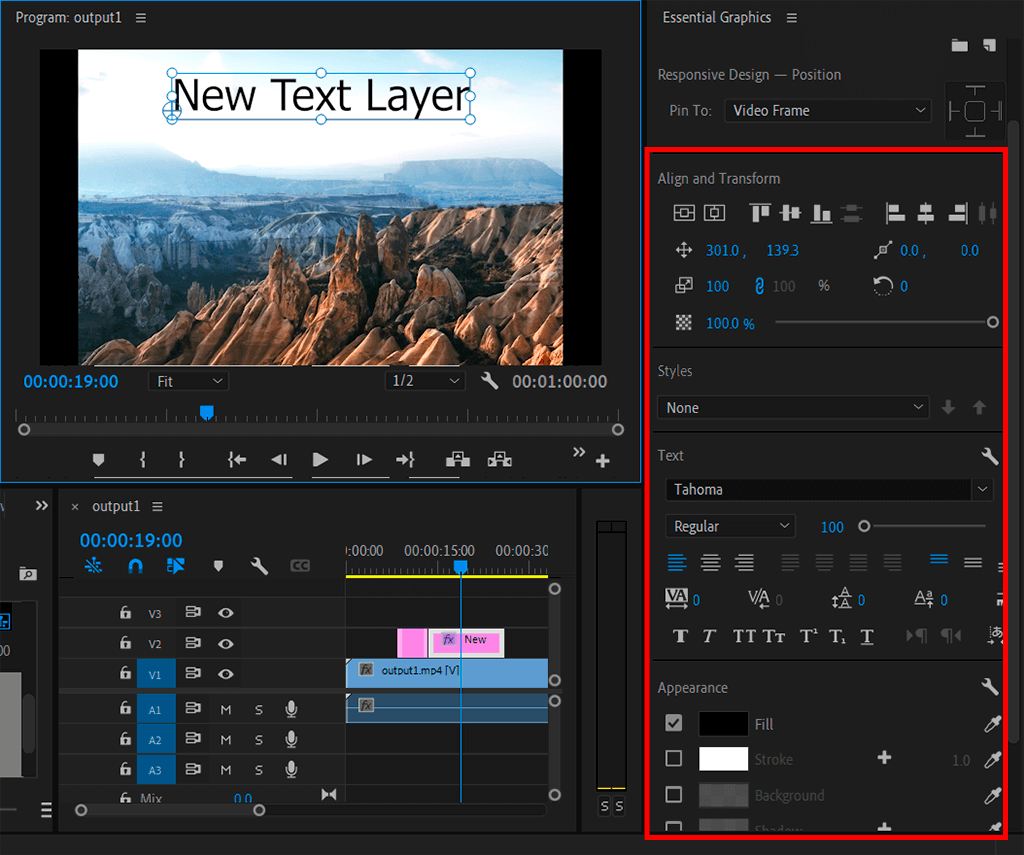
In the new window, you can edit text, align it, change the color, etc. Here you can make text bold, italic, or underlined. You can also align text to the left, right, or center of the text frame and the window as a whole. If you have already loaded some styles, you can apply them in real-time.
This method can help you create a professional title in Premiere Pro. You only need to substitute the text with your variant and maybe adjust the color.
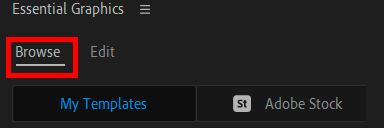
Find the Browse tab on the Essentials panel and activate it. This command ensures a fast export of templates from the library.
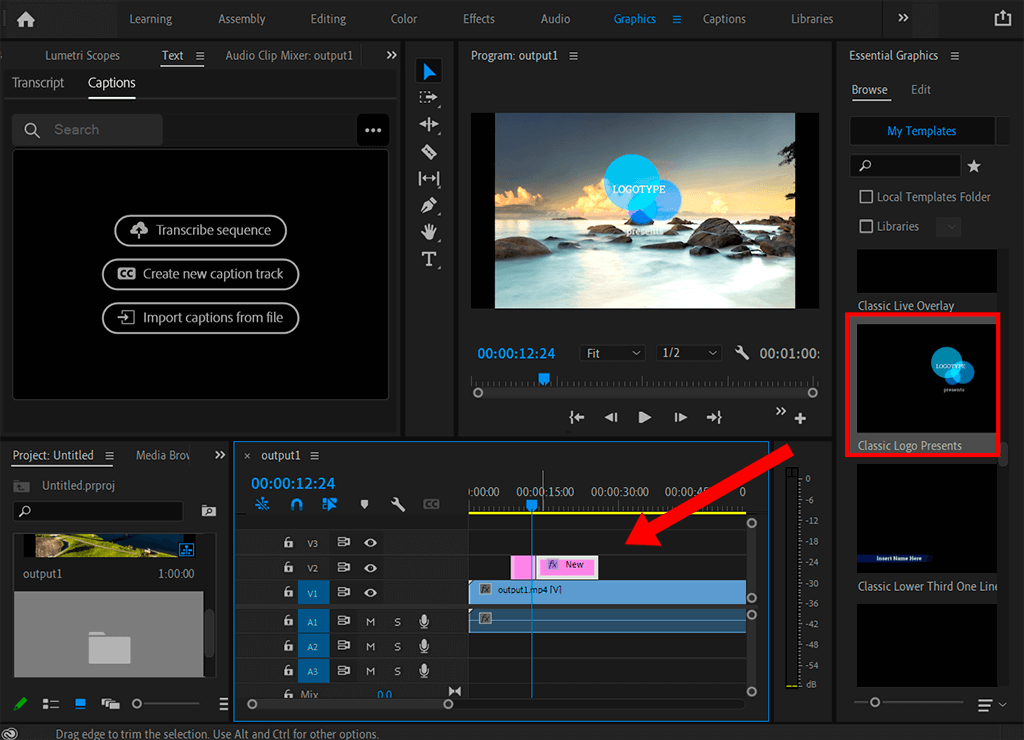
Here you will find ready-made templates. Pick one you want to work with and drag it onto the timeline.
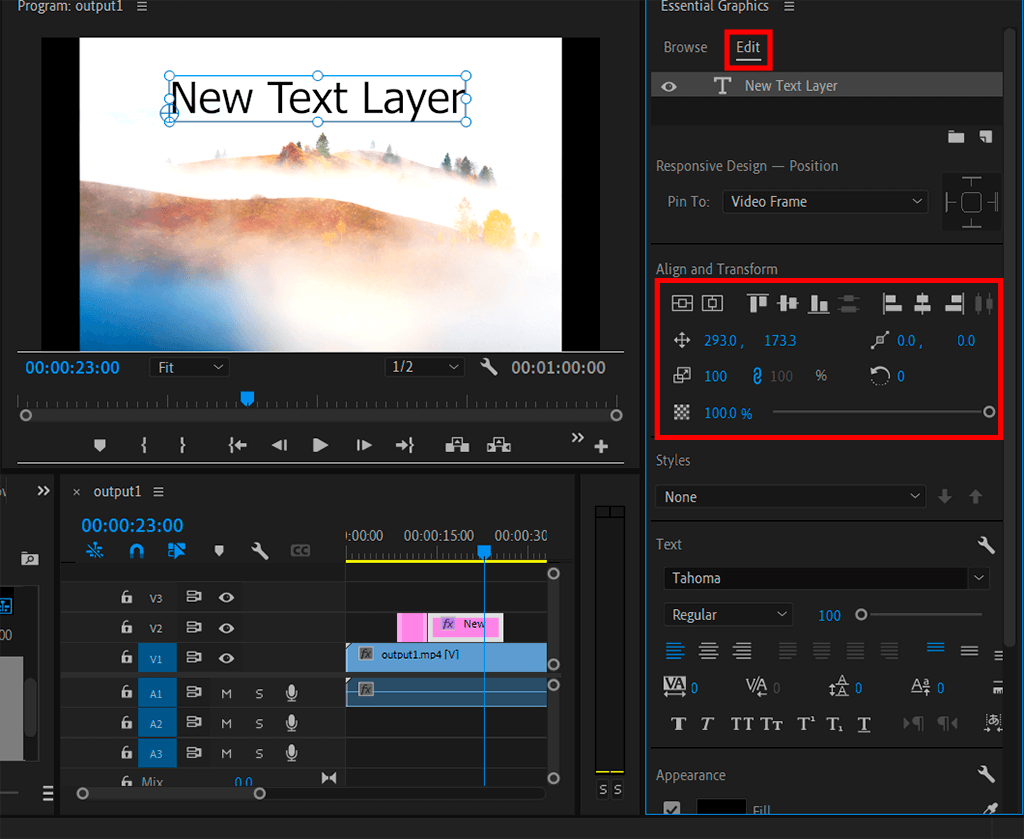
After returning to the Edit tab, you can align the text and add transparency if needed. Here you can also tilt text or rotate it manually.

In case you need to resize video in Premiere Pro, you can select the appropriate font and adjusting the text size on the Edit tab, so that it harmoniously fits into the frame. If bold and italic options are not supported, the icons will be disabled. You can add underlining to any font.
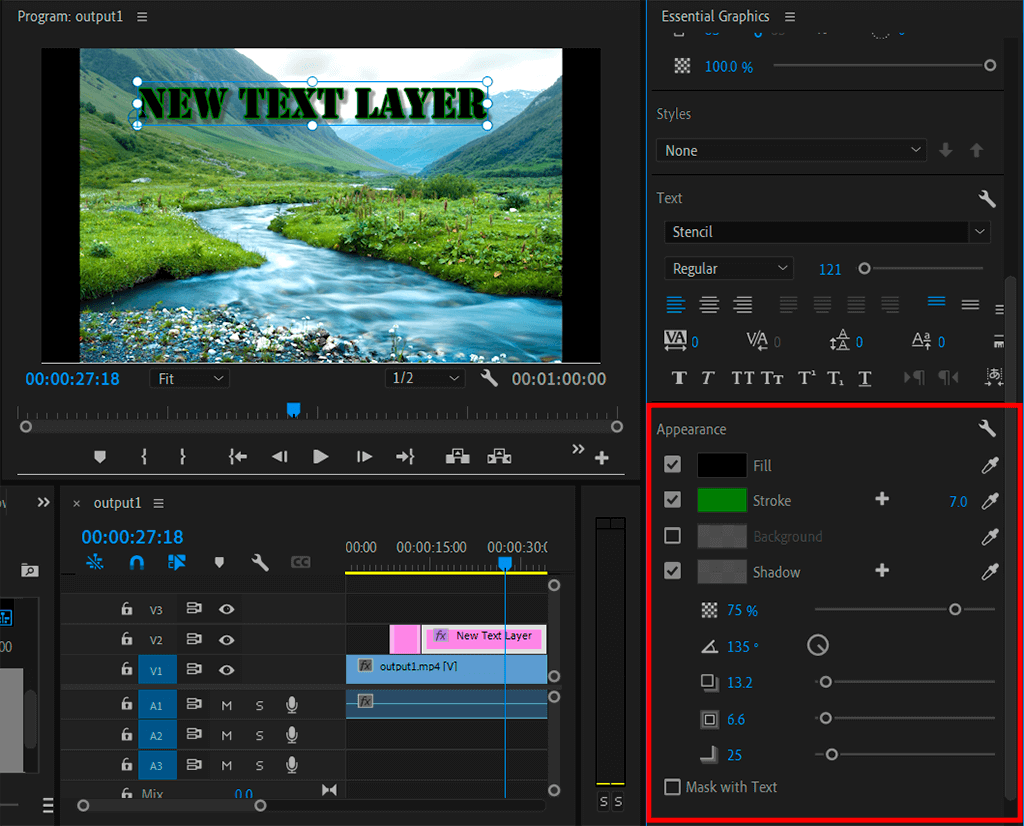
Choose the color for the text and add a stroke and shadow to it. If the window contains more than one text frame, then double-click on the desired frame to change it with the selected tools.
Besides, if you like the color in a video, you can select with an eye-dropper and apply it to the text. Use the Fill tool to alter the color of the inscription. Stroke can modify the color of text online and adjust the thickness of words. With the Shadow option, you can create an eye-catching drop-shadow effect. By dragging the slide bar, you can alter the size and angle.
If you have any difficulties performing these manipulations, you can always address the editing service. Specialists will edit text and give your frames a unified style.
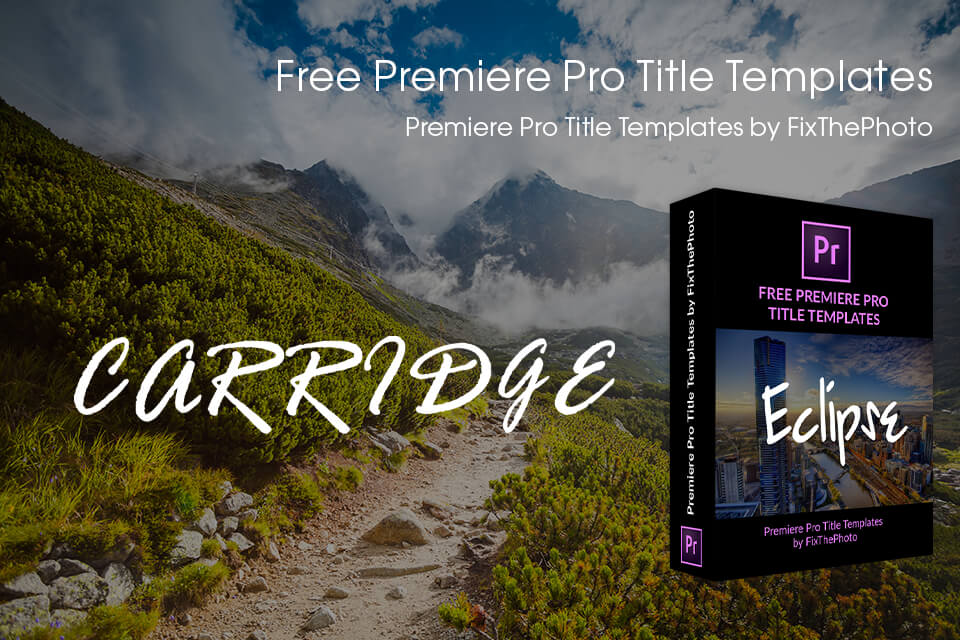
Users who have difficulties learning how to edit text in Premiere Pro but want to get a quick and professional result without using Adobe Premiere Pro tutorials, can apply ready-made title templates. Here you can find different text styles and choose the one that suits your clip.
After selecting the Type Tool, there will appear a text box on a video and you will see a graphic layer on the timeline. A text layer can be created using the shortcuts, namely, CTRL+T for Windows or CMD+T for Mac. Besides, you can specify the duration of the text layer by moving it to the left or right.
Open the Tool Panel to type new text. Usually, it can be found to the left of your Timeline in the Default Editing Workspace. However, its position can vary. Next, open the Type Tool, located at the bottom of this window, and left-click into Premiere's Program Monitor.
Provided your editor functions properly, you should be able to modify text attributes by doing such actions. Choose the Graphics/Text Clip on your Timeline, then work with the Graphics Essentials panel. Activate the Graphics/Text Clip on your Timeline and then navigate to the Effects Controls panel.