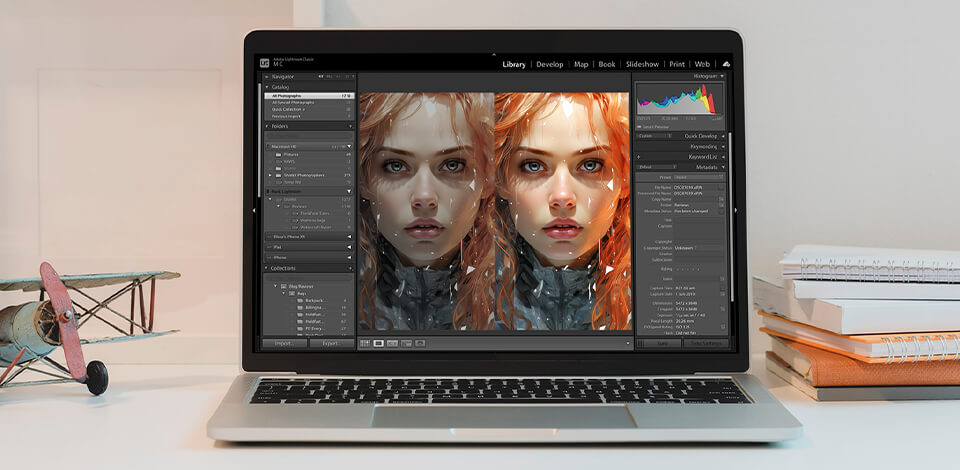
I tested a variety of free editing software for gaming videos, and each one had its own strengths. Some were easy to learn and quick to use, while others offered more advanced editing features with a steeper learning curve. The biggest differences came down to speed, editing tools, and how well they handled gameplay footage.
My main goal is to create gaming content for YouTube, from full gameplay videos to short clips for TikTok and YouTube Shorts. I needed editing software that could handle different types of content while keeping the workflow simple and efficient.
Since I record long gaming sessions in 1080p and 4K, smooth timeline playback is essential. I also look for multitrack editing, transitions, animated titles, audio editing, color correction, keyframes, speed controls, subtitles, and high-quality exports without watermarks. Fast performance and stable editing are just as important, especially when working with large video files.
I also value flexibility. Features like built-in templates, motion tracking, screen recording, and simple tools for adding memes, sound effects, and zoom effects help me edit videos faster without needing extra software or plugins.
After testing different free editing software for gaming, I realized I needed more than a basic tool for cutting clips. I wanted software that could handle my entire workflow, from importing gameplay footage to exporting finished videos for YouTube and social media. The best gaming video editor combines smooth performance, practical editing tools, and enough creative control without requiring a paid plan.
To speed up such a large testing process, I asked my colleagues from the FixThePhoto team to help. Together, we selected the video editors to test, defined the evaluation criteria, and then started comparing each tool using the same workflow.
Multitrack timeline editing
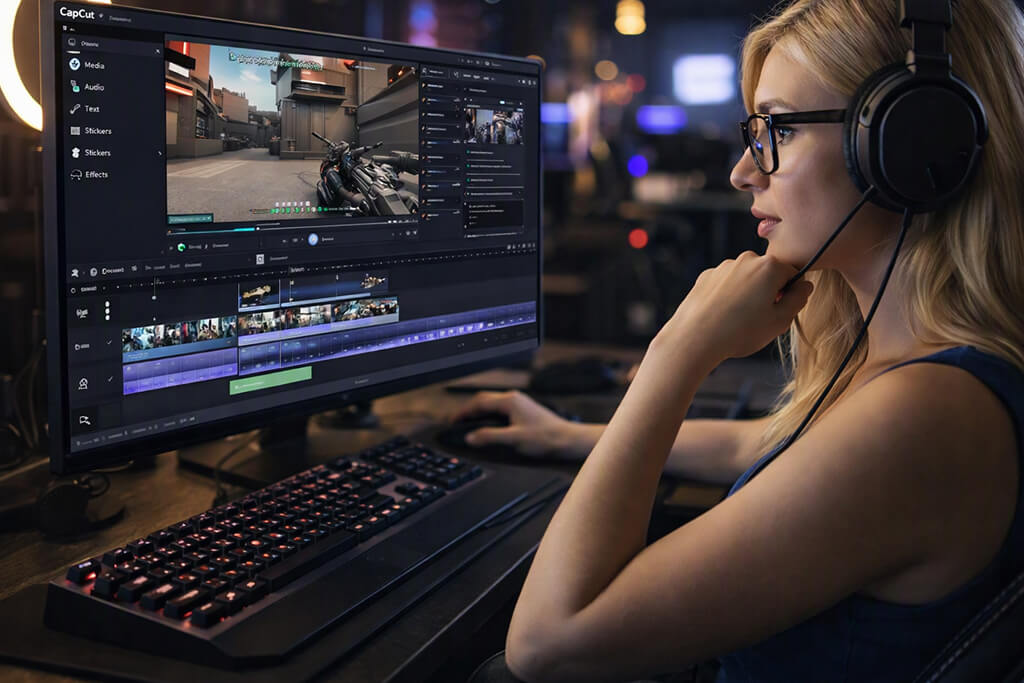
A good gaming editor should include a flexible timeline with separate tracks for gameplay, webcam footage, voiceovers, music, sound effects, and overlays. This gives me better control and makes editing more efficient.
Smooth handling of high-resolution footage
Gaming videos are often recorded in 1080p, 1440p, or 4K, so the editor should handle large files without slowing down. Hardware acceleration, proxy editing, and smooth timeline playback are essential for editing long recordings efficiently.
Fast trimming and clip management
Gaming sessions often last for hours, but only the best moments make it into the final video. Features like quick trimming, markers, scene detection, and fast timeline navigation make it much easier to find highlights than in standard video editing software for Windows and Mac.
Audio editing tools:
Captions and subtitles
Automatic subtitles are especially useful for vlog video editing, YouTube Shorts, TikTok, and other social media content. Built-in caption tools save time, improve accessibility, and make videos easier to watch without sound.
Effects, transitions, and animations:
Speed controls and keyframes
Speed ramping, slow motion, and keyframe animation are important for creating engaging gaming videos. They help highlight clutch plays, funny moments, and dramatic scenes, making the final edit more dynamic.
Color correction and filters:
Motion tracking and masking
Motion tracking and masking are valuable tools for advanced gaming edits. They let you attach text, graphics, or effects to moving objects and create more dynamic, professional-looking videos.
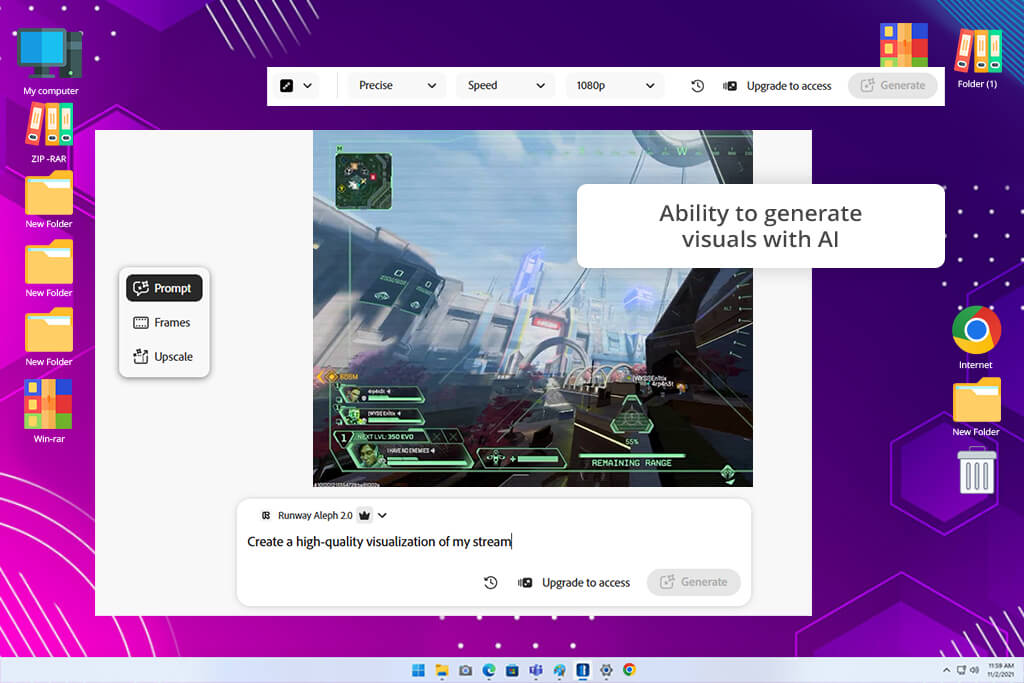
As I worked on my gaming channel, I realized that editing videos was only part of the process. I also needed eye-catching thumbnails, channel graphics, backgrounds, and other visuals to make my content stand out. I tried that would make my videos look different from everyone else’s.
I gave Adobe Firefly Video a try to see if its free AI tools could help me create these assets more quickly without relying on stock images or advanced design skills. I used it mainly to create visuals that I could easily add to my gameplay videos.
One of the best features of this free video editing software for gaming was creating custom graphics from simple text prompts. I generated gaming backgrounds, thumbnail visuals, and branding concepts for my channel. I also used text-to-image generation and Generative Fill to edit parts of existing images instead of creating new ones from scratch. It was a much quicker way to prepare graphics than designing everything manually.
“I used it to create gaming visuals, backgrounds, and thumbnail ideas. It was a quick way to explore creative concepts, but I still needed a separate video editor to finish my projects.”

I also used this free Adobe software while creating content for different platforms. I made several versions of the same design for YouTube thumbnails and vertical videos, then adjusted them to match my channel's style. It was great for testing ideas, but I quickly realized Firefly is not a full video editor. I still needed another program to edit and assemble my gameplay footage.
Over time, Firefly became part of my creative workflow rather than my main video editor. I used it to make custom thumbnails, backgrounds, and other graphics that gave my videos a more distinctive style. Whenever I needed a new visual for a project, it was one of my first choices before moving on to video editing.
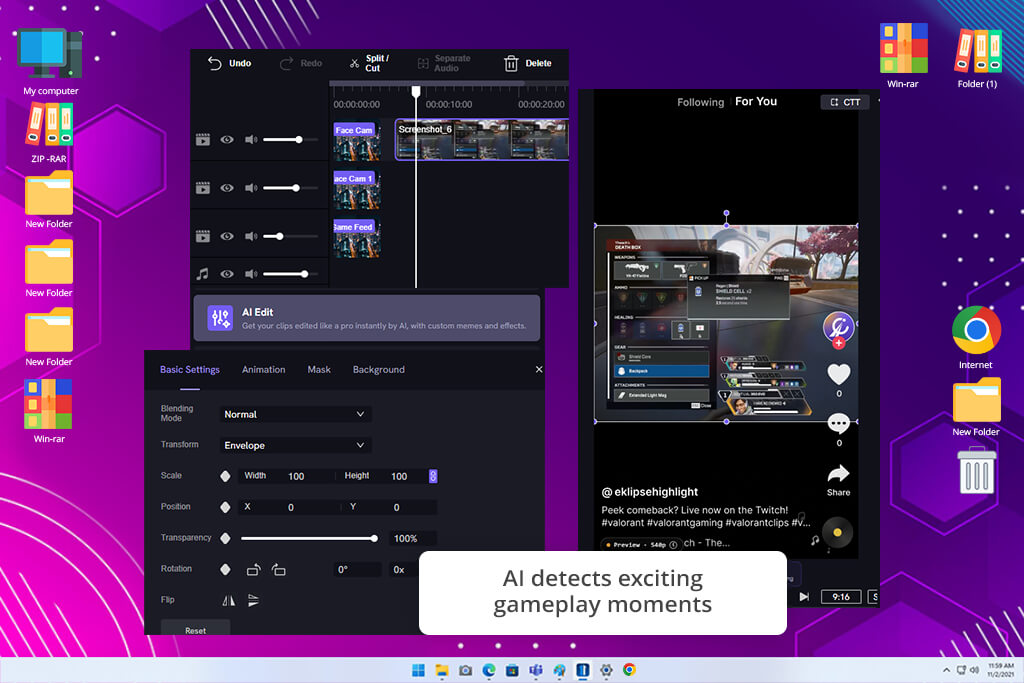
I record a lot of gameplay, and the most time-consuming part is finding the best moments to share. That's why I decided to test Eklipse. I uploaded several long gaming sessions to see how well its AI highlight detection could automatically find the best clips without me watching every minute. My goal was to spend less time editing and more time creating and publishing content.
The first feature I tested was automatic clip detection. I used it with multiplayer matches where key moments happen fast and compared the selected clips with the ones I would normally choose myself. It picked up most action-packed highlights, although I still reviewed everything before publishing. Even so, automatically finding the best moments saved me a lot of time.
What I liked most was that Eklipse was designed specifically for gaming creators. Features like automatic captions, social media formats, and fast clip creation made it easy to turn one long recording into several short videos. I created clips for YouTube Shorts and TikTok much faster than I could in a traditional video editor. The free version includes the essential tools, though some advanced features require an upgrade.
After using Eklipse, I saw it as a useful addition to my editing workflow rather than a replacement for video editing software for Mac and Windows. It made finding and preparing gaming highlights much faster. For streamers and YouTubers with hours of recorded gameplay, it can save a lot of time before the actual editing begins.
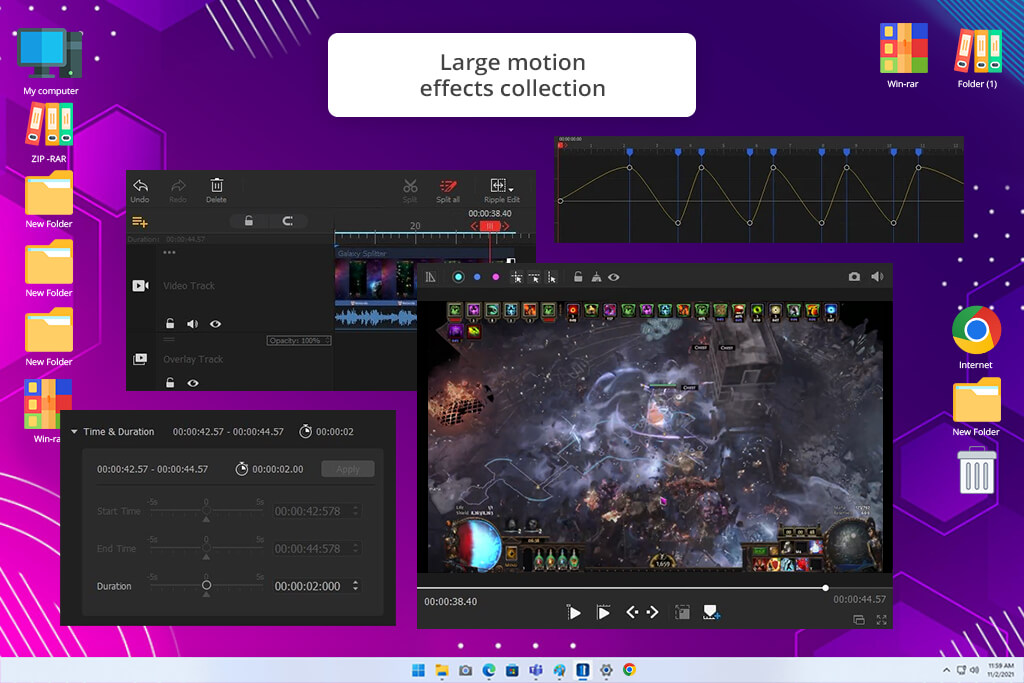
I wanted free video editing software for gaming PC that could handle gameplay recordings without a steep learning curve. Since I often work with long 1080p and 4K videos, I needed software that stayed responsive while offering enough editing features for polished results. I tested VideoProc Vlogger by editing gameplay highlights, commentary videos, and short clips, and found it easy to use for everyday gaming projects.
One of the first things I noticed was how easy the timeline felt to use. I could quickly trim dull moments, rearrange clips, add background music, and sync my commentary without digging through complicated menus. I also tested keyframe animation, speed controls, transitions, and color correction to give my gameplay videos a more polished look. For a free editor, it offered an impressive range of creative tools.
“I started using it for my gaming videos because it was simple and easy to use. It handled basic editing well, but later I wanted more advanced effects.”

I tested effects I often use in gaming videos, including zoom-ins for key moments, slow motion for action scenes, and quick transitions between clips. The motion effects helped make my highlight montages more dynamic. I also edited longer projects, and the software stayed smooth enough for my regular uploads without feeling slow or overloaded.
After using VideoProc Vlogger, I think it's a great choice for gamers who want an editor that's simple but capable. It doesn't offer as many advanced features as professional software, but it has everything I need for regular YouTube videos. If you're starting a gaming channel and want a free video editing software for gaming for beginners that's easy to use, it's definitely worth trying.

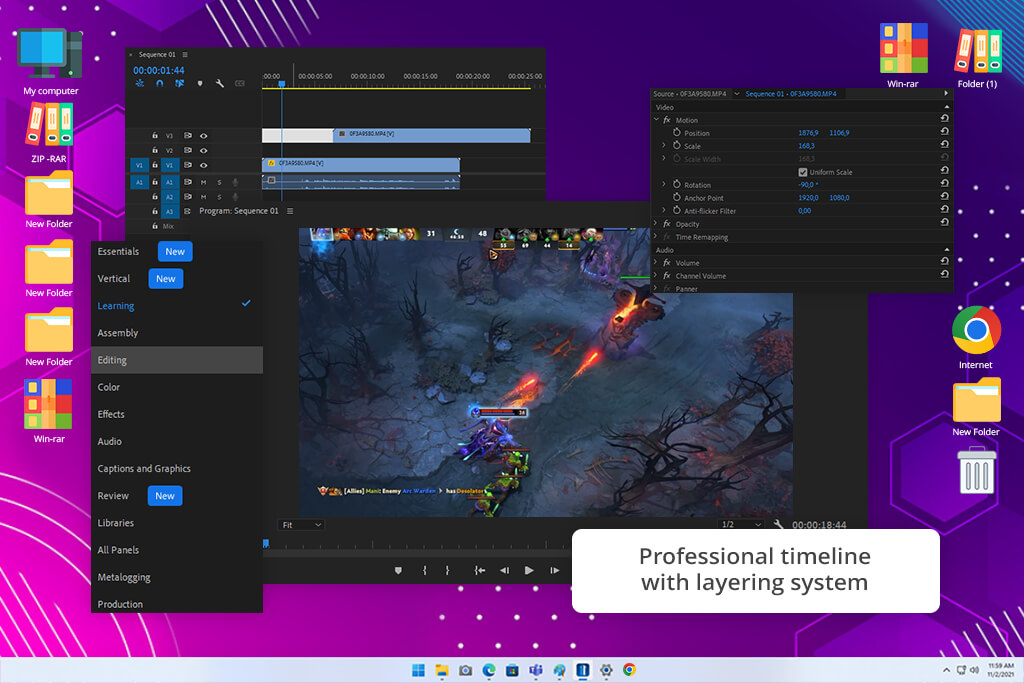
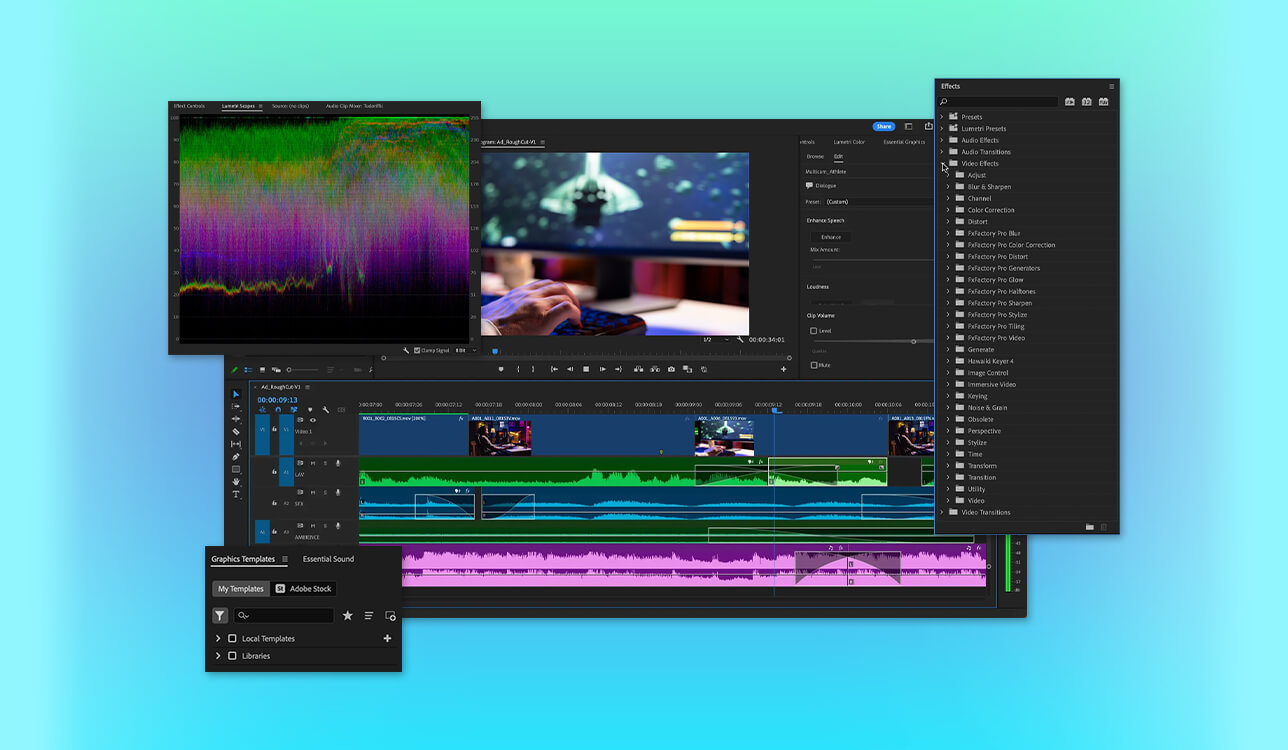
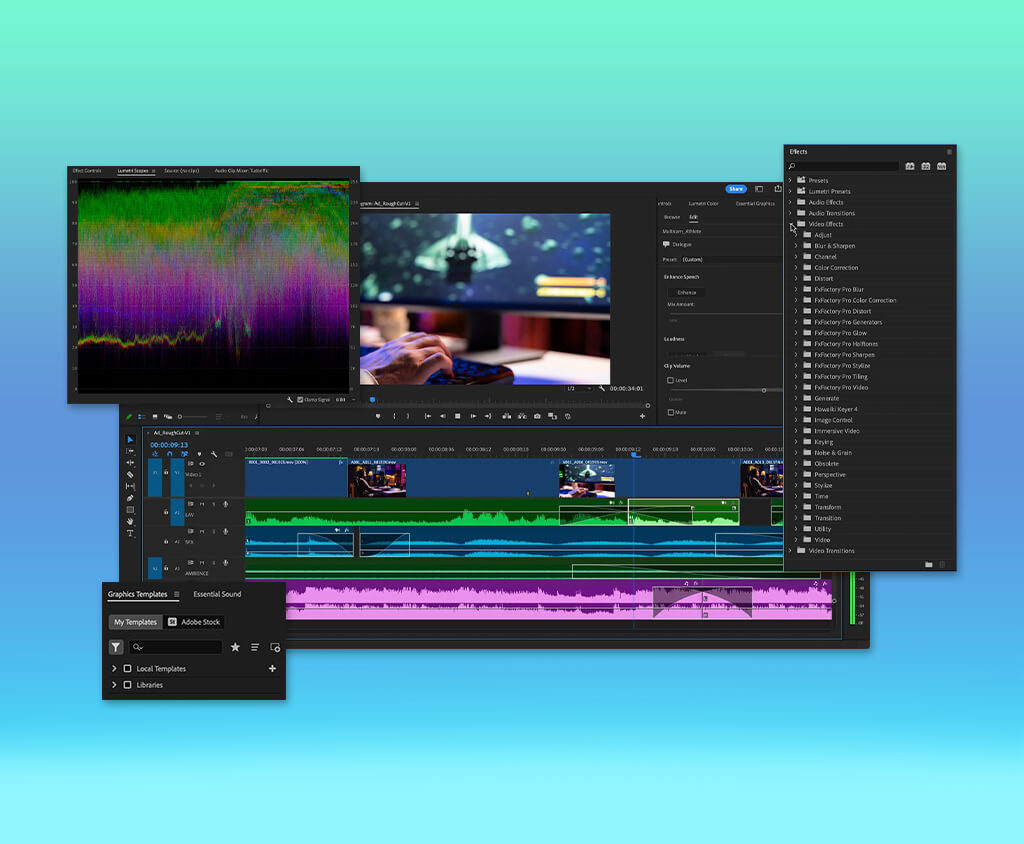
I decided to try Adobe Premiere Pro because it's one of the most popular free video editing software for gaming on Windows among professional creators. Since the free version is only a trial, I used it to see whether its professional workflow was worth the cost. I edited several gaming projects, including highlight videos with gameplay footage, voice commentary, background music, and multiple video and audio layers.
What impressed me most was the flexibility it offered while editing. I could arrange clips, audio, and effects however I liked without feeling restricted. I tried features such as working with multiple tracks, creating animations with keyframes, improving colors, balancing audio, generating captions, and adding transitions. Compared to simpler editors like Artlist, it provided far more options for fine-tuning my videos.
I also liked how well it handled larger editing projects. My gaming sessions often produce hours of 1440p or 4K footage, and Premiere Pro gave me a professional way to organize those files without the project becoming messy. The built-in transcription feature saved me time when adding subtitles for YouTube Shorts and other social media videos. The only real downside was the price, since you need a subscription after the free trial ends.
I also liked how well it handled bigger projects. My gaming sessions often produce hours of 1440p or 4K footage, and Premiere Pro gave me a professional way to organize those files without making the project feel messy. The built-in transcription tool made it much faster to add subtitles for YouTube Shorts and other social media videos. The only real downside was the price, since the software requires a subscription after the free trial.
After testing this video stabilization software, I understood why so many professional creators use Premiere Pro. It offers more features than most beginners need, but if I want complete control over every part of a gaming video, it has the right tools. I wouldn't recommend it as the best free editor because the free version is only a trial, but it's a great way to experience professional video editing before deciding whether it's worth paying for.
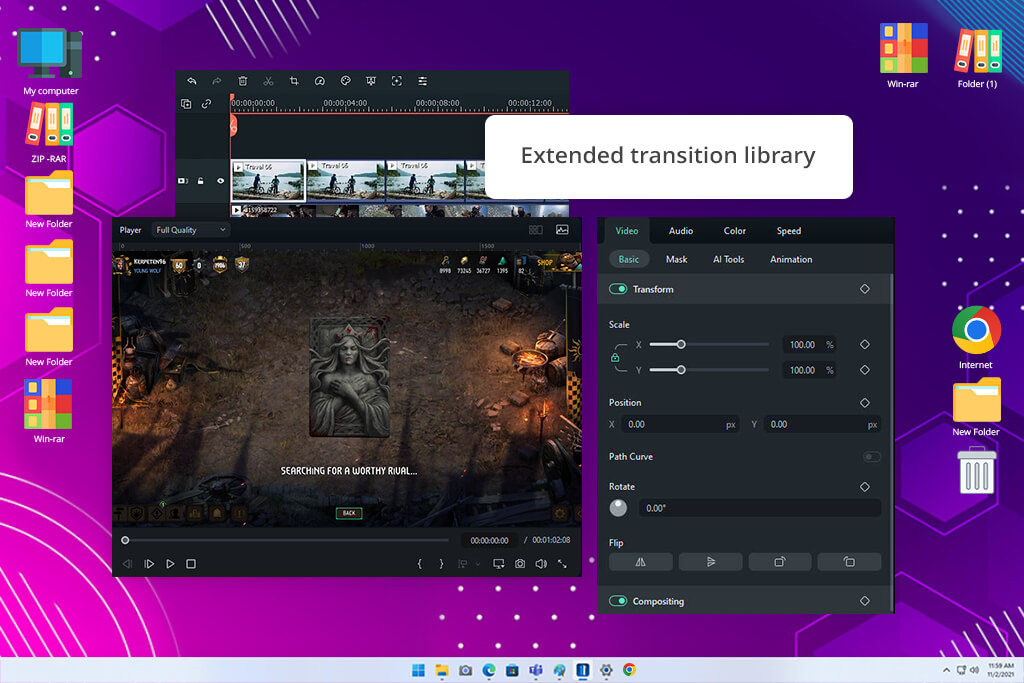
I tried Filmora because I wanted something that offered more features than basic free editors without the complexity of professional software. My goal was to edit gameplay clips, add effects, create captions, and make my videos look polished without a long learning process. I tested the free version on several gaming projects to see how much I could do before reaching its limits.
The interface was easy to learn, so I could start editing right away. I quickly added clips to the timeline, applied transitions, inserted text, adjusted audio, and finished my videos without much effort. I also tested motion tracking, speed controls, filters, effects, and AI tools to see how well they worked for gaming content. For quick edits and beginner-friendly projects, the workflow felt smooth and efficient.
“I started using it for my gaming channel because it was easy to learn. I liked the effects and templates, but later I wanted more editing options.”

I also tested Filmora's AI tools to see if they could speed up my editing. Features like automatic captions, background removal, and AI editing helped me finish some tasks faster. The biggest downside was the free version, which adds a watermark to exported videos. It was fine for testing the software, but I would need the paid version to publish my videos.
After using Filmora, I think it's a great choice for gamers who want an editor that's easy to learn. It has enough tools to create polished gameplay videos without being difficult to use. The free version is good for testing and practice, but if you plan to grow your channel, you'll probably want the paid version to enjoy a video editing software for gaming without watermark and remove other export limits.
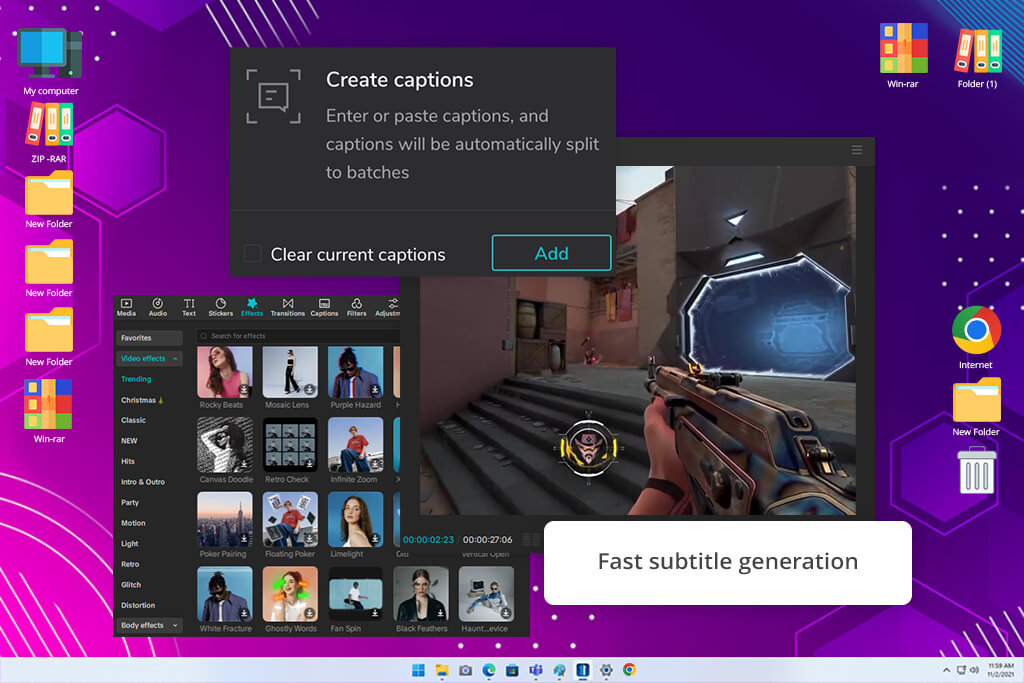
I decided to try CapCut because so many gaming creators recommend it for making Shorts and TikTok videos. I wanted a fast way to turn long gameplay recordings into short, engaging clips without spending hours editing. To see how well it worked, I used it for funny moments, gameplay highlights, reaction videos, and quick tutorials. I also wanted to find out whether a free mobile-friendly editor could handle gaming content well enough for regular uploads.
One of the first things I noticed was how many useful tools were included for free. Even though the timeline was a simple free video editor for YouTube, it had everything I needed for editing YouTube videos, including automatic captions, transitions, speed controls, filters, effects, stickers, and audio tools.
The auto-caption feature was especially helpful because it saved me from adding subtitles by hand. For gaming clips where the first few seconds are important, being able to quickly add text and effects made editing much faster.
I also used CapCut to create more engaging videos instead of just trimming clips. I tested keyframes, zoom effects, background removal, and beat sync to make my gameplay highlights more dynamic. The templates were useful when I wanted to finish a video quickly, but I preferred making my own edits because many templates have a similar style. Overall, the free version of this video editing software for gaming clips gave me enough tools for most of my social media content.
For quick gaming videos, CapCut became one of the editors I used most often. I could turn gameplay clips into Shorts or social media posts without spending much time on editing. While it doesn't offer the same depth as professional editing software, it has all the tools I need for fast, everyday content.
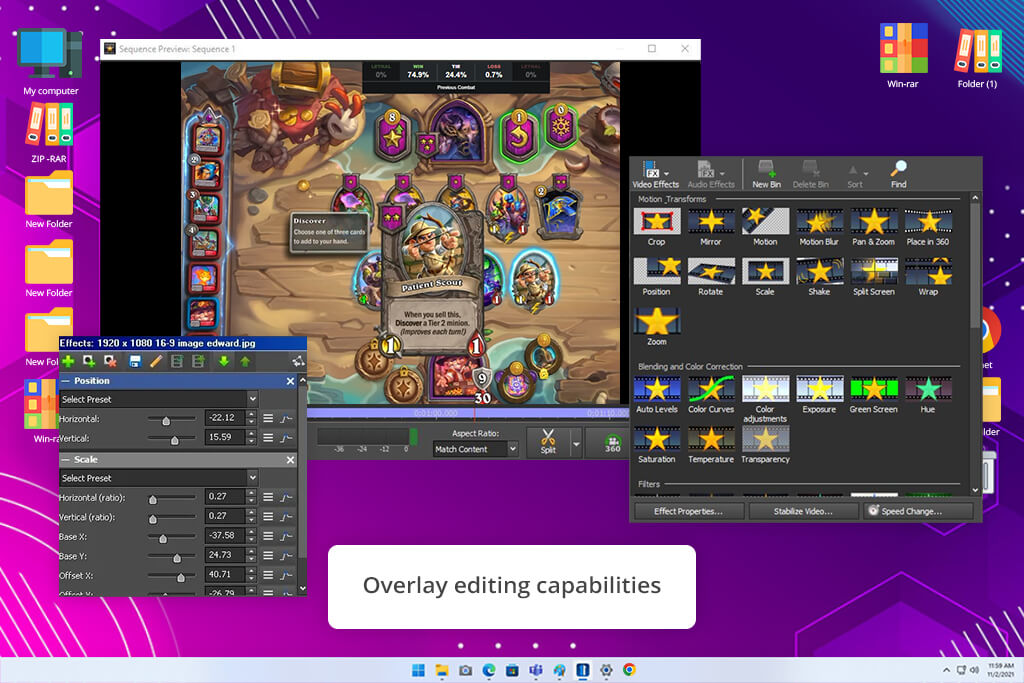
I decided to try VideoPad because I wanted to see if a lightweight free editor could handle my gaming videos. I was looking for something simpler than professional editing software, but with more features than a basic video cutter, so I tested it on a few gameplay projects.
I tested it on gameplay montages, commentary videos, and short highlight clips to see how it handled different types of gaming content. I wanted to know if it had the tools I needed while still keeping the editing process simple and easy to follow.
One of the first things I noticed was how easy the interface was to use. I imported my gameplay recordings, arranged clips on the timeline, adjusted audio, and started editing almost immediately. I also tried transitions, text overlays, video effects, color correction, and audio tools. For regular gaming videos, it had everything I needed for basic editing.
“I wanted a simple video editing software for gaming montages, and it did the job well. It wasn't packed with advanced features, but it made it easy to trim clips, add text, and use transitions without any hassle.”

I also tested a few features that helped improve my gaming videos. I added captions, used slow-motion effects, changed playback speed, and created simple intros. The built-in effects were good enough for everyday editing, even though they weren't as advanced as those in professional editors. Exporting was quick and easy, and I had no trouble saving videos in formats ready for YouTube.
After editing with VideoPad, I see it as a good fit for anyone who wants a simple way to make gaming videos. It won't replace high-end software like DaVinci Resolve or Premiere Pro, but it's much easier to get started with. For recording gameplay, adding voiceovers, and putting together videos for YouTube, it offers enough tools without making the editing process difficult.
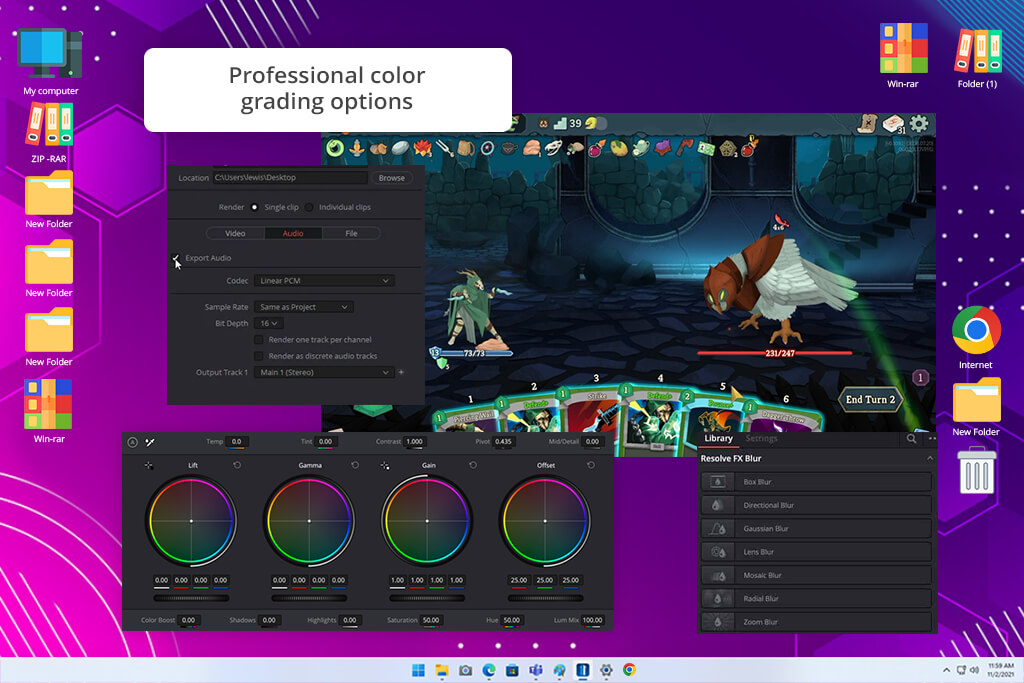
I wanted to find out if DaVinci Resolve could replace the paid editor I normally use for gaming videos. My projects often include long recordings, voiceovers, music, and lots of small changes, so I needed software that could keep up. To test it properly, I edited several gameplay videos with highlights, commentary, background music, and color grading. I also wanted to see if the free version was enough to produce polished, high-quality results.
What impressed me most was how many professional tools were available for free. I could use a full editing timeline, advanced audio features in Fairlight, and powerful color grading tools in the Color page without paying anything. I also tried keyframes, transitions, multicam editing, subtitles, and different export options to see what the software could do. It felt much closer to professional color grading software than I expected from a free editor.
I also spent time testing the features that matter most for gaming videos. I used the Fusion page to create visual effects, while Fairlight made it easy to balance gameplay audio, voice commentary, and music. I edited a few larger projects with long recordings as well, and performance depended a lot on my computer's hardware. It definitely took more time to learn than simpler editors, but the amount of control was worth it.
After spending time with DaVinci Resolve, I can see why so many creators recommend it. It takes longer to learn than most free video editing software for gaming, but it offers almost everything I need to make high-quality gaming videos. It's the kind of software I can keep using as my editing skills improve, without needing to switch to another editor anytime soon.
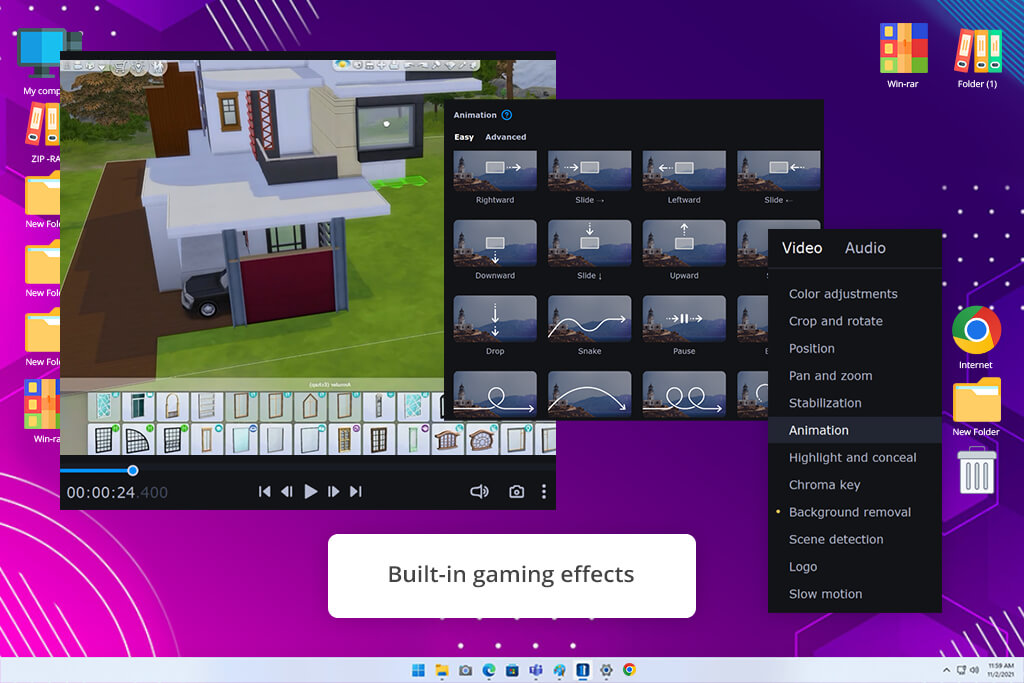
I decided to try Movavi because I wanted an editor that could make my gaming videos look polished without being difficult to learn.
Since I usually edit gameplay soon after recording, I was looking for something fast and easy to use. I tested the free version by creating gameplay highlights, adding effects, and editing different types of gaming footage to see how well it handled everyday projects.
One of the first things I noticed was how easy the interface was to use. The layout was clear, so I could quickly find the tools I needed without searching through menus. I tested trimming, transitions, titles, filters, audio controls, and the built-in screen recorder. Compared to professional editors, it felt much easier to learn and use.
“I liked how quickly I could turn my gameplay recordings into finished videos. It was easy to use and worked well for basic editing, but after a while I wanted more advanced features.”

I also tried some of Movavi's AI and automation features to see if they could speed up my editing. Features like background removal, noise reduction, and automatic adjustments helped clean up my videos with very little effort. I especially liked how quickly I could improve my gameplay recordings before uploading them to YouTube.
The only downside was the free version, which comes with export limits and other restrictions. It was enough to test the software and create a few projects, but I would need the paid version for regular use.
After using Movavi, I think it's a good video editing software for gaming for beginners as it has a low learning curve. It doesn't have as many advanced features as professional editors, but it makes creating polished videos quick and easy. If convenience is more important than detailed customization, it's a solid place to start.
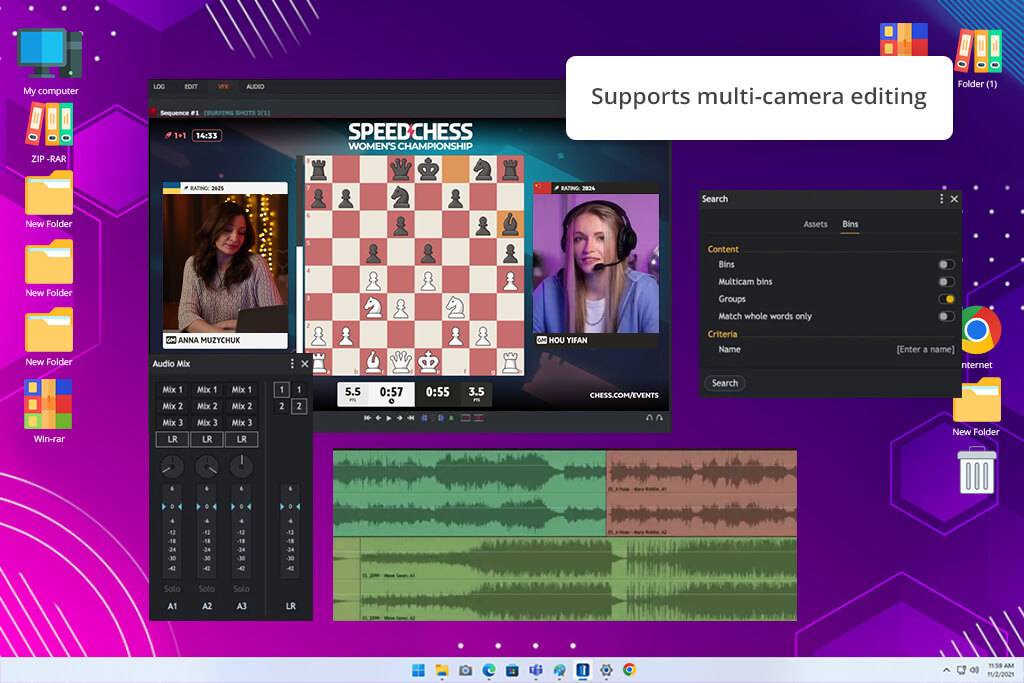
I decided to try Lightworks because I wanted to see how a free editor with a professional background would handle my gaming videos. My projects usually include gameplay footage, voice commentary, music, and effects, so I needed something that could manage more than simple edits. To test it, I created several gameplay videos and explored the timeline, audio tools, effects, and export features available in the free version.
Lightworks felt different from the beginner-friendly editors I had used before. The interface was more focused on professional editing, so it took me a little time to get used to it. Once I learned my way around, I found the timeline useful for working with multiple tracks and making precise edits. I also tested transitions, text, audio controls, and clip management to see how well they worked for my gaming videos.
To see how it would fit into my usual workflow, I edited long gameplay recordings, put together highlight videos, and prepared clips for social media. The free version included most of the editing tools I needed, but the export options were more limited than in some other free video editing software for gaming. Since I care about the quality of my uploads, that was one of the main limitations I noticed.
After using Lightworks, I think it's a good choice for anyone who wants more control over the editing process. It takes longer to learn than editors like CapCut or VideoPad, but it offers a more professional workflow. If you're willing to spend some time getting used to it, the free version gives you everything you need to create high-quality gaming videos.
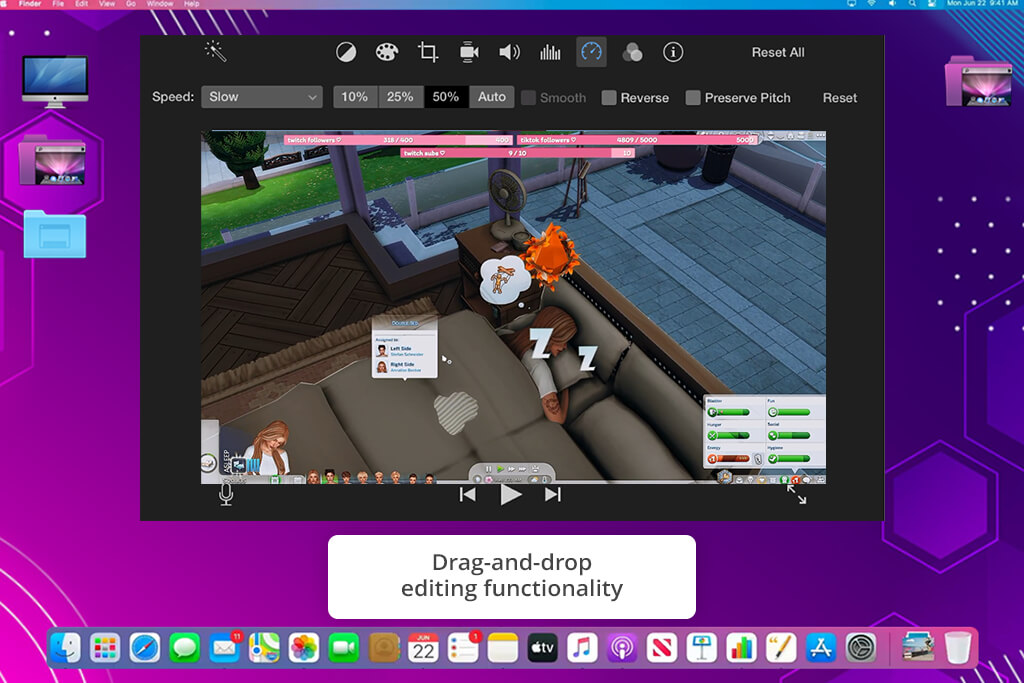
One of the first things I noticed was how easy iMovie was to use. As free video cropping software, it made it simple to crop gameplay clips, trim unwanted parts, add music, insert titles, and finish a video without any trouble.
I also tested transitions, audio controls, color correction, speed changes, and the built-in templates. For quick gaming videos, the editing process felt simple and much easier to learn than professional software.
I usually edit gameplay recordings, highlight videos, and short clips for social media, so I wanted to see if iMovie could keep up with my workflow. I tested it with gameplay footage, voice commentary, and short montages to find out whether this free video cropping software could do more than basic edits. I was pleasantly surprised by how easily it produced clean, polished videos.
I liked how quickly I could start editing. I imported my gameplay clips, trimmed unnecessary parts, added music, inserted titles, and finished a video without spending much time learning the program. I also tested transitions, audio controls, color correction, speed changes, and the built-in templates. For quick gaming videos, the workflow felt smooth and much easier than professional editing software.
I found iMovie very easy to learn. Within a few minutes, I was arranging gameplay clips, cutting out unnecessary moments, adding music, titles, and finishing videos. I also explored transitions, audio editing, color correction, speed controls, and the built-in templates. It handled quick gaming edits well and felt much more approachable than most professional editors.
“I liked how easy it was to edit my gaming videos. I could cut clips, add music, and finish a video in just a few minutes. Later, I started wanting more editing features.”

I also used iMovie to create more creative gaming videos. I added slow-motion effects to action scenes, adjusted colors, and used animated titles for intros and commentary. The Magic Movie and storyboard tools helped speed up the editing process, although they offered less control than professional editors. I also noticed that larger 4K projects could slow down on older Macs.
After spending time with iMovie, I think it's one of the best free video editing software for gaming on Mac users who edit gaming videos. While it doesn't have the advanced features of DaVinci Resolve, it includes everything I need for quick, everyday editing. I'd use it for gameplay highlights, short montages, and social media clips whenever I want to finish a video fast without dealing with a complicated editor.
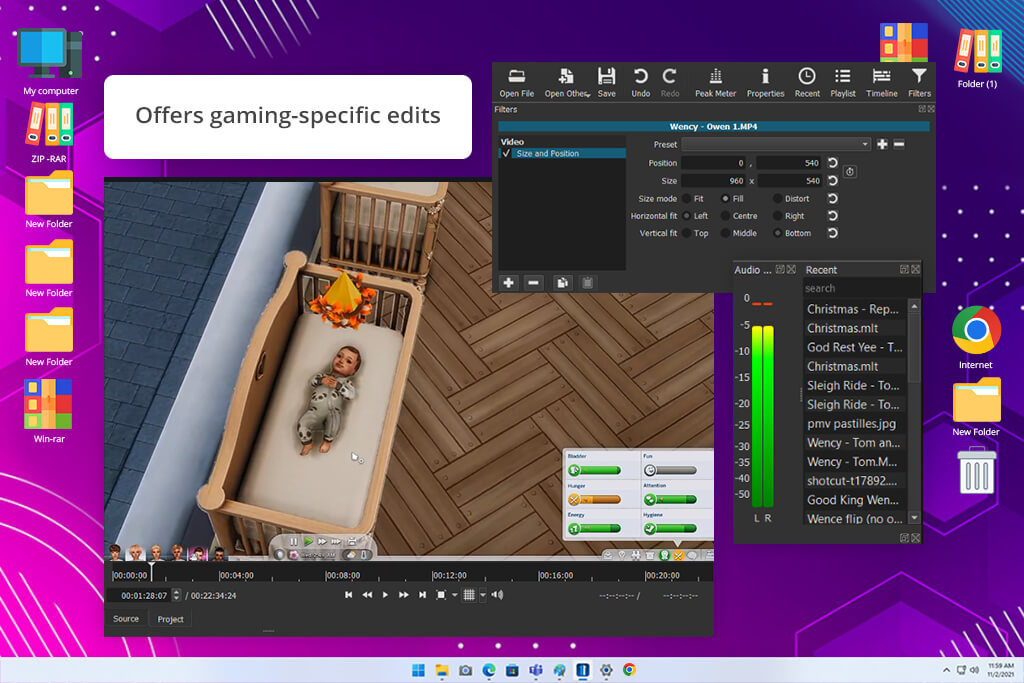
I decided to try Shotcut because I wanted a completely free editor with no watermarks or paid restrictions. Since many free programs limit exports or lock important features, I was curious to see how an open-source editor would perform. I tested it on several gameplay projects with highlights, voice commentary, music, and effects to find out if it had everything I needed for regular gaming videos.
Shotcut took a little time to get used to because its design is more functional than modern. After learning where everything was, editing became much more comfortable. It had everything I needed for both basic and intermediate editing, including support for multiple video and audio tracks, transitions, filters, text, and audio controls. The best part was that all of these tools were included at no cost.
I also spent time testing Shotcut with gaming-specific edits. I mixed gameplay audio with commentary, adjusted sound levels, applied color filters, and experimented with effects to make my highlight clips more engaging. The filter system gave me plenty of control over the final look instead of relying only on preset effects. I also liked that Shotcut supports many video formats, so importing different gameplay recordings was quick and easy.
After using Shotcut, I think it's one of the best free editing software for gaming for anyone who wants full control without paying for a subscription. The interface isn't the most modern, but it has all the tools I need to edit gaming videos. When I want to work without watermarks, export limits, or locked features, Shotcut is an editor I can rely on.
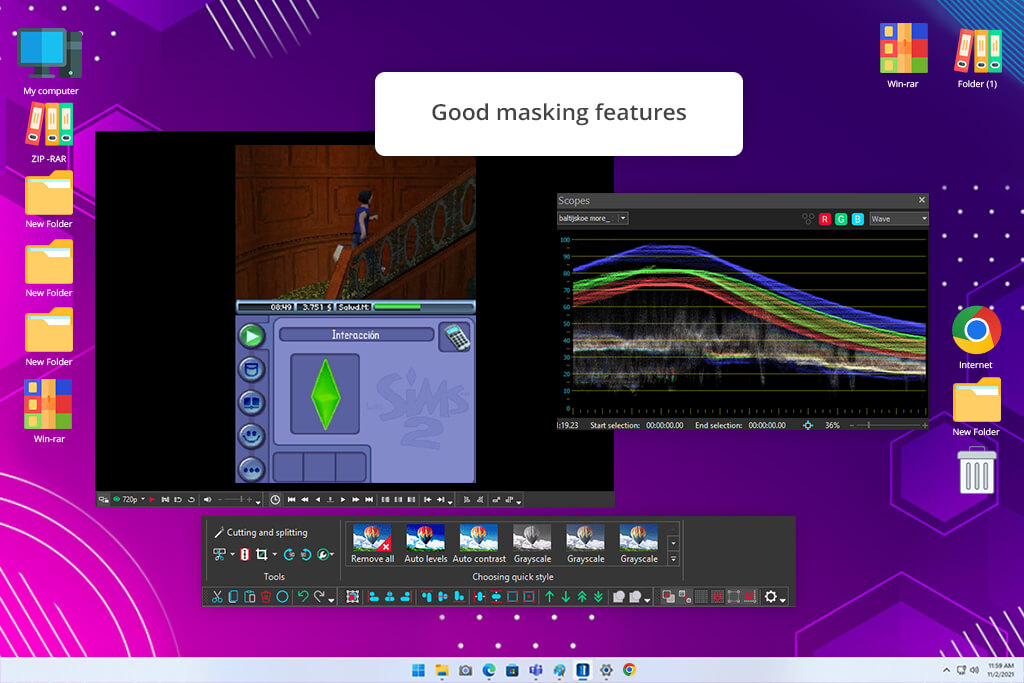
I tried VSDC because I wanted to see if it could handle more advanced gaming projects without needing a powerful computer. My videos often include gameplay footage, a facecam, voiceovers, and different effects, so I needed more than a basic editor. I edited several projects to see how easy it was to work with clips, add effects, and prepare videos for YouTube. I also wanted to find out what the free version could do without requiring an upgrade.
I was surprised by how many tools VSDC includes for free. I tried multitrack editing, transitions, color correction, audio controls, text, and visual effects to see how they worked with my gameplay videos. The timeline gave me plenty of freedom to arrange everything the way I wanted. The interface took a little time to learn, but once I got used to it, editing became much easier.
“I liked that it ran smoothly on my older PC while still offering plenty of editing tools. It felt powerful for a free editor, although it sometimes took me a while to find the settings I needed.”

I also tested VSDC with gaming-specific edits. I used motion tracking, masking tools, and different visual effects to make my highlight videos more dynamic. The built-in screen recorder was useful because I could capture and edit gameplay in the same program. Another thing I liked was how smoothly it ran, even on my mid-range PC.
After using VSDC, I think it's one of the best free editing software for gaming for those who want more editing control. It takes a little time to learn, but the free version includes far more tools than I expected. I'd use it for gameplay videos with multiple layers, effects, and more detailed edits without needing to switch to paid software.
Together with Tani Adams, Ann Young, and Julia Newman, I tested each free editor using the same workflow to keep the comparison consistent. We focused on real gaming projects, including gameplay recordings, highlight videos, and content for YouTube and social media, rather than relying on short sample clips.
Following our testing process, we edited different types of gaming content, including long 1080p and 4K gameplay recordings, multiplayer highlights, commentary videos, and short vertical clips for YouTube Shorts and TikTok. This helped us evaluate how each editor performed in real editing situations.
We also tested how well each editor handled large video files in different video formats, how easy it was to find and trim important gameplay moments, and whether the free version included enough features to complete an entire editing project without upgrading.
For every editor, we completed the same editing tasks, including removing unnecessary gameplay sections, syncing voice commentary, adding subtitles, creating transitions, applying effects, and exporting the finished videos.
Tani Adams focused on performance and everyday use. She checked how quickly each software opened projects, handled long gameplay recordings, and responded while editing on the timeline. She also tested multitrack editing, hardware acceleration, playback smoothness, and export speed using the same gameplay files in every program.
Ann Young focused on the creative tools used in gaming videos, including captions, keyframes, motion effects, audio controls, overlays, and transitions commonly found in advanced free VFX software. Julia Newman evaluated the free version of each editor, comparing watermarks, locked features, export limits, and how easy each program was to learn.
Our testing showed that having the most features doesn't automatically make an editor the best choice. The strongest free video editing software for gaming combined reliable performance, useful editing tools, and an easy workflow. Depending on the project, some were better for fast gameplay highlights and social media content, while others handled longer videos with multiple tracks and more advanced effects much better.
Instead of comparing feature lists alone, we based our final picks on real editing projects that turned raw gameplay recordings into finished videos. This made it easier to identify which free video editors are the most practical for gaming creators, whether they're just starting out or already have editing experience.