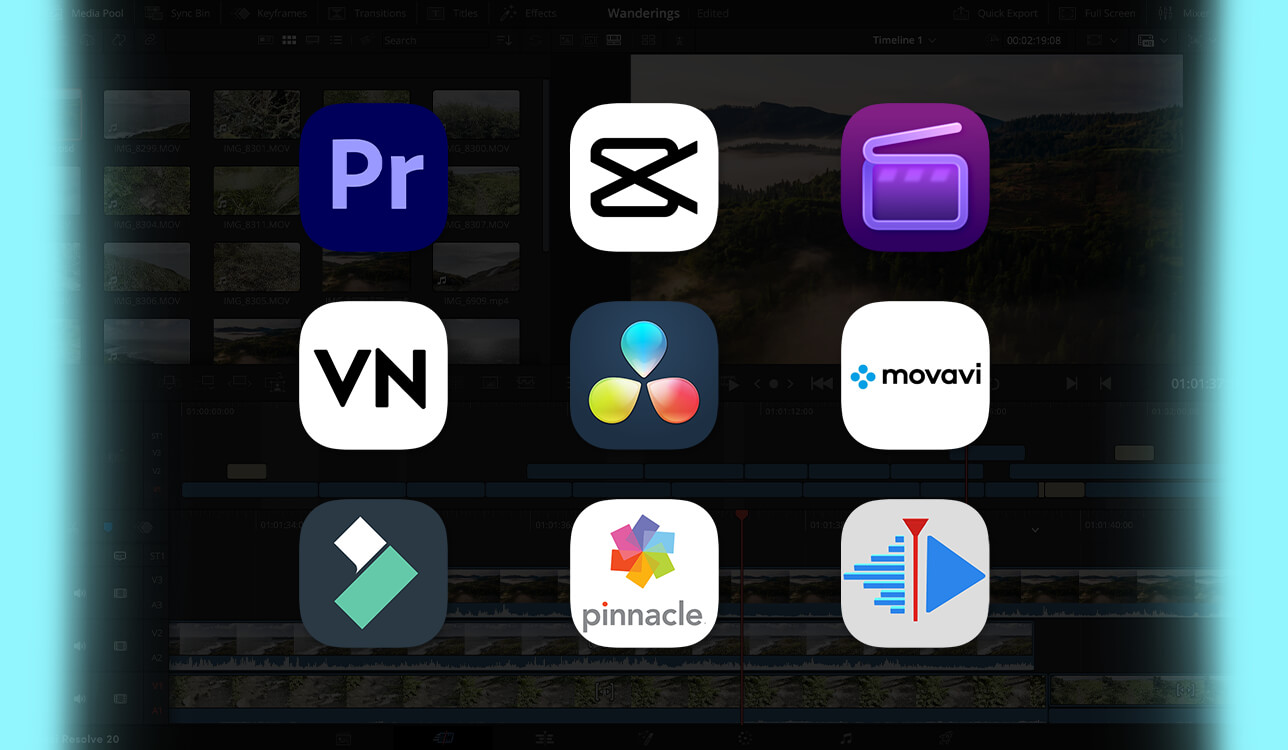
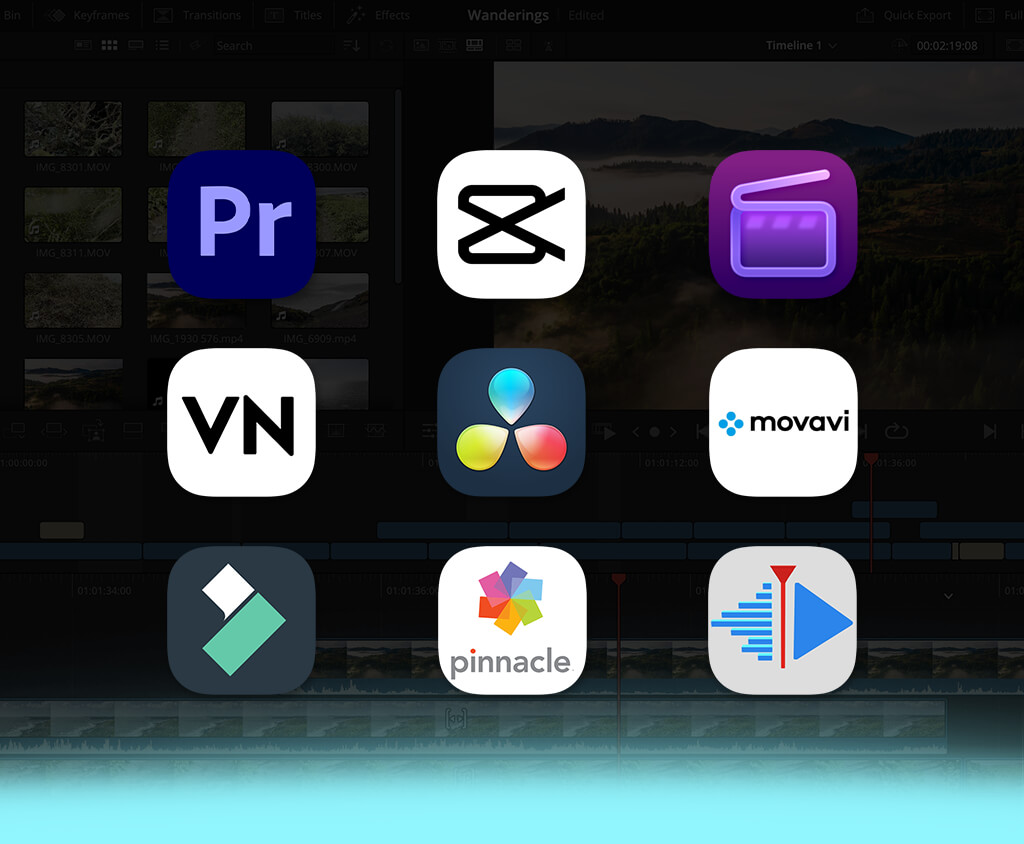
When FixThePhoto began taking on heavier video projects, our usual editor couldn’t cope with the load. Handling giant 4K files, multiple timelines, and complex cuts turned daily editing into a frustrating crawl. We clearly needed an upgrade, but the market was flooded with options pushing long lists of flashy features.
We didn't care about extra fluff. We needed the best 4K video editor that could support real-world demands. Our priorities were buttery-smooth 4K playback, rock-solid stability during long sessions, and swift export speeds. With a proper tool that could keep pace with our daily workflow, it would be easier to transform ambitious concepts into top-notch final cuts.
To keep our signature look sharp, top-tier color grading was non-negotiable. But that was just the start. We also needed crisp audio tools, multicamera switching, rich effects, and versatile export formats. Since our team makes everything from high-end client deliverables to punchy social clips, a 4K video editor had to flex across every platform.
Speed, cost, and sensible hardware requirements were equally crucial. Nobody has time for a long study phase or a multi-thousand-dollar rig just to slice through 4K footage. I needed a powerful editor that simplified our hustle rather than stalling it.
Since I don't work alone, I tapped the collective brainpower of my FixThePhoto team. Together, we brainstormed the top-rated 4K editing suites, mapped out our core benchmarks, and meticulously evaluated each contender.
4K video packs four times the pixels of standard 1080p, handing desktop editors incredible clarity and creative freedom. But for creators, that extra pixel density isn't just about pixel-peeping. It completely reshapes how you edit:
4K gives our FixThePhoto team room to maneuver. Even with 1080p client deliverables, those extra pixels let us stabilize shaky takes, zoom in, and tweak framing on the fly, keeping every final export razor-sharp.
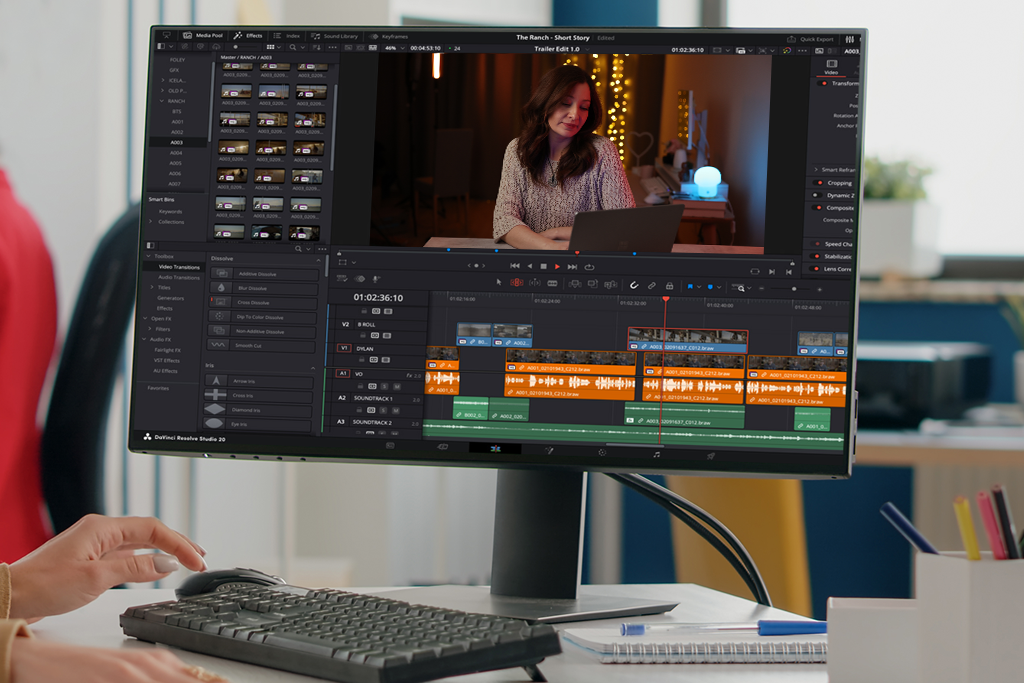
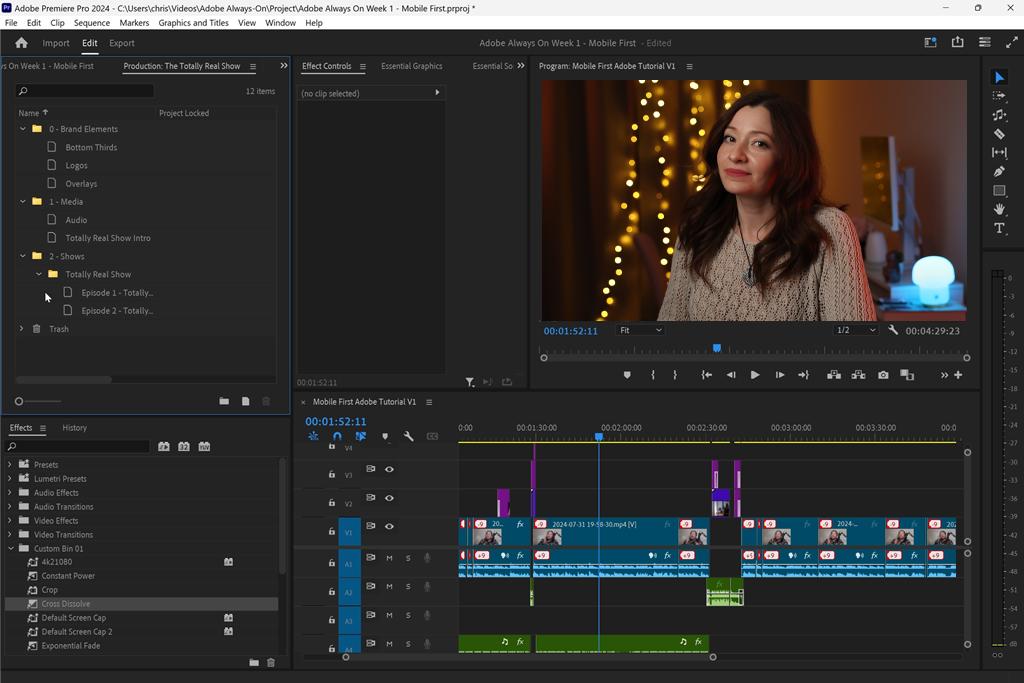
To test the true capabilities of Adobe Premiere Pro, I skipped basic export checks and dove straight into a complex FixThePhoto workflow. I loaded the timeline with raw 4K clips from multiple cameras, then stacked on B-roll, audio tracks, color grades, and heavy adjustment layers to see if performance would choke under pressure.
Instead, the workflow stayed surprisingly fluid. The Mercury Playback Engine offloads GPU-heavy tasks like image scaling and color conversion so scrubbing stays lag-free. That level of real-time responsiveness comes at a cost, though. Adobe suggests sticking to a graphics card with at least 6 GB of VRAM if you want to edit 4K without annoying playback stutters.
Premiere impressed me with the total control. I could tweak colors down to the precise shade, layer effects, fine-tune transitions, and tweak export settings without limitations.
The real highlight is Premiere’s AI Object Masking. It tracks moving people and objects automatically, so I don’t need to manually draw masks frame by frame. Plus, Adobe cranked up GPU acceleration for heavy 4:2:2 footage. That means silk-smooth playback when I'm pushing color grading and keying to the max, without my laptop sounding like a jet engine taking off.
“It’s basically my go-to for my long-form 4K YouTube videos now. I was a bit overwhelmed by it at first lol, but after grinding through a couple of edits, the timeline clicked and my speed picked way up. At this point, I can’t see myself editing big projects anywhere else.”

Handling client work with multiple camera angles used to be a problem, but Premiere's multicamera workflow changes the game. I can sync every shot, cut between angles live, and refine the edit in one place.
When big 4K files start to lag my timeline, I don't panic. I just flip on Premiere's proxy workflow. It creates lightweight copies to keep editing lag-free without losing the original high-res media. For tight deadlines at FixThePhoto, Adobe Premiere Pro turned out to be the best video editor for 4K in terms of speed, flexibility, and quality of results.
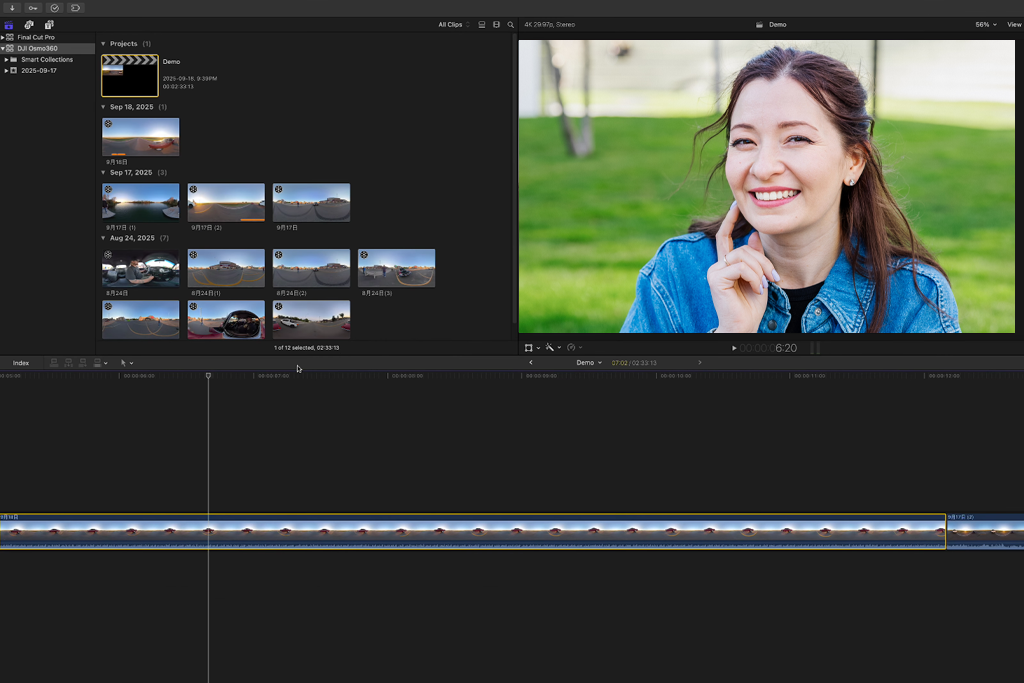
Testing Final Cut Pro on a Mac was a fascinating experience, mostly thanks to its Magnetic Timeline. Instead of wrestling with a traditional stack of tracks, you build a main storyline and anchor your B-roll, titles, and audio directly to it. Move a primary clip, and everything attached shifts with it automatically without gaps or destroyed audio sync. This is a great approach when you restructure a complex 4K client edit.
Handling multi-cam setups for FixThePhoto projects was just as slick. Final Cut instantly groups footage using timecode, creation dates, or audio sync to build unified multicam clips. From there, the Angle Viewer lets you watch every camera angle play back in real-time and jump between them on the fly with simple clicks. Switching angles is no longer tedious technical labor. It becomes more like live-directing your own show.
I like that users can split video and audio decisions on the fly. I could swap out camera angles while keeping the cleanest dialogue track intact, without handling audio cleanup every time I tweaked a shot.
When it came time to deliver, Final Cut Pro handled 4K exports well. Whether sending files to clients, social platforms, or specific Apple devices, the built-in presets, plus custom H.264 options, covered every base.
Native support for ProRes media also meant zero friction in a Mac-based setup. If you have projects that need a razor-sharp, polished look and don’t want to spend hours wrestling with technical export settings, Final Cut Pro can be a perfect 4K video editing app for you.
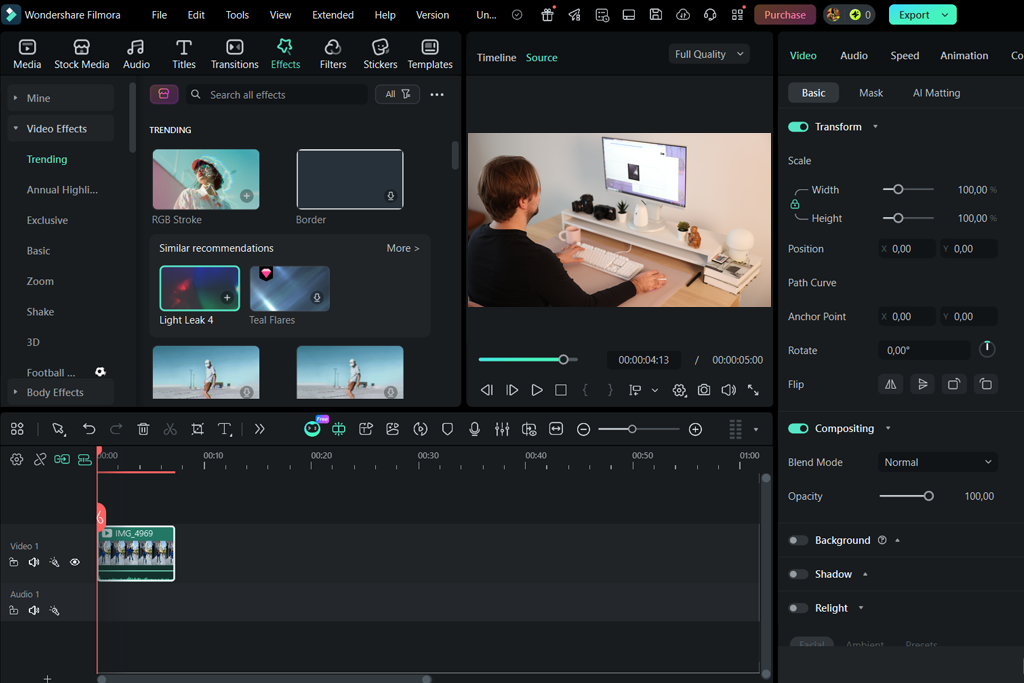
Can you tackle a heavy 4K edit without your software chugging to a halt? That’s what I set out to test with Wondershare Filmora. I loaded down a multi-layer timeline with crisp, high-res footage, stacked on titles, and pushed the effects hard.
Proxy editing is a bragging point of this 4K video editor for PC. Filmora creates lightweight, temporary copies of your heavy files while you edit, then swaps back to full 4K when you export. Thus, your workflow stays snappy while the quality of edited videos is on point.
For client projects that need a quick turnaround without a nightmare post-production pipeline, Filmora is a wonderful option. Trimming clips, adding sleek transitions, and dropping in titles is easy. It proves you don't need a convoluted setup to deliver clean, professional video.
“I wasn't in the mood to spend weeks figuring out a complex editor, so I opted for a more straightforward option. I can just drag in my 4K video, add some music and effects, do a quick polish, and move on. It handles everything I need fast.”

When working on FixThePhoto projects, speed is everything. Filmora lets me jump straight from raw footage to a polished draft without wasting hours configuring complex settings. Plus, it has enough advanced tools under the hood so you don't feel boxed in like you would with basic beginner software.
My biggest question during testing was – “Does convenience compromise 4K quality?” The answer is a clear no. By using proxy files strictly as working substitutes, you get a timeline while preserving pristine high-res footage for the final render.
It handles everyday color tweaks, audio layering, and exports with total ease. Now, if a project demands ultra-deep color grading or intricate node setups, I’ll still reach for a specialized heavy-hitter like DaVinci Resolve. But for reliable, fast-paced client edits, Filmora gets the job done.

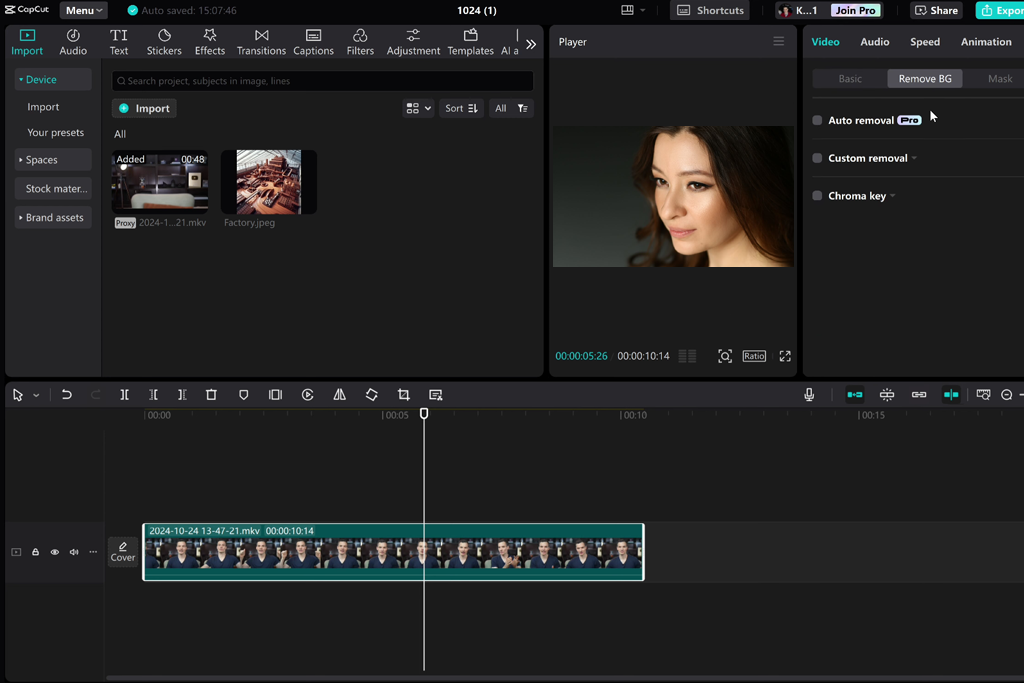
I used to write off CapCut as just a quick tool for TikToks, not a serious 4K video editor. I should admit I was wrong. To understand its capabilities, I imported heavy, high-res footage into CapCut Desktop and ran it through a full-blown timeline test, stacking elements, transitions, and effects just like I would in traditional desktop software.
The big surprise is that this lightweight video editor handles 4K exports up to 3840×2160 at 60 fps, provided your machine can back it up. That instantly turned it into a legitimate candidate for our FixThePhoto workflow.
The speed is awesome. You can assemble clips, lay down text, drop in background music, and apply slick visual effects in minutes without complex node trees or intimidating menus required. It’s light, fast, and remarkably capable.
When churnouts are tight for social campaigns or promo spots, speed is paramount. Being able to run CapCut with a proper desktop workflow instead of squinting at a phone screen makes editing 4K footage much easier.
However, keep an eye on the technical fine print. CapCut’s 4K capabilities aren't identical on every device. Resolution and frame-rate options depend heavily on your operating system, hardware, and app version.
While CapCut Desktop gave me a solid, reliable 4K workflow, mobile performance was much more unpredictable. My rule of thumb for client work is to double-check target hardware and export settings before promising a final 4K deliverable.
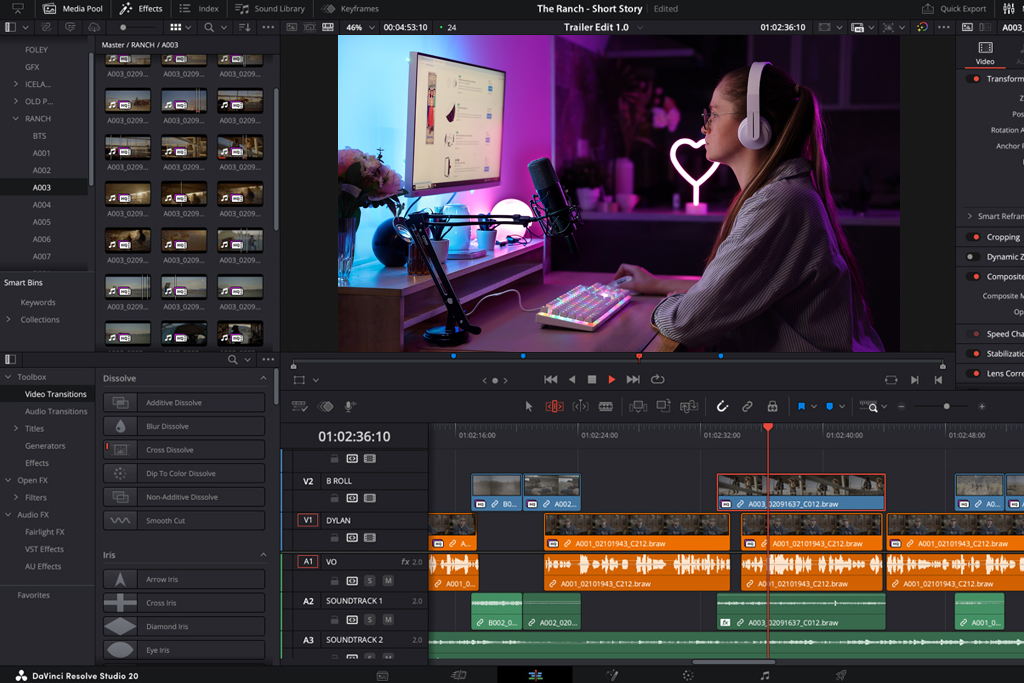
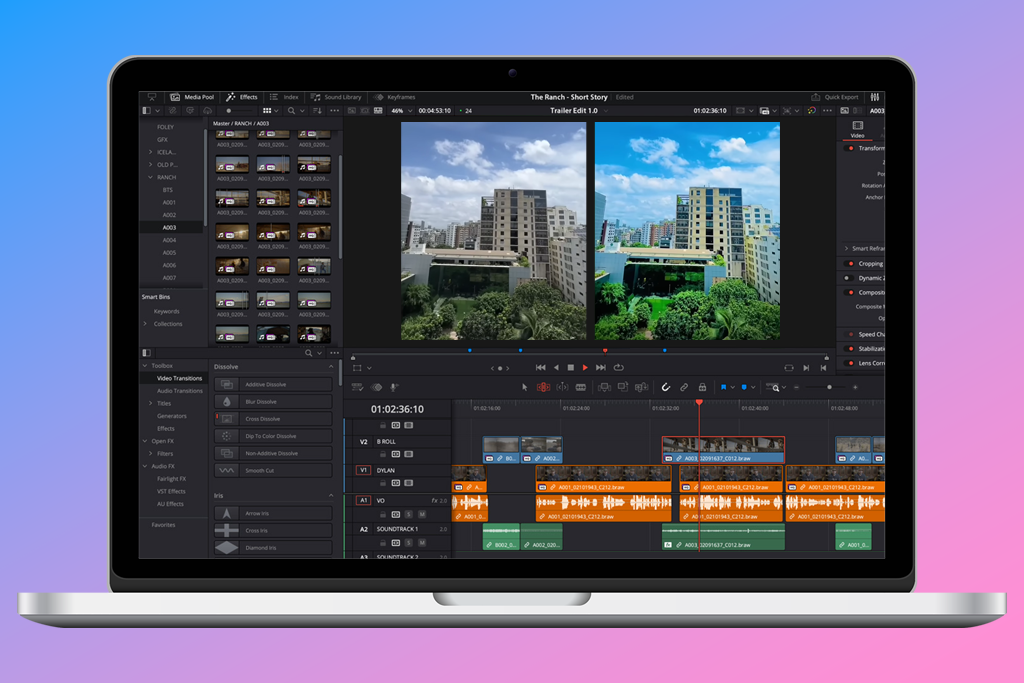
When top-tier image quality is the goal, DaVinci Resolve is perfect video editing software for Mac and Windows. I brought in mixed 4K camera footage to see how I could match exposure, achieve a unified look, and run a full post-production workflow without ever leaving the application.
Here is why Resolve stands out. It doesn’t just apply cheap video filters. It’s a world-class color correction and grading suite at its core. For our FixThePhoto work, where precise visual consistency across shots is crucial, it is nice to have control over those settings.
The tabbed workflow also deserves praise. You can slice clips on the Edit page, jump to the Color page to fix tricky shots, and head straight into Fairlight to fine-tune dialogue without messy file transfers. This 4K video editor for Mac and Windows users keeps your entire production in one place.
“I originally picked it up just to push the colors on my 4K video a bit further. The layout was overwhelming early on. But as soon as the controls clicked for me, the resulting footage became incredible.”

Fairlight turns sound design into a first-class citizen rather than a last-minute afterthought. With dedicated tools tailored for high-end film and TV projects, you can sculpt audio with incredible precision right inside your editor.
Still, Resolve doesn’t hand you success on a silver platter. That endless control comes with mastering and customization, and heavy 4K timelines will definitely stress-test your hardware. You’ll spend real time hunting down tools that simpler apps hide behind single buttons.
Is the trade-off worth it? Absolutely. When you need pristine skin tones, flawless camera matching, and true cinematic color grading, nothing else comes close.
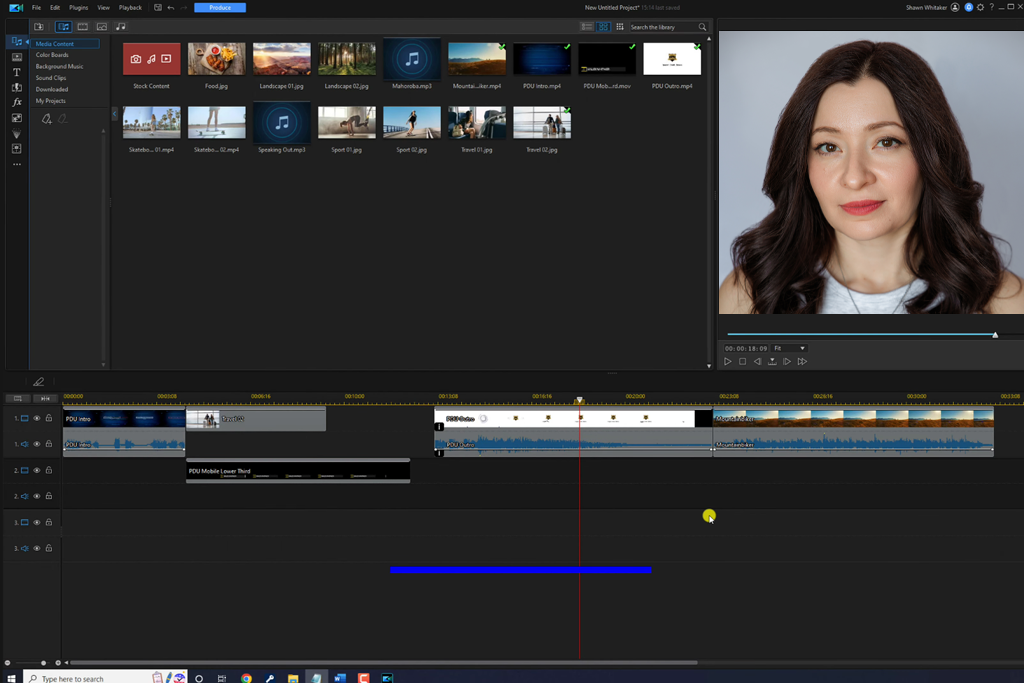
PowerDirector surprised me during testing. It sits in between beginner-friendly editing and high-end professional tools. To test it out, I stuck to a typical FixThePhoto workflow, organizing 4K clips, building a clean narrative timeline, tossing in effects and audio cleanup, and rendering.
The multitrack timeline offers plenty of depth for complex edits, yet the interface stays surprisingly clean and intuitive compared to notoriously clunky pro suites.
Still, the most impressive feature of this 4K video editing software is its smart automation. CyberLink doesn’t apply generic filters. Its newest AI features save you serious groundwork. The AI Video Edit by Chat lets you simply describe the look or edit you want, while AI Storytelling helps map out a full video structure from raw clips in seconds. It saves a lot of time when you want to bypass tedious setup and jump straight into the creative process.
AI isn't ready to take over full client edits, but it’s a brilliant shortcut through tedious prep work. When you're drowning in footage, these smart features build a usable rough cut in minutes.
For my 4K test run, I wanted to see if the automated tools truly helped or just got in the way. My goal was to make clean cuts, dial in accurate color, and layer audio and video without running into restrictive timeline limits or needing third-party free audio editing software. PowerDirector passed with flying colors.
It hits the mark best on high-turnaround projects where speed and polish matter more than spending hours constructing an overly complex post-production setup. If you need to deliver eye-catching promo content or social clips under tight deadlines, it’s an amazingly efficient tool to have in your arsenal.
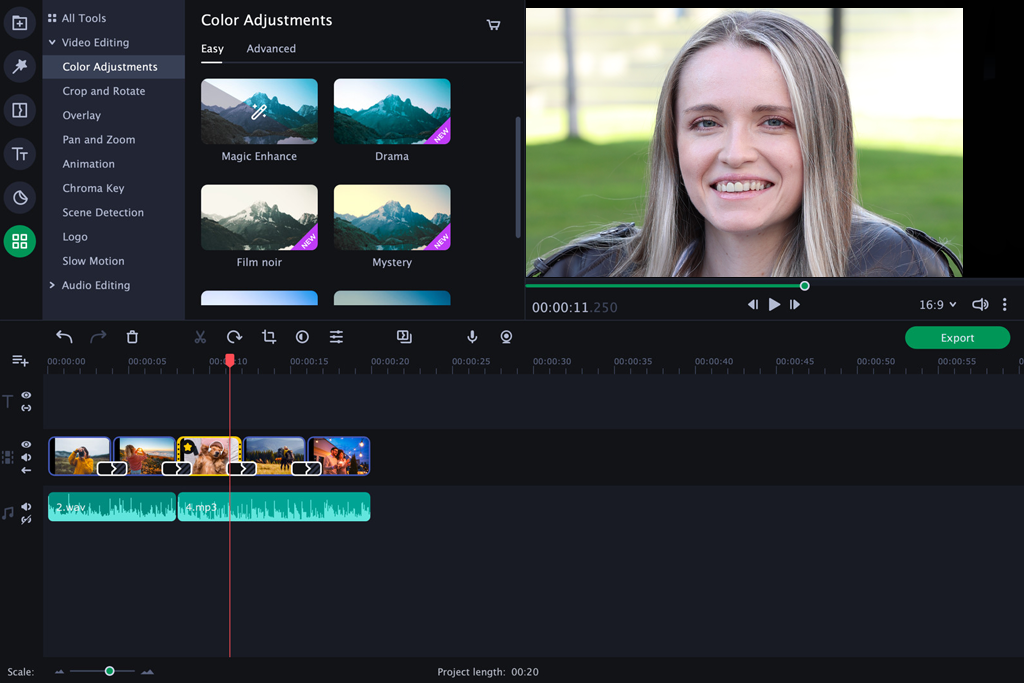
If you've ever felt like video editing software requires a computer science degree just to trim a clip, you’re not alone. When I opened Movavi, the first thing I noticed was an intuitive and well-thought-out design.
I added heavy 4K footage straight to the multi-track timeline, both standard UHD (3840×2160) and Cinema 4K (4096×2160). Normally, stacking multiple layers of B-roll, dialogue, music, and titles bogs down your system. But thanks to solid GPU acceleration, playback stayed completely smooth.
Without leaving the main window, I sliced up clips, dropped in transitions, dialed in quick exposure and color adjustments, and exported. I didn’t have to grasp cryptic technical jargon or wade through menus. This free 4K video editor offers a clean, intuitive layout that lets you focus on telling your story instead of wrestling with the software interface.
“I was just looking for a simple editor for home movies and holiday memories, not heavy production tools. This one copes with slicing footage, adjusting colors, layering music, and exporting without any extra hassle.”

If you’ve ever tried editing high-res footage on a laptop, you know the frustration when your system starts lagging. That’s where this free 360 video editing software surprised me.
By using proxy files, essentially lightweight stand-ins for heavy 4K clips, it handles demanding projects without breaking a sweat. Underneath its deceptively simple interface, this tool packs serious muscle.
The smart features save a lot of time. The built-in AI handles tedious chores like background removal, precise motion tracking, and automatic subtitles in seconds. When managing mixed promotional content, those minutes saved on every project quickly stack up.
Exporting is just as painless. You get modern codecs like H.264 and H.265 alongside ready-to-use 4K presets for YouTube, Vimeo, and smart TVs, ensuring your final render looks crisp anywhere.
It’s proof that high-end workflow shortcuts don't always require expensive software.
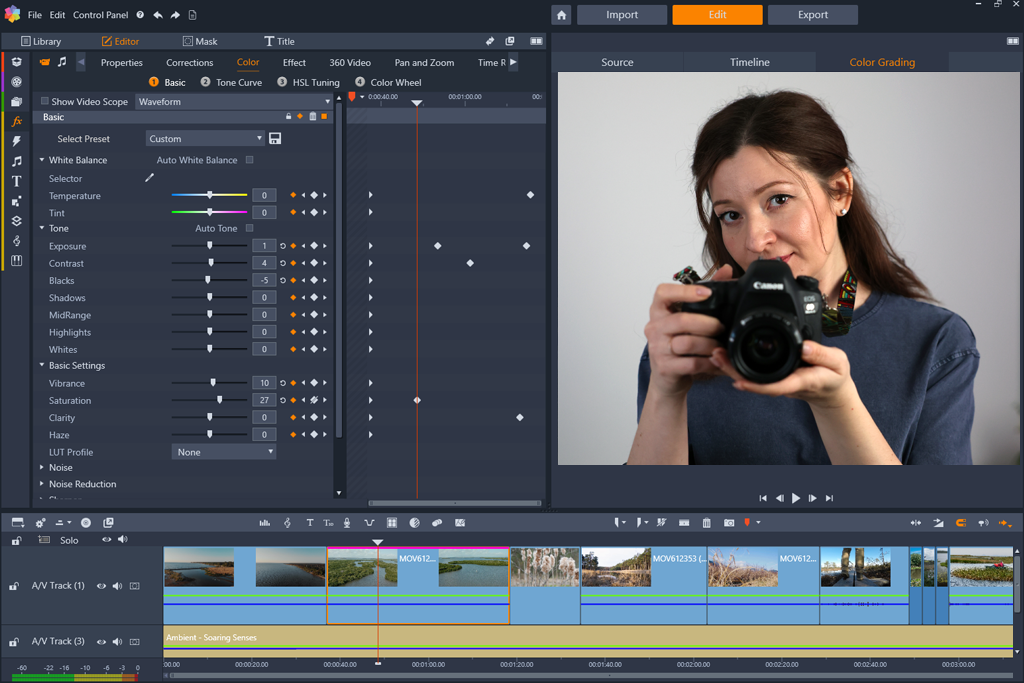
When you're ready to step up from beginner editors but aren't quite prepared for complex Hollywood software, Pinnacle Studio is the best 4K video editing software to try.
Testing a full project on its timeline made it clear that the creative freedom is incredible. You get unlimited video and audio tracks, full 4K support, advanced color grading, keyframe precision, and multi-camera editing.
My absolute favorite tool during testing was Video Masking. Rather than applying global tweaks to an entire frame, I could surgically isolate specific elements. It is possible to protect skin tones while shifting background colors, track and blur sensitive details, or build stunning custom visual layers. If you want fine-grained control over your cuts, audio, and visual effects without losing your sanity in a maze of menus, Pinnacle Studio Ultimate delivers in spades.
Using Motion Tracking, you can attach graphics to moving subjects, while the stabilization tools quickly rescue shaky handheld shots.
To really push this 4K editor to its limits, I tried multi-camera and split-screen features. The Ultimate version handles up to six camera angles alongside unlimited tracks and full color grading.
Whether you're cutting together multi-angle interviews, product demos, or live events, Pinnacle eliminates creative compromises. Instead of stripping down your ambitious vision to fit basic software limits, you get the firepower to edit the exact story you set out to tell.
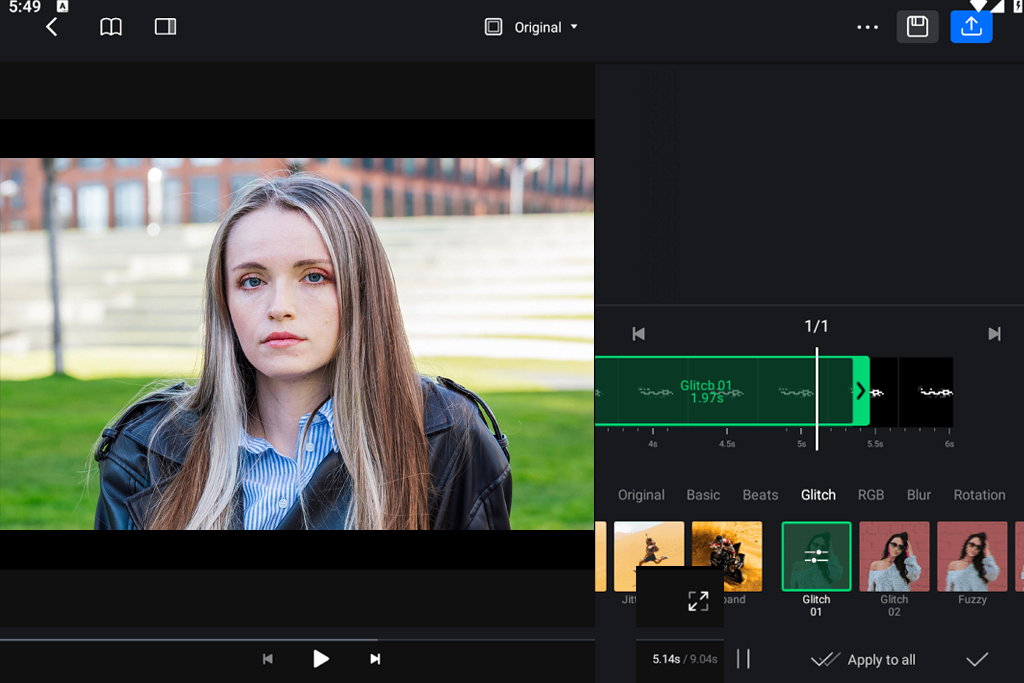
I spent a few days testing VN on an iPad with a simple question in mind: can a mobile app handle real 4K editing, or do you still need a full desktop setup? I approached this from a practical angle, because I frequently edit short promotional clips and social videos where speed, quick cuts, text overlays, and audio sync matter most.
The overall timeline layout in this video editing software for iPad is familiar and clean right away. You don’t have to fight through dense menus or sub-panels, which makes jumping into a new project easier than using traditional editing suites.
While working with high-resolution footage, I paid close attention to basic performance, namely, precise trimming, handling multiple video layers, adding clean titles, fitting music, and keeping the image sharp during export. VN handled the load well without lag or visual loss.
“As someone who relies on phone editing, seeing it handle heavy 4K files so easily was a pleasant surprise. It lets me assemble clips, format text, and layer music fast without the usual lag. It’s very powerful for a mobile setup.”

VN is a terrific 4K video editor for iPhone if you need to make short, fast-paced edits, as it doesn’t confuse you with the complicated color tools and deep audio menus found in traditional desktop editors. You can focus purely on pacing, layout, and quick cuts without getting bogged down by technical setup.
That simplicity has clear limits. I wouldn't use it for long, multi-layered 4K projects. When a job calls for multi-camera syncing, fine-tuned color grading, complex audio work, or heavy visual effects, a full-fledged desktop editing suite is still essential to get the job done right.
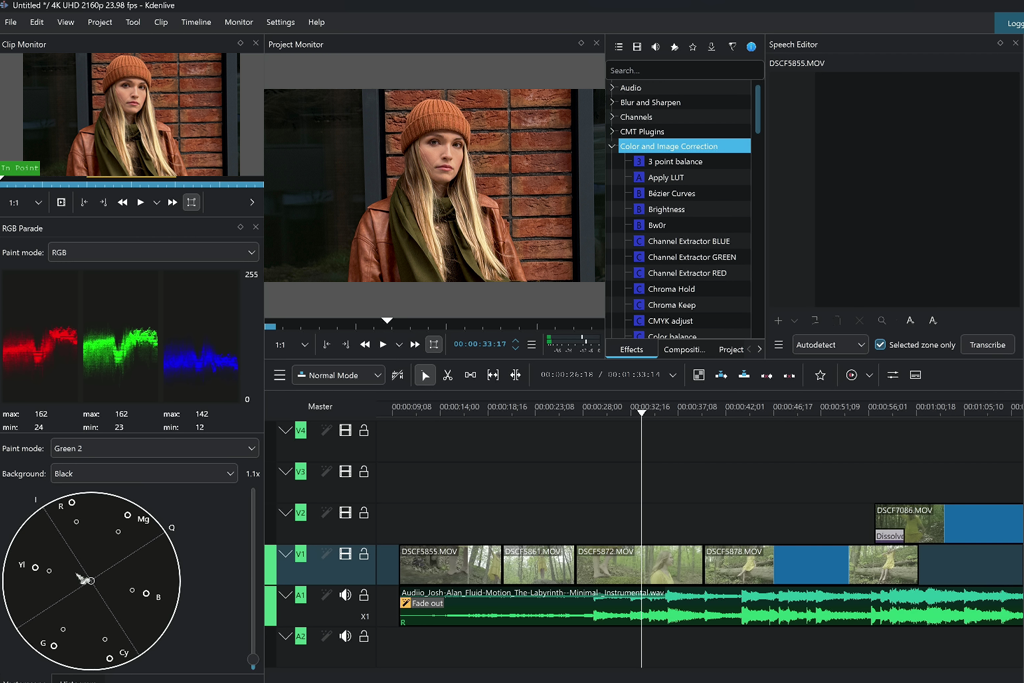
Kdenlive is a solid open source video editor if you want to edit 4K video without committing to another paid subscription. I tested it with several 4K clips, multiple audio and video tracks, and a timeline that became progressively more demanding.
I was very impressed by proxy editing. Instead of making my computer handle the full-resolution footage while editing, Kdenlive let me work with lighter proxy files and switch back to the original media for the final export. So, it became easier to work with heavier projects.
Rendering is also handled in the background, so I could keep editing while the project was being processed. The timeline offers plenty of freedom too, with virtually unlimited video and audio tracks, easy separation of audio and video, plus support for effects and transitions. For a free editor, Kdenlive gives you a surprising amount of room to experiment.
Kdenlive’s timeline turned out to be one of the most flexible parts of this 4K video editor for Android. I could add as many video and audio tracks as the project needed, separate audio from video, and build more complex sequences using layers, effects, and transitions.
I was also impressed by the keyframing options. Effects could be animated using either linear or smoother curves, giving me precise control over how changes developed over time. While testing Kdenlive for FixThePhoto, I used these tools to build a proper multi-layer project.
Another area worth exploring was workflow customization. Kdenlive lets you change keyboard shortcuts, toolbars, and interface layouts, which became especially useful during repetitive editing tasks. I could arrange the workspace around the way I typically work instead of adapting to a fixed setup.
The audio and video scopes were another useful addition. They provided objective visual information when adjusting footage, making Kdenlive feel more like a professional editing environment that could grow with my workflow.
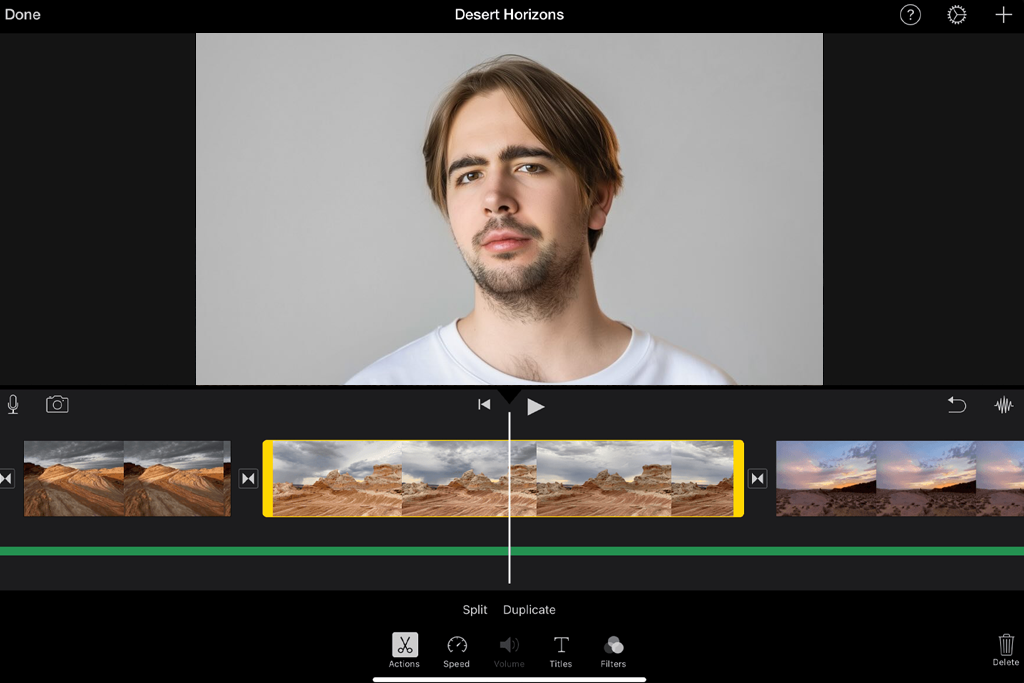
iMovie was one of the 4K video editors I tested specifically to see how far a simple interface could go with 4K footage. I brought in several high-resolution clips, cut them down, changed their order, added music and titles, and played around with the built-in effects. I also used the trailer templates to see how well iMovie works as a quick movie trailer maker.
The results were better than I expected. iMovie supports 4K projects and can handle ProRes footage, so it isn't limited to basic HD editing despite its beginner-oriented design.
For a short FixThePhoto promotional video, I preferred the simplicity. There was no need to dig through complicated menus just to make basic adjustments. I could cut clips, add transitions, fine-tune audio, change playback speed, and create picture-in-picture or split-screen compositions quickly. For straightforward 4K projects, iMovie keeps the editing process intuitive.
“It handles my basic 4K editing needs without turning a simple project into a chore. Dragging media into place and adding a track is as far as I usually need to go, and its stripped-down approach is exactly why it works for me.”

Magic Movie and Storyboards were probably the most convenient iMovie features I tested. Instead of arranging every clip myself, I could select the footage and let iMovie help shape it into a finished-looking project. This works especially well when I care more about the final result than having complete control over every edit.
I also looked at how well iMovie preserves the quality of 4K footage. The built-in filters make it easy to give clips a different look, while ProRes support is a useful addition for Apple users working with high-quality source material.
The limitations became more obvious when I moved beyond basic editing. iMovie doesn't offer proper control for multicamera projects, detailed color correction, or advanced audio work. For those tasks, I'd rather switch to something like Premiere Pro or DaVinci Resolve. But for straightforward 4K videos, iMovie keeps things pleasantly simple.
Tetiana Kostylieva, Kate Gross, Tati Tailor, and I tested every 4K video editor with the kinds of projects we typically work on. Our test footage included 4K recordings from different cameras, interviews, promotional videos, social media content, music tracks, and B-roll.
We looked at the entire editing process, starting with importing and organizing media. From there, we checked how responsive each timeline was, how easily we could move between clips, and whether the software remained stable when several video and audio layers were added. Whenever possible, we used the same computers for testing to make performance differences easier to spot.
For the first project, we created a short promotional video from footage shot on multiple cameras. A talking-head clip formed the base, while B-roll, background music, titles, and transitions were added on separate layers.
We divided the testing between us so each editor got a closer look from a different angle. Tetiana focused on timeline responsiveness and everyday usability, while Kate tested color correction, effects, and controls. Tati looked at the final stage of the workflow, including export settings and how quickly a finished project could become a client-ready 4K file.
Once the basic tests were complete, we raised the workload. We added multicamera footage, longer timelines, multiple audio tracks, stabilization, motion effects, and high-bitrate 4K files. We also tested the revision cycle. Clips were moved, replaced, resized, and modified, with several edits undone afterward. Thus, we could see which 4K video editing apps stayed reliable when real projects became more complicated.
“You can really feel the difference once you use them all. Go with Premiere or DaVinci if you need total creative control over heavy edits, or Final Cut Pro if you want peak speed on a Mac. If your priority is pumping out great-looking content fast, Filmora, Movavi, and PowerDirector are definitely the way to go.”

We didn’t stop at editing. After finishing each project, we exported it from every editor and compared files side by side. We checked whether the 4K resolution held up, looked for changes in image and color quality, listened for audio issues, and recorded export times. We also tested how easily each program could produce versions for YouTube and social platforms.
During testing, we noted features that made a real difference. Premiere Pro’s Object Mask helped isolate subjects, while Resolve stood out for detailed color grading. Final Cut Pro’s Magnetic Timeline made arranging clips faster, and Kdenlive’s proxy workflow helped with demanding 4K footage.
Rather than naming one overall winner, we matched each editor to specific needs and workflows for our work.