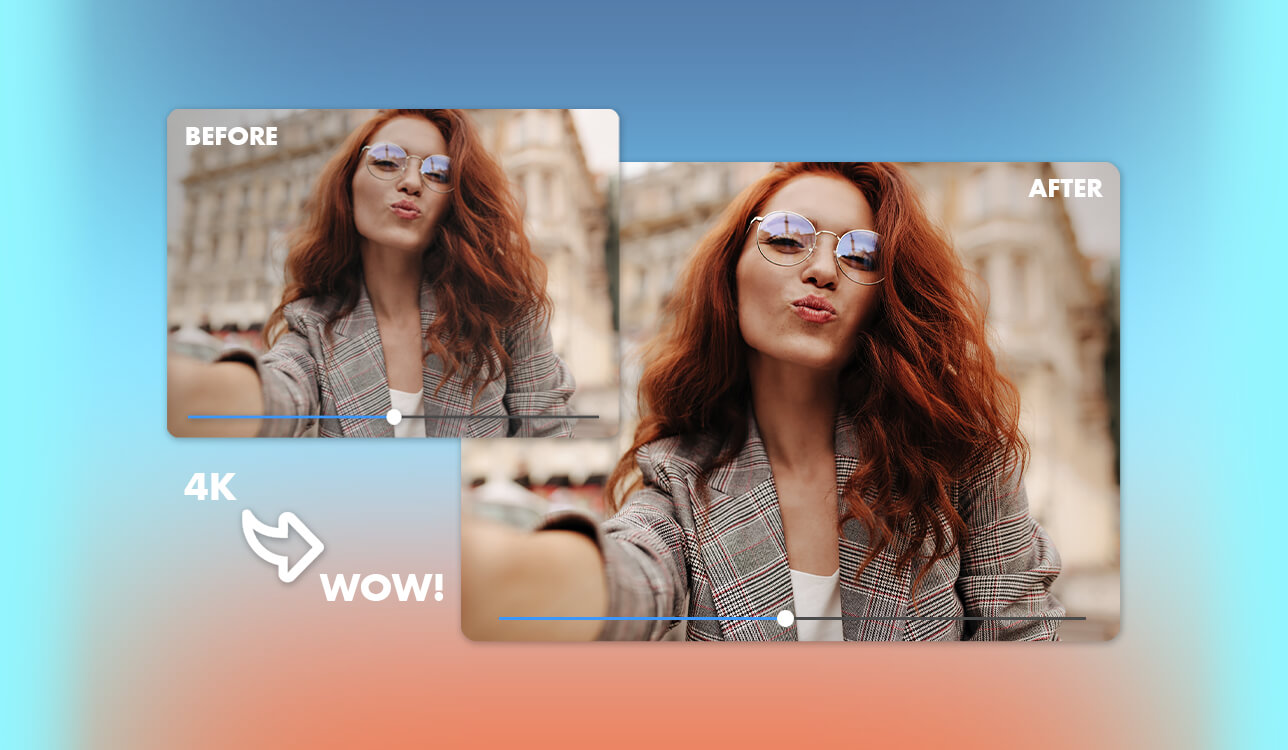
When upscaling videos, I used to avoid setting my expectations high. I would typically upscale a 720p video to a 1080p resolution, make it sharper, and choose suitable export settings. Then, I would notice that the output video fills the frame but does not look sufficiently detailed.
When I started to create videos that included both regular footage and AI-generated clips, this issue became harder to ignore. Some services produced outputs with seamless motion and lighting, but the videos looked soft on large monitors. If I used such tools to upscale footage captured with the help of smartphones, I would notice excessive compression issues and motion blur after enlarging.
However, when new AI tools appeared, they helped me fully transform my workflow. New models do not stretch pixels. They detect and analyze faces, edges, textures, and movement to reconstruct missing information with a higher degree of realism. Such tools allow me to achieve the outputs that have natural hair, detailed fabric, smooth diagonal lines, and a low level of noise.
It might be challenging to learn how to upscale video quality. It’s not enough to upload a video and choose 4K in the output settings. Some services make compression blocks sharper, distort facial features, make small text unreadable, and add inconsistent details to frames.
I’ve also noticed that some platforms generated a polished preview frame, but the outputs they produced looked less impressive when I watched them. Eyes flickered, skin textures started to look unnatural, and product labels did not look consistent. This is why I prefer to thoroughly assess the performance of each upscaler.
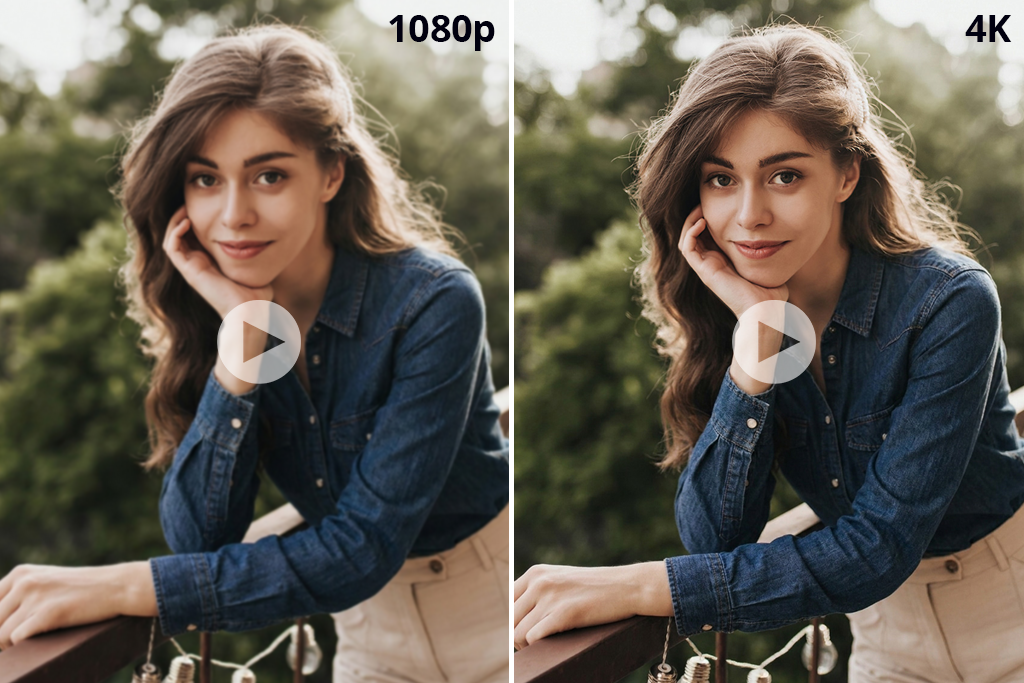
“Avoid making the output look overly sharp. If edges look sharp, skin texture may appear unnatural due to excessive reconstruction. Lower the level of detail to achieve consistent motion.”

“It’s more important to choose the right model than to focus on preprocessing. Minimize noise and perform deblocking before upscaling to minimize the risks of compression artifacts.”

“Preview 3–5 second motion loops instead of focusing only on still frames. It will allow you to notice flickering and other issues that can be seen only when you see eyes, hair, or patterns move.”

“Do not use max settings when applying AI tools. A high level of detail may result in consistency issues. It’s always better to use medium settings with a clean source video instead of focusing on excessive enhancement.”

“If you want to upscale your video, improve framing first. It’s better to crop and reframe your video in 1080p. It will allow you to achieve a more professional output than if you do the same in 4K.”

“When working with mixed footage timelines, start by upscaling everything to the same resolution. Otherwise, you may notice softness shifts in final grading.”

“Sharpen your videos at the final stage. If you try increasing sharpness before tweaking colors and performing compression, you may worsen the issues instead of fixing them.”

“I achieve the best outputs when I follow hybrid workflows. I perform subtle AI upscaling and then enhance the output using traditional tools.”

“If a video looks “almost good,” it’s better to stop upscaling it. You may make motion less realistic if you process your video too much. The best upscaling is often quite subtle.”

I prefer to use desktop software when working with long videos, confidential client files, complex codecs, and clips that require color correction or editing.
Premiere Pro and After Effects allow me to achieve the most consistent results. With them, I can control the outputs with higher precision. I use programs with dedicated AI tools only when I realize that I cannot upscale a video without reconstruction.
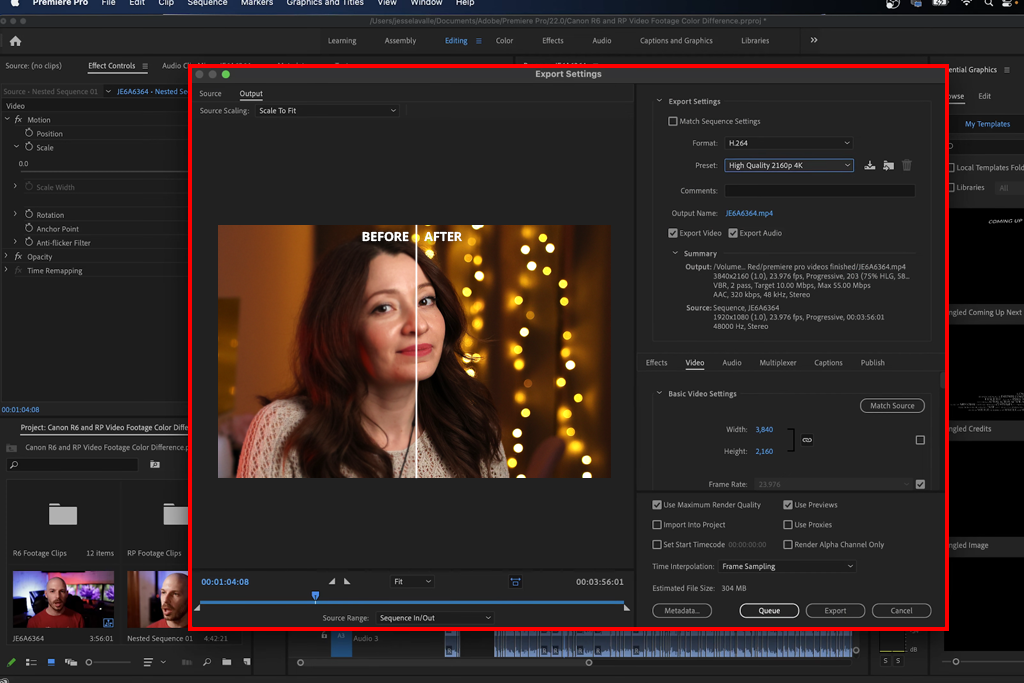
I prefer to use Premiere when I need to upscale and edit a 4K video on Windows or Mac. This solution is perfect for scaling videos, tweaking colors, adding captions, enhancing sound, and saving the output with the right settings.
Premiere does not perform generative AI reconstruction when it upscales videos. It allows it to produce polished outputs of the specific size without making clips look drastically different from the source files.
Step 1. Check the source video. Right-click the video in the Project panel and choose Properties. Remember the resolution, frame rate, codec, and pixel aspect ratio of the original video. I do not change the frame rate during upscaling unless I need to interpolate motion.
Step 2. Create the target sequence. Go to the File > New > Sequence menu and open the Settings tab. Choose such settings:
In Premiere, you can specify the sequence frame size in the sequence settings.
Step 3. Add the low-resolution clip. Drag and drop the video into the new sequence. Then, Premiere will ask you whether you want to adjust the sequence settings to match the video. At this stage, choose the option Keep Existing Settings. Otherwise, the sequence will have the same low resolution as the source file.
Step 4. Scale the video. Choose the clip and go to the Effect Controls > Motion menu. Increase Scale until the picture takes up the whole frame. You may also right-click on the video and choose the Set to Frame Size option. Next, adjust the scale manually so that there are no thin black edges left around the image.
Step 5. Fix noise before sharpening. Adjust color and exposure before increasing sharpness. If your video is noisy, use a dedicated denoising plugin or a noise-reduction tool carefully before exporting the polished output into Premiere. If you sharpen a video before reducing noise first, it will exacerbate the issue.
Step 6. Perform subtle sharpening. I prefer to use the Unsharp Mask instead of the Sharpen effect. At first, I use the following settings:
I do not follow these recommendations strictly, but they allow me to get started. Adobe warns users that by increasing the Unsharp Mask values, they can add noise and achieve unrealistic results.
Step 7. Export at the desired resolution. Open File > Export > Media and select H.264, H.265, or a pro-grade mezzanine codec. The export resolution should be 1920 × 1080 or 3840 × 2160. Match the original frame rate for video and choose a bitrate suitable for the amount of motion.
Choose Use Maximum Render Quality. Adobe claims that this is the best option for those who want to upscale video resolution because it allows one to preserve details and reduces aliasing around edges.
Step 8. Inspect the export at 100%. I evaluate the exported file with the source video at actual pixel size, instead of previewing it only in the player window. I focus on faces, diagonal edges, hair, subtitles, and areas with a lot of movement. If the output looks too sharp, I lower the settings for the Unsharp Mask on the timeline instead of trying to increase the bitrate.
Price: Adobe Premiere Pro free trial; $22.99/month
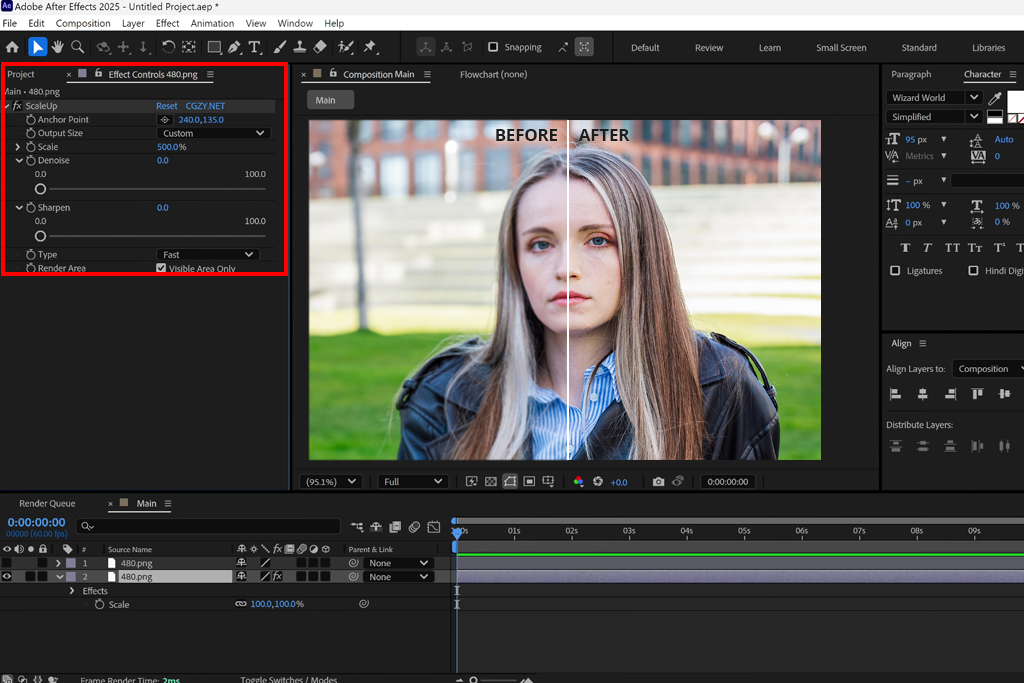
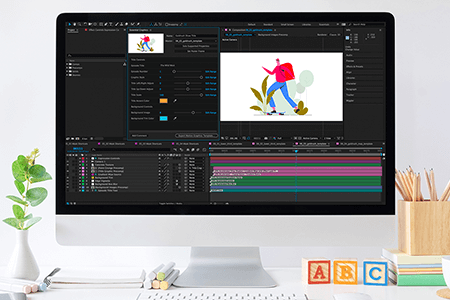
After Effects allows me to maintain advanced control over edges, making it more efficient than simple timeline scaling. It comes with the Detail-preserving Upscale effect, making it perfect for upscaling graphics, screen recordings, animation, titles, and videos with perfectly visible edges.
This approach may be slower than regular bicubic scaling, but Adobe created its 4K video editing software to preserve sharp lines and small details.
Step 1. Create a target composition. Create a new project with the desired resolution:
Check whether the source frame rate and duration match each other.
Step 2. Import the video. Drag the initial version of your video into the Project panel and add it to the composition. Do not upscale the layer with the regular Transform scale at this stage.
Step 3. Add detail-preserving upscale. Go to the Effects & Presets tab and find the Detail-preserving Upscale option. Add the effect to the video layer. Click Fit to Comp Width or Fit to Comp Height, depending on the input aspect ratio and composition. Keep in mind that:
Step 4. Adjust Reduce Noise. Increase the Reduce Noise value before increasing the level of Detail. Adobe performs such reduction before upscaling to make grain less visible. I prefer to start at lower settings and increase them until noise becomes noticeable.
Step 5. Control the detail setting. Start with a moderate Detail value and examine high-contrast edges. Higher values will help you increase edge contrast, which may result in such issues as ringing or light halos. Adobe warns that such problems may happen, which is why I rarely use high values, knowing that the image looks sharper when previewed in a smaller size.
Step 6. Preview at full resolution. Choose the Full mode for the Composition panel and preview the sections with movement. Consider text, eyelashes, thin lines, architecture, and patterns. Upscaling tools do not have to add new elements. Their task is to preserve details, which makes them more suitable for achieving consistent results than AI reconstruction tools.
Step 7. Export the video. Open the clip in Adobe Media Encoder or add it to the After Effects Render Queue. Specify the desired dimensions, choose the original frame rate, and find a high-quality output codec. When I need to create a client master copy, I prefer to render ProRes or DNxHR before creating a smaller H.264 delivery copy.
Price: Adobe After Effects free trial; $22.99/month
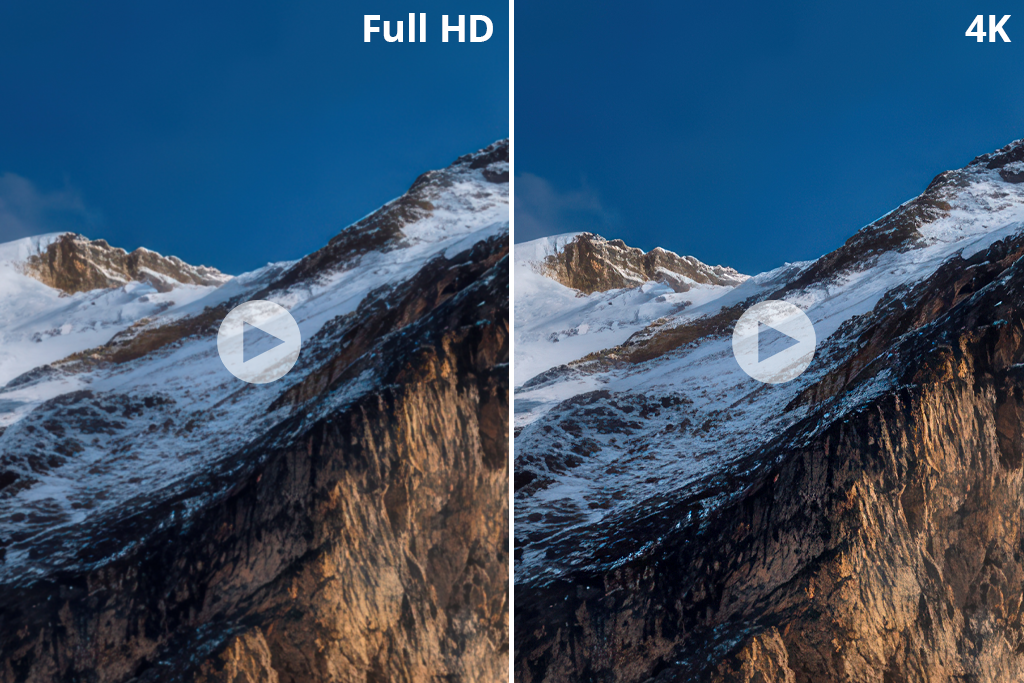
1. Topaz Video – Best for challenging restoration. I use Topaz Video when regular upscaling tools fail to keep faces, textures, or old footage sufficiently detailed. It supports upscaling, denoising, deblurring, stabilization, slow motion, and frame interpolation.
I like that it supports local processing and allows me to upscale video to 4K safely. Besides, I can compare models before rendering my videos.
Price: free preview and testing options; from $59/month.
2. Aiarty Video Enhancer – Best for private local processing. I use Aiarty when working on projects that require me to perform automated enhancement without uploading confidential videos. It supports local 4K upscaling and allows me to perform denoising, deblurring, texture restoration, color tweaking, and HDR processing. Besides, I can apply the slow motion effect.
The presets can be applied in one click, making this solution more intuitive than Topaz. However, it’s more challenging for me to change how some details are reconstructed.
Price: Limited free trial with watermarked exports; $79/year during promotions; $99 regular price.
3. VideoProc Converter AI – Best all-in-one solution. VideoProc Converter AI is suitable for situations when you need to upscale video to 1080p and perform other tasks. With it, I can enhance a video, choose the right codec, perform compression, stabilize motion, or create multiple delivery versions.
GPU acceleration expedites batch processing. This 4k and 1080p video editor has a more intuitive UI than dedicated restoration software.
Price: Free trial with export-length limits; $34.95/year or $54.95 lifetime for one computer.

Web-based tools are perfect for upscaling short clips, simple projects, and AI-generated videos. I use them when I do not want to install desktop software.
I do not upload client footage to such platforms unless they clearly state their processing and data storage rules. When working with sensitive files, it’s better to use local desktop software or a browser-based AI video upscaler that processes files on your device.
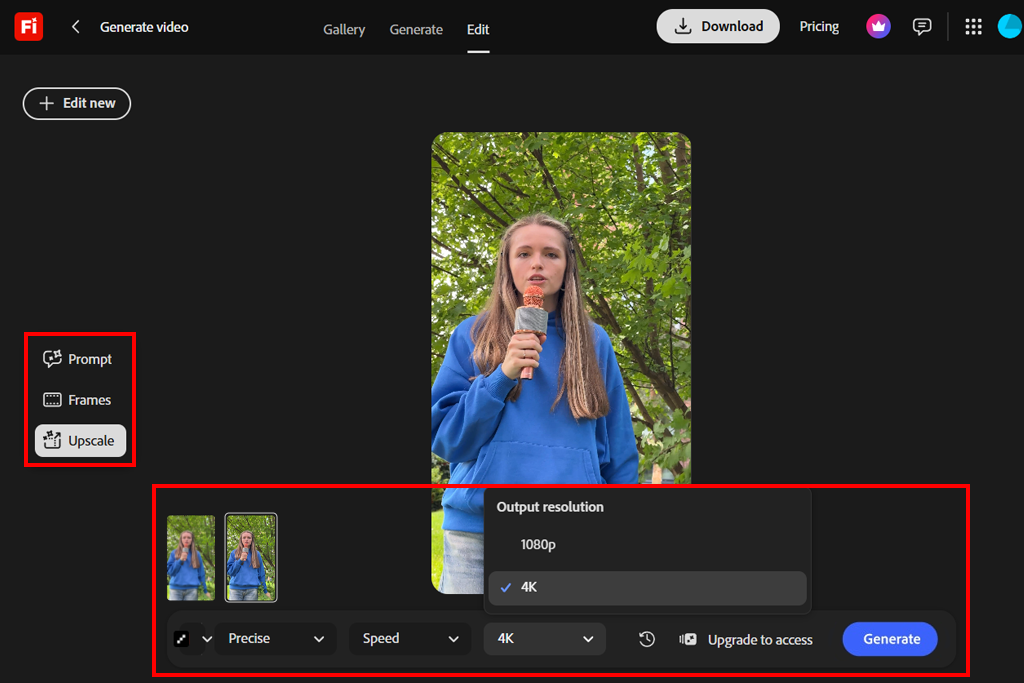
I prefer to use the Adobe Firefly video model when I need to access a web-based solution and use the output while working on my projects in other Adobe software. After enhancing a generated video, I can save it to my device and further adjust it in Premiere.
This solution allows users to choose between Precise and Creative enhancement modes, Subtle or Bold detail settings, and 1080p or 4K output.
Step 1. Open the Video Upscaler. Open Firefly and go to the Video > Upscale video tab. You can upload a video from your device or select a clip saved in Firefly history.
Step 2. Select Upscale. After uploading your video, choose the Upscale option on the left. Check the original framing and duration before paying with credits.
Step 3. Choose an Enhancement Mode. Use Precise settings for regular camera footage, products, interviews, and client projects where you need to maintain consistency. Use Creative to upscale low resolution video generated with the help of AI.
Step 4. Set the Detail Strength. I start with the Subtle setting. The Bold setting might enhance foliage, fantasy costumes, architecture, and AI artwork, but it may make faces unrecognizable or distort small objects. I use it only when working on clips that require creative reconstruction.
Step 5. Select 1080p or 4K. Choose 1080p for low-resolution videos for social media, previews, or clips that will be used in Full HD projects. Choose 4K if you want to add a segment to a UHD project, want to perform cropping, or need to watch your video on a large screen.
Step 6. Consider the credit cost. Firefly shows how many credits you will have to spend to process your file. I prefer to test a short segment first. I generate a five-second sample to assess facial features, movement, and fine textures.
Step 7. Generate and evaluate the output. Click Generate and preview the resulting clip at full size. Do not focus only on one still frame. Play the video multiple times and pay special attention to eyes, teeth, hair, fingers, text, repeating patterns, and moving elements.
Step 8. Download the result and enhance it in Premiere. Save the upscaled video to your device and perform the main edit. At this stage, I prefer to focus on color matching. I also work with sound, titles, and compression issues in Premiere instead of considering the Firefly output as the final version.
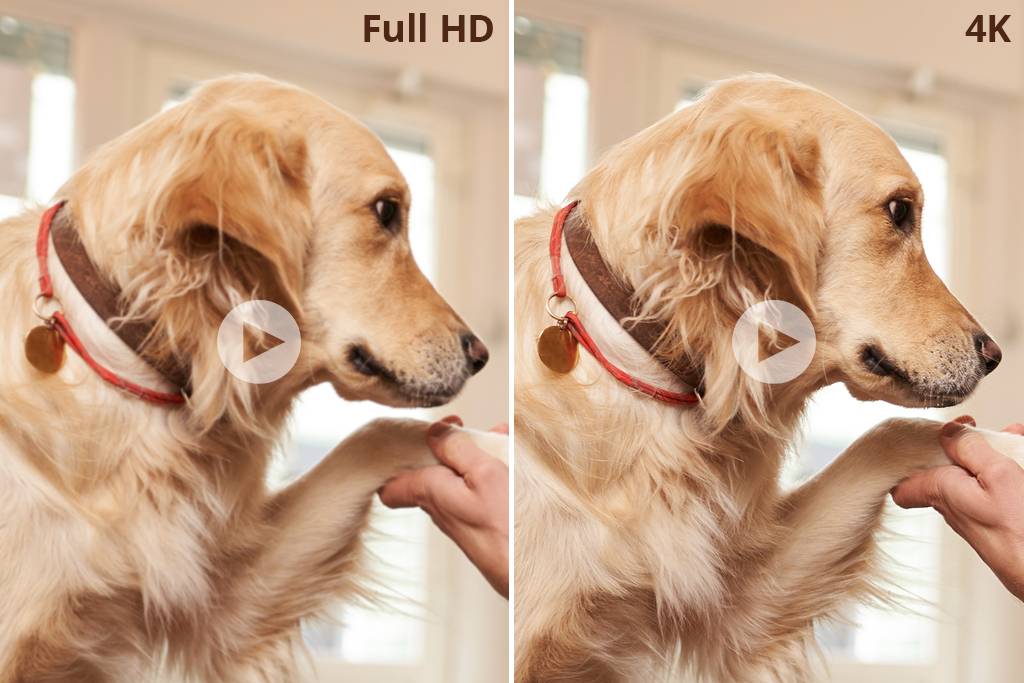
1. Canva – Best for social media content. I often use Canva when I need to upscale video without losing quality. Then, I can upload it as a Reel, add it to a presentation, use it in ads, or place it in a branded template.
This upscaler has drag-and-drop functionality, making it easy to access resizing, text, graphics, and collaboration tools. However, it’s less effective than Firefly or Topaz when it comes to restoration.
Price: Free plan available; Canva Pro pricing varies.
2. CapCut – Best for quick 4K social media exports. CapCut is one of the most intuitive solutions for upscaling videos for TikTok, Shorts, and Reels. With it, I can sharpen videos, remove noise, and save clips at up to 4K. I was pleased with its speed and editing tools. However, the portrait enhancement feature might make skin textures overly smooth. You can notice such issues when using a 4K video player.
Price: Free basic access; Pro prices vary.
3. Free Upscaler Video – Best fully free tool. Free Upscaler Video is an excellent solution that I highly recommend to anyone who wants to upscale video with AI and get an output without a watermark. It does not require registration and allows users to access open-source models like Real-ESRGAN and Anime4K from a browser. There is no need to upload content online.
This service is perfect for upscaling animation and polished digital videos. The browser version allows users to upload files in the formats supported by the browser, such as MP4 and WebM. You may need to convert videos in HDR, ProRes, AVI, MKV, and HEVC formats before upscaling them or use another platform.
Price: Free.
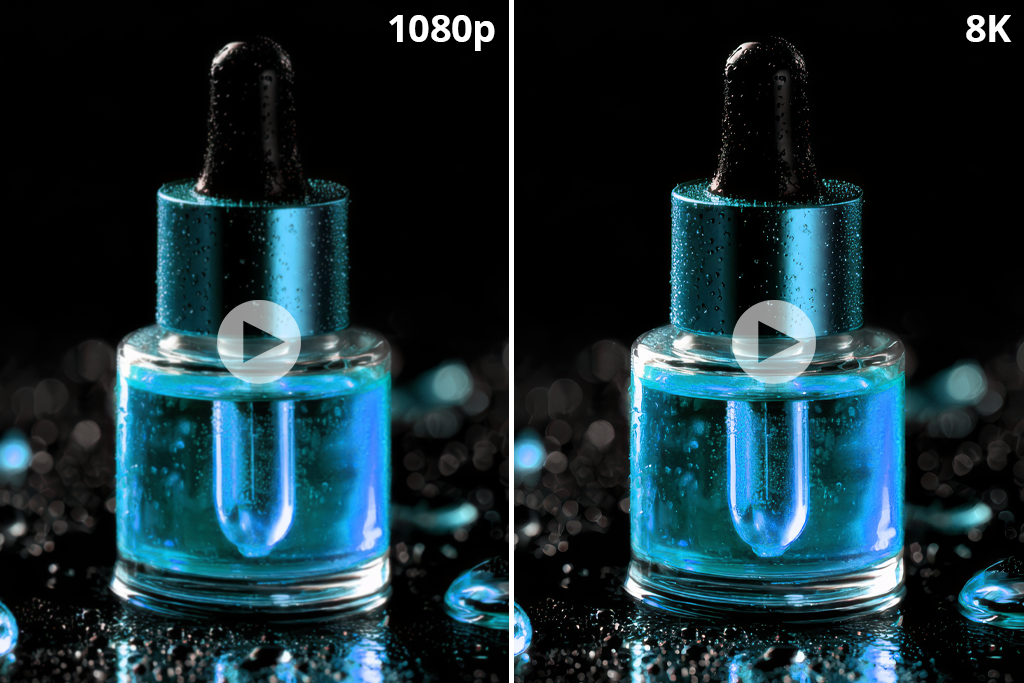
4. Wink – Best for portrait videos. Wink is suitable for enhancing faces in video, making it perfect for producing beauty content, performance videos, and polished mobile footage. It has an online-based AI image upscaler and a video upscaler that supports 1080p, 2K, and 4K options.
Users who want to AI upscale video can choose between portrait-oriented and scene-specific modes. I discovered that it’s perfect for situations when a person takes a large part of the frame. However, I still check the outputs to ensure that skin and facial features do not look overly retouched with the help of AI tools.
Price: Free tier; paid plans and additional credits are available.
5. Vmake – Best for product videos. Vmake is the perfect choice for e-commerce teams. However, it might be less suitable for filmmakers. Its enhancement tools are suitable for improving product demonstration videos, marketplace clips, UGC ads, and repurposed social media content.
I was especially pleased with its streamlined workflow and batch processing support. However, I prefer to use Premiere when I need to perform color masking, achieve high accuracy when editing audio, and produce polished outputs.
Price: Free plan; Plus from $9.99/month and Pro from $29.99/month.
6. Krea – Best for AI-generated clips. I prefer to use Krea when working with AI-generated content. It facilitates generating, modifying, and enhancing assets without switching between different platforms.
This service generates richer textures than regular editors, making it perfect for producing stylized content. However, it’s necessary to review the outputs carefully to check character consistency.
Price: Free plan; paid access starts at $9/month.
7. Runway – Best for well-established AI workflows. It’s better to use Runway when a video was created or edited on the same platform. Using the built-in Upscale Video app, one can produce a 4K version without exporting a video and uploading it to other platforms.
I typically use it when working on AI clips and concept videos. However, it has limited restoration settings, making it less suitable for working with overcompressed footage than Topaz.
Price: Free version with 125 one-time credits. The Standard plan costs $15 monthly or $12/month when billed annually and supports 4K upscaling.
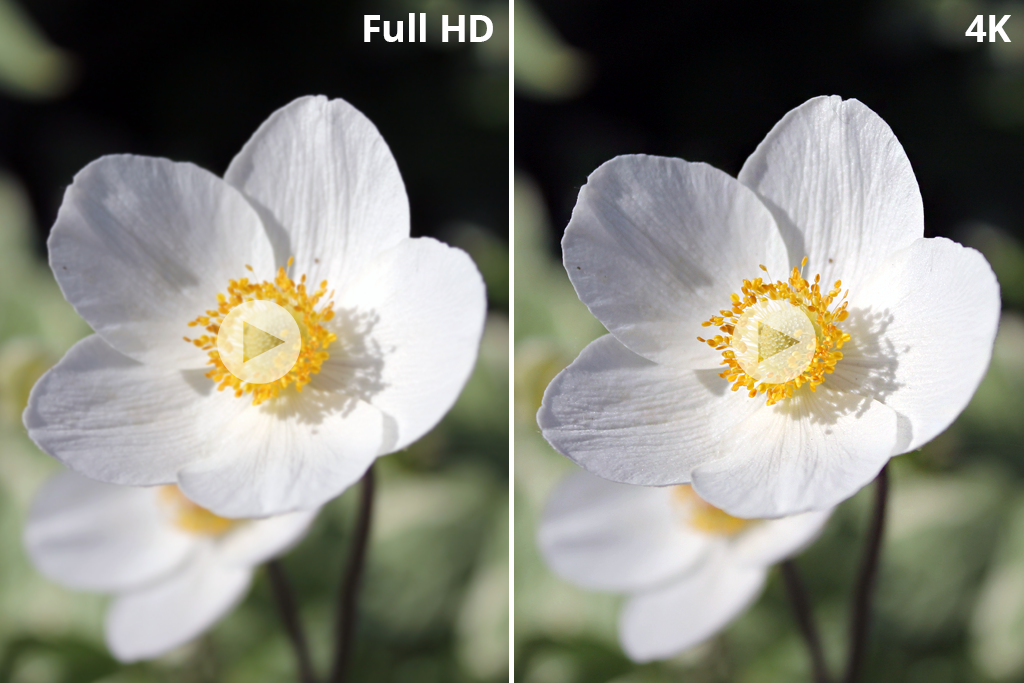
Testing these services was more challenging than I expected because I could not simply export the same stock video multiple times. Together with other members of the FixThePhoto team, I followed the approach that allowed me to discover the limitations of these tools:
I exported my videos to 1080p and 4K. Then, I used Premiere and After Effects, as they have long become part of my Adobe-focused workflow. I used Topaz when I needed to access AI tools using desktop software.
Together with my colleagues, I analyzed the outputs on a 4K monitor at regular playback speed, frame by frame, at 100%-200% zoom. We wanted to see whether there are any issues with faces, hair, fingers, text, diagonal lines, motion blur, noise, compression, edges, colors, or textures.
I also focused on the limitations of each solution, including upload size, codecs, processing time, watermarks, credit usage, output resolution, account requirements, privacy settings, and the controls one can adjust before performing rendering.
I did not automatically rank higher services if they produced outputs with sharper still frames. I liked it more when I managed to upscale video online free of charge and get outputs with consistent faces and textures across the frame, even if there were some signs of softness.
Before the services you can find on this list, I also tested HitPaw VikPea, AVCLabs, UniFab, TensorPix, Media.io, and Clipfly. Some of them did not help me achieve the desired sharpness, while others had strict web usage limits, low processing speed, convoluted pricing policies, or outputs that were too similar to the ones that can be produced with the help of more powerful solutions included in this list.
In the final version of this list, you will find the services that are suitable for different types of tasks. There is no one-size-fits-all solution that is suitable for different scenarios. I prefer to use Premiere when I need to edit files with high precision and export them with the right settings. After Effects supports better traditional scaling, Firefly integrates into Adobe-focused online workflow, while Topaz is perfect for advanced restoration.
Yes, but the output won’t have the same level of detail as the original video, even if a source file was recorded with a cheap 4K camera. You can use AI tools to enhance polished 720p footage where faces and edges are not blurry. I prefer to test both 1080p and 4K because subtle upscaling sometimes allows me to achieve more realistic outputs.
You need to produce a 1920 × 1080 clip, set the original frame rate, enlarge the video, remove distracting noise, and export the file with a bitrate you need. If you have a clean source file, you may use Premiere. If the original file lacks edge definition, it might be better to use Firefly, Topaz, or another similar AI enhancer to achieve the results you need.
At first, you need to consider what issues you need to fix. You will need to use different approaches to improve resolution, enhance an overly compressed file, eliminate noise, adjust exposure, and solve the interlacing issue before upscaling. After enlarging a file, I normally perform subtle sharpening and double-check the video to see whether the AI introduced some artifacts.
If you re-encode your video, its quality will inevitably change. It’s impossible to avoid quality loss altogether if you want to upscale video for free. However, you can avoid unnecessary damage by keeping the original frame rate, opting for a high-quality codec and bitrate, avoiding exporting your file multiple times, and making subtle enhancements to achieve realistic outputs.
I typically edit videos first and upscale the polished version when I work with multiple clips that should be enhanced in a similar way. However, I prefer to edit individual files using the most suitable AI models, restoration settings, or noise reduction tools.
No. Be sure not to confuse resolution and frame rate. When you perform upscaling, it impacts only the number of pixels in each frame. You may achieve seamless motion because frame interpolation produces additional frames.
Some models fail to reconstruct textures with high accuracy or achieve consistency across frames. To avoid such problems, be sure to use lower creative detail settings, choose a more traditional model, remove noise before upscaling, and assess the output quality based on the video segments where you can evaluate motion instead of focusing on stills.
Free Upscaler Video does not require signing up. Besides, it does not add watermarks to outputs. Canva and CapCut also allow users to enhance videos for free. However, you may have to deal with restrictions when trying to save your file.