I started looking for video editing software for vlogging when our FixThePhoto team decided to add videos in different formats to our blog posts and software reviews. We started capturing office moments, testing photo-editing software, creating informative tutorials, and discussing our experience of using specific tools.
It became especially challenging to repurpose our content and save it as short-form clips. I needed to find highlights, remove unnecessary segments, improve audio, add B-roll, and create a cohesive story.
I did not need to use vlog editing software that would be too complex for simple tasks, but I also did not look for basic tools with limited functionality. Instead, I wanted to access practical timeline editing tools, trim my videos quickly, access audio controls, generate captions and titles, add transitions, tweak colors, and add pictures and screen recordings quickly.
While working on FixThePhoto projects, I also wanted to achieve branding consistency and export high-quality outputs to YouTube as well as create shorter versions of these videos for Instagram and TikTok.
My colleagues from the FixThePhoto team helped me test a variety of solutions, trying to find the best vlog editing software. We wanted to test these programs on actual projects we worked on instead of relying on sample videos. I decided to use a video where we were discussing software, some screen recordings, videos captured in the office, and other clips.
I used different types of footage to create a longer YouTube vlog. Then, I created a short clip based on this longer video. It helped me to understand how to organize different parts of my project in different ways.
I wanted to access the tools that would help me optimize my workflow. For instance, I wanted to see whether it would be possible to remove pauses quickly when editing talking-head footage, lower the volume of music when a person started speaking, minimize background noise, and add captions using automated tools.
I wanted to access AI tools, audio cleanup features, automatic subtitles, presets, and color adjustment settings to automate a part of my workflow. However, I also needed to be able to refine the outputs manually. My main task was to find a video editor that would allow me to handle everyday tasks with ease.
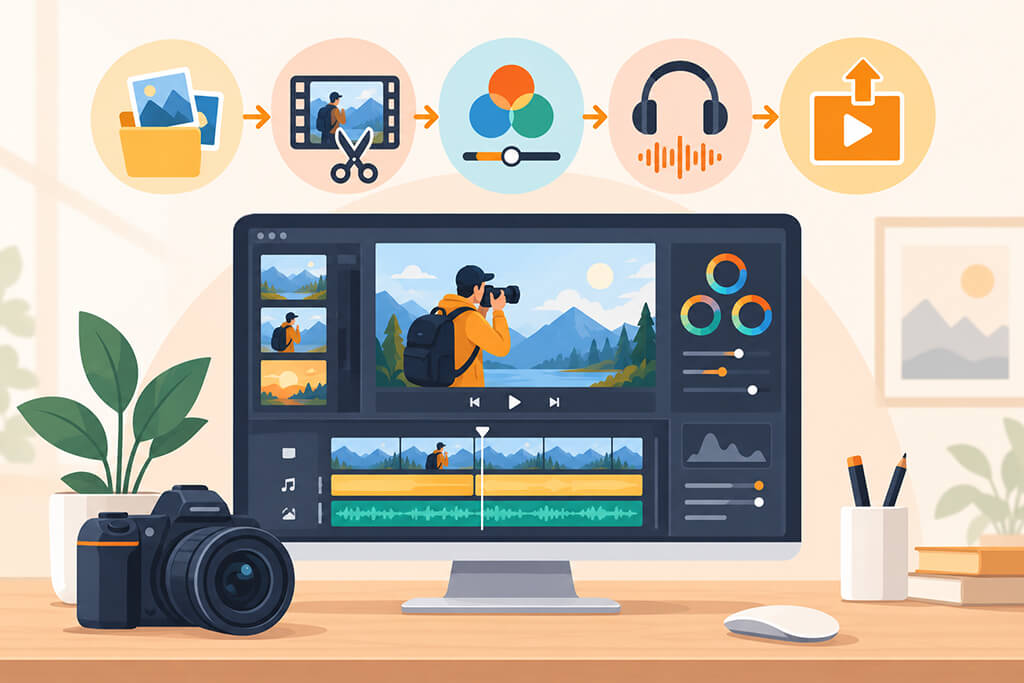
I want to cut out silent fragments, mistakes, repeated phrases, and the footage I do not need. While editing long recordings, it’s especially important to use an intuitive timeline with trimming, splitting, and organizational tools.
When creating a blog, it’s important to make the sound well-balanced. I need to access the tools that allow me to remove background noise, achieve better voice clarity, adjust volume, and achieve the right balance between music and speech without using advanced editing tools.
I need to add informative captions when creating videos for YouTube Shorts, TikTok, and Instagram. Automatic transcription tools allow me to generate them automatically. Besides, I can edit them to ensure that they match the style of my video. When a program has built-in caption generation tools, I do not need to use third-party software like a subtitle synchronizer.
Vlog footage can come from different sources. I can use different cameras, phones, or shoot them in different locations. As a result, the colors may not look the same. I want to adjust exposure, white balance, contrast, and saturation to edit my videos in a consistent style.
I want to access basic tools that would allow me to add introductions, names, explanations, logos, and all sorts of branded elements. Besides, I want to add ready-made title animations to add a polished feel to my videos without creating every element from scratch.
Text-based editing features, tools for automatic pause removal, speech enhancement options, background removal features, and smart reframing will help you minimize the number of repetitive tasks. I do not want to use AI to produce a finished version, but I need to access such tools to expedite my workflow.
I often need to save one video in the formats supported by different platforms. I wanted to find a program that would allow me to quickly save a horizontal YouTube vlog into a vertical format to publish it on TikTok and Instagram without creating new videos from scratch.
Finally, I wanted to choose the most suitable resolution, frame rate, video format, and file size. I wanted to access convenient export presets for YouTube and social media platforms to avoid spending a lot of time trying to understand how to fix technical settings after editing your video.
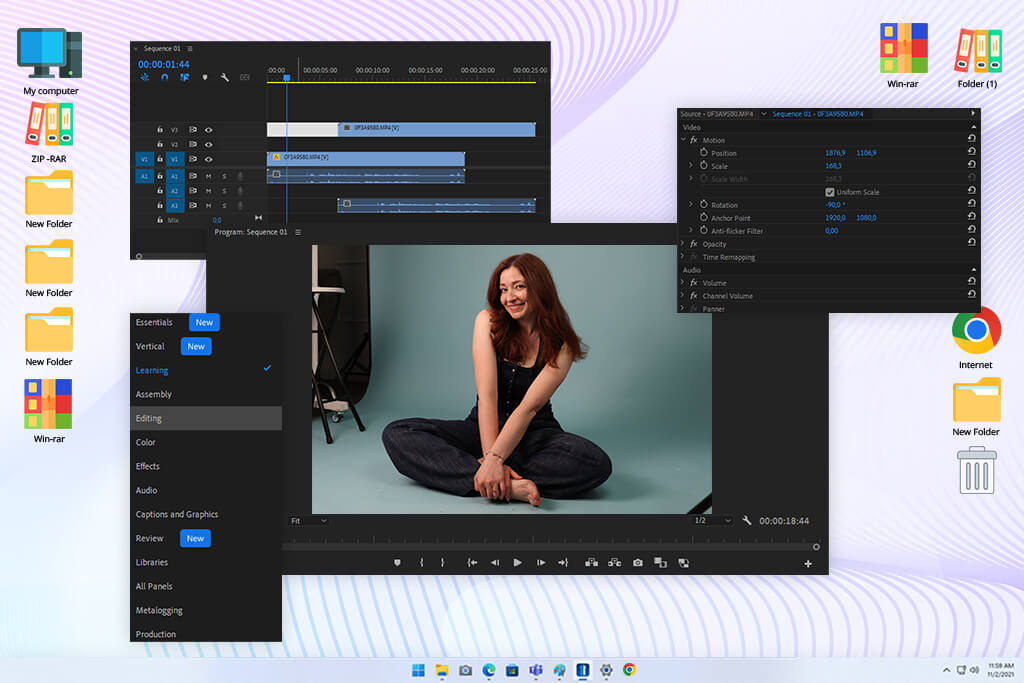
I decided to test Adobe Premiere Pro to edit a long FixThePhoto vlog where I was telling our audience about the results of a software test. I created the initial version of a recording and used the Text-Based Editing tool to eliminate pauses and repetition by editing the transcript.
I did not need to search through the timeline to find the segment I needed to delete. Besides, I tested the Enhance Speech feature to denoise the recording captured in an office. The output became more polished after such a cleanup.
I was wondering whether this video editor for vlogging would help me achieve a consistent style when working on one of my projects. I produced a basic FixThePhoto title sequence, saved branding elements for further use, and later added them to other parts of the vlog. Using Lumetri Color, I improved exposure and white balance for different parts of the footage. It was nice to make the edits I needed without impacting the original footage.
“I use it when I need to edit long vlogs and maintain advanced control over cuts, audio, and color. Even though it might take you some time to master it, it will significantly streamline your workflow once you learn how to use it.”

While testing this Adobe video editor, I also shortened a YouTube video and saved it in a vertical format. I used the Auto Reframe tool to expedite my workflow. Then, I adjusted the framing manually in some cases.
I also changed the length of the intro and made the ending shorter without impacting the source file. Premiere is perfect for my workflow, as it allows me to split one recording into several clips.
I tested multiple versions of this software when working on our FixThePhoto project and realized that Adobe Premiere version came with helpful professional tools that saved me a lot of time.
I used Text-Based Editing, Enhance Speech, Lumetri Color, and Auto Reframe features to fix a variety of video editing tasks. I did not need to apply any attention-grabbing effects to give my vlog a polished feel. Premiere Pro is the best editing software for vlogging I have ever used. It’s especially suitable for repurposing longer YouTube videos and saving them as shorter clips for social media.
Filmora has quickly become one of my favorite solutions for creating a dynamic vlog without spending too much time trying to edit every visual element manually.
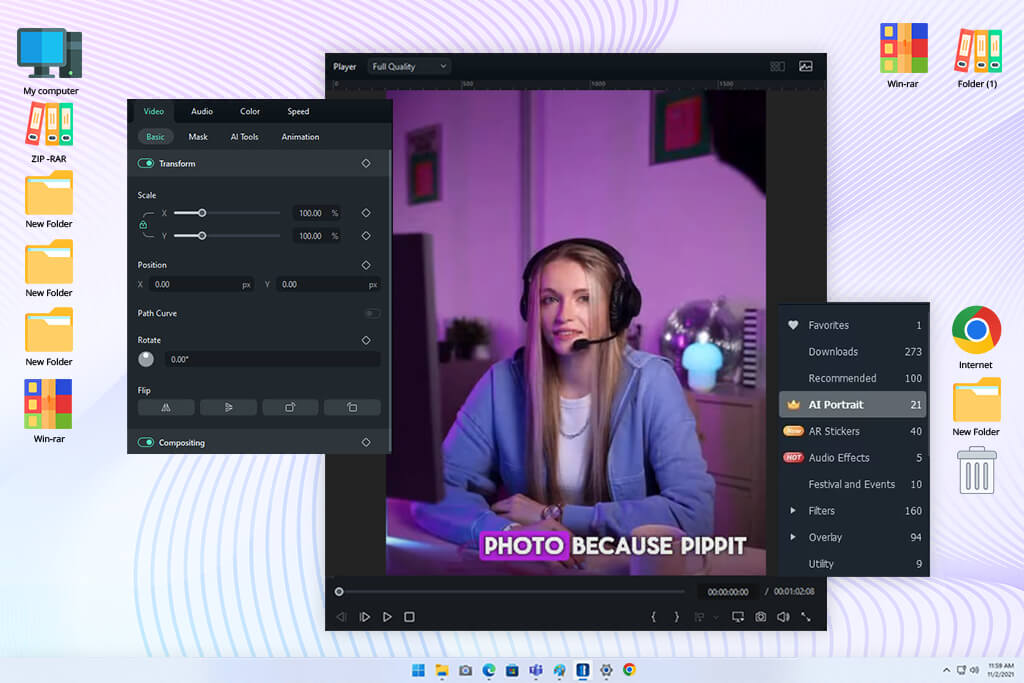
While testing this service, I produced an intro to a FixThePhoto video comparing different programs. I applied different animated titles and used several intro templates to choose the options that matched the idea and style of the video I wanted to create. These assets helped me to create a video quickly, as I did not need to build individual elements from scratch.
I tried using the AI Smart Cutout tool to see whether it would allow me to replace the background and add branded elements to it. The automatic selection feature was quite accurate. I had to make only a few simple edits.
In addition, I tested the AI Audio Denoise feature while editing a video captured in a room with a lot of background noise. It helped me remove noise and make my content more polished without disrupting my workflow.
During the next part of our text, I used speech-to-text captions and title presets to avoid creating text manually. I could choose a suitable font and placement to maintain consistency with the FixThePhoto style. In addition, I experimented with the speed controls while editing a section of the video that looked too slow-paced. These subtle edits helped me improve the pace of my vlog in a natural way.
I liked using this vlog video editor when I needed to produce a polished video without going into complex technical details. It has handy templates, animated titles, AI Smart Cutout, audio cleanup, and text tools that helped me achieve the desired result quickly.I was especially impressed with the performance of this service when working on presentation-focused videos that did not require me to use any complex controls. It’s perfect for producing daily FixThePhoto vlogs.
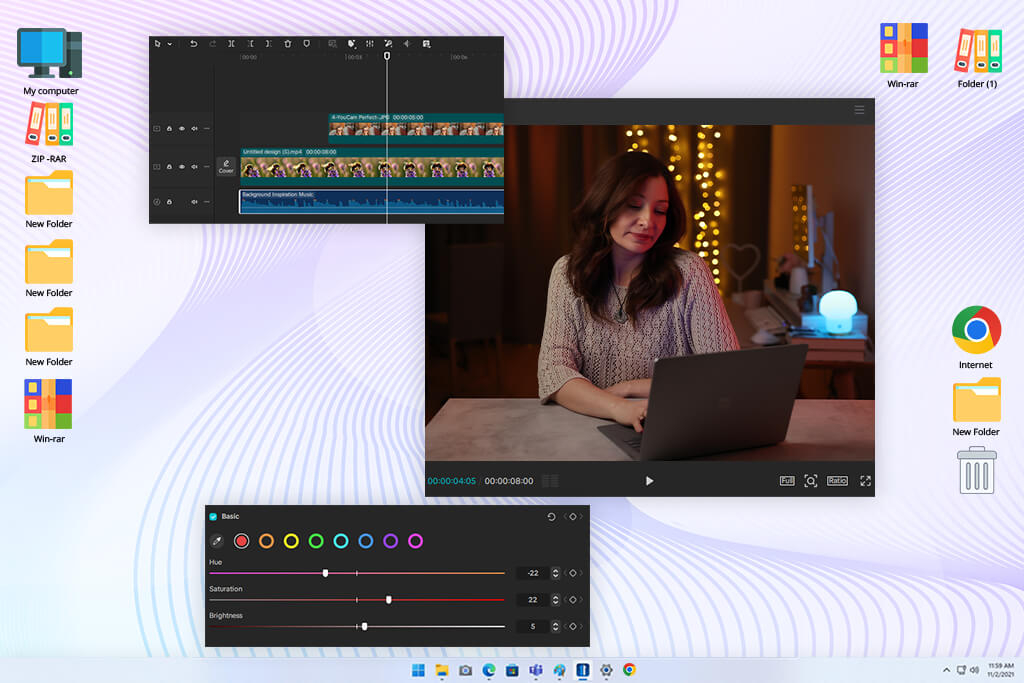
I tested CapCut to see whether it would be suitable for producing social media content for FixThePhoto. I cut out several minutes from a long recording and used them to create a dynamic clip in a vertical format. I tried applying automatic captions and choosing the right style for captions. It helped me make my video easier to comprehend even when it was watched without sound. The automatically generated captions were easy to read. I had to make only a few minor edits.
While testing this AI video editor, I also tested keyframes to make the title move across the frame and to zoom onto a specific part of the screen when I started to describe a specific feature. I could adjust the movement without editing every frame manually. It helped me give a dynamic feel to my content without making my workflow too complex.
“I mostly use this solution when I need to create quick vlogs and Shorts. It allows me to add captions, music, and effects. Besides, I can use templates to expedite my workflow, especially when I need to edit videos from my phone.”

In addition, I tested the background removal tools and effects available in CapCut when I was editing a short talking-head part of a video. I placed the segment over a basic graphic and adjusted its size during the video. I could produce several versions quickly, which helped me repurpose FixThePhoto videos for different platforms.
I was especially impressed by the fact that this vlogging editing software helped me create polished social media content using raw footage. I could add captions automatically, use keyframes, remove the backgrounds, apply effects, and experiment with different styles. I did not need to master complex tools to create a 30-second video. CapCut is one of the most intuitive solutions for producing dynamic short-form content for FixThePhoto.

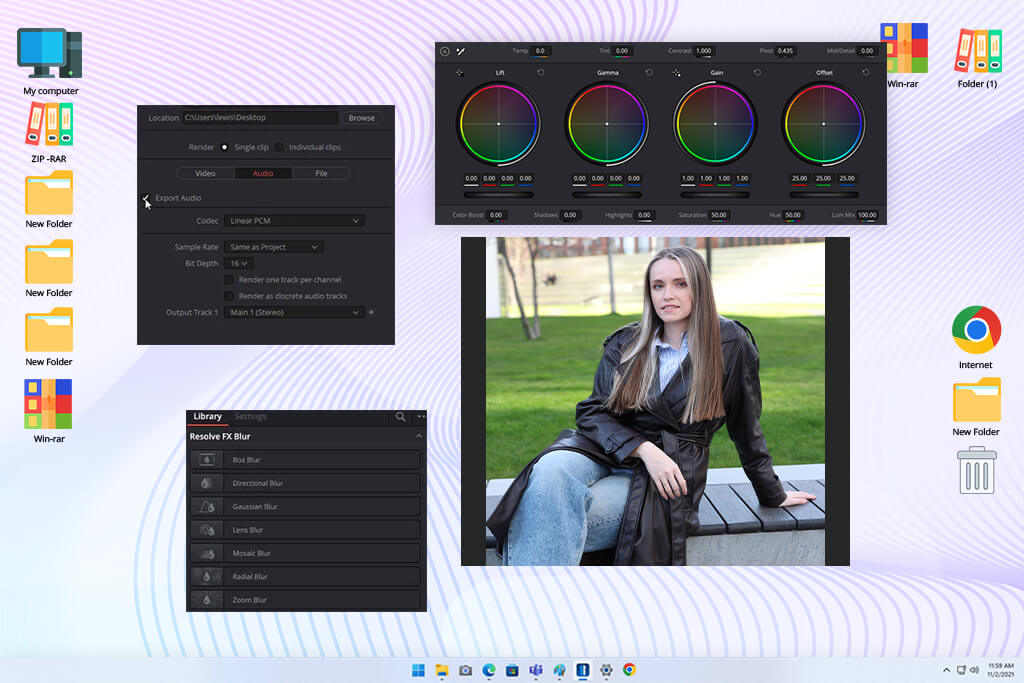
I tested DaVinci Resolve while creating a FixThePhoto vlog. It was easy for me to cut my footage, but it was challenging to achieve consistency when working on visuals and sound. Some videos I wanted to use were captured under challenging lighting conditions, which is why I tested the tools available on the Color page.
After adjusting exposure and white balance, I tried to give my video a consistent look. It helped me produce a coherent output that looked like a finished video.
While testing this video editing software for Windows and Mac, I was especially pleased with its audio tools. I used the Fairlight feature to edit the dialogue, music, and background noise separately.
Besides, I used the Magic Mask feature while editing the short segment where I needed to make the person stand out against the backdrop. I created a mask to edit the subject separately, without impacting the rest of the frame. I used keyframes to achieve consistency when the person moved. It took me a while to master the available features, but I was pleased with the degree of control I had over the result.
I often use this color grading software when I need to focus on image and audio quality. It allows me to perform color grading and use Fairlight, Magic Mask, and in-depth correction tools.
Even though I’ve never used some pro-grade tools often, it was convenient to be able to access them when I was working on raw footage with some imperfections. I use this free vlog editing software whenever I need to work on complex FixThePhoto projects.
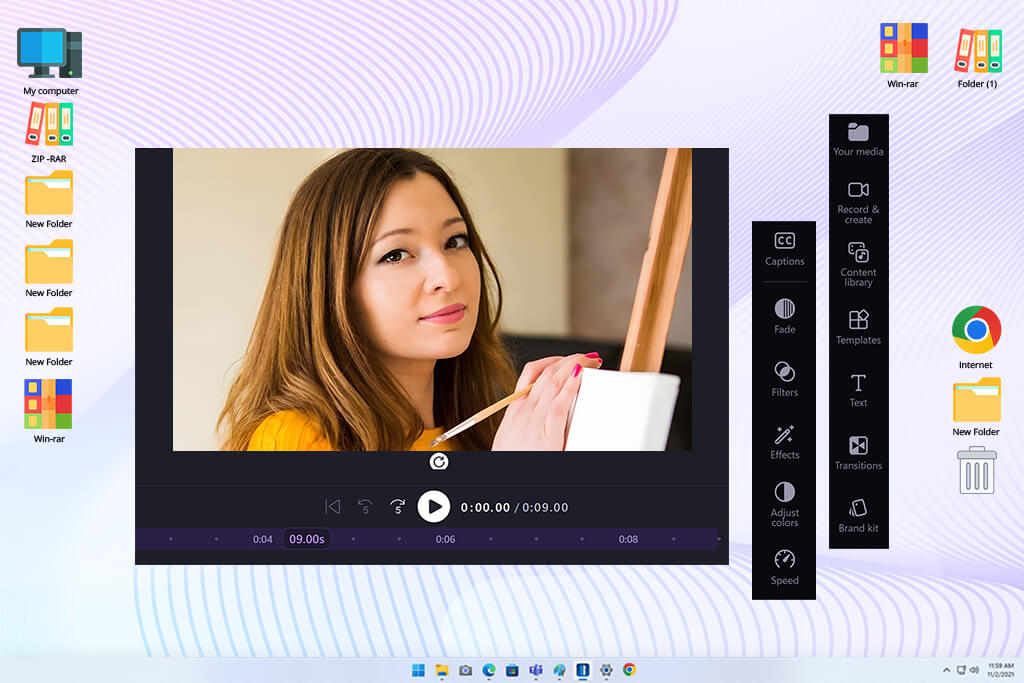
I decided to give Clipchamp a try when I needed to edit a simple FixThePhoto vlog that included multiple short clips. While working on this presentation-style video, I used the available templates and stock media assets to create an introduction and add breaks between different parts of the video.
There was no need to create these elements from scratch, which allowed me to create the first version of my draft quickly. I could access this service from a browser. It made it easier for me to continue editing my video on different devices.
I was especially interested in checking whether this vlog editing software for beginners would allow others to continue working on my video. I created an unfinished draft and checked whether it would be possible to resume editing it later. I could find simple tools for trimming, splitting, adding text, and replacing media files. I could edit my content quickly without adjusting any complex settings.
“I was looking for an intuitive solution to create several casual vlogs, and this service handled the task perfectly. It was easy for me to cut clips and add music. However, I quickly discovered the limitations of this software when I tried using it to apply more complex effects.”

In addition, I tried using the screen recording tool because I wanted to create FixThePhoto videos to explain how to use specific photo-editing programs. I created a short walkthrough video and inserted it into a larger project. It allowed me to explain how to use a specific tool and demonstrate it clearly without creating a separate recording. I realized that this feature could be especially useful for creating vlogs and tutorials with software demonstrations.
Even though I would not use Clipchamp while working on complex video projects, it’s perfect for simple content. I can use templates and stock assets, capture screen recordings, access basic text tools, and navigate its interface with ease to produce polished outputs. It’s especially suitable for creating quick FixThePhoto videos and internal projects.
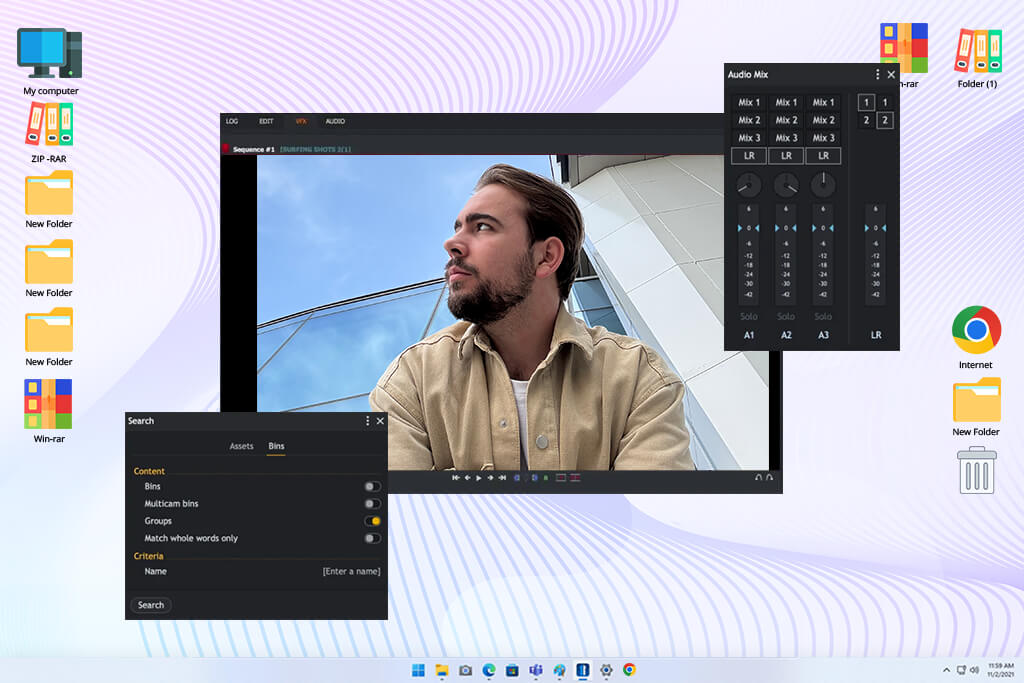
I chose a different approach when I started using Lightworks because I wanted to see whether it would help me to create a FixThePhoto vlog that included interview footage. I had several takes of the same conversation, which is why I wanted to choose the best segments and create a natural-sounding interview.
I mostly focused on using the trimming and editing controls. Using the available tools, I made basic edits to delete pauses and repetitions. This professional vlog editing software helped me improve storytelling without focusing on visual details.
Next, I used the multicam editing tool when I needed to edit footage captured from different camera angles. I switched between these angles seamlessly throughout the conversation I managed to hide the fragments I did not need. It helped me delete unwanted sections without making the edit too noticeable. It was nice to use such tools when editing FixThePhoto discussions and team videos.
During the next stage of the test, I decided to create a longer video. I separated multiple interview fragments and created new sequences for the intro part, discussion, and conclusion. I could experiment with different versions of the order without affecting the source file. I also wanted to know whether I would be able to replace a section based on the feedback of my colleagues.
I liked using Lightworks when I needed to create a vlog with a strong storytelling component instead of adding too many visual effects. It supports multicam editing and high-accuracy trimming. Besides, it allows me to streamline project organization and build flexible sequences to ensure that the conversation flows smoothly.
Even though it took me some time to get used to its interface, I enjoyed using its controls once I mastered them. It’s an excellent option for producing FixThePhoto videos that have a lot of interview segments.
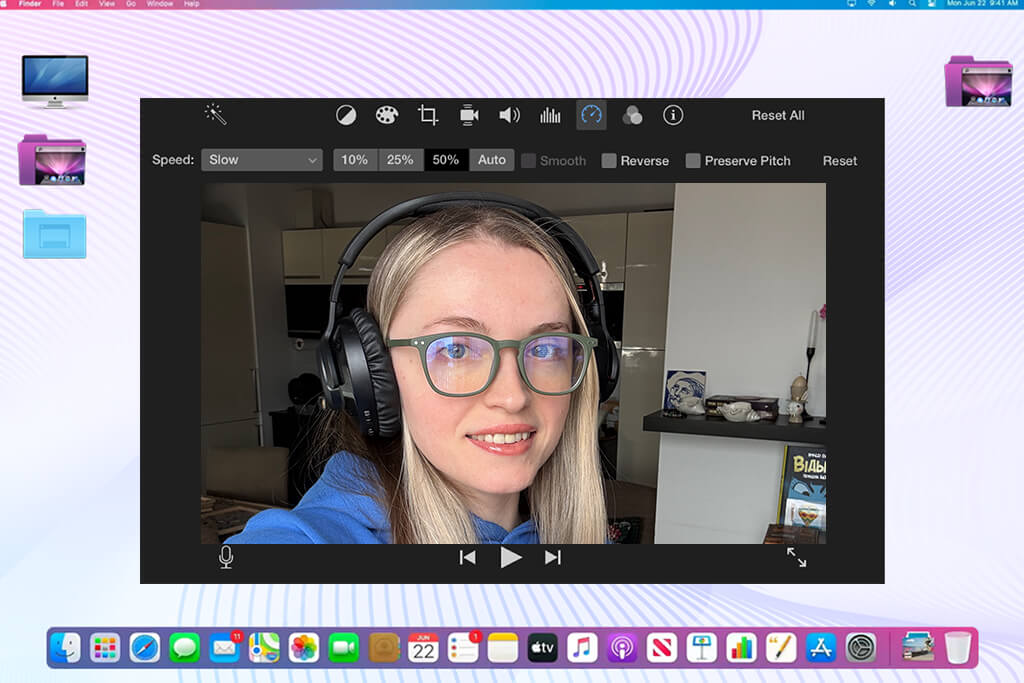
I tested iMovie while working on a casual FixThePhoto vlog that was documenting our typical workday. I did not want to rely on traditional editing approaches. This is why I decided to produce engaging trailers, add eye-catching titles, and use simple transitions instead of using complex effects.
I experimented with different title styles and selected the one that helped me create a polished opening. My workflow was quite streamlined, which allowed me to focus on highlighting the most important moments.
In addition, I tested the picture-in-picture effect when working on my software demonstration video. I could add a smaller window with screen recording footage over the main video, resize it, and change its position. It helped me explain how one could use a specific feature without interrupting the narration. I used the split-screen effect to show two segments at the same time.
“For basic vlogs, it’s honestly hard to complain. I can throw my clips together, add music and titles, and export pretty quickly. I just wish there were more advanced controls.”

While testing this video editing software for Mac, I also liked using basic audio controls.
I lowered the music volume in the sections that included a lot of narration. I could change the volume of each segment to ensure that different parts of the recording had well-balanced sound. There was no need to use an advanced audio mixer to make these edits. This service helped me produce polished content for our casual vlog.
I often use this YouTube vlog editing software when I need to achieve professional outputs with ease. It allows me to apply the picture-in-picture effect, use the split-screen feature, change titles, adjust sound using simple audio controls, and apply transitions. It was easy to master its tools and use them to create short vlogs quickly. I believe that it’s the perfect option for Apple users who want to streamline their video editing workflows.
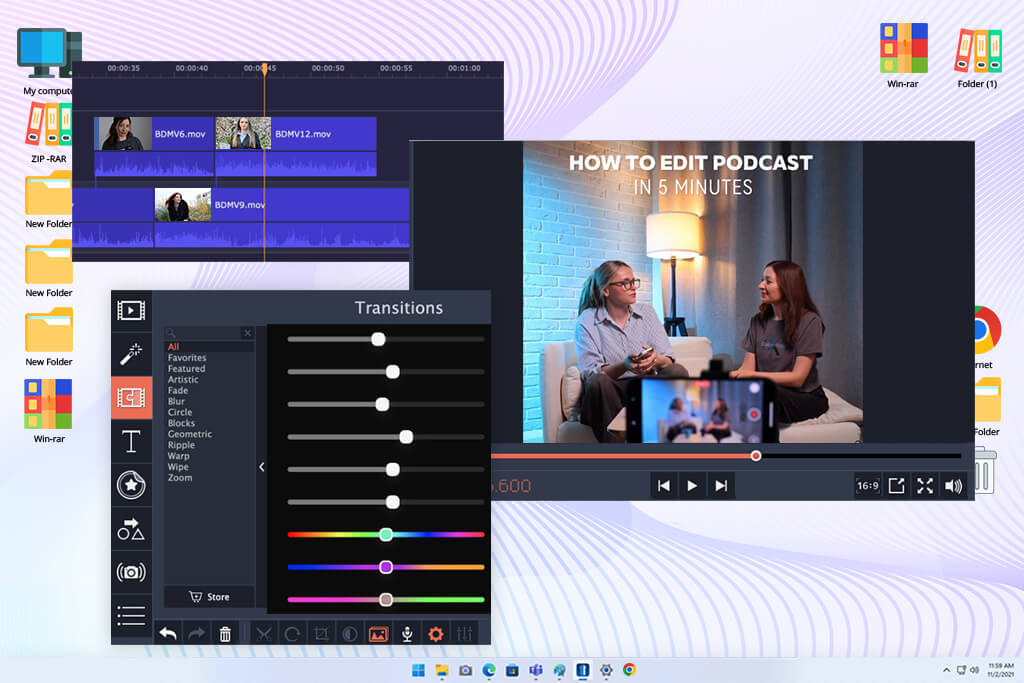
I became curious about Movavi as I wanted to understand whether it could help me automate my workflow and maintain full control over the output. I used it when I needed to understand whether I could create a software review for our FixThePhoto platform. The first thing I did was to use its automatic background removal tool to edit a short presenter video.
Next, I replaced the background with a new image that included our branding elements. Even though I wasn’t fully satisfied with the look of every frame, it helped me to achieve the desired result more quickly, as I did not need to rely on manual masking.
In addition, I tried using AI noise removal and motion tracking tools. The cleanup feature helped me remove the background noise from one part of my recording. I compared the output with the source file. When editing another piece of footage, I linked a small label to an object and used the motion tracking to ensure that the label moved whenever the object changed its position. These tools were perfect for making the blog more informative without editing each element manually.
I was also curious about the capabilities of this video editing software for vloggers when it came to quick visual edits. I changed brightness for several videos, tried making consistent adjustments, and then changed the speed to give a dynamic feel to slower segments. Movavi has an intuitive UI, which allows me to find every setting I need quickly.
Movavi allows me to use automated and manual editing tools to achieve better results. I use AI background removal tools, a noise reduction feature, motion tracking, speed controls, and color adjustments to give my outputs a polished feel. I prefer to use AI tools when I need to achieve quick results and make some minor edits manually later. I often use it when creating content for FixThePhoto vlogs when I need to produce creative videos without making my workflow unnecessarily complicated.
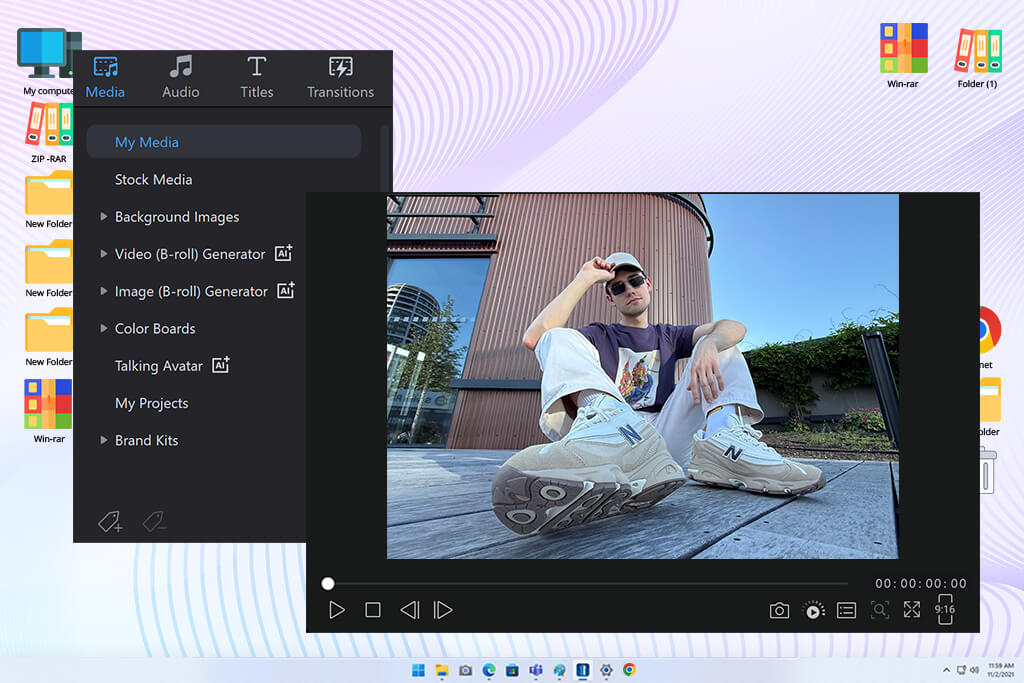
I decided to use PowerDirector when working on a FixThePhoto vlog, as I wanted to see whether it could help me create more dynamic content. However, I did not want to use it to make basic cuts. I used its motion tracking tools to add labels to specific elements of a software interface when they moved.
I did not need to change the position of these labels manually when the elements moved. Such functionality makes this solution suitable for creating tutorials and demonstrating how to use a particular button or feature.
During the next part of the test, I used the AI background removal tool. I created a short intro and separated myself from the background. Then, I added another backdrop. I also used AI-driven tools to remove unwanted elements and create captions. It was convenient to be able to access these features inside one software. I could experiment with all sorts of ideas quickly.
“I like using this solution when editing travel vlogs with a lot of different segments. Besides, it comes with helpful multi-track editing tools. I can experiment with the available features without complicating my workflow.”

I produced several versions of the same intro by experimenting with different effects and title styles. This free VFX software allows me to compare different versions without impacting the source file. I could choose different export settings for YouTube and vertical videos I created for social media platforms. It was easy to switch between horizontal and vertical formats when repurposing content for different platforms.
This vlogging editing software was especially useful when I needed to maintain a high degree of control over the output without managing complex technical settings. I used the motion tracking feature, AI-powered background tools, captions, effects, and various export options. I created graphic elements for FixThePhoto videos to make them more comprehensive and used the available tools to edit my videos quickly. It’s an excellent solution for vlogs that require visual explanation.
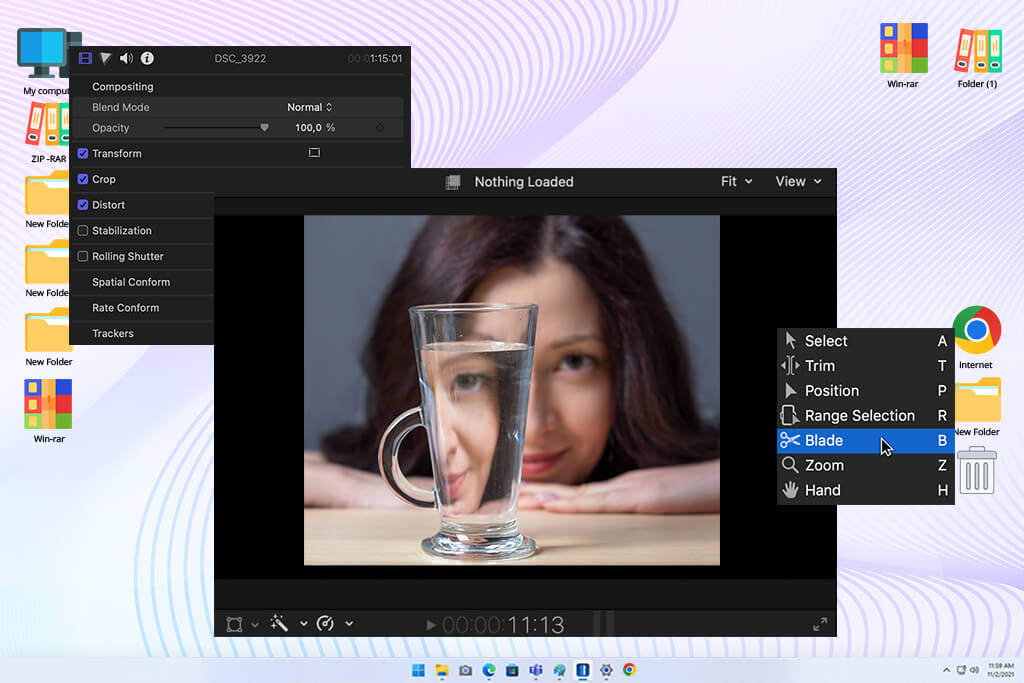
I tested Final Cut Pro when working on a FixThePhoto vlog that included many different types of recordings. I organized the footage I wanted to add to my project using Keyword Collections. I selected the segments I wanted to use for interviews, demonstrations, introductions, and social media content.
This approach helped me find the clips I needed to use later. I did not need to browse through the whole collection of assets when I needed to replace a particular segment of my video.
I was especially interested in the Magnetic Timeline tool.
When working on my MP4 file, I changed the order of sections, removed the segments I did not need, and inserted new clips. This approach helped me change the order of segments in the middle of my video. I used the timeline to edit the elements and was surprised to discover that I could perform every task with ease.
In addition, I tested the Voice Isolation feature when working on the clips recorded in an office. After removing noise from the dialogue, I balanced this track against the background music and considered whether the voice remained natural. I also used the Smart Conform tool to create a vertical video for social media. It allowed me to create the initial draft quickly. Then, I further enhanced it manually.
While testing this vlog editing software, I was especially pleased by the fact that it helped me organize a complex project. I used its Keyword Collections, Magnetic Timeline, Voice Isolation, and Smart Conform to streamline different parts of my workflow. With it, I could make complex changes and create versions for different platforms. It’s an excellent solution for creating professional-looking FixThePhoto vlogs and organizing different parts of footage quickly.
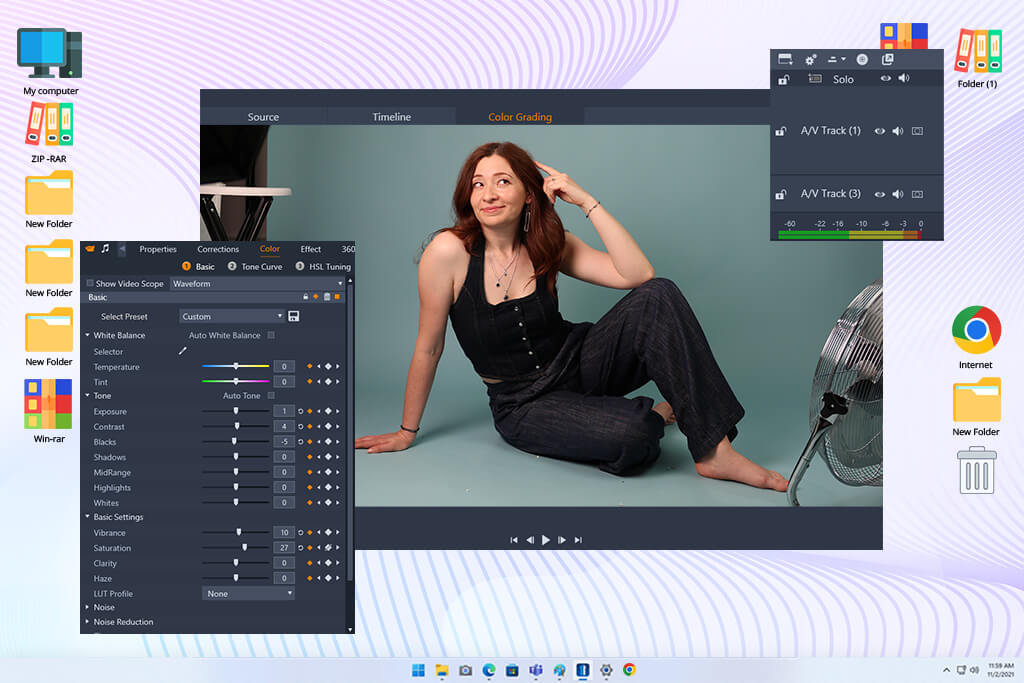
I tested Pinnacle Studio when I was editing a FixThePhoto vlog. I decided to use a short interview and multiple screen recordings. I was mostly interested in masking tools.
I wanted to understand how to highlight specific areas of a program’s interface without covering important details. I created a mask around an area I wanted to work on and changed its size as the video progressed. It helped me make my tutorial more focused on specific things without using a lot of graphic elements to illustrate specific moments.
In addition, I tested the motion tracking tool when creating a small callout element. I made it follow an object across the frame. After adjusting the settings, I did not need to move the element manually. This feature was especially useful for situations when I needed to explain how specific tools or buttons could be used when creating a software demonstration. It helped me give my videos a polished feel without complicating my animation workflow.
“I prefer to use it when I need to create well-structured vlogs and experiment with all sorts of effects and colors. Even though it took me a while to understand how to find each tool I needed, there are lots of features that could come in handy for different tasks.”
During the second part of the test, I tested multicam editing tools. I used two recordings of a short discussion between my colleagues and tried changing angles to give the whole conversation a more cohesive feel. I could choose a specific angle for each part and then continue editing it later to improve certain cuts. Pinnacle exceeded my expectations when I used it to edit FixThePhoto interviews and discussions between team members.
I realized that Pinnacle Studio is perfect for situations when I need to access advanced editing tools without unnecessarily complicating my workflow. It was easy to use masks, perform motion tracking, use multicam editing tools, and work with keyframes. It has everything I needed for creating well-structured tutorials and vlogs.
I could make my videos more comprehensive by adding visual explanations. Its editing tools were easy to access and use, making it perfect for editing FixThePhoto videos that included casual vlogs and detailed tutorials.
At FixThePhoto, we tested each video editor with real vlogging tasks instead of just browsing the feature lists. Julia Newman, Vadym Antypenko, and Ann Young worked with the same footage so we could compare editing speed, ease of use, and final video quality.
We started with a travel-style vlog containing talking-head clips, B-roll, outdoor footage, background music, and voiceovers. We cut out pauses and mistakes, rearranged the clips, added transitions, and adjusted the audio to see how smoothly each editor handled a typical vlog workflow.
Julia Newman focused on basic editing and organization, checking how quickly she could sort footage, make cuts, and build a coherent story. Vadym Antypenko tested more creative features, including color correction, effects, transitions, captions, and speed changes. Ann Young concentrated on audio quality, export settings, and how well each program handled longer projects.
We used screen recordings, talking-head footage, screenshots, and text overlays when working on a short FixThePhoto tutorial vlog. We considered whether each free video editing software with no watermark could synchronize the elements perfectly and did not slow down even when I added several layers.
“While testing DaVinci Resolve, I used it to edit a short FixThePhoto tutorial vlog. I used screen recordings, talking-head videos, screenshots, and text overlays. Every part of the footage was perfectly synchronized with the rest, even after I stacked multiple layers. Even though it took me some time to master the interface, the output had a professional feel.”

In addition, we edited the same vlog in each software and compared them in terms of output quality, audio synchronization, resolution, and file size. Some solutions delivered faster performance when we used them to edit simple social media content.
Others were more suitable for advanced color tweaking, in-depth audio editing, and applying effects. Besides, some options doubled as video cropping software.
After thoroughly testing these tools, we realized that there is no one-fits-all solution suitable for every vlogger. Some intuitive vlog editors were suitable for beginners and those who need to edit everyday content quickly. Professional programs were a better choice for situations when we needed to maintain a higher degree of control over the outputs and give our videos a polished feel.