If you often need to work on complex projects, it’s important to learn how to package Premiere Pro project to organize your footage from different sources. It will allow you to share your projects with other members of your team as well.
In this article, I will describe how you can export your project from Premiere Pro and save it into a specific folder as one package.
When working on your projects in Premiere Pro, you can export all the files, including LUTs for Premiere by following a few simple steps.
Start by going to File > Project Manager. Then, select what you want to export and where you want to save your file. The program will create a new folder and save your files to it. It will make it easier for you to organize your files by putting them into various folders.
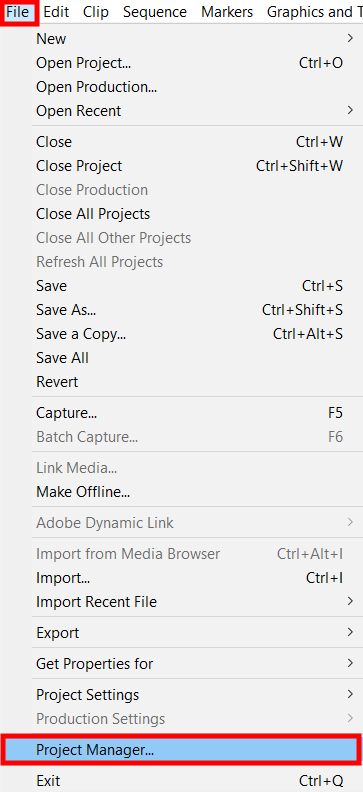
Go to «File» and Select «Project Manager…». It will allow you to access a range of important features available in this video editing software.
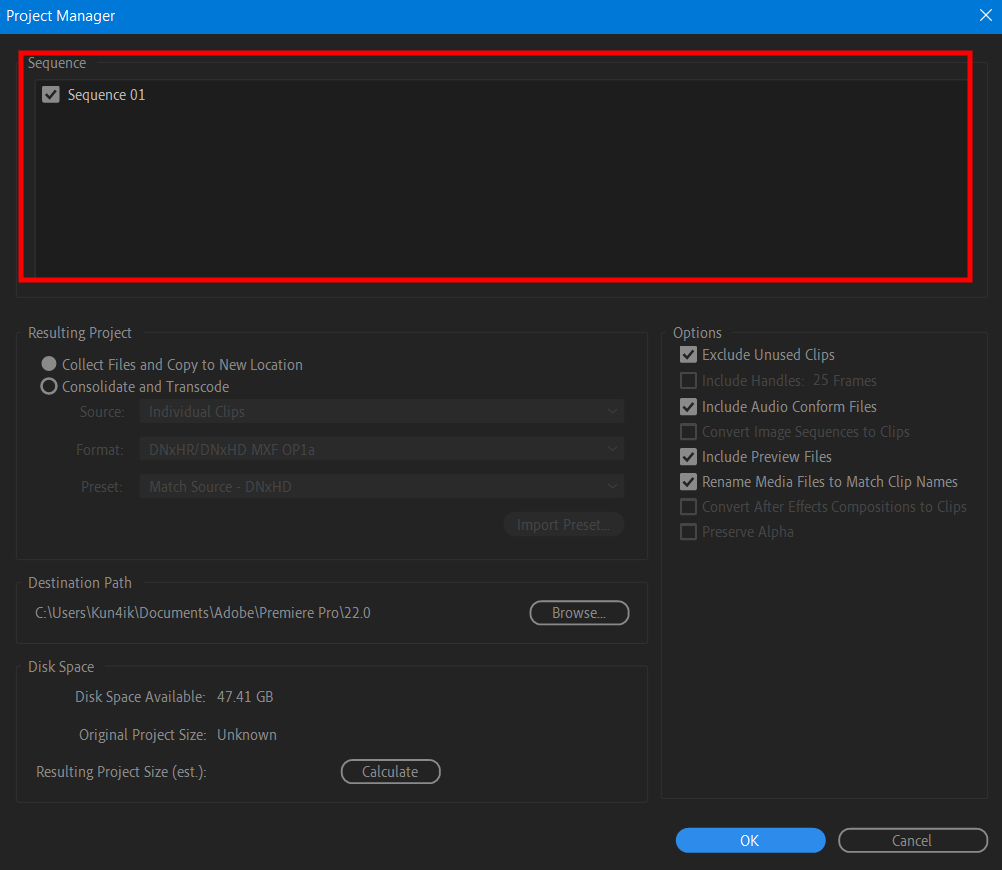
To package a Premiere project, select all the sequences that you want to add to the common folder. After opening the Project Manager, you can access the Sequence panel. You will see it at the top of the screen.
You will see a list of all the sequences of the project you are working on. If you have a lot of them, you can scroll through them. In case you face any difficulties at this point, you can watch and read popular Premiere Pro tutorials as they describe this process in detail.
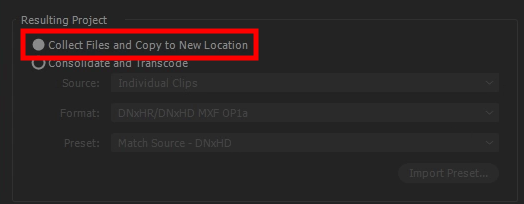
In the «Resulting Project» panel, tick the «Collect Files and Copy to New Location» option.
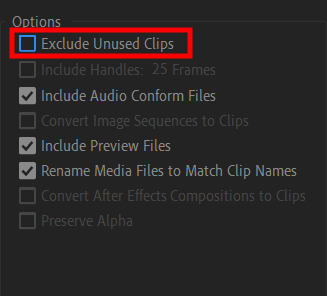
In the «Options» menu, uncheck «Exclude Unused Clips» if your project includes some shots that you need to add to your video.

In the «Destination Path» section, click «Browse» and select a folder for saving your collection of clips and metadata. After finding a suitable location, click the «Select folder» button in the pop-up window of this Adobe video editor.

If you want to learn the file size, go to «Destination Path» and click «Calculate». You will see the file size in the «Resulting Project» section.

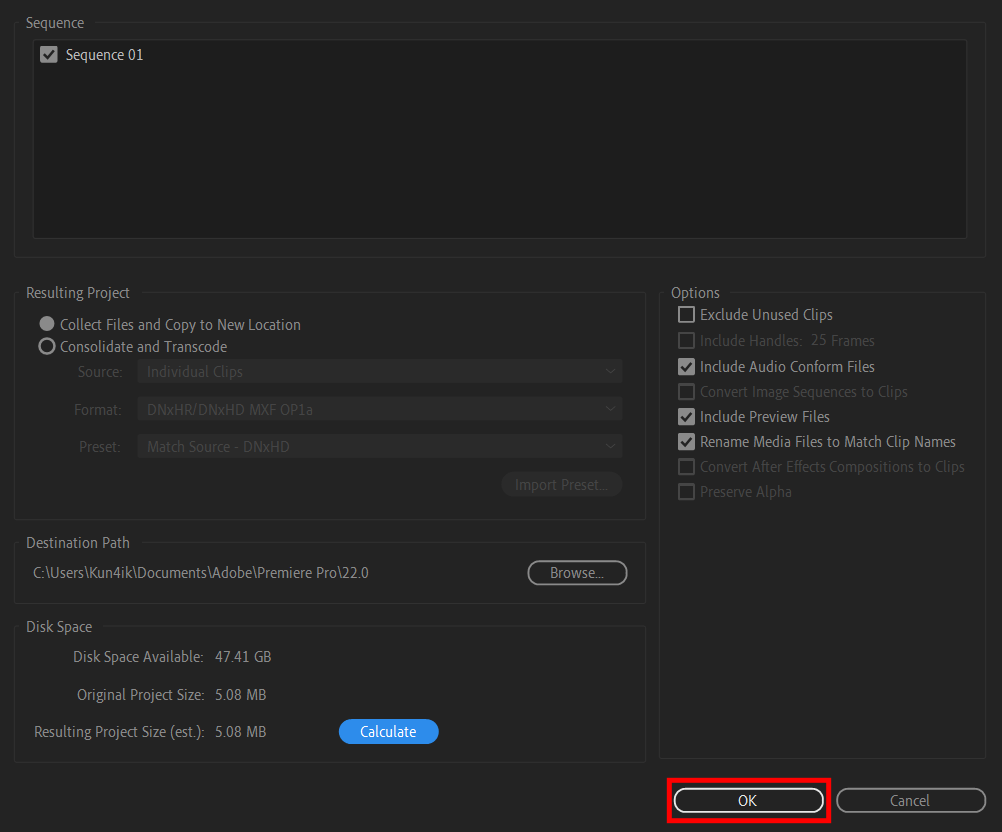
To package Premiere Pro project, click the «ОK» button. That’s it, everything is done!
Yes, Adobe has recently added tools for streamlining the workflows of teams. They make it easier for team members to work together on their projects in Premiere Pro project manager using a local or remote connection. This feature lets several people work on the same file and use source files from a project database.
Yes, you can turn on the Auto Save option in the settings, which will allow you to restore your file quickly or return to the previous version of a file. It will enable you to automatically save backup copies of your file to a special folder at a specific interval. For instance, you can configure the settings of Adobe Premiere so that backup files are saved every 5 minutes.
It’s recommended to opt for the best Premiere Pro video export settings for YouTube and other streaming services: H.264 (.mp4) format, a frame rate that matches the frame rate of the source video, a frame size of 1920 x 1080 for HD or 3840 x 2160 for 4K.