Have you failed to create a stormy atmosphere in your images because of the inappropriate weather? Don’t get upset, as you can follow this step-by-step guide on how to make a storm photo effect in Photoshop and achieve a realistic result without much effort. Forget about shooting in rainy weather and launch Photoshop to get started.
I will show you how to combine gloomy clouds, rain effects, and lightning in Adobe Photoshop to imbue your images with a stormy atmosphere. This method can be used for transforming portrait and landscape photos in a quick way.
Choose pictures you’ll edit and upload them to the program. The easiest way to do it is to choose File > Open or use corresponding Photoshop keyboard shortcuts – Ctrl+O/Cmd+O. However, don’t use photos taken outdoors with much sunlight, as it is very difficult to achieve a realistic result.
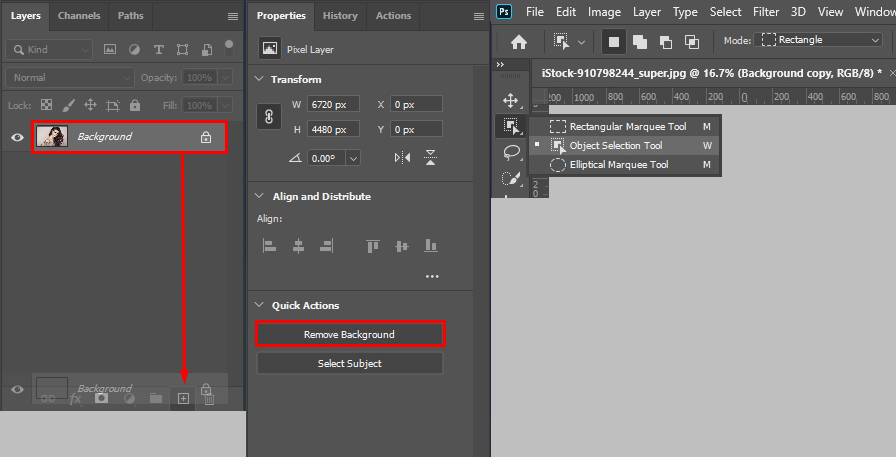
Hold down Ctrl+J/Cmd+J or choose Duplicate Layer from the Layers panel to create a duplicate of the main layer. Next, go to Window > Properties. You will see a new dialog box. Scroll to the bottom and click Remove Background. The process will be carried out automatically.
However, some Photoshop versions lack this feature. If you don’t have a version released in 2021, you can remove the background of a picture in Photoshop using any method you like.
Drag and drop a photo with clouds or the one taken in stormy weather onto the canvas. Make clouds bigger and perform other adjustments till they perfectly fit the canvas.
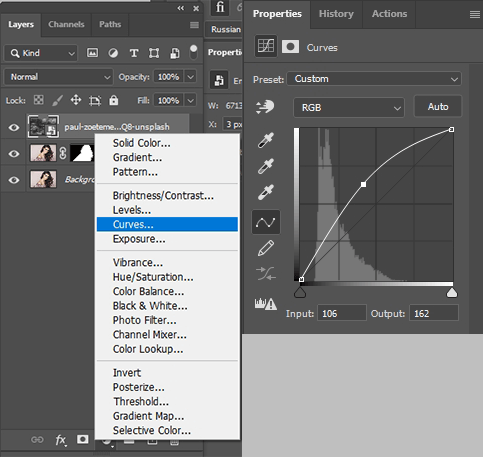
There is the Create adjustment layer button at the bottom of the Layers panel – click it. Choose Curves in the drop-down menu and do the same as shown in the screenshot. You need to move the curve upwards, making the area lighter.

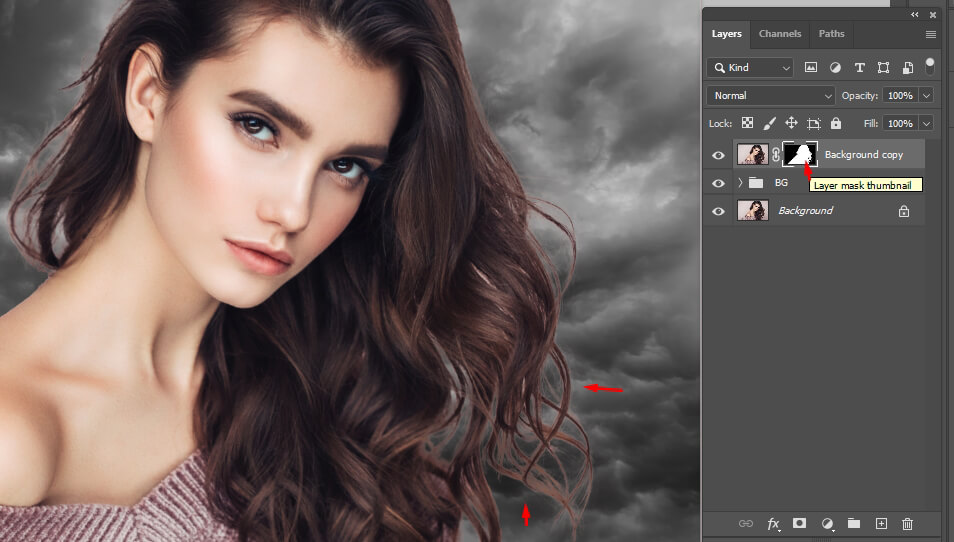
Next, you’ll proceed with masking in Photoshop. You need to invert the mask by pressing Ctrl + I/Cmd + I. Every element will acquire an opposite color in the Layer Mask. Take a white brush and paint the area where the object will be located, demonstrating light.
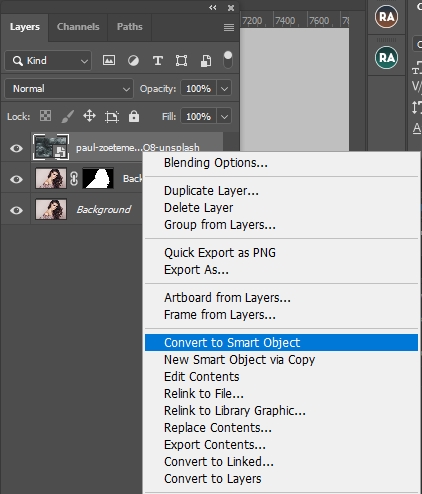
Insert an object; a girl in this case. Use a Layer Mask for clipping, so that you can return any element if needed.

Go to the bottom of the panel, click Create adjustment layer and choose Color Lookup to use LUTs in Photoshop. Select Moonlight.3dl in the first drop-down list and set the opacity of the layer to 50%.
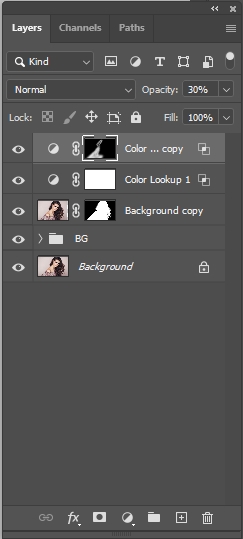
Duplicate the layer. Invert the mask by clicking on the mask layer or using Ctrl + I/Cmd + I hotkeys; set the opacity to 30%. Apply the changes only to the part of the photo where you need to darken light areas, since the lightning and light will be in the background. Thus, you can create a natural shadow effect.
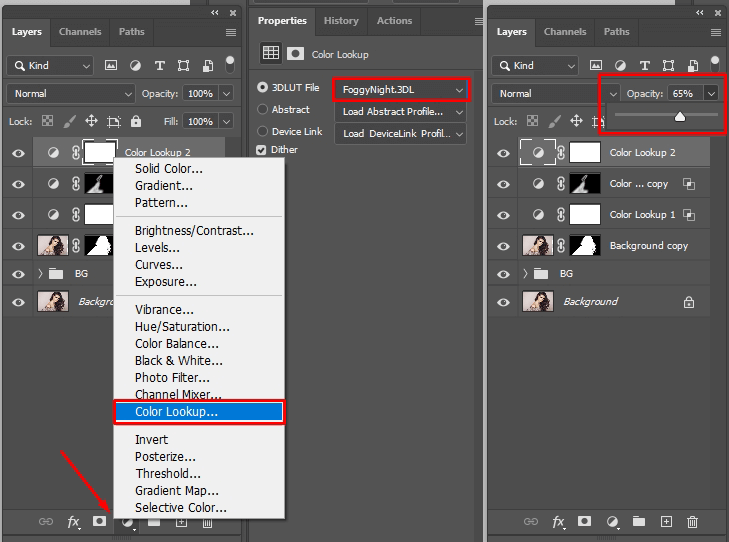
Now you need to create mist effect in Photoshop. Return to the Layers panel, click Create adjustment layer, and choose Color Lookup. Choose Foggynight.3dl in the drop-down list and set the opacity to 65%.

Repeat the steps to create the Color Lookup adjustment layer. Choose Fuji F125 and set the opacity to 50%.
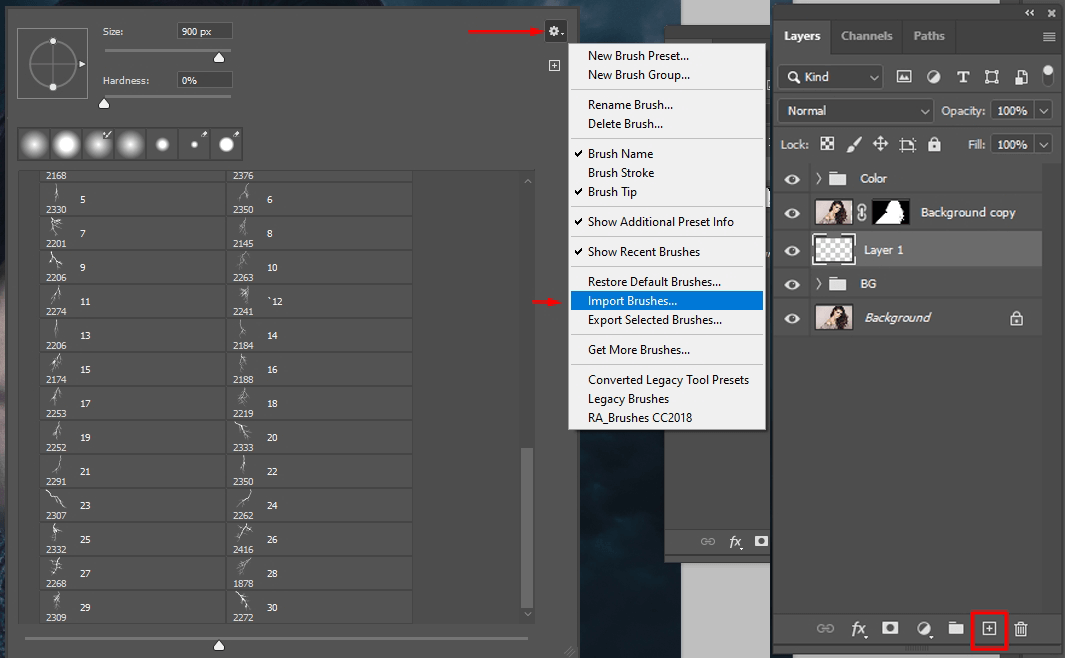
Now you need to install Photoshop brushes to create a storm effect. Go to Window > Brushes and click the flyout menu in the top right corner. Choose Import Brushes from the list. Find the . abr file on your computer and open it to initiate installation.
Create a new layer below the object. Find Create a New Layer option on the Layers panel. An alternative way to do so is to choose Layer > New > Layer or locate a corresponding icon on the panel menu.
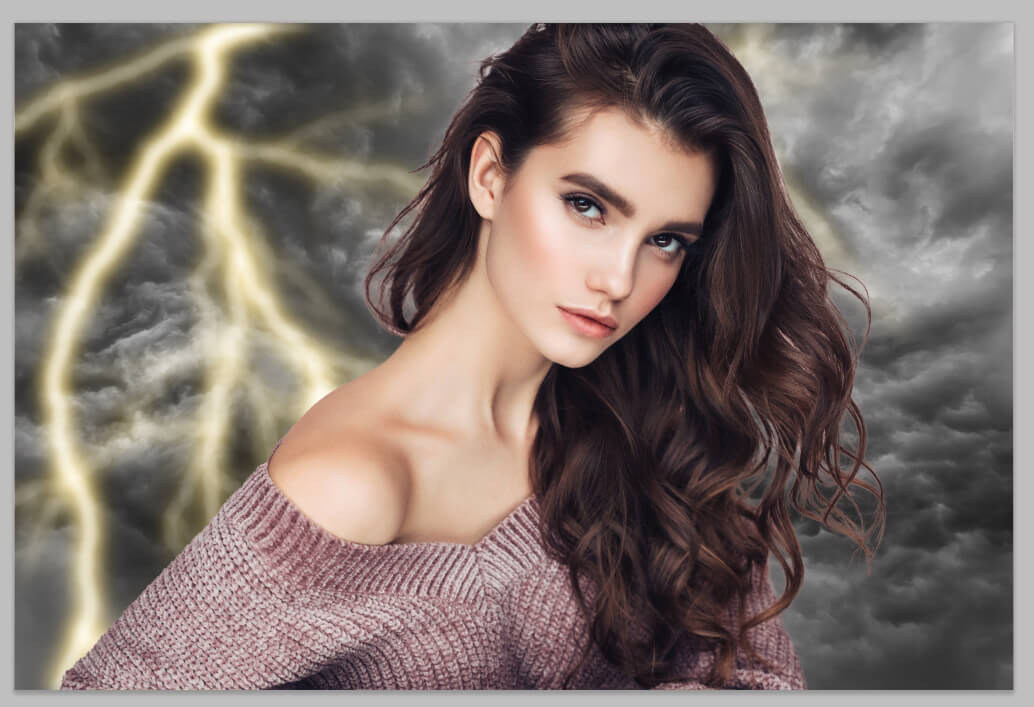
You can run your imagination run wild choosing a suitable position and direction for your lightning.
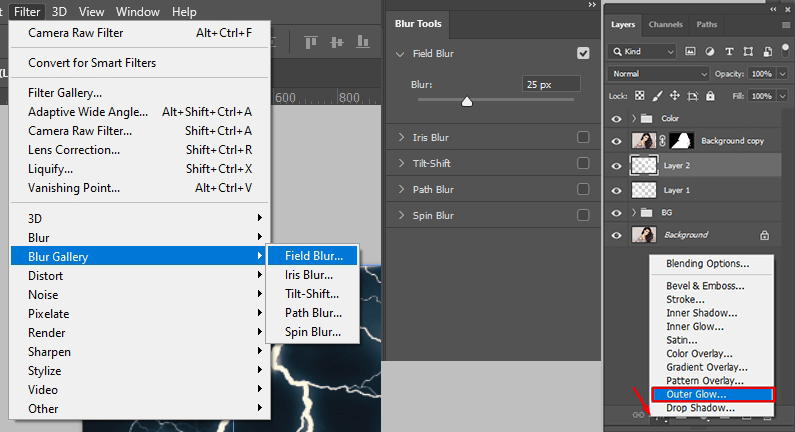
Once you’re done, choose Filter>Blur Gallery> Field Blur. Select the value of 25 pixels. To make lightning look lifelike, you need to add an Outer Glow layer effect. Go to the Layers panel and fx button there; there will appear a menu where you need to choose Outer Glow.
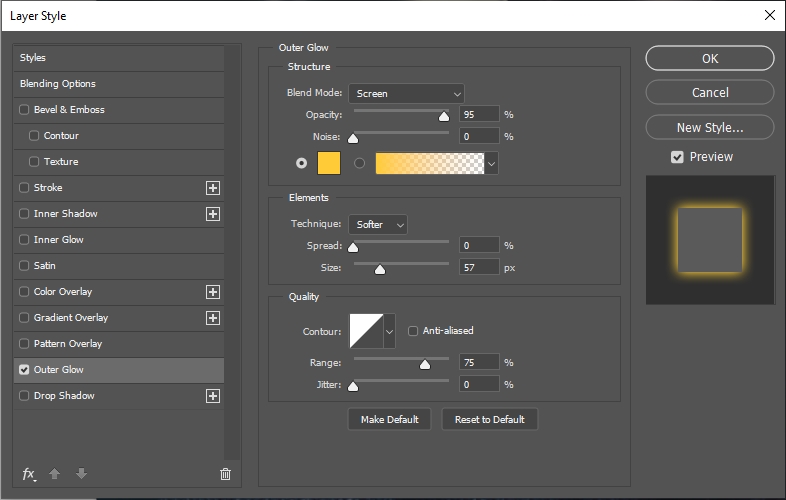
Use the same settings as in the screenshot for the Glow Layer Style. However, you can use any color of the glow not only the one from the sample.
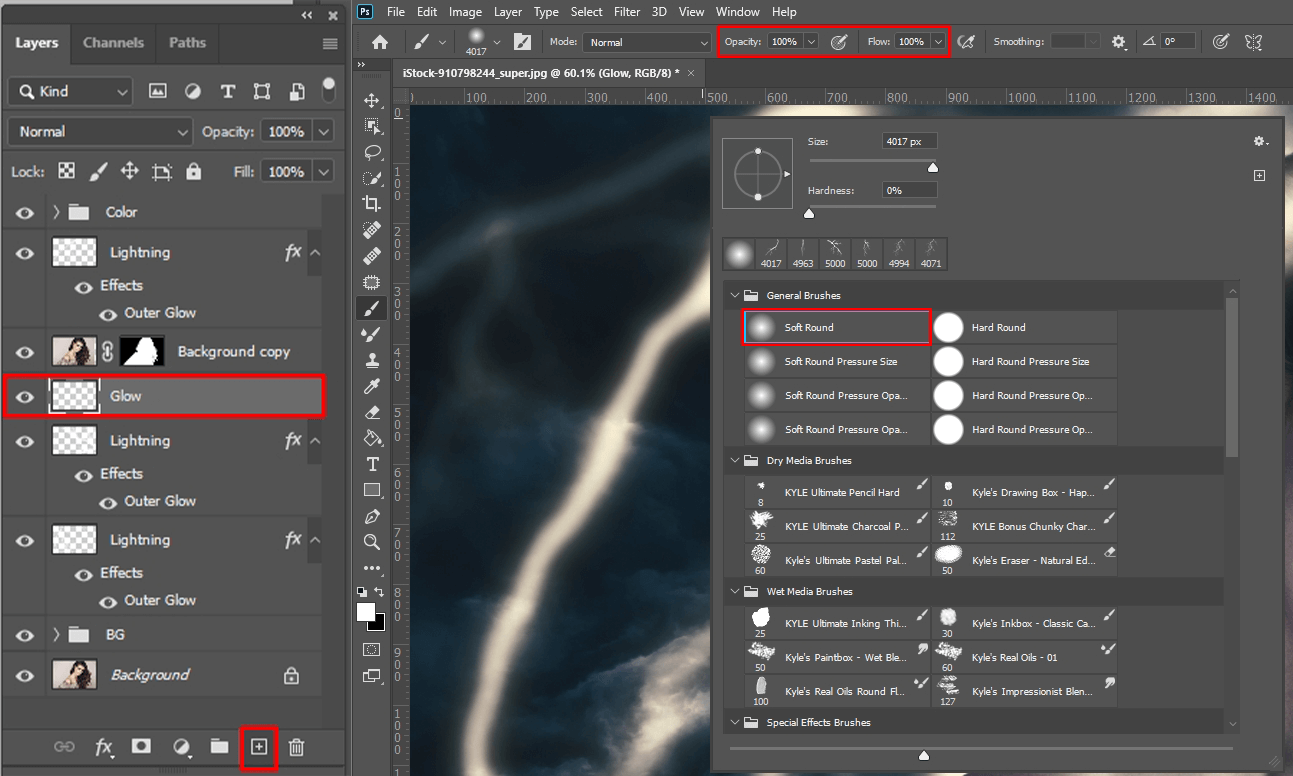
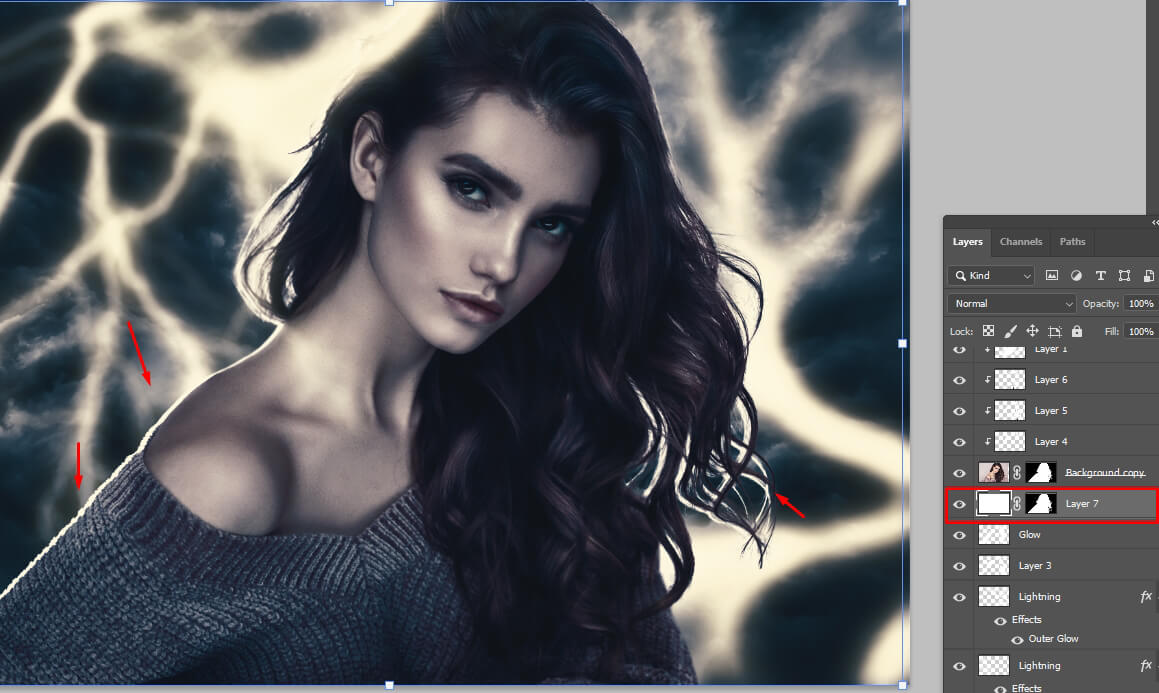
When we create a storm in Photoshop, it is important to add a natural glow behind and around the object, so that it seems that the object also emits light. So, create a layer and place it below the object. Then, select the brush with soft edges and set Opacity and Flow to 100%.
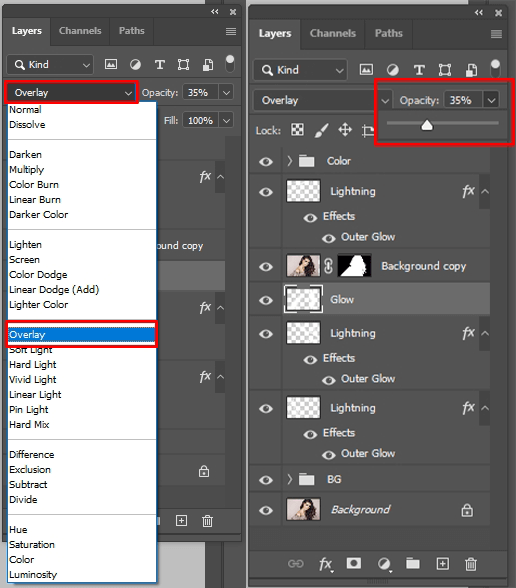
Change the Blend Mode to Overlay and set its opacity to 30%. Next, draw a small glow along the outline.

Create a new layer below the main object and fill it with white using the Color Picker.
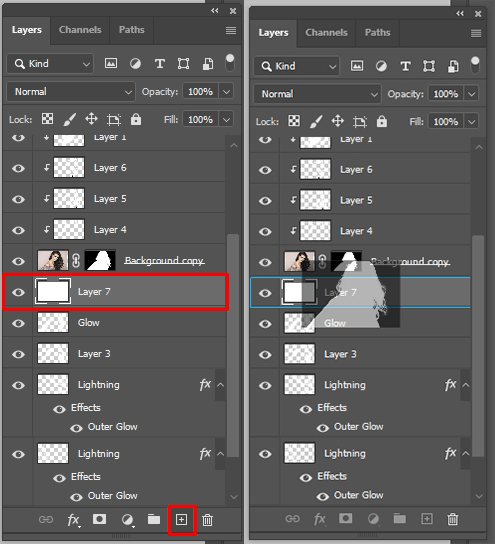
Holding Alt, drag the layer mask onto this white layer.
Using a standard Move Tool (V), move the layer 20 pixels to the left to create a glow outline.
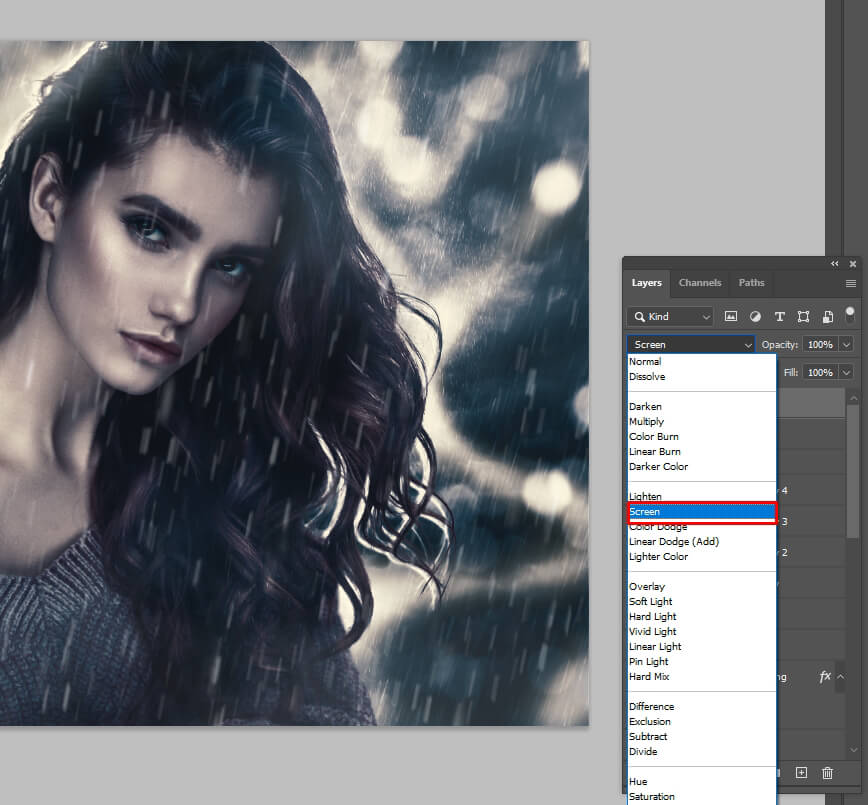
At this stage, you need to create Photoshop rain effect, using free rain overlays. After you added a layer with rain, switch the Blend Mode to Screen. If you have a PNG layer, you can skip this step.
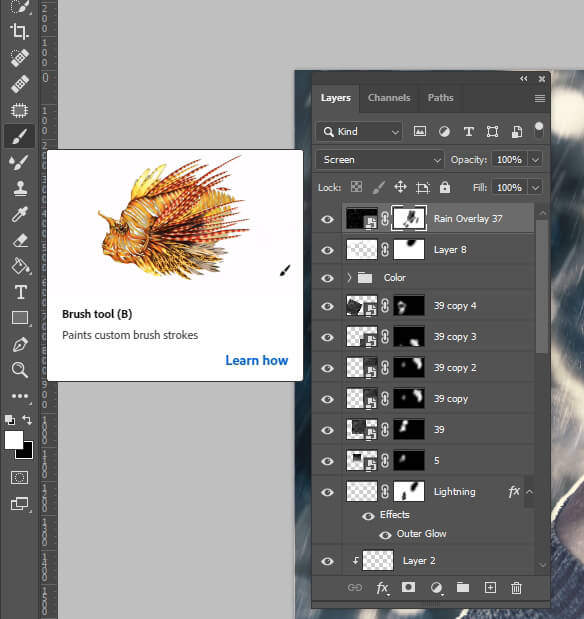
Keep in mind that it’s possible to flip a layer in Photoshop, duplicate, and combine layers with rain. If rain is overlapping the object or you just don't like a piece of a photo, use the Brush Tool (B) to change the way the layer is developed or return it.

This isn’t an obligatory step. However, if you want to make your photos even more captivating and atmospheric, you can add a glow effect to a person’s eyes. The process is identical to the one described above. Be very attentive with applying blurriness and a glow effect (step 10).
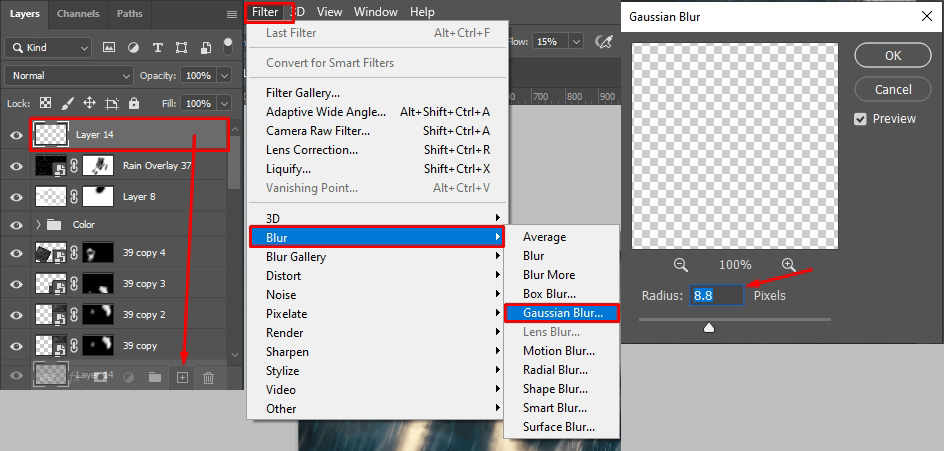
There is an easier way to achieve some Photoshop effects. Duplicate a layer, go to Filter > Blur > Gaussian Blur. Select the blur radius based on the screenshot, and repeat the manipulation several times to create a glow. You can also change eye color in PS, choosing a darker color for a creepy look.
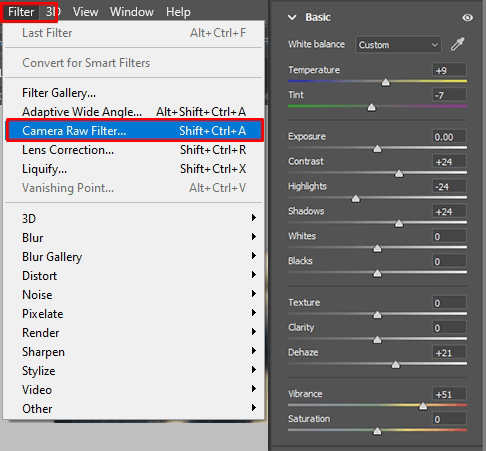
If you don’t like the resulting colors and contrast, open Filter > Camera Raw Filter or press Shift+Ctrl+A/Shift+Cmd+A. Make changes in the settings. Use the values from the screenshot or use the value you like.

Now you know how to create a storm photo effect in Photoshop. You can merge layers in PS and save the result. There are lots of other interesting Photoshop tutorials that you can watch and create mesmerizing images.
If the tutorial seems complicated, you can’t achieve a realistic outcome, or don’t feel like spending time doing such tweaks, get in touch with professional retouchers and they will perform all the needed manipulations instead of you.
The price is reasonable and the turnaround is very quick. You are welcome to define what lightning you want to get in photos, how heavy the raid should be, and what type of clouds you’d like to see.
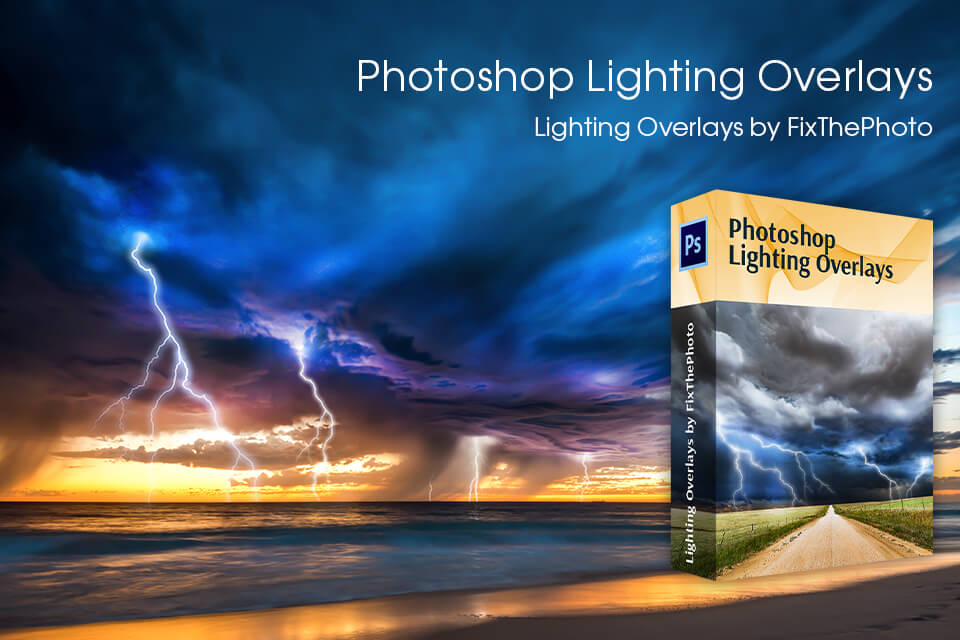
You can create a storm in Photoshop faster, using this free collection of overlays. Just download the pack, launch the program, choose a suitable option, and apply it to your photos. To use overlays in Photoshop, you don’t have to be a seasoned retoucher. The process is very understandable, while the variety of overlays is amazing.


