If you want to embellish your photos with interesting elements, e.g., feathers, stars, leaves, snowflakes, etc., you can use Photoshop overlays. These are special filters that you can apply to JPEG and PNG images as an extra layer. Read this guide on how to use overlays in Photoshop and start experimenting straight away.
You need to get Photoshop free or paid versions, install it, and launch the program. Save the needed overlays in the folder, which you can easily find. Typically, overlays come as a .zip file. Locate the file on PC and double click to unzip it.
Next, choose File > Open. The process can become faster if you memorize Photoshop keyboard shortcuts. In this case, you need to press Ctrl/Cmd+O. Select the image you want to beautify with the help of Ps overlays. It is better to choose a photo with lots of negative space to get a more arresting result.
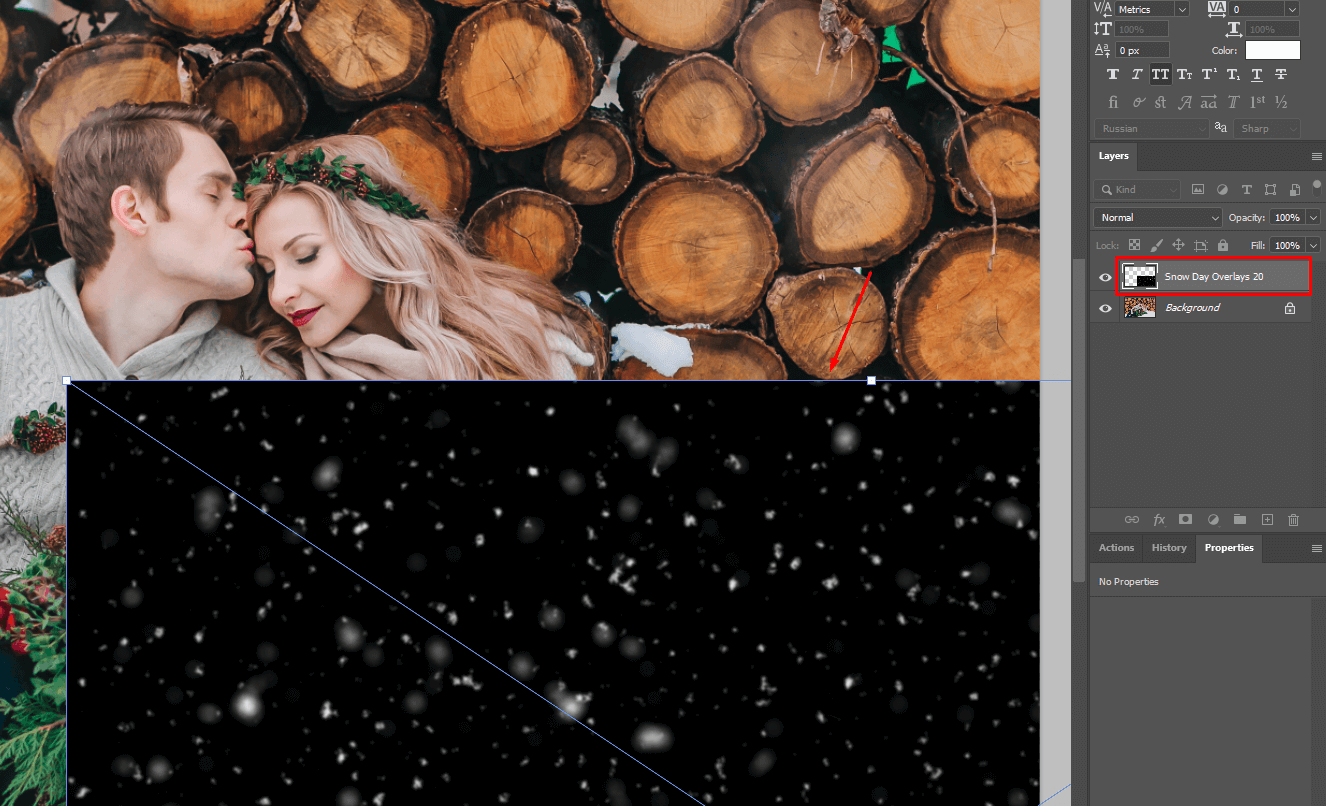
Just like with free Photoshop alternatives, you need to drag and drop the overlay you like onto the picture. It will be automatically displayed as a new layer. I have a photo taken in winter and I think it lacks some fairytale atmosphere, so I’ll use a snow overlay. You can add smoke in Photoshop, or any other effect that can match your image.
If needed, you can resize a layer in Photoshop. Doing this is simple. You just need to open Image > Image Size. Make the needed adjustments in the window and double-click on the photo to accept changes.
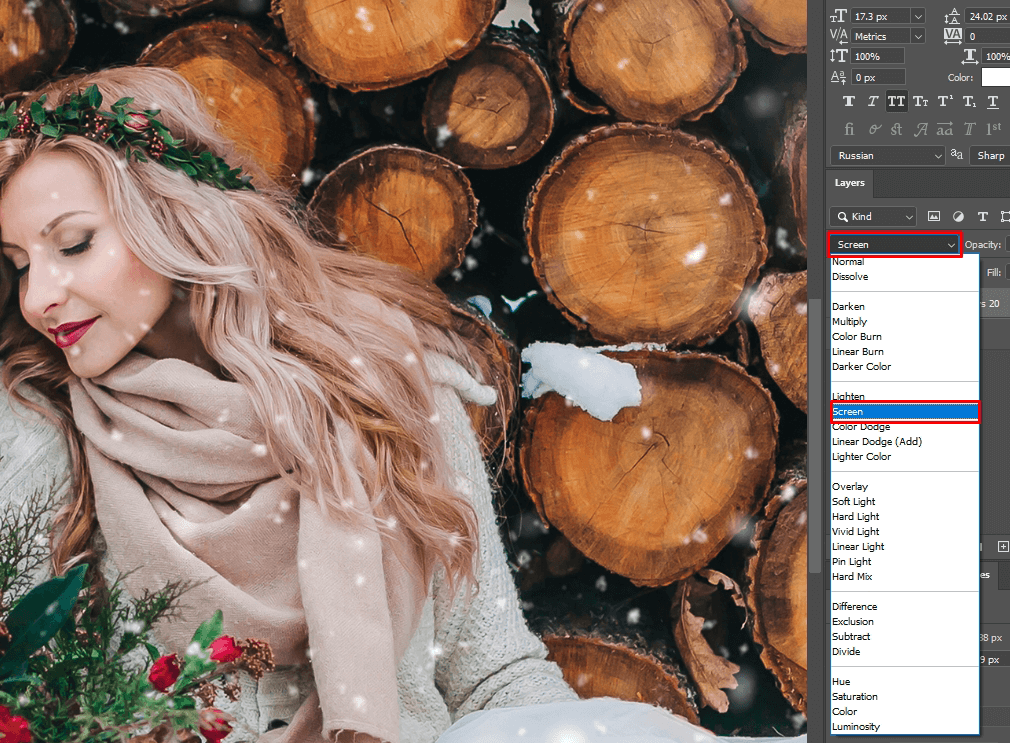
Similar to adding texture in Photoshop, you need to change the blend mode, after adding an overlay. With the help of blending modes, you can combine and overlap pictures the way you like. Moreover, they define how pixels in images are changed while you are making specific adjustments.
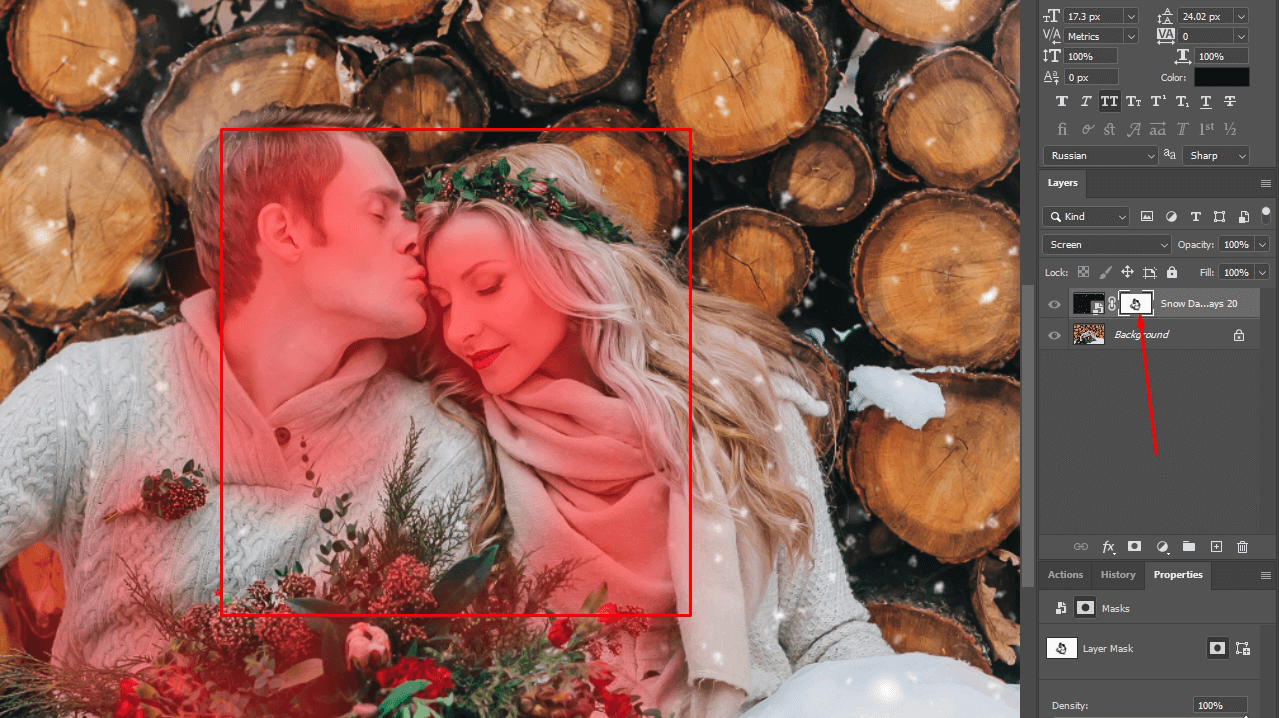
It is important to experiment with blending modes while learning how to use overlays so that you can instantly understand what results you will get by choosing different modes. By default, the blend mode is set to Normal. I recommend changing your Blend Mode to Screen. You have probably seen that my overlay has a black background. With “Screen” mode on, all pure black parts will disappear and there will be only snow visible.
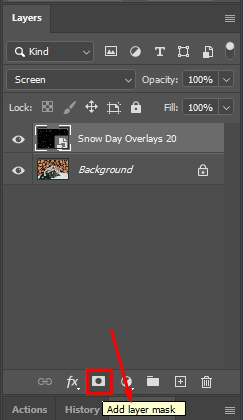
It is crucial to learn how to mask in Photoshop if you spend most of your working time photoshopping portraits. First off, go to the Layers panel and select an overlay there. You need to click the “Add layer mask” button located in the lower part of the panel.
There will appear a white layer mask thumbnail next to the selected layer, which is needed for hiding parts of your overlay. For example, if you apply an overlay to a portrait image, you definitely want models’ faces to be perfectly visible. So, any part of an overlay that covers the forehead, eyes, etc., should be hidden.
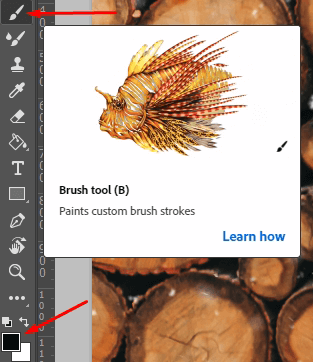
Learning how to use Photoshop overlays is simple, as the range of tools you’ll have to utilize is rather small. At this stage, you need to select the Brush tool (B) from the Tools panel and set it to black. Keep in mind that a pack of available instruments is sufficient for basic tasks. However, you may need to install Photoshop brushes shared on the net for more sophisticated adjustments.

Feel free to alter brush settings. For instance, you can modify the opacity and hardness the way you want. However, I recommend sticking to 41%.
Now, you can conceal any piece of an overlay. Keep in mind that you should use black to erase and white to recover. Fortunately, all changes made are non-destructive.
In other words, you can always return to the previous stage by changing the brush’s color to white and moving it over the areas you need to recover. I will concentrate on deleting an overlay from people’s faces because I think this part of a photo should have no distractions.
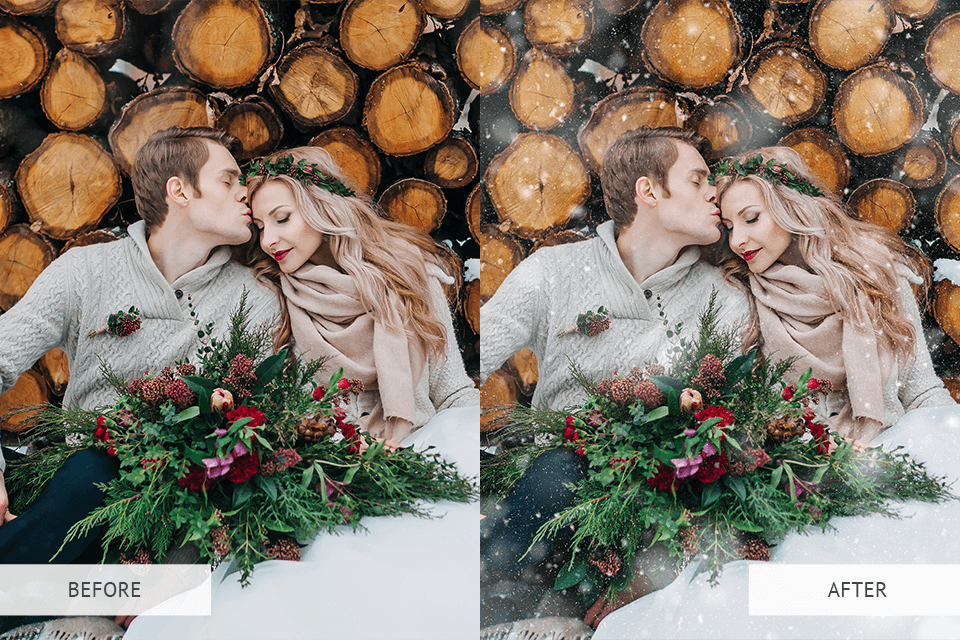
That’s it! Now you know how to use overlays in Adobe Photoshop. You may also learn how to merge layers or check out other Photoshop portrait tutorials to give your images an arresting look. Besides, there are lots of free Photoshop overlays that you can download and apply to your photos.
Facing any difficulties while working with overlays? Why not entrust your photos to our professionals? Not only will they add any desired overlay, but they will correct colors, remove any imperfections, and enhance the skin. You will get professionally edited photos in a quick way and at a reasonable cost.
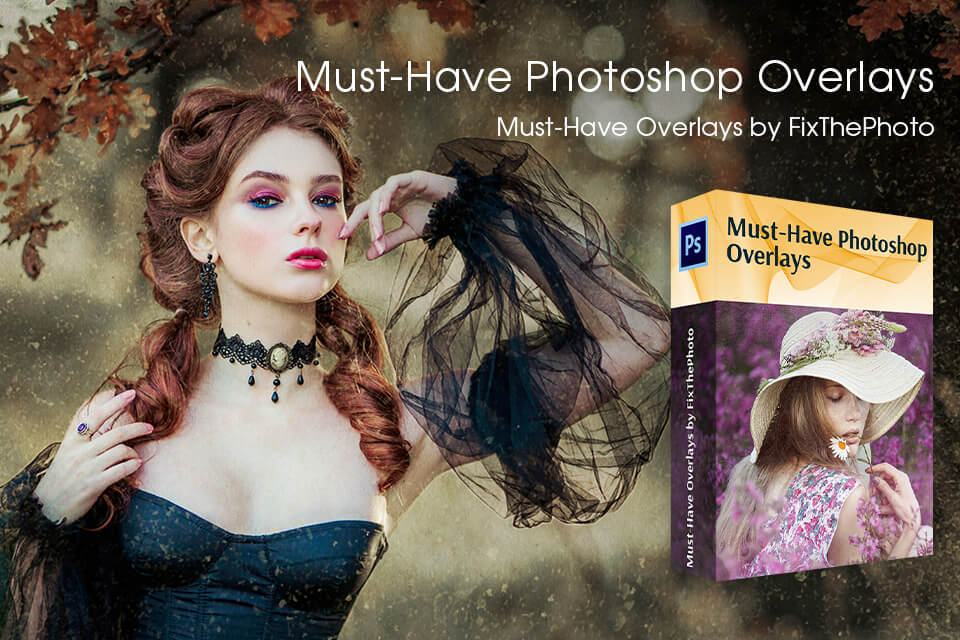
Seeking a reliable source with high-quality overlays? We have prepared a large collection with top-notch overlays for all your creative projects. This bundle will come in handy not only for beginners but also for professionals who want to extend their current toolkit. Here you will find seasonal and bokeh overlays, watercolor overlays, and more. The best part is that you can apply these overlays to different types of photos, including wedding portraits, lifestyle and product, images, and even wedding template invitations.


