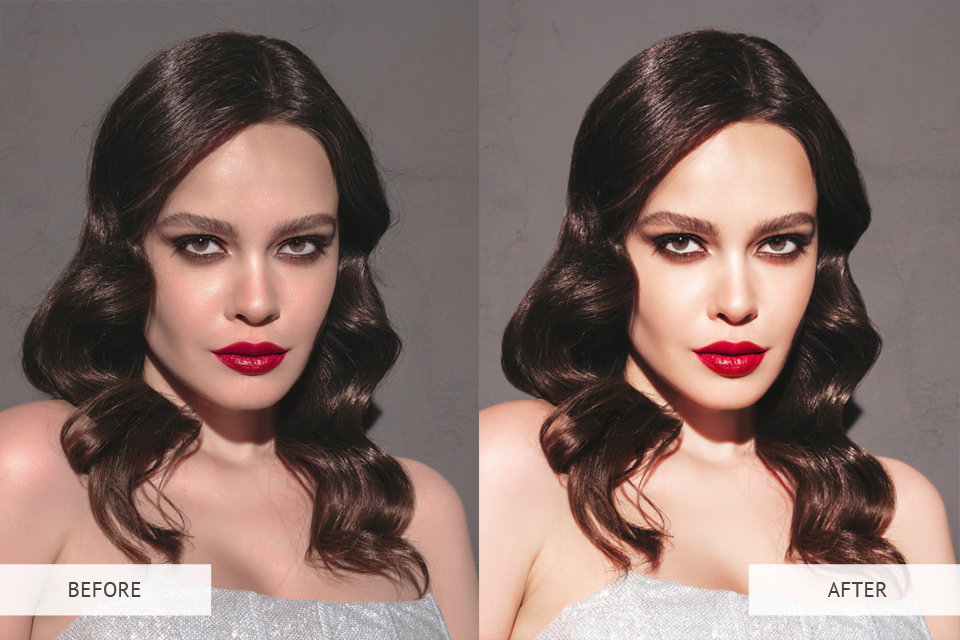
Taking a good pic is only half the battle. Knowing how to edit portraits in Photoshop is no less important for creating eye-catching and fabulous portraits.
You can download Photoshop (a trial version) from the official website for free, or upgrade to a newer version if you are currently using the outdated tool.
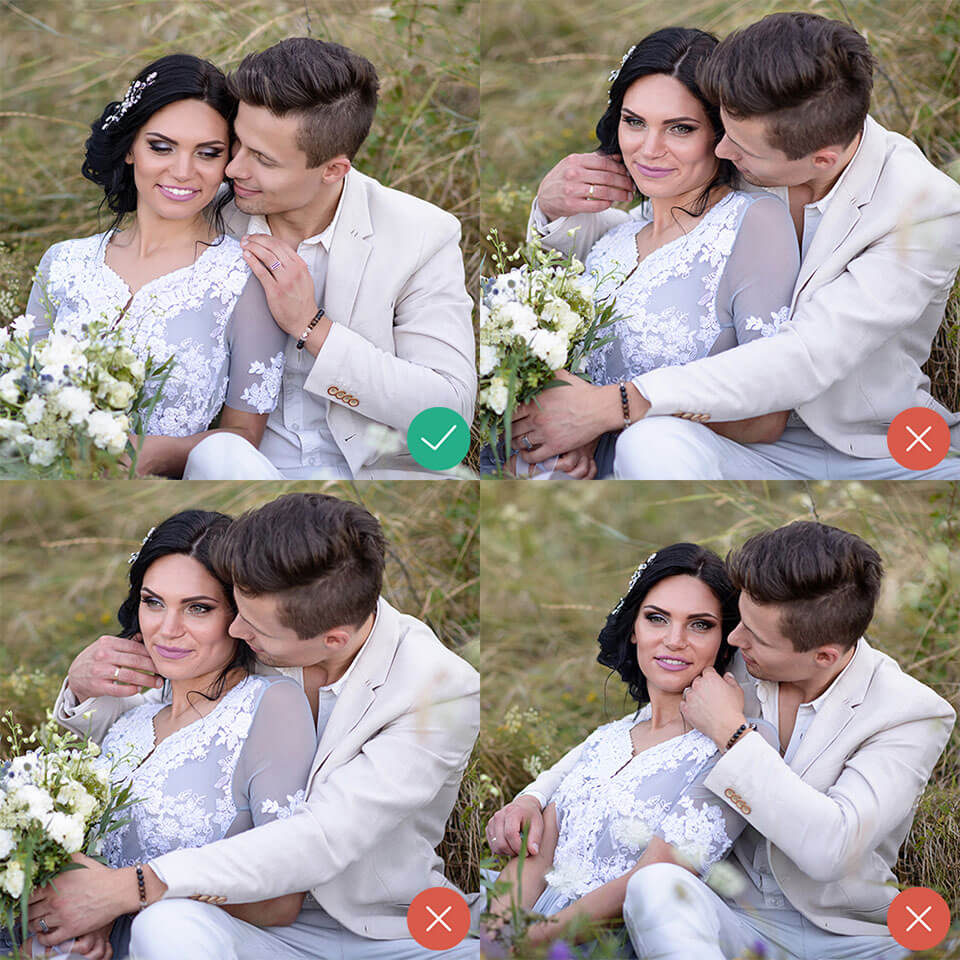
Before editing, I advise you to choose the best photos you took and carefully look at how to improve them. Remove the photographs with distracting things (strangers, stains, too bright textures or colors), anything that distracts attention from the model. If some objects cut your model’s face, body or distracts, remove this photo too.
You can select the desired items manually in such tools as Lightroom and Adobe Bridge. Besides, there are many Photoshop tutorials on YouTube on this theme.
Before starting the editing process, remember how you took the image you are going to upgrade. What kind of lighting did you use during a photoshoot? What did you shoot the pics for and what aspects do you want to highlight?
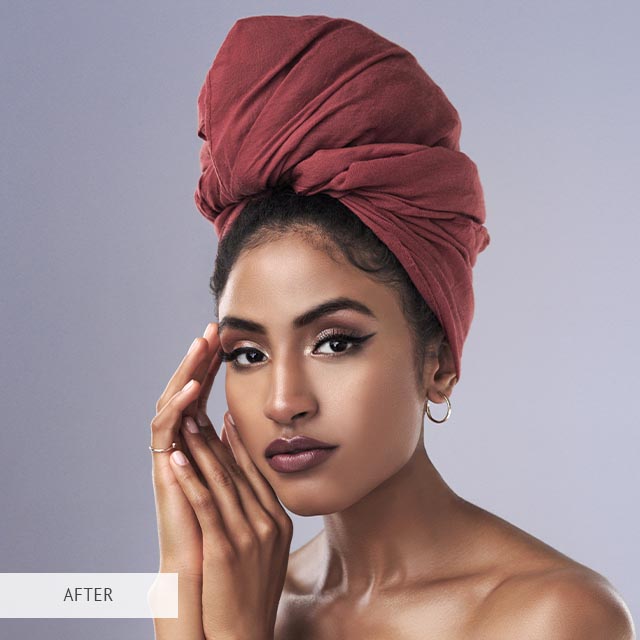
Perhaps, you should make the image more delicate by adding a pinkish tint to the skin, or emphasize your strong character with brighter makeup.
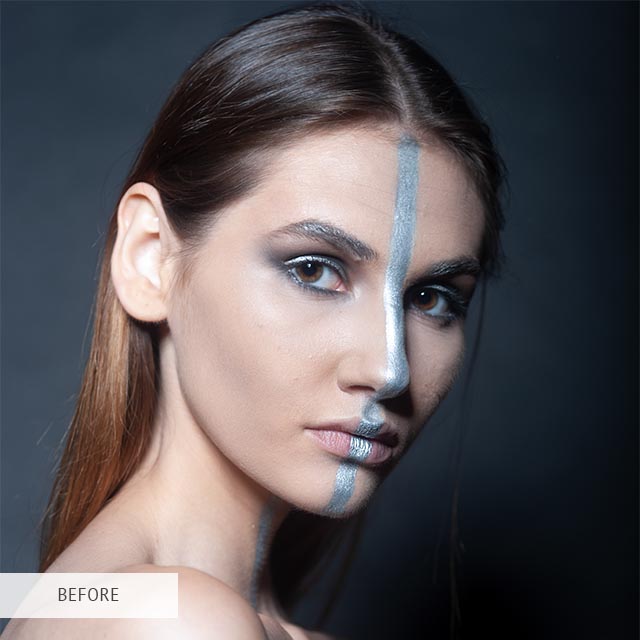
Launch Photoshop, open the RAW file, and Adobe Camera Raw (ACR) will open in a new window automatically. Primarily, I needed to correct and set the dynamic range of the portrait photo, including blacks and highlights.
To ensure the natural skin color, I also tweaked the WB. Avid photographers know that even when shooting with a flash set for the white balance, the model's skin has an orange tint.
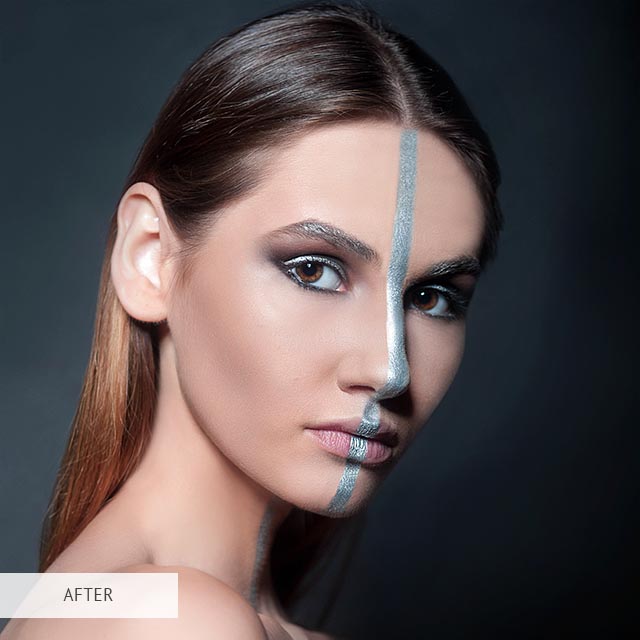
Regulate white balance. Eyedropper tool allows fixing white balance in Photoshop without trouble. The image sections for processing should be whiteish, grey, or black. You can also achieve amazing results with Auto White Balance (AWB).
Work on the dynamic range. Head to the ACR Basic panel, find the Black slider, define the black point of your model, and make the black color richer and more intensive. But do not overdo it, otherwise, the fine clothes details could be deleted.
Moreover, it is possible to increase the image brightness by dragging Whites and Highlights sliders. Here you should make certain that the pic is still contrasted and the colors are not faded due to your manipulations.
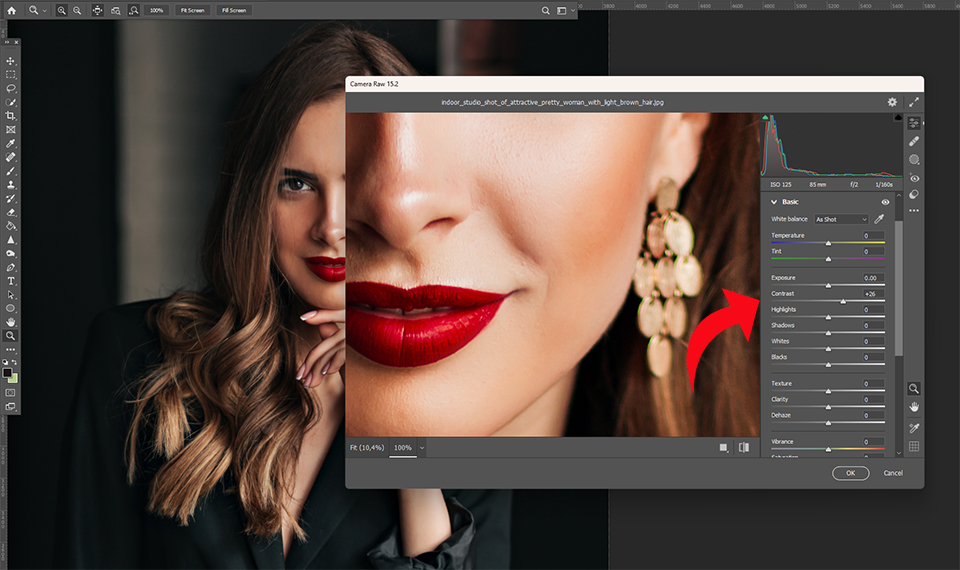
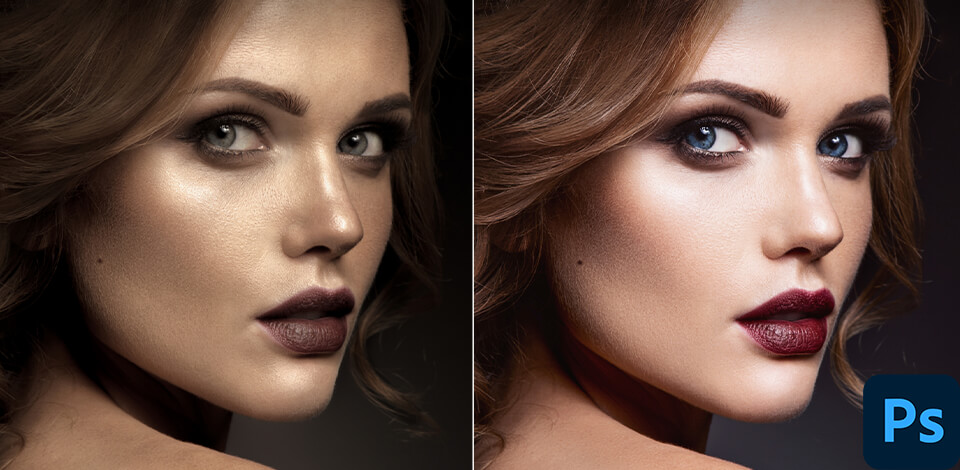
Work on contrast. Once the dynamic range is adjusted it is high time to make a pic more contrasted to highlight the desired parts, like eyes.
The skin tone will help you control the required level of contrast. The greyish tint means that the contrast is too decreased. An oversaturated skin tone indicates that you overdid with contrast.
Recommended Video Tutorials:
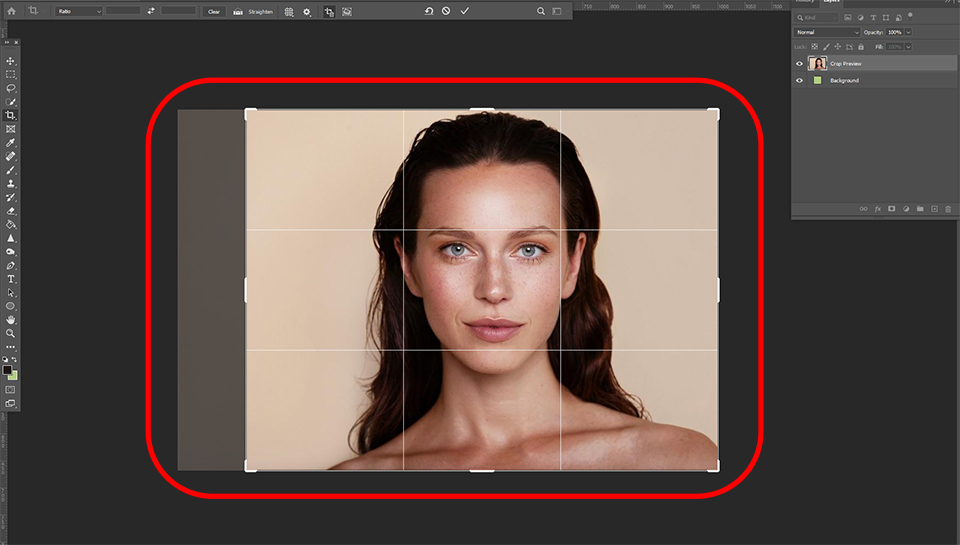
Before polishing the result with sharpening and retouching skin, it is advisable to crop an image in Photoshop. By doing so, you can easily delete any undesired section of your photo like empty spaces, unwanted persons, or objects to bring the focus on the important things.
Perform the following steps when cropping in Photoshop:
Recommended Video Tutorials:
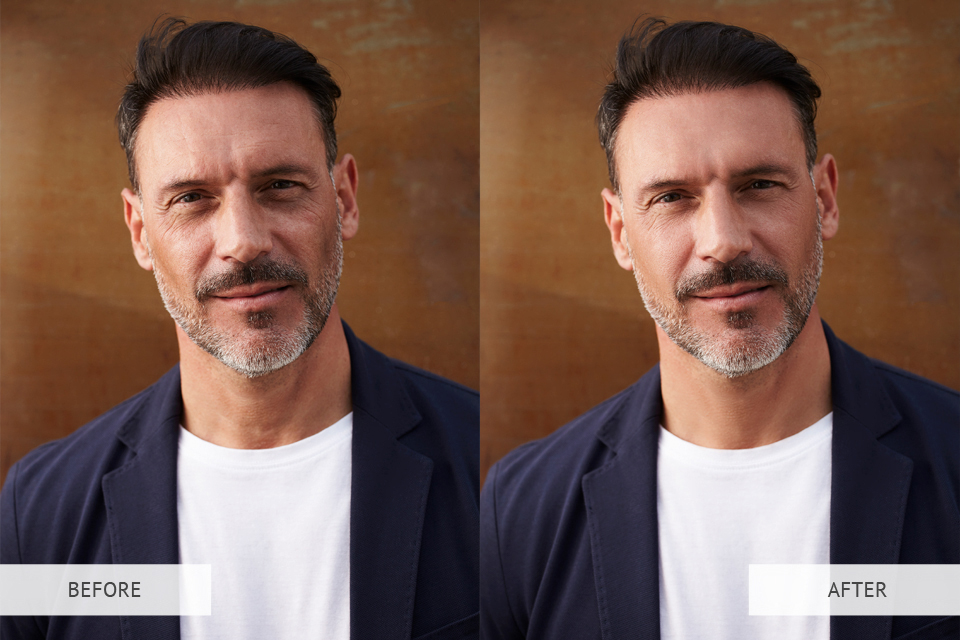
The next stage is to get rid of spots, wrinkles, and pimples and even out the skin tone.
The Healing Brush is a versatile tool that can help you fix all these issues:

This image retouching tool will enable you to separate the detail and the color to adjust them apart. You get two layers:
Frequency separation helps completely get rid of black-heads from a model’s nose by wiping over the affected area with the clone tool, removing just these defects without damaging the color and tone.
If you want to perform skin retouching and erase minor defects without paying much effort and spending much time, try the collection of ready-to-use actions. With them, enhancing colors, removing shades, and correcting tones is a no-brainer.
The procedure is the following:
Recommended Video Tutorials:
When editing portrait in Photoshop, think of using the Dodge & Burn technique to highlight various facial features or make them neater, as this will add some dimension to your pic.
Here are the steps:

This technique is also applicable when you need to whiten teeth in Photoshop, for example. You can also perform this task using the teeth whitening photo editor. But make sure that you do not go overboard with whitening, as the teeth won’t look realistic. To achieve a perfect look, the Opacity should be set to 50%.
Recommended Video Tutorials:
How to Whiten Teeth in Photoshop
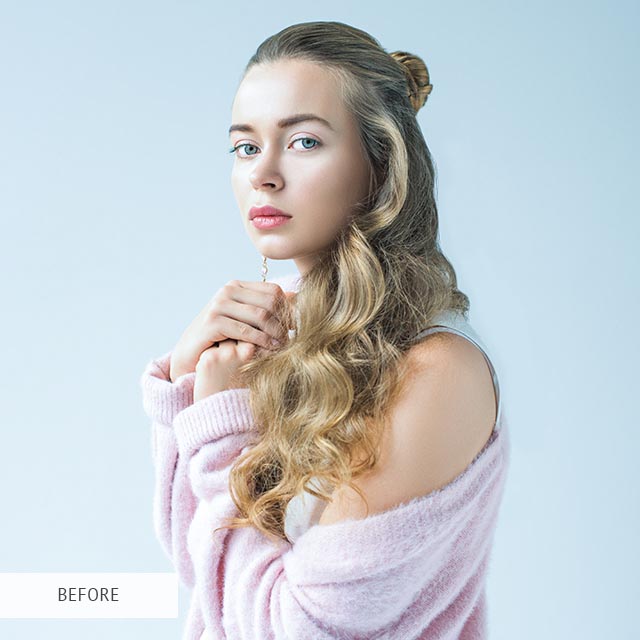
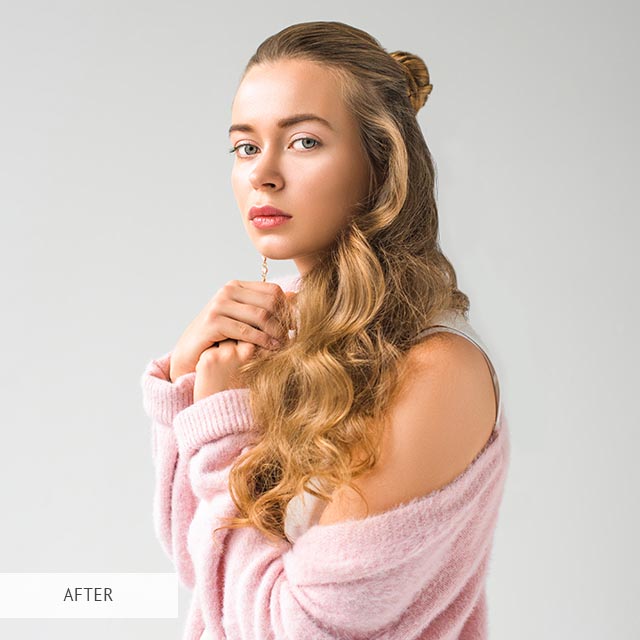
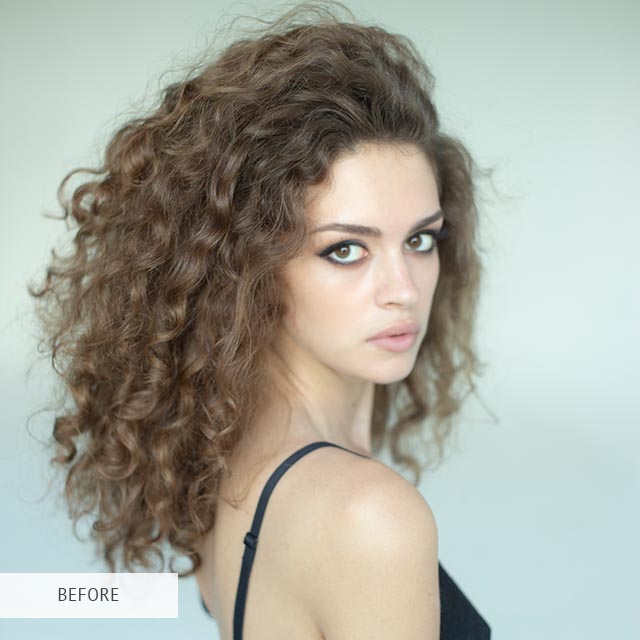
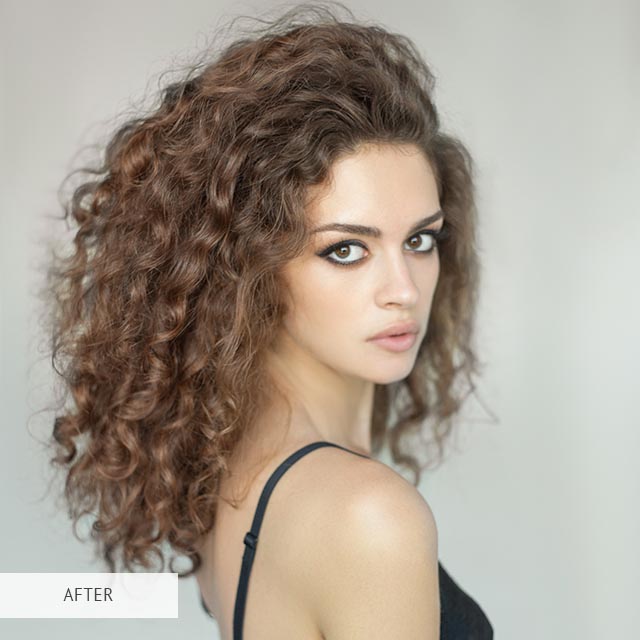
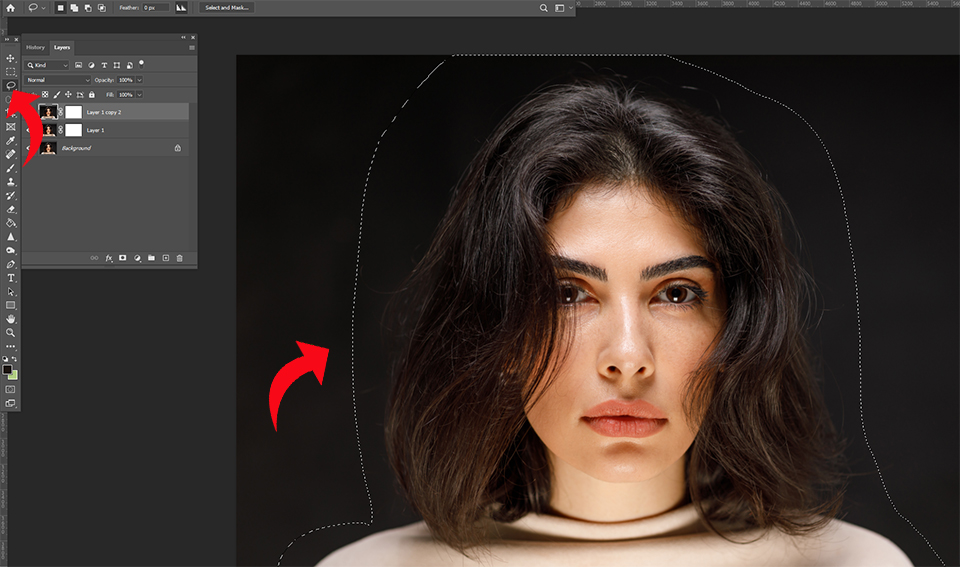
You can add hair in Photoshop, change hair color, remove frizzy hair, and add shine. Some tasks, such as removing stray hairs, can be accomplished using the Clone tool. With it, it is easy to capture background and paint over an image section, which is ideal when it comes to dealing with hair that is layered over skin or patterned backgrounds.
Liquify filter will come in handy if you want to remove hair in the shortest possible time. This eliminates the need to spend hours discerning details, as you can get rid of stray hairs by puckering and pulling areas of an image.
Recommended Video Tutorials:
The Easiest Way to Change Hair Color in Photoshop
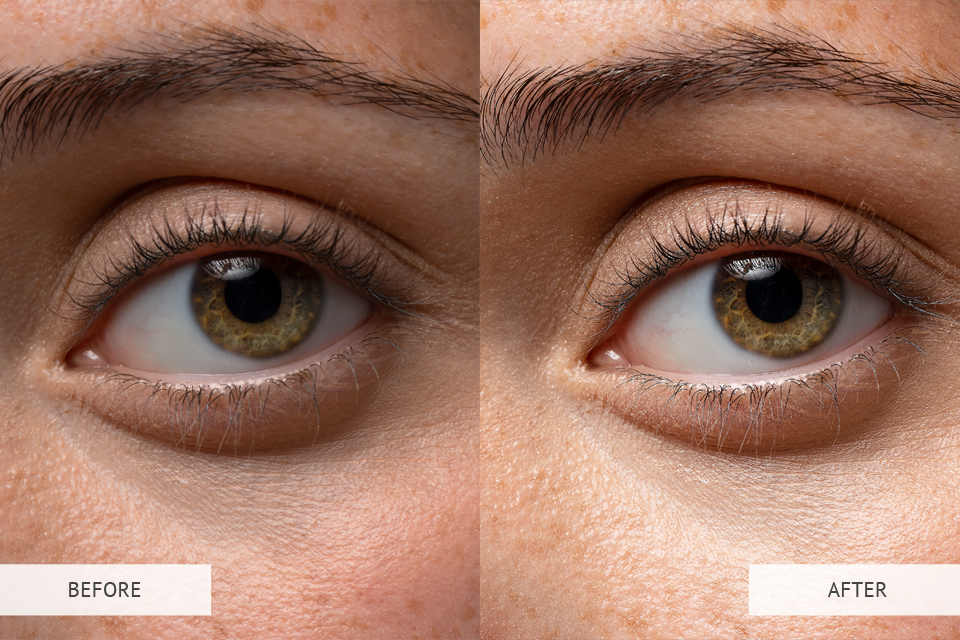
When editing portraits in Photoshop, it is recommended to divide the workflow into stages. For instance, you can sharpen the eyes at first, and then proceed with sharpening clothes and skin.
You can experiment with actions to make your eyes vivid but natural-looking. The collection contains 100 free tools for making the eyes on your portrait pics ideal in a jiffy.
Although the number of ways to sharpen images in Photoshop is virtually limitless, the simplest one is the following.
If the skin’s focus is too soft, it is possible to make it sharper with a High Pass filter, which delivers excellent results with minimal noise.
Do this procedure again, now using the larger radius to make the clothes sharper.
Recommended Video Tutorials:
Open the image in 2 windows. When editing portraits in Photoshop, open a photo for processing in two windows and put them side by side for more convenience. In this case, any editing manipulation with the first pic will be automatically applied to the second one. You can scale a pic to refine the specific image section and check whether these changes improved the overall look of a photo.
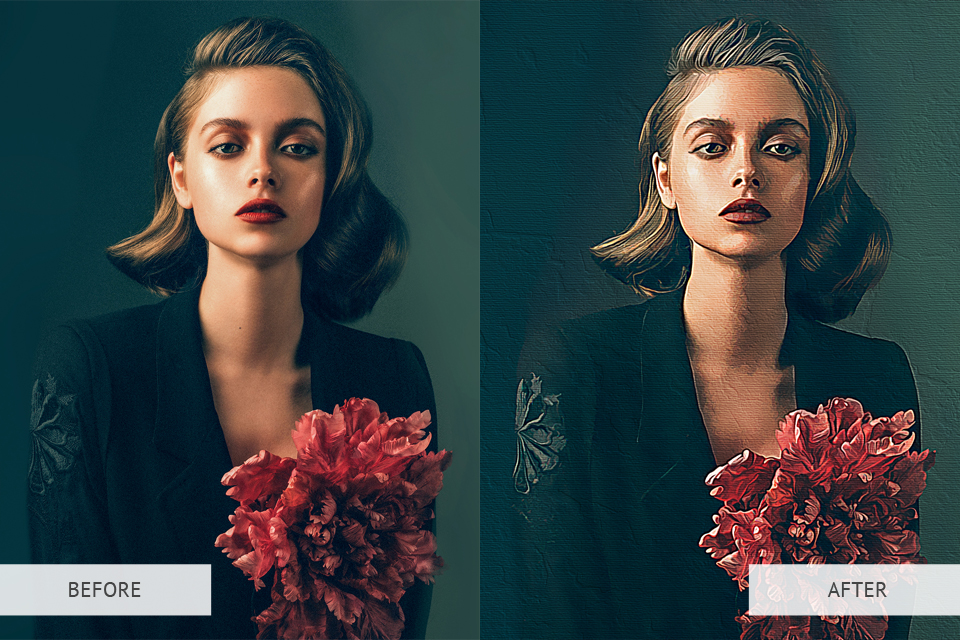
Turn your photo into a work of art. If you want to make your pic look like hand-painted, take advantage of Photoshop filters. Open the filter gallery, choose the dry brush filter, and correct the hue and saturation to achieve the desired effect. You can also experiment with ready-made actions to achieve the effect of an oil painting.
Highlight eyes with contrast. If you want the model’s eyes to pop up, increase the contrast by making the pupil and outer edge darker and other parts brighter.
Take advantage of Sharpening and Blurring filters. The sharpening tool is what you need to make an image more detailed, whereas the blurring tool is ideal for capturing stunning images with the perfect balance of sharpness and blur.
Experiment with the halos effect. To create a stunning halo effect, it is necessary to illuminate the subject. Using a very soft flash of the brightest color ensures the most optimal results. Besides, increasing the depth of field or pulling the depth of the bright color closer allows for achieving a more dramatic effect.
Get acquainted with the warping effect. Use an off-center photograph in portrait mode to see how this effect works. If your frame is not ample, think of cropping the pic to the center and then warp it to either side. To apply this effect to a photo, open the pic in Photoshop, and hit the warp tab. Choose the center image and cancel the selection for the warp area to make a new shape.
Create the darkening effect. This technique allows for intensifying shadows and making highlights in your images lighter. To do this, find an image masking feature in Ps. Leverage the toolbox to choose the shape for darkening and use the masking from the collection of background pics. Select the shadow to darken it with a white canvas and then use the paint fill tool to fill in the gaps.
By means of Photoshop actions, you can brighten eyes, make teeth pure white or enhance the skin tones. There are over 300 free features for shooters that work in any genre. Export and install the Photoshop action you want to apply or add the whole page of free actions for Ps to use later. Use Photoshop CS 4-6 or Photoshop CC to refine images with these filters.


