Whether you need to give extra volume to hair or add some strands, make sure to learn how to add hair in Photoshop to get natural results. In this step-by-step tutorial, I will describe 2 simple but effective methods that will help you add hair in Photoshop.
Photoshop is the best photo editing software for beginners since it comes with a variety of tools, including those that allow you to add voluminous hair. They will come in handy for those who specialize in portrait photography. You can add strands of the hair wherever you need by duplicating an existing layer.
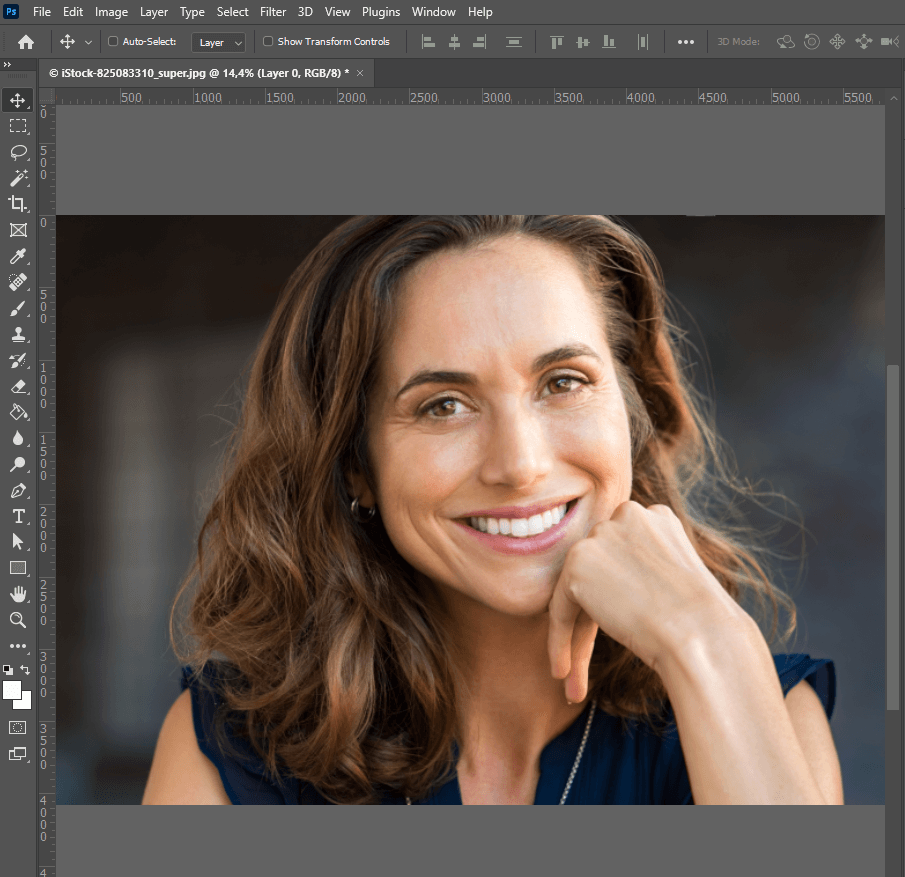
Open a portrait that you need to enhance and find an area that you want to enhance by making the hair thicker. You can enhance any photo, whether you need to improve women’s haircuts or add realistic beard in Photoshop.
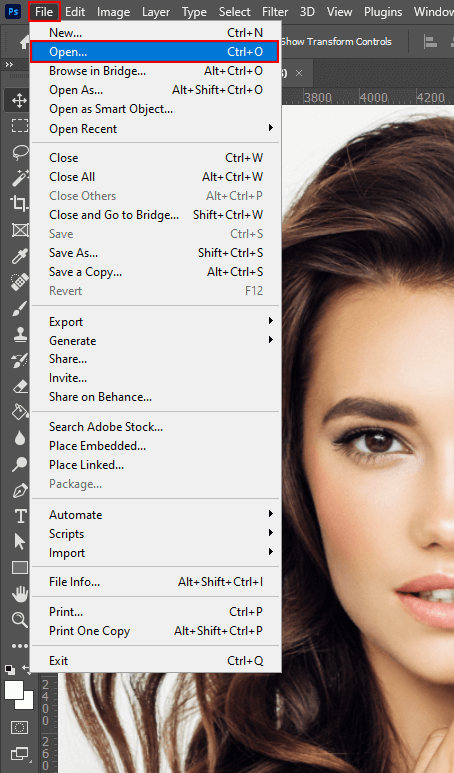
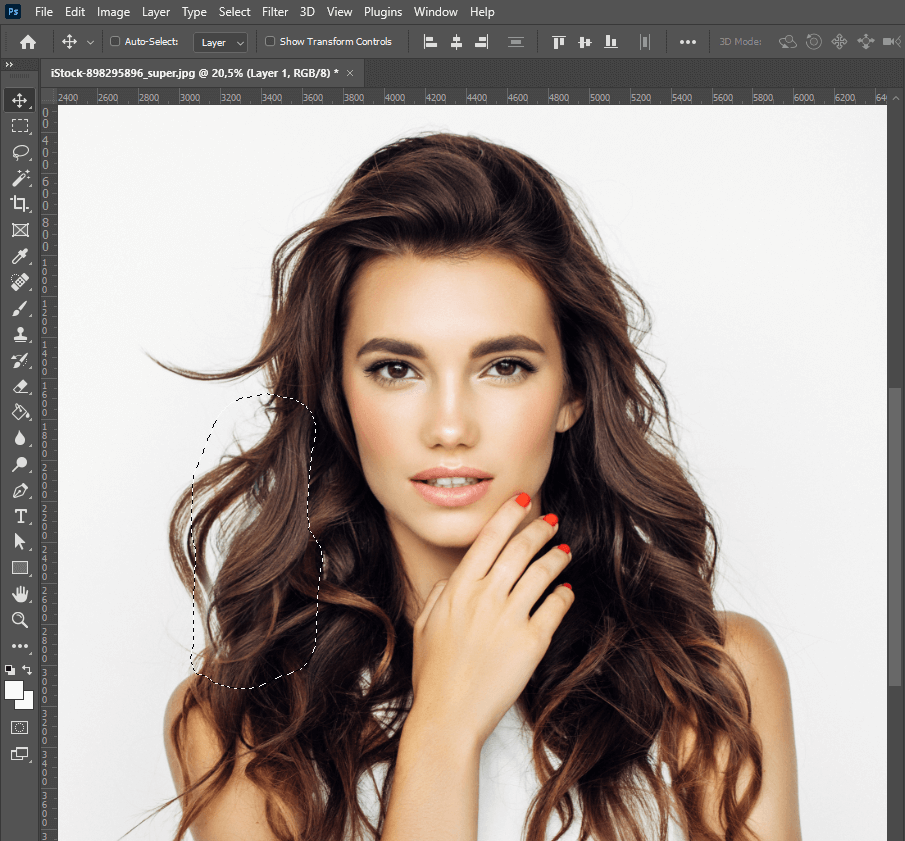
Go to the left toolbar and select the Lasso tool.
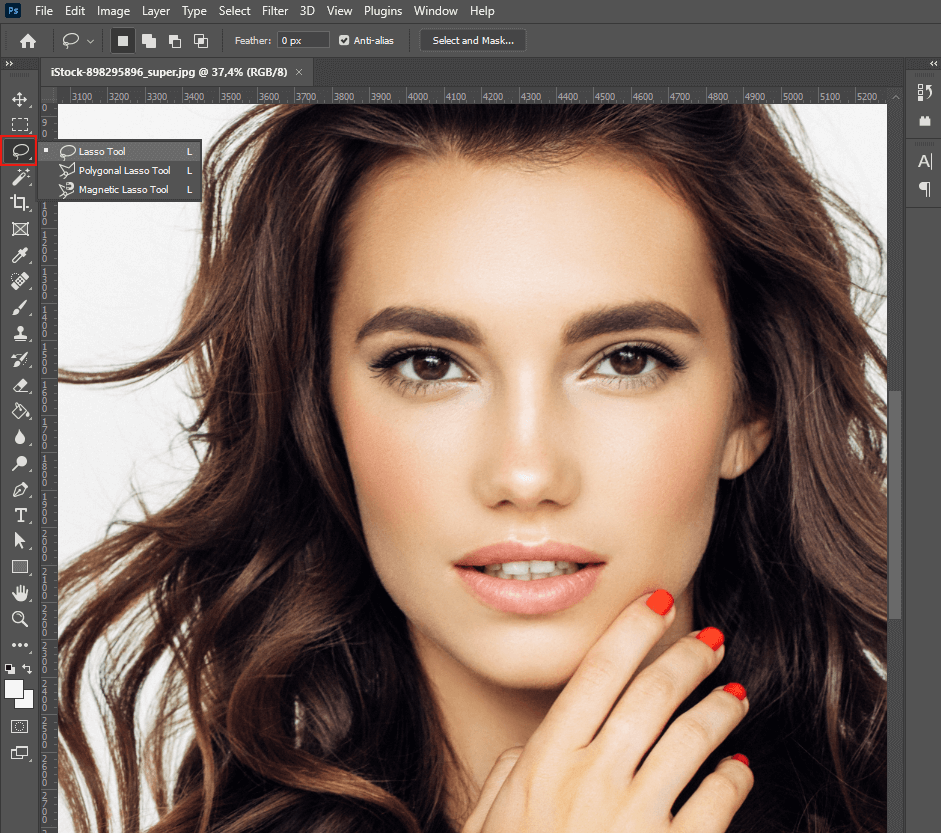
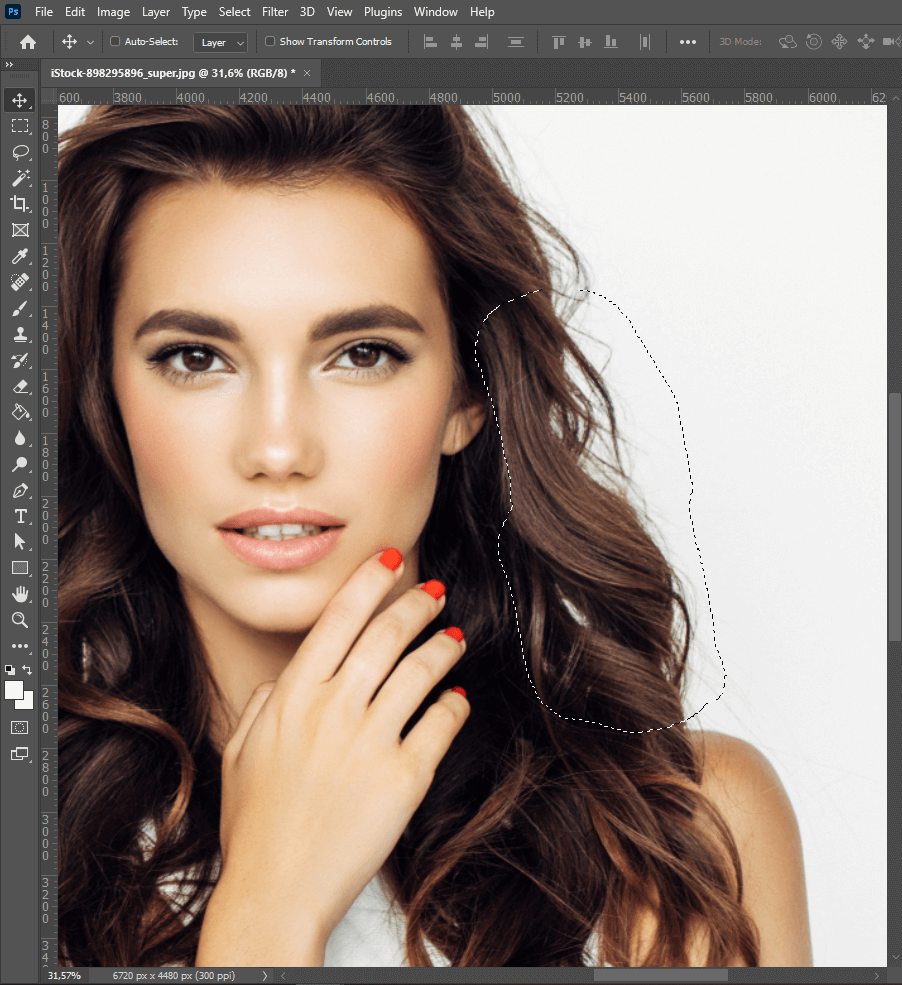
Find the closest and the biggest section of the hair. Use the Lasso tool to select the largest part of the hair and copy it to the area where hair appears to be less thick.
Next, you need to duplicate the selected area to copy the section of the hair to a separate layer. Go to the toolbar and select Layer> New> Layer Via Copy. You can also use the Ctrl + J key combination to do it.
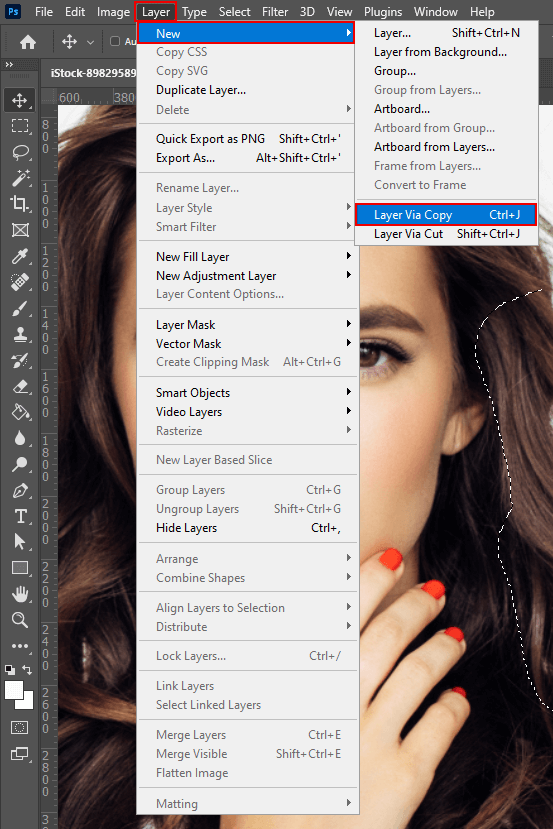
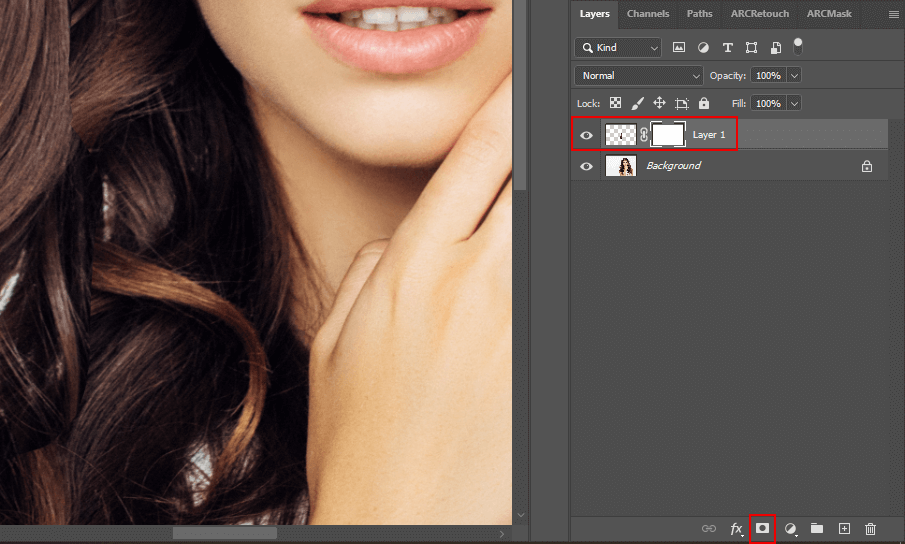
As soon as you do it, you will see two layers in the Layers panel, with the photo itself and with the selected section of the hair.
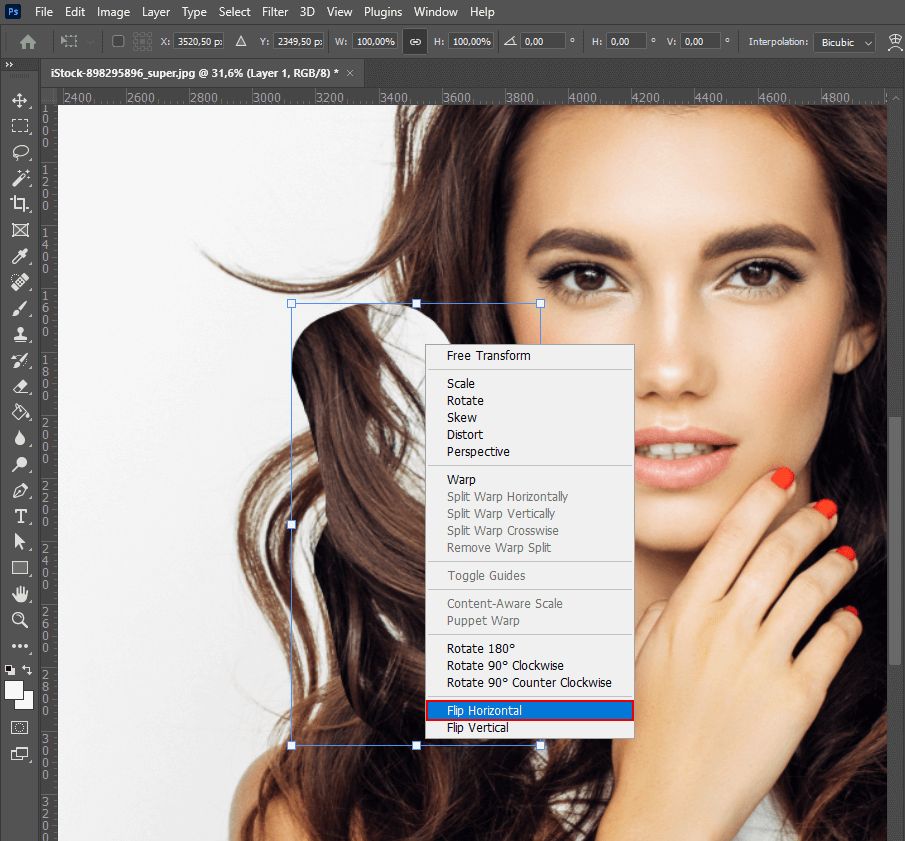
Position the selected strand of the hair on the left of the face and flip it horizontally. You can do it by right-clicking on the duplicate layer and selecting the Flip Horizontal option. Alternatively, press Ctrl + J on the keyboard.
Click on the mask layer to make the transition between the sections of the hair less noticeable. You need to blur the edges to get smooth hair.
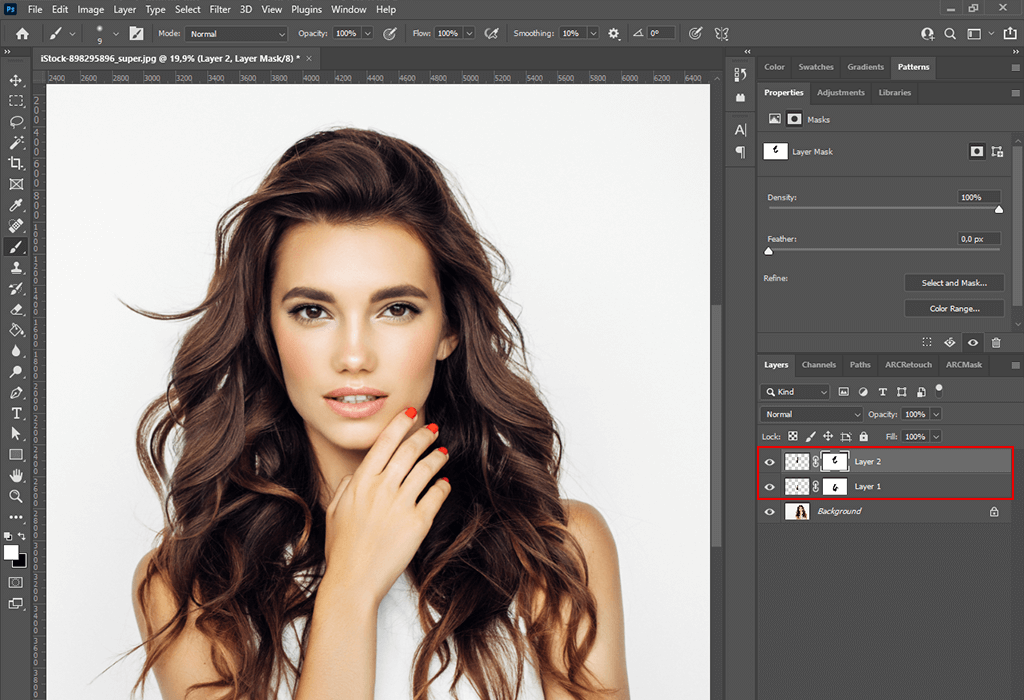
Find the best place for a strand of the hair. If you want to add hair to photo without making it look unnatural, you need to carefully cover the empty area with hair. To do it, you can use the Move Tool to pull them down until they cover the empty space.
You can also add other strands to get a better result.
If you need to get high quality photos, contact our service to make your portraits more polished. Our professionals will remove wrinkles and blemishes, make hair thicker and remove stray hair if necessary.
When adding hair in Photoshop, you can also use the Brush and Liquify Tool that will help you add volume to hair, make colors more saturated, and raise the sharpness level.
When reading Photoshop portrait tutorials for beginners, you will find many useful tips on how to use the Liquify Tool properly. With it, you can change the shape of your hair and add volume to it. However, if you aren’t careful enough, it might distort the facial features of a model.
Open the image and select the area that you need to enhance. To do it, select the Brush tool.
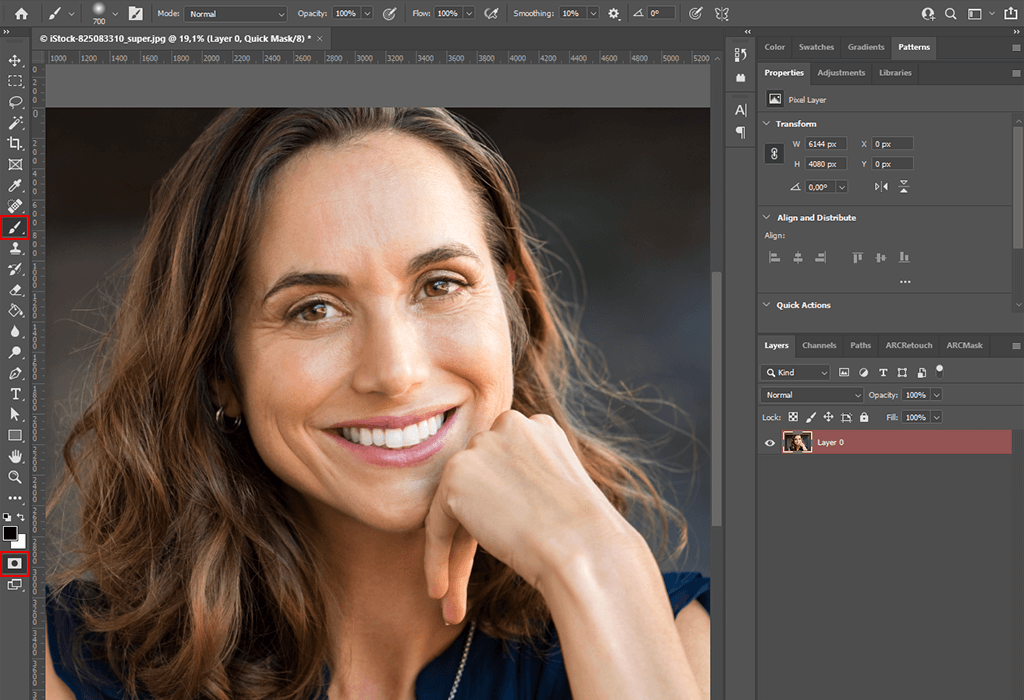
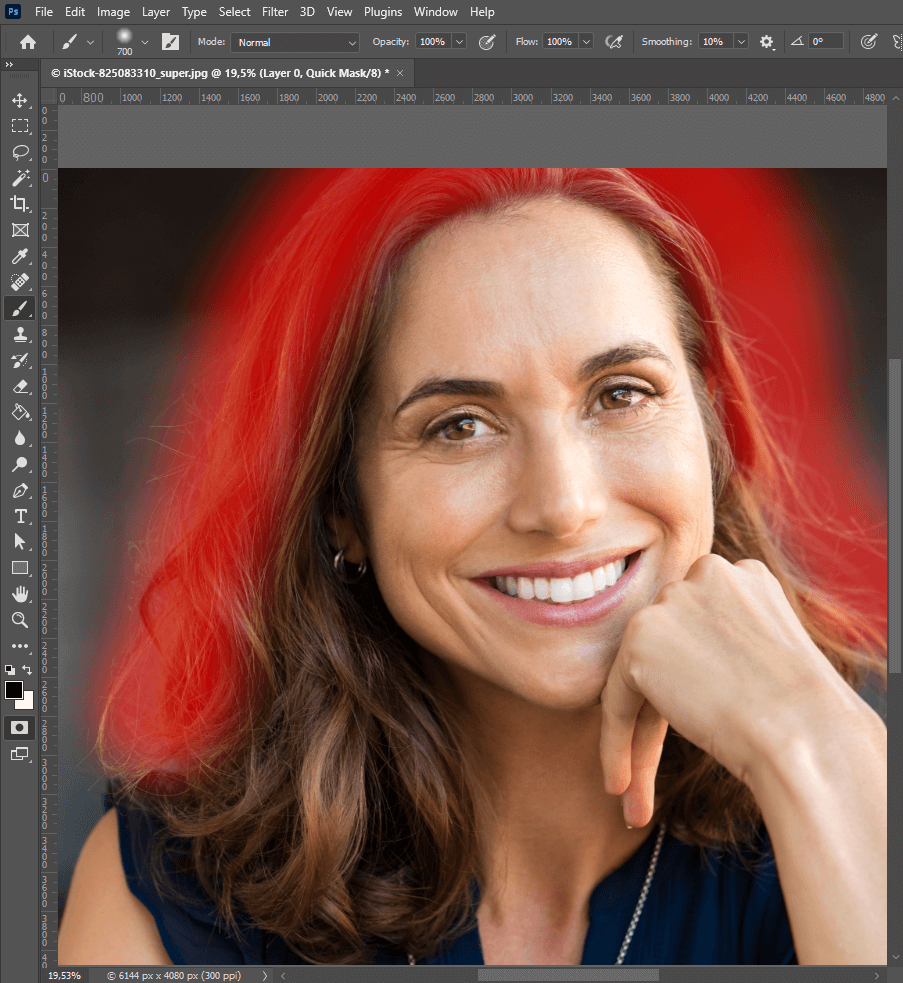
Paint over the section of the hair that you are going to improve. You need to create 2 layers. Select one color and use it to paint over the section of the hair that you want to enhance.
Then, select another color or tone and keep painting over the hair with the Brush. Find out how to change hair color in Photoshop with the help of this tool by changing several strands.
Select the Eraser tool and choose a new brush. With it, you can enhance the areas that don’t look natural and remove stray hairs in Photoshop.
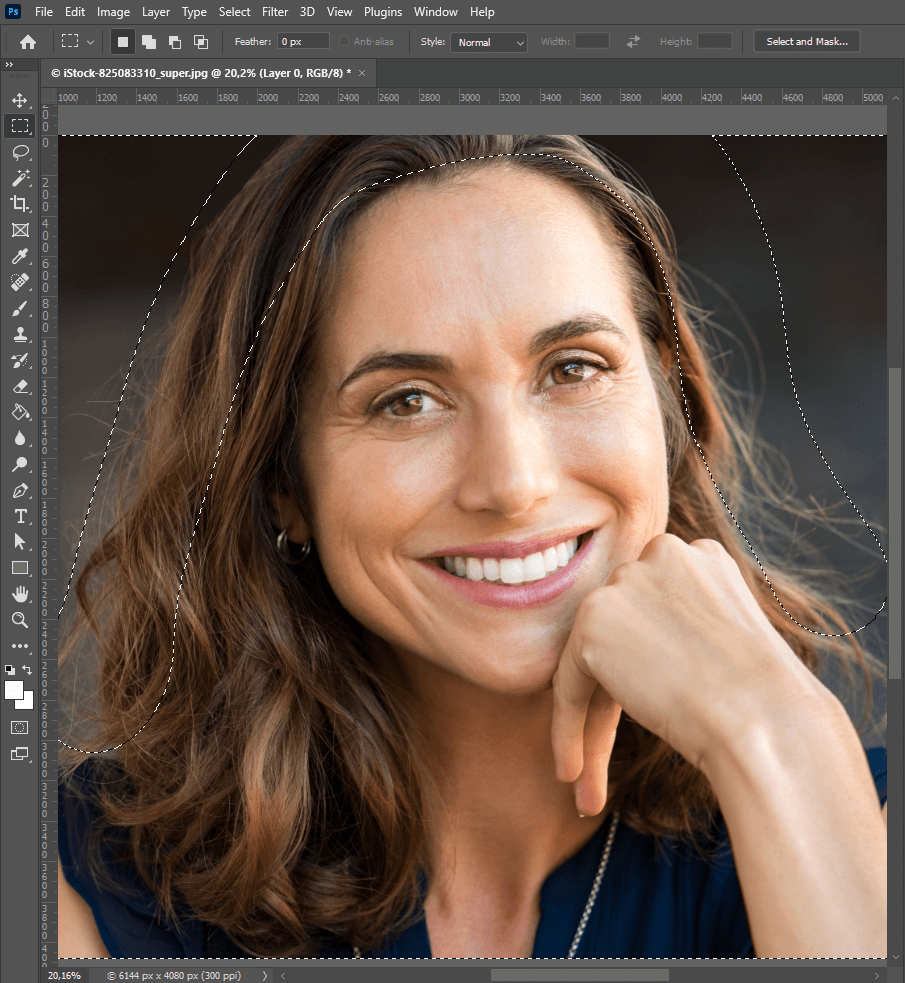
To exit the quick mask mode, click on the Q key. You will see the selected area of the hair.
Find the Filter menu on the top toolbar and select the Liquify tool.
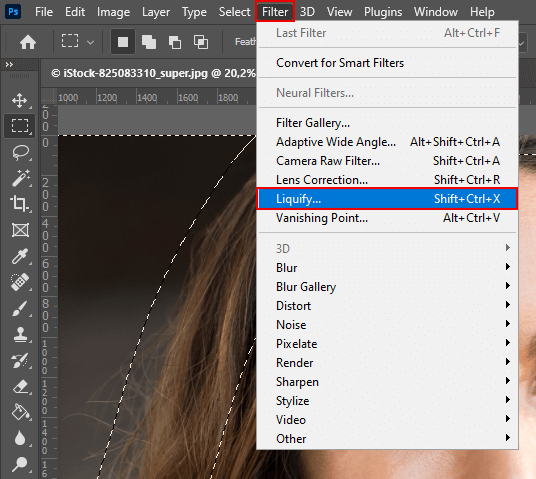
To push and pull pixels in your photo, try using the Liquify Tool created exactly for this purpose. Select this tool, adjust its settings and add volume to the haircut by moving the brush in the direction from the forehead to the hairline.
When adding hair in Photoshop with the help of the Liquify Tool, pay attention to the background since you can easily distort straight lines and make your photo look overly edited. Keep in mind that this tool will affect not only the subject but the surrounding pixels as well.
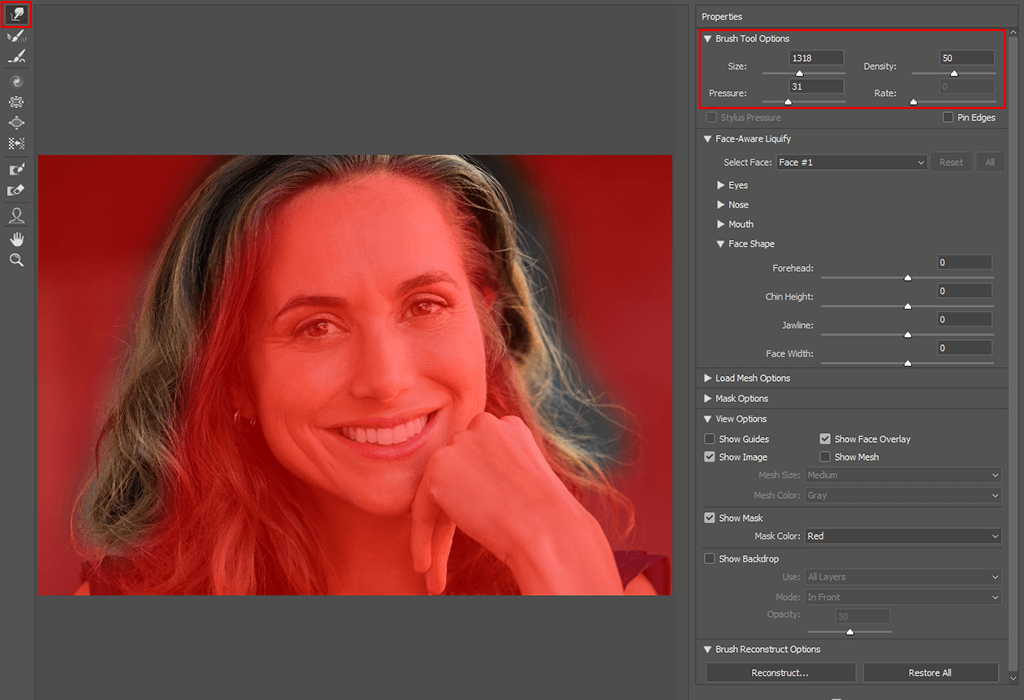
If you want to enhance your photo without affecting some of its areas, you can ‘freeze’ them. For instance, it might be a good idea to leave the model’s face unchanged.
Even if you make minor manipulations, they might still make the facial expression look weird. To avoid this, use the Freeze Mask tool in the beginning and paint over the areas that you want to leave as they were.
When using the Liquify Tool, it’s better to select a large brush since it will allow you to make broader strokes. This way, any changes you make will look softer and more natural.
If you are satisfied with the result, click OK to save the final version of the haircut.
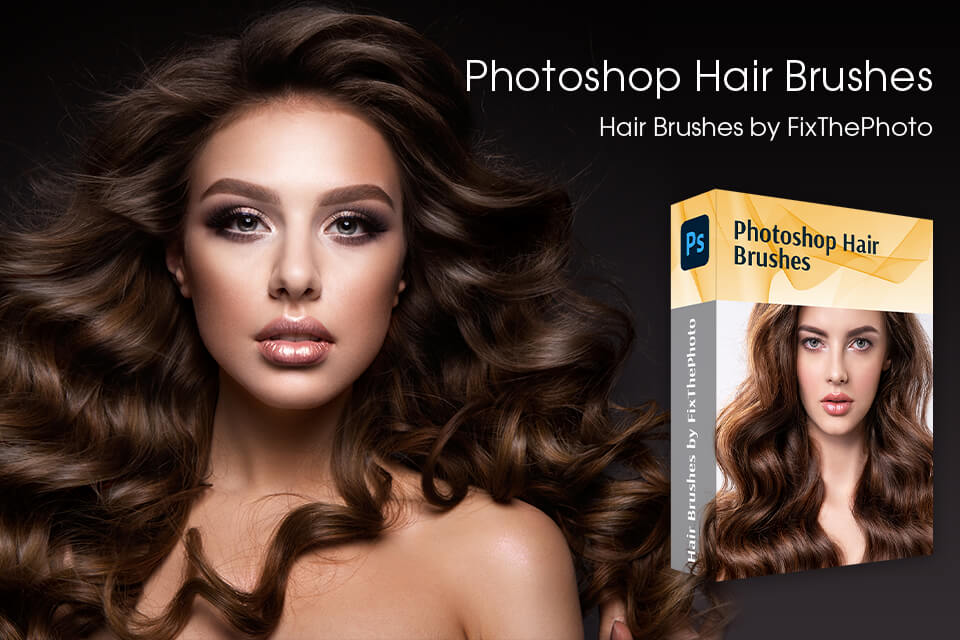
If you want to make your portraits more professional and creative, take a look at these Photoshop hair brushes. Learn how to install Photoshop brushes and use them to enhance your photos in a consistent style.
They were developed by professionals in photography. With them, you can easily improve your portrait photos by making hair thicker and fuller.


