During an outdoor photoshoot, it’s very hard to catch the exact weather conditions you need so by introducing a bit of mist to your image during the enhancement stage, you can get the look you want while establishing an eerie mood or simply adding volume to an otherwise bland background. In this post, you’ll learn how to create fog in Photoshop in just a couple of minutes.
The most popular method used by many popular landscape photographers is to employ brushes. This method is rather simple, fast, and pleasantly efficient while not demanding any complex manipulations.
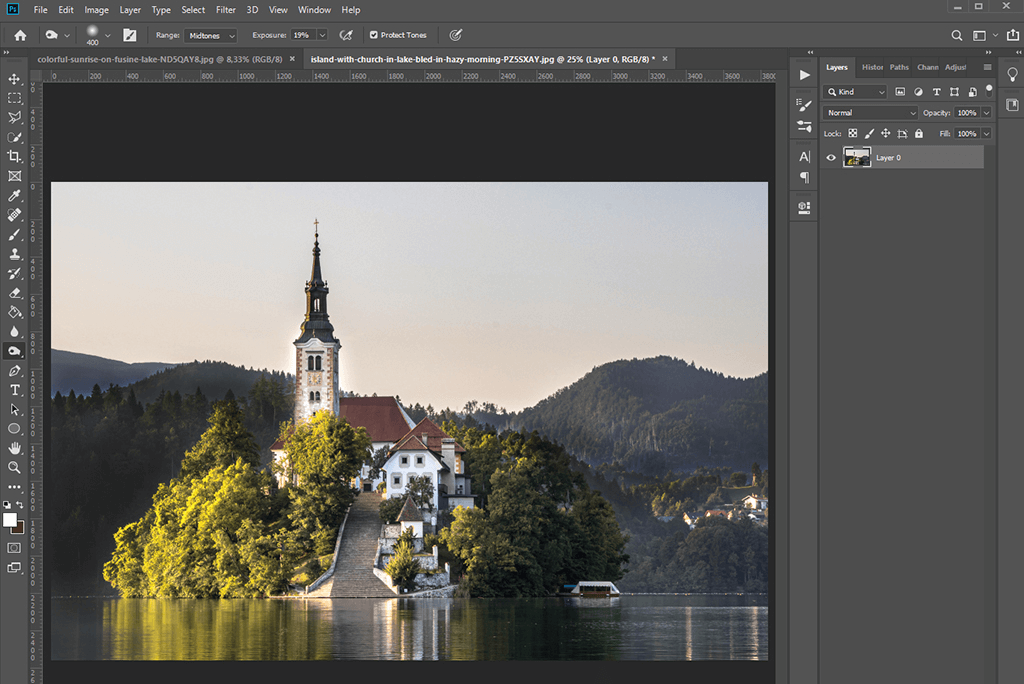
Start Photoshop and open the landscape photo you want to enhance. The first method is to simply drag the image onto the Ps icon on your PC. Alternatively, you can go the standard route and click "File", then pick "Open" from the appeared menu. Find the needed image and click your left mouse button twice to open it.
Another way to do this is to employ Photoshop keyboard shortcuts to save time. Simply press Cmd+O/Ctrl+O to summon the “Browse” menu.
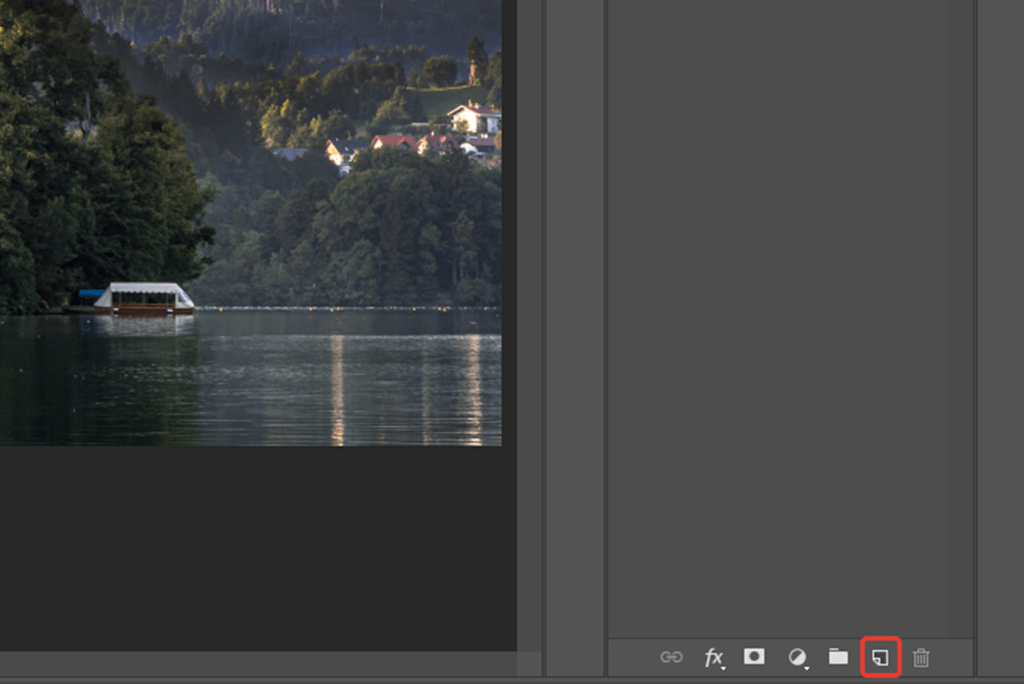
Now it’s time to make a new layer. To do so, go to the Layers menu and press the icon that resembles a paper sheet to make a new layer appear. An alternative and more time-efficient way to go about this is to press Shift+Ctrl+N/Shift+Ctrl+N.
If the Layers menu isn’t visible, go to Window and choose Layers from the dropdown menu. If you need to display or hide the Layers panel, simply hit the F7 key on your keyboard.
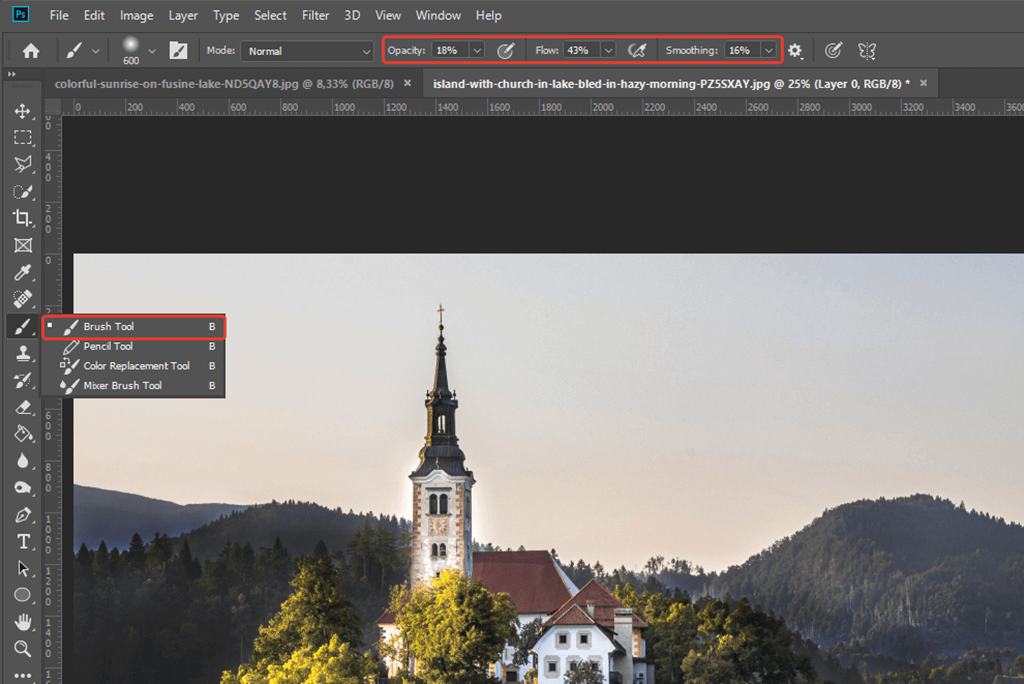
Pick the Brush tool (B), which you can find in the Tools panel. Select white color by pressing the top color in the Color Picker window and confirm your choice in the dialog box.
Adjust the parameters of the brush in the Options section underneath the menu bar, as shown in the screenshot above. When learning how to make fog in Photoshop, it’s generally recommended to set the Opacity to 16%, Flow to 43%, and have Smoothing at about 16%.

Now, pick the Soft Round brush from the Brush Settings menu and select the desired diameter. I suggest choosing a large diameter size to get the mist done faster.
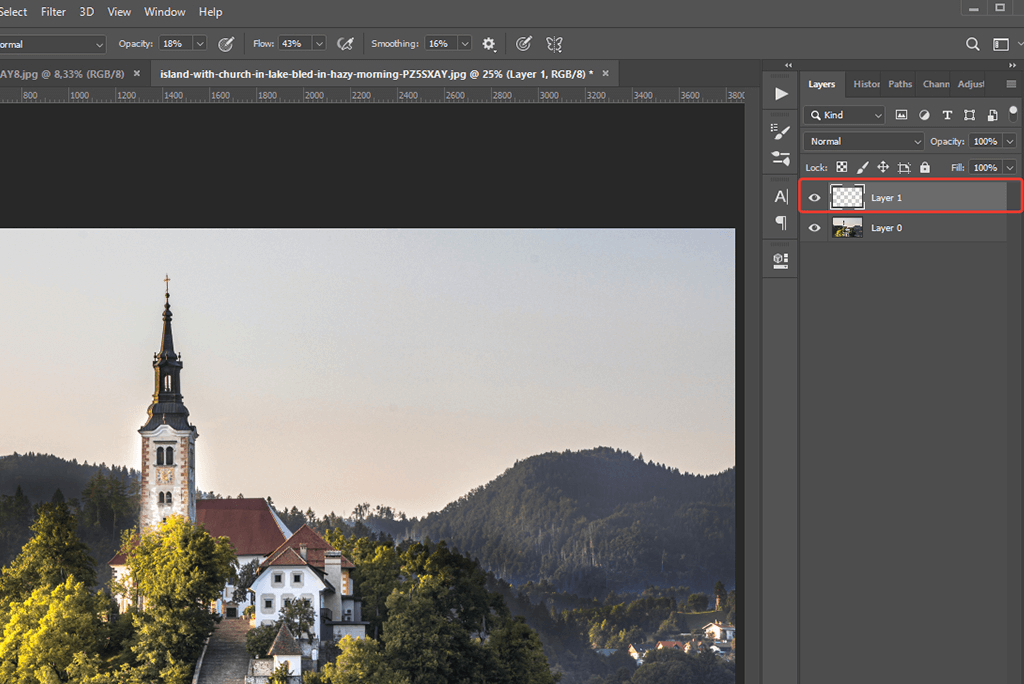
The only thing that’s left to do to create a fog effect in Photoshop is to draw the mist on the upper layer in all the areas you want to be covered. Congratulations, now you know how to make your photography portfolio more visually interesting by adding fog to it whenever you want.
An overlay is a photo or a texture that is added to a picture as an extra layer. Overlays are particularly useful for introducing new elements or objects that you feel are missing from an image. With the help of blending modes and adjustments layers, you can even turn daytime into a misty evening, and this guide will teach you how to use overlays in Photoshop to do exactly that.
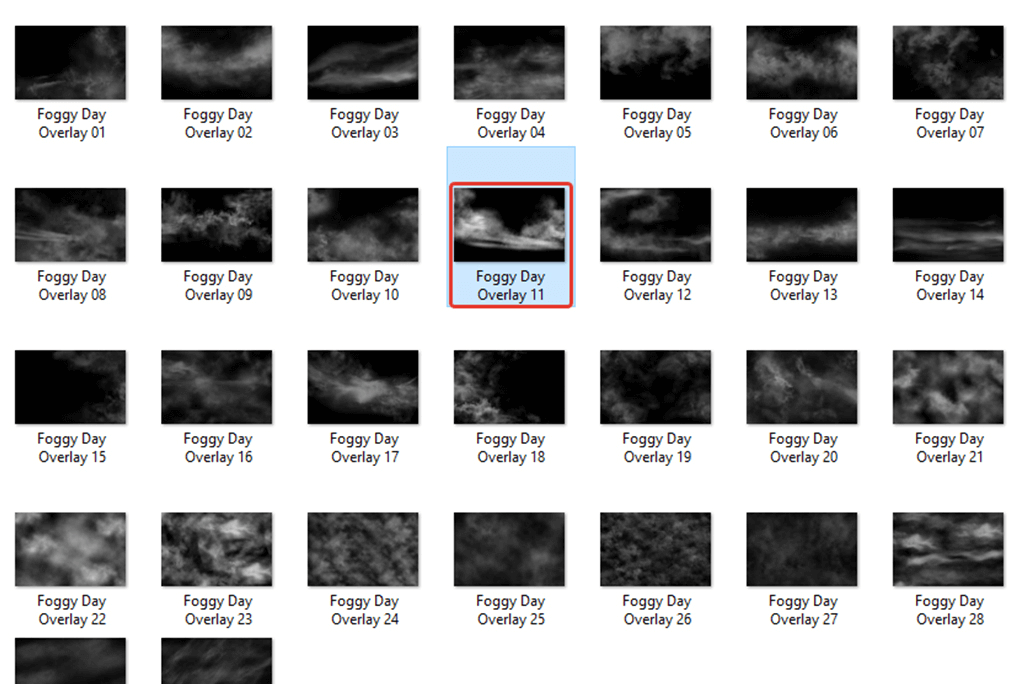
Unarchive the overlays, go to their folder, and find the overlay that you like the most.
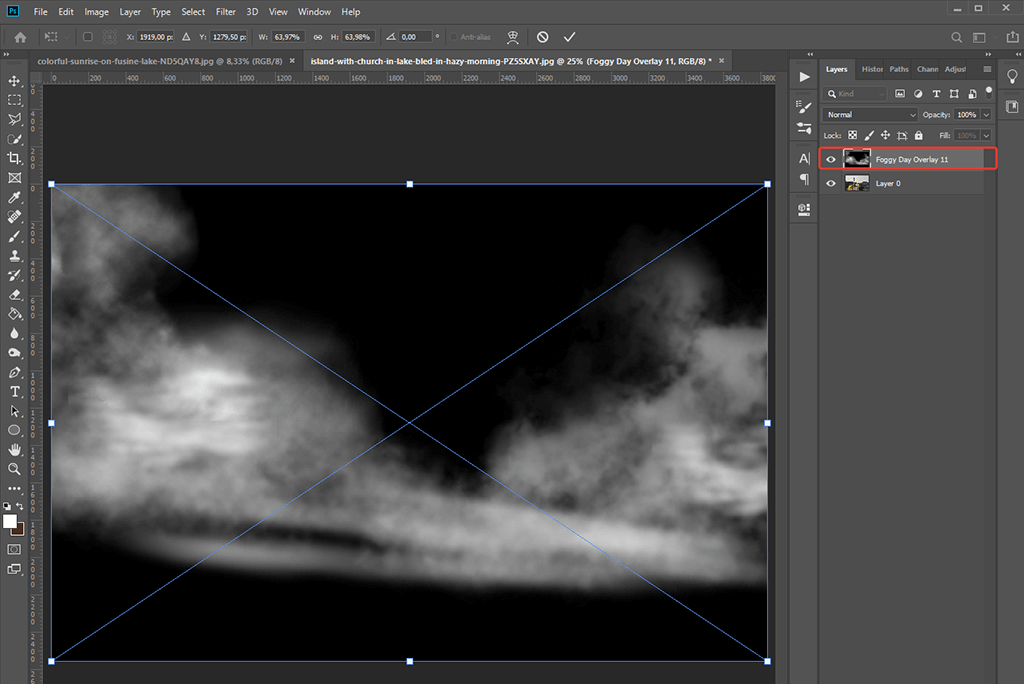
Now, drag and place the overlay onto the layer above the main image layer. If the overlay’s size is too tiny or large, adjust it until the mist fits your scene perfectly. You can rotate or change the size via Free Transform (Ctrl+T/Cmd+T). Once you’re finished, press Enter or click the checkmark in the top menu to save your adjustments.
Ordinarily, overlay files come with a black background. If the same is true for your fog overlay, you have to blend it into the photo to delete all the black areas.
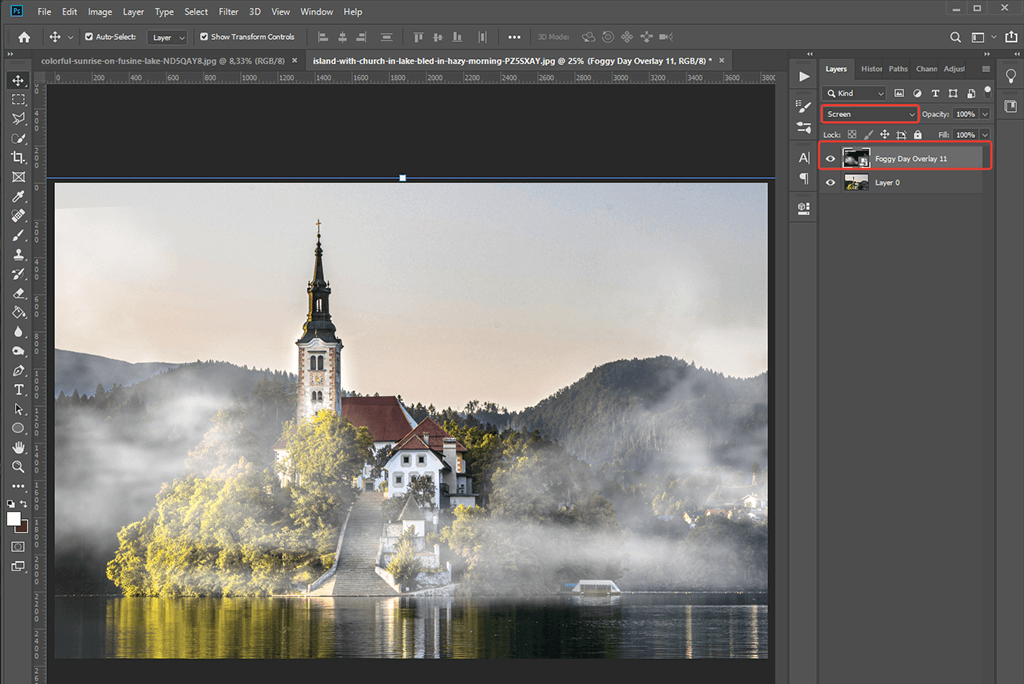
To do so, pick the overlay layer, set the Blending Mode to Screen, and decrease the Opacity to change the effect's intensity, with lower values providing a subtler look. For the example above, the opacity was kept at the standard 100% value.
If you’re satisfied with how everything looks, you can save your photo already. However, sometimes you might not want to feature the entire overlay file in your photo but rather only a small part.
Additionally, you occasionally have to deal with hard lines that removing.
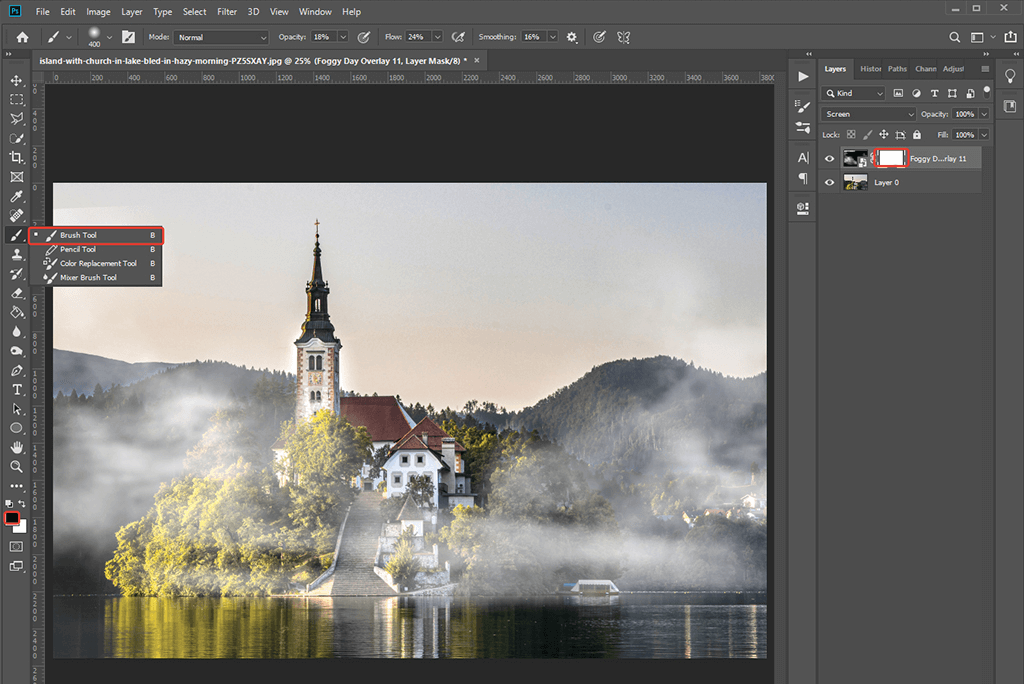
If you want to slightly adjust your overlay, you have to create a mask in Photoshop. Once you select the overlay layer, press the Layer Mask icon under the layer list (a circle inside a rectangle). Now, you’ll notice that a white rectangle icon was added next to the overlay layer.
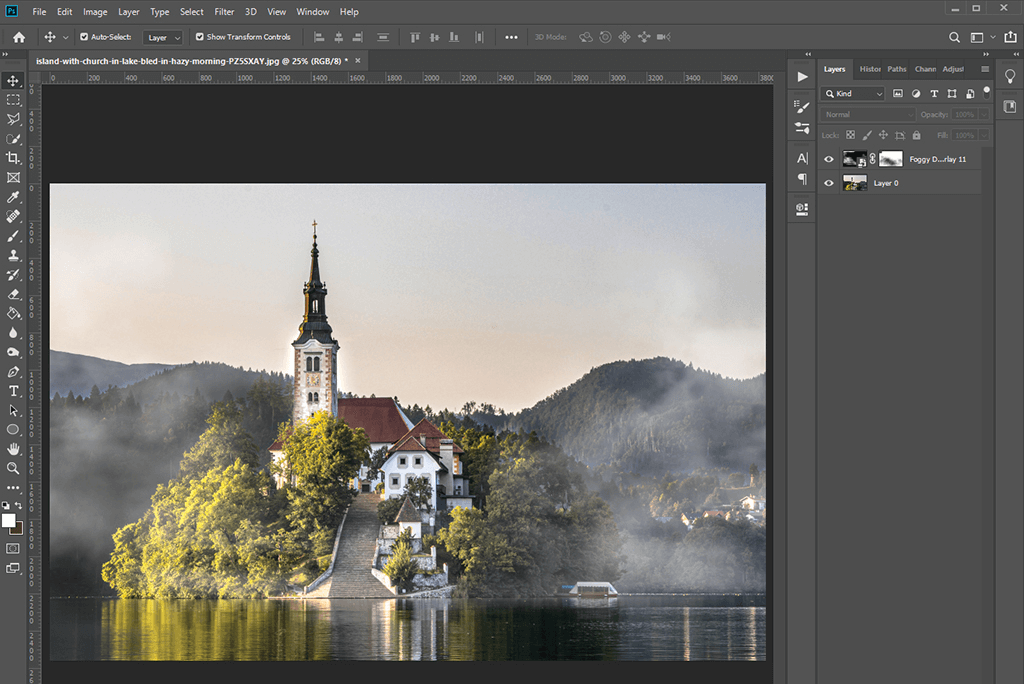
To delete parts of the overlay, pick the Brush tool and set the color to black. Type in the values identical to the ones in the tutorial above. Now use the black brush to paint over the mask in all the places you want to erase unneeded fog.

Now your photo is enhanced with a realistic miss effect. You can also use this metho to add smoke in Photoshop, or to make fire in Photoshop.
If the manipulations above seem too complex, you’ve changed your mind about learning how to create mist effect in Photoshop, or you simply want to save time, the best way to go is to let a professional image enhancement service handle this task for you. You’ll receive high-quality results with a fast turnaround, while the added fog will look realistic and serve as a natural addition to your photo.
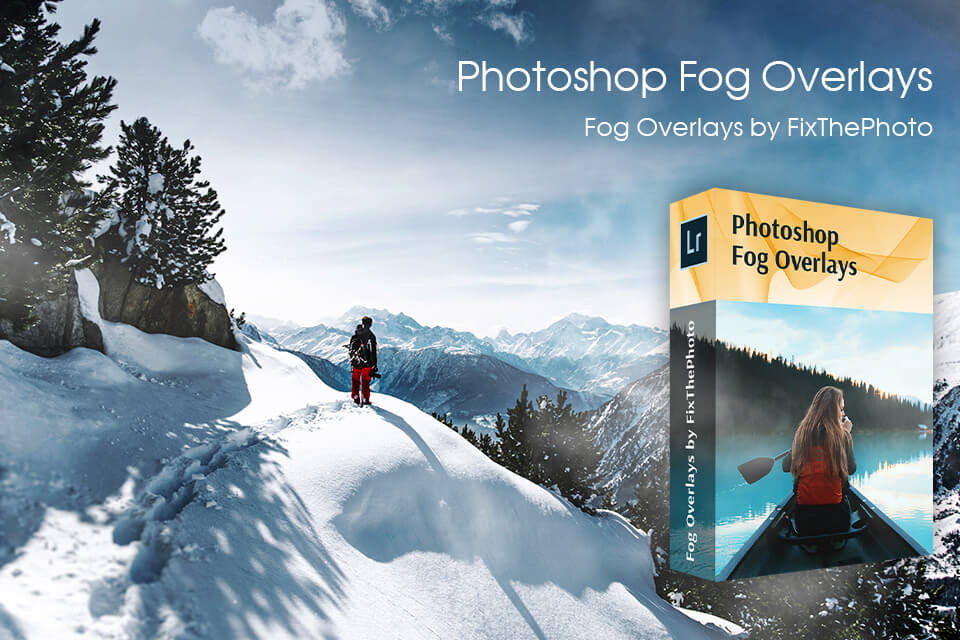
You don’t have to pay a huge amount of cash to get mist overlays online to be able to follow the tutorial offered in this article. You can download them right now for cheap.
In this collection of professional-grade tools, you’ll get both overlays with a subtle mist and effects with a more dramatic fog. This allows you to find the perfect tool to achieve the desired results regardless of what photography genre you’re working in.


