Digital branding is a must-have for any type of business, be it a big photo studio or a small company owned by a photographer. Every brand requires effective marketing solutions to become popular and recognized.
Thus, designers involved in this field can’t do without good mockup templates. They will help you stand out among competitors and make clients understand how the final design looks.
The post below explains how to use a mockup in Photoshop and achieve impressive results with minimum effort. There are two effective methods of using mockups. To clearly understand the procedure, you can download the mockups/templates for free.
If you want to find out how to use PSD mockups with Smart Objects, follow this step-by-step tutorial. Smart Objects are special layers that preserve the image’s source content, such as raster and vector image data. They are essential when working with mockup templates. In particular, they separate the initial artwork from the applied visual effects.
If you still don’t have any mockups Photoshop, you can find dozens of them on the net. There are numerous free and paid options available. If you are okay with paid mockups, you can find something suitable on Creative Market. There is even a separate category for mockups. You can also use original graphic design ideas to create eye-catching projects.
If you are wondering how to use a mockup in Photoshop, you should start by downloading it. If it is a PSD mockup, it is saved as a zipped file. Next, you should extract its content. Make sure it contains the following files:
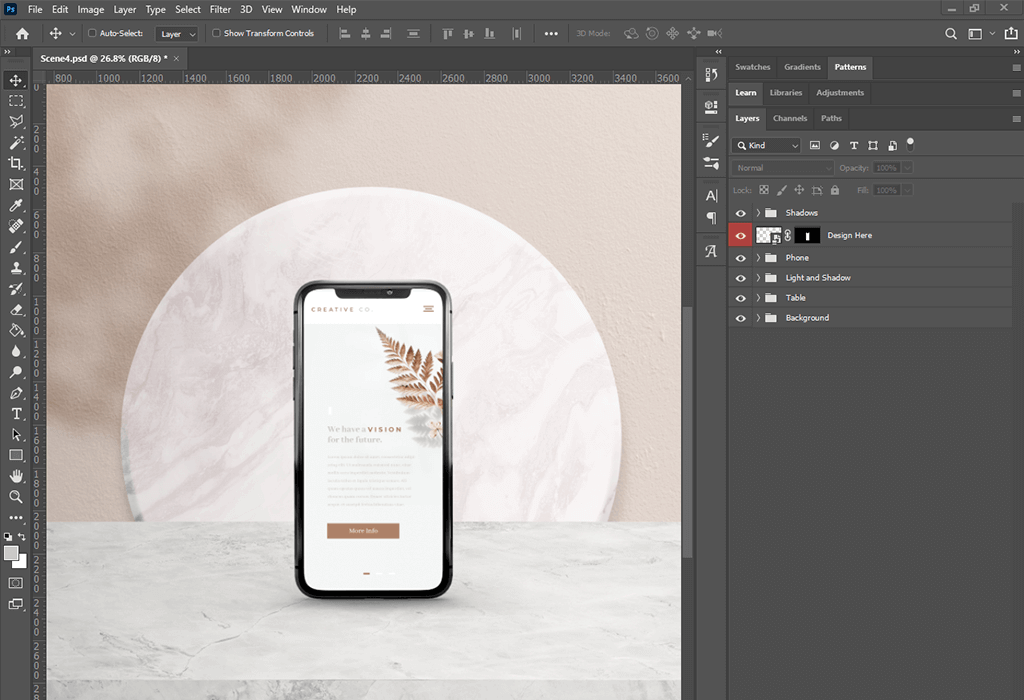
When the content of the zip file is extracted, you can open the PSD file in Photoshop and review its layers. They might be complex and detailed; everything depends on the complexity of the mockup itself. You can replace default layer elements with your custom content.
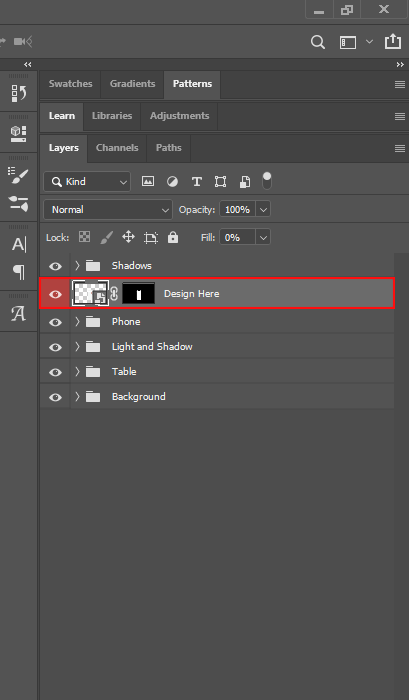
In case any issues arise when locating a specific layer, click on the EYE icon to change its visibility. Then, you have to find a Smart Object and open it.
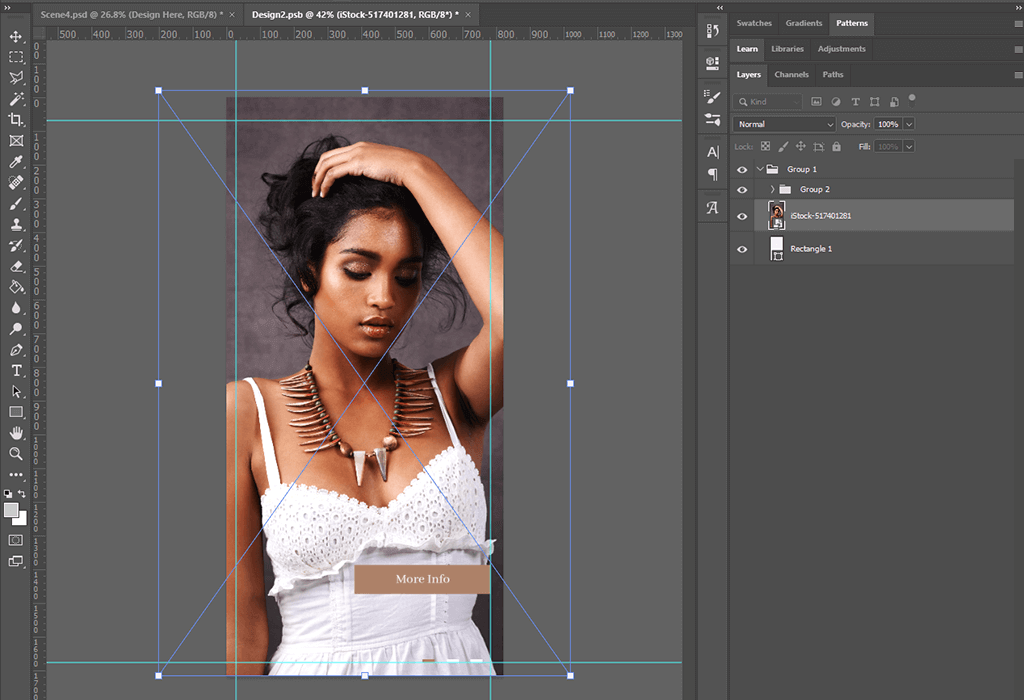
Now, you have to replace the mockup content with your image. Just click on the Smart Object icon. A new window will appear on the screen. It will show the content you are going to replace.
Make sure to enhance the inserted image in advance. You can contact professional retouchers to get the best results.

Save the edited Smart Object and close it.
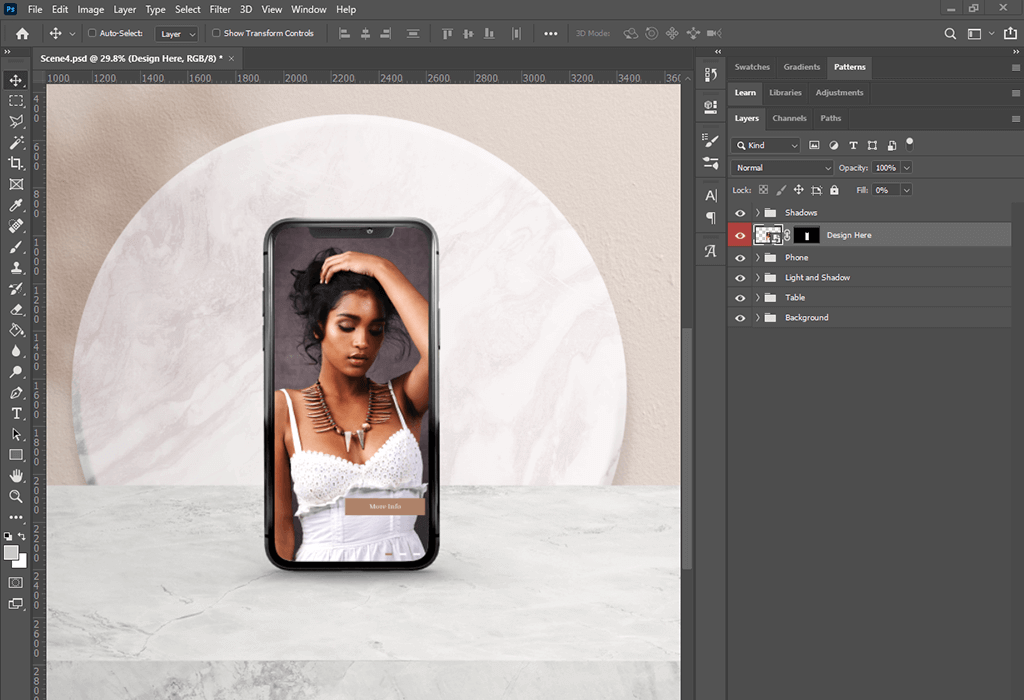
Now, the image should fit the screen. If you want to replace it again, you can repeat the steps.
You can also create a Smart Object for any picture that can serve as a Photoshop mockup. You don’t need to be an expert to cope with the task. Just follow these simple steps.
You can use a mockup without a Smart Object. In this case, you have to manually add the necessary image.
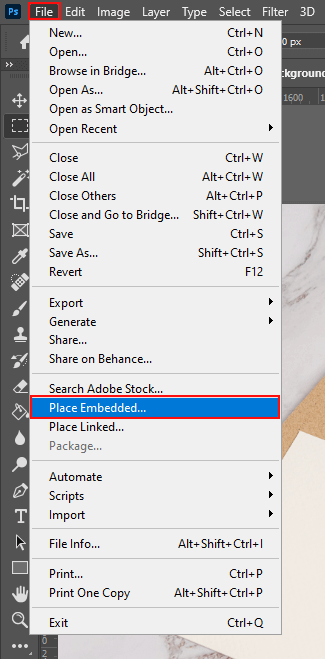
Click on “File” > “Place Embedded” and find the file on your computer. Click on “Open.” Your file will appear as a new layer. Press “Enter” to confirm.
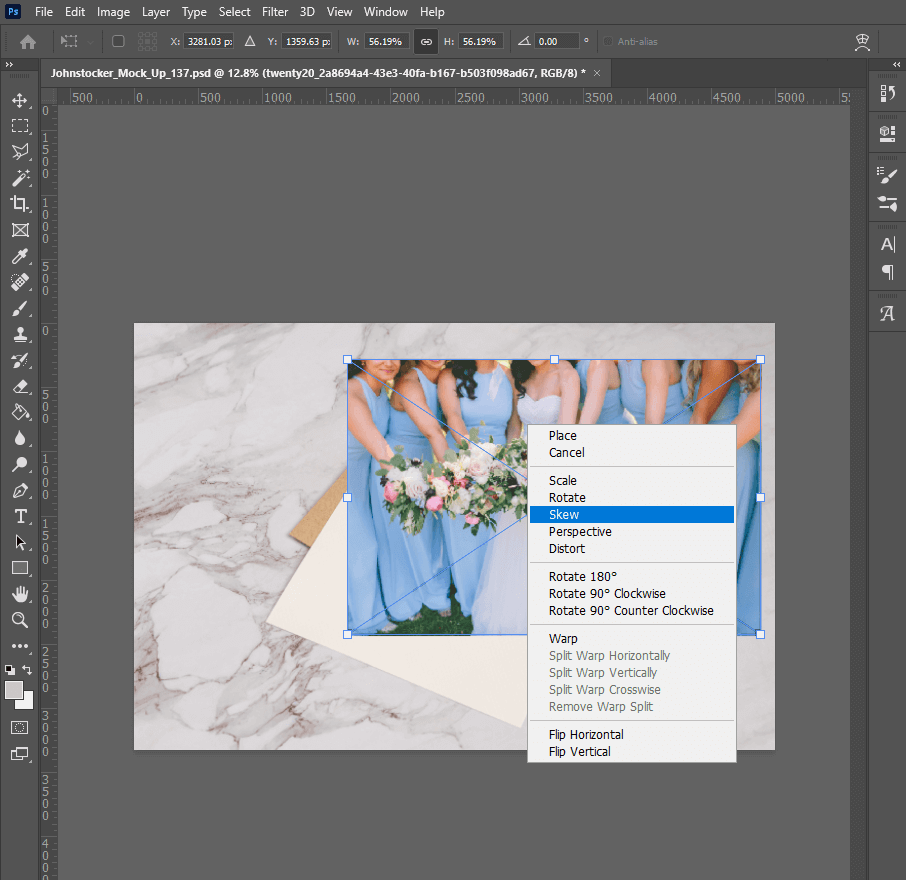
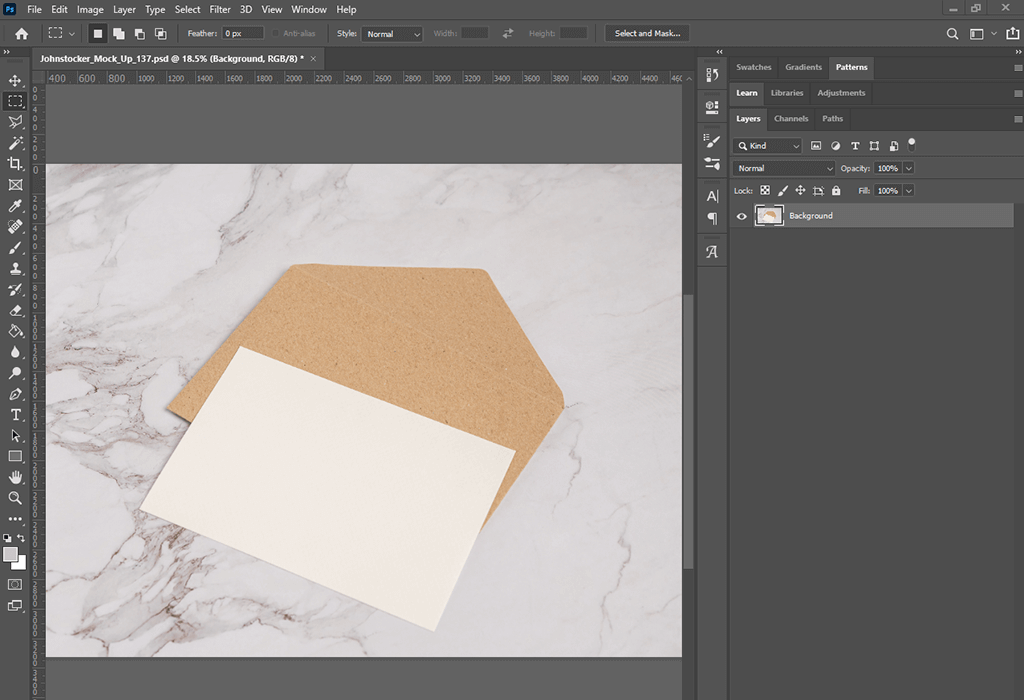
You can resize, rotate your image or change a perspective if necessary. Center your image over the mockup area designated for your artwork. Here, it is a white piece of paper.
If you are satisfied with what you see, you can proceed by saving the results. Sometimes objects don’t line up right and you need to apply some changes. Read on to see how to fix this issue.

Check if the image fits.
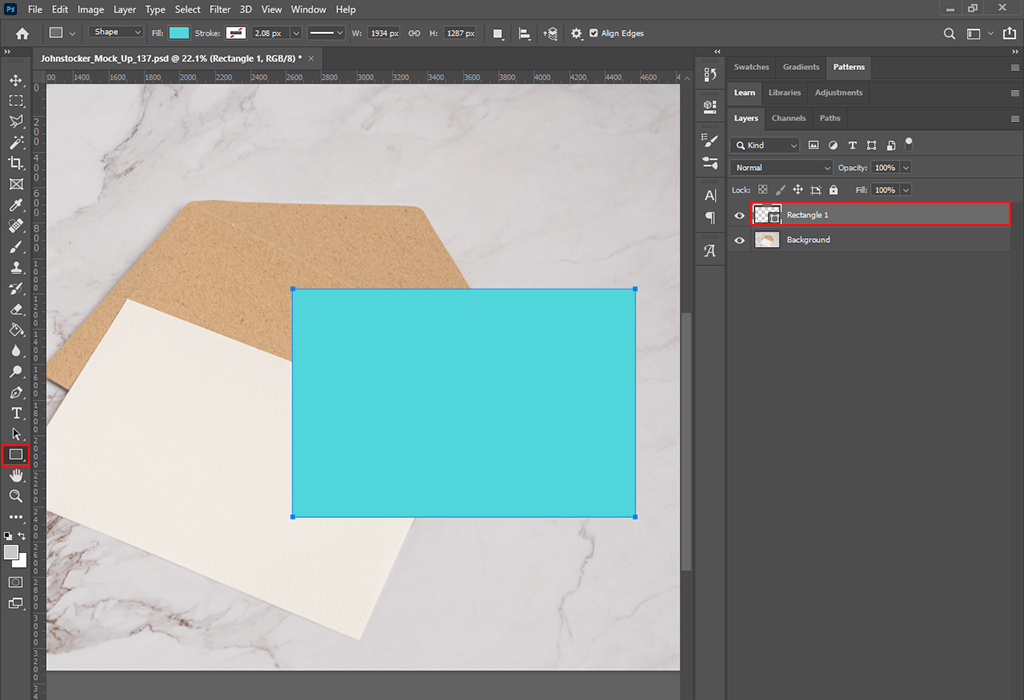
To change images like in the first method, you can create a mockup with a Smart Object. To do this, delete the previous image and draw a square of a contrasting color.

Right-click on the layer and select “Convert to Smart Object.”
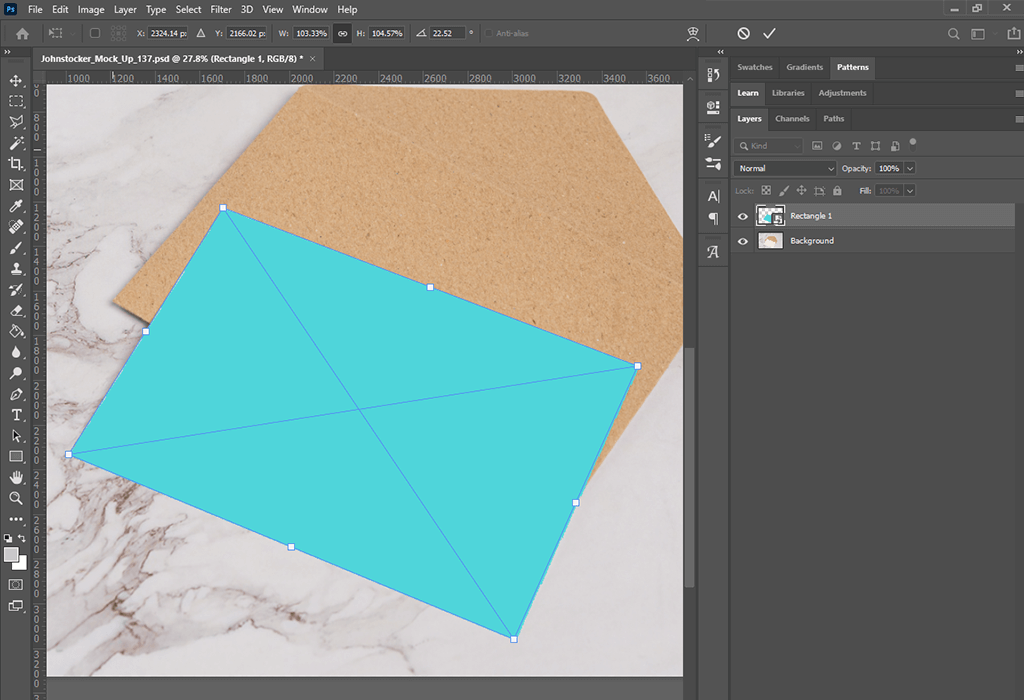
Now transform the square under the paper and press “Enter.” This way, you can create a Smart Object that is similar to the one that you can create with the help of the first method.
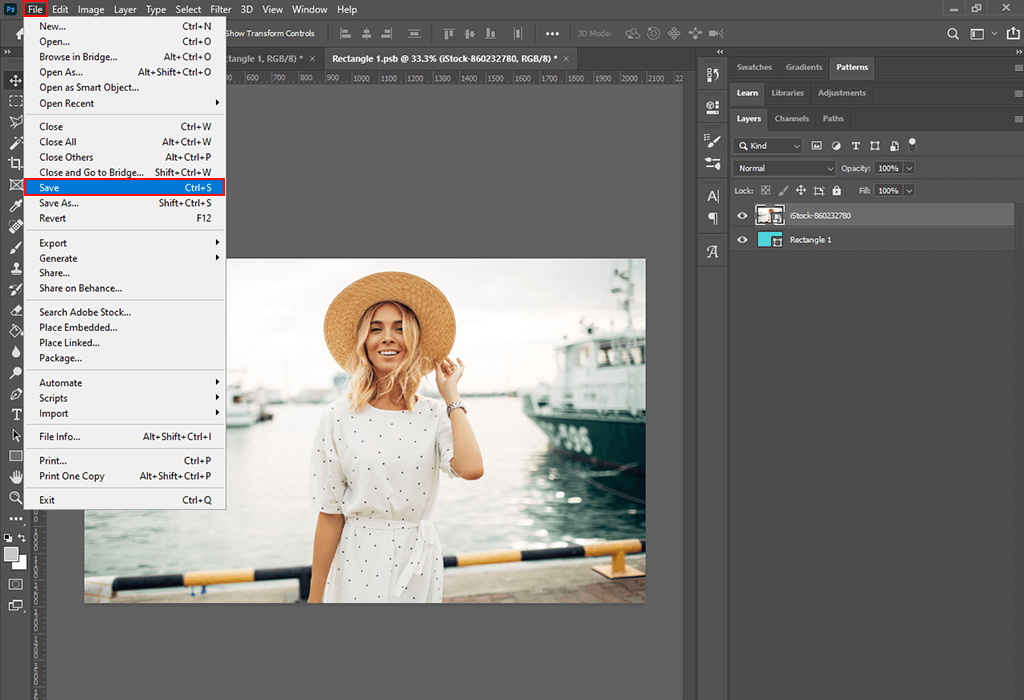
Open the Smart Object with a double-click, add the image, and save it.
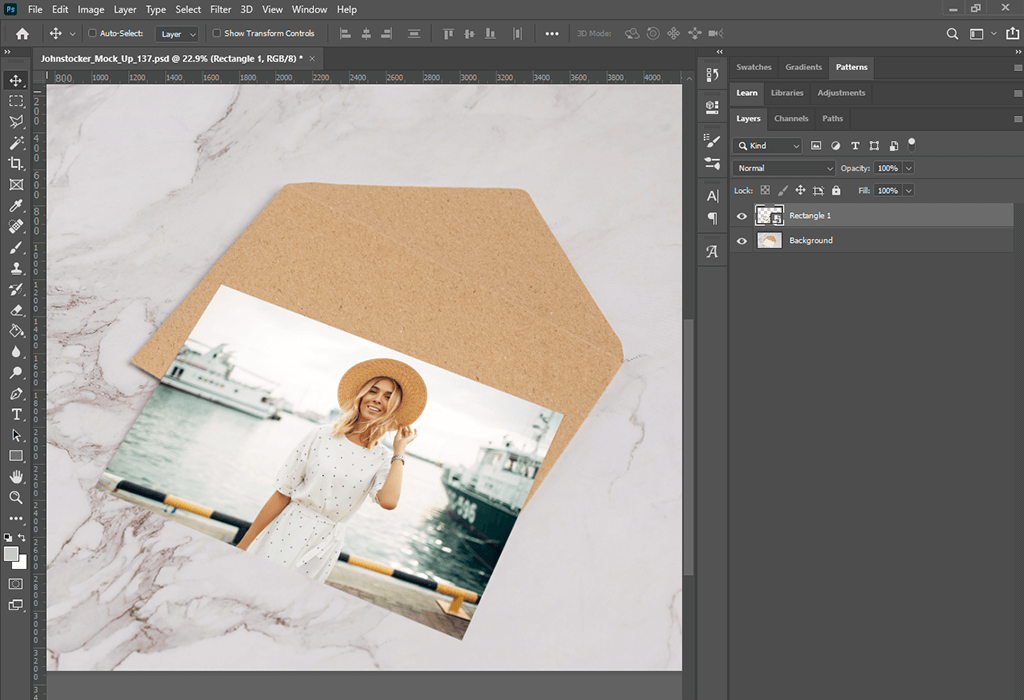
Now that the image fits, you can change it by editing the Smart Object.
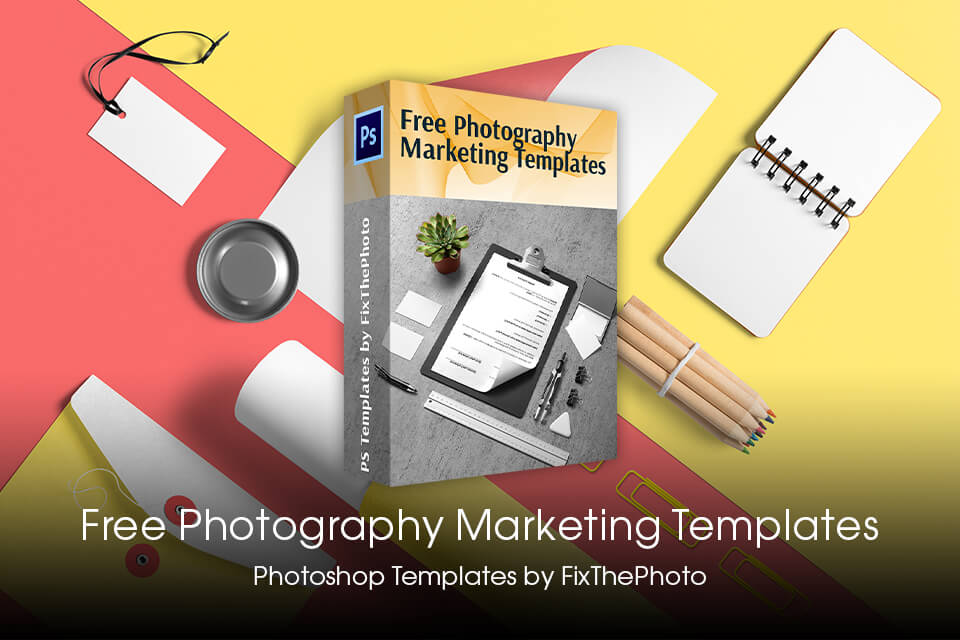
If you want to find trendy, budget mockups Photoshop, take a look at this bundle of free templates for Facebook covers, flyers, price lists, visiting cards, etc.
These mockup templates will save you much time. The collection includes options that you can use to optimize your workflow. These mockups are in a PSD format. You can customize them by adding text and pictures.


