If you took a nice photo outside and are wondering how to replace the sky in Photoshop to make your picture more attention-grabbing, I will tell you how to remove the bleak sky and replace it with another one.
Below, you will find 2 step-by-step tutorials that will help you replace the sky in the newest and older versions of the software. These methods are so simple that even amateurs can master them easily.
Photoshop developers created an AI-driven tool that allows you to replace the sky automatically in a few clicks. Thanks to machine learning technology, it can automatically select the foreground and separate it from the background. The only thing you need to do is to load various presets. When replacing sky in Photoshop, you don’t need to worry about the color temperature of the foreground as the program will adjust it automatically.
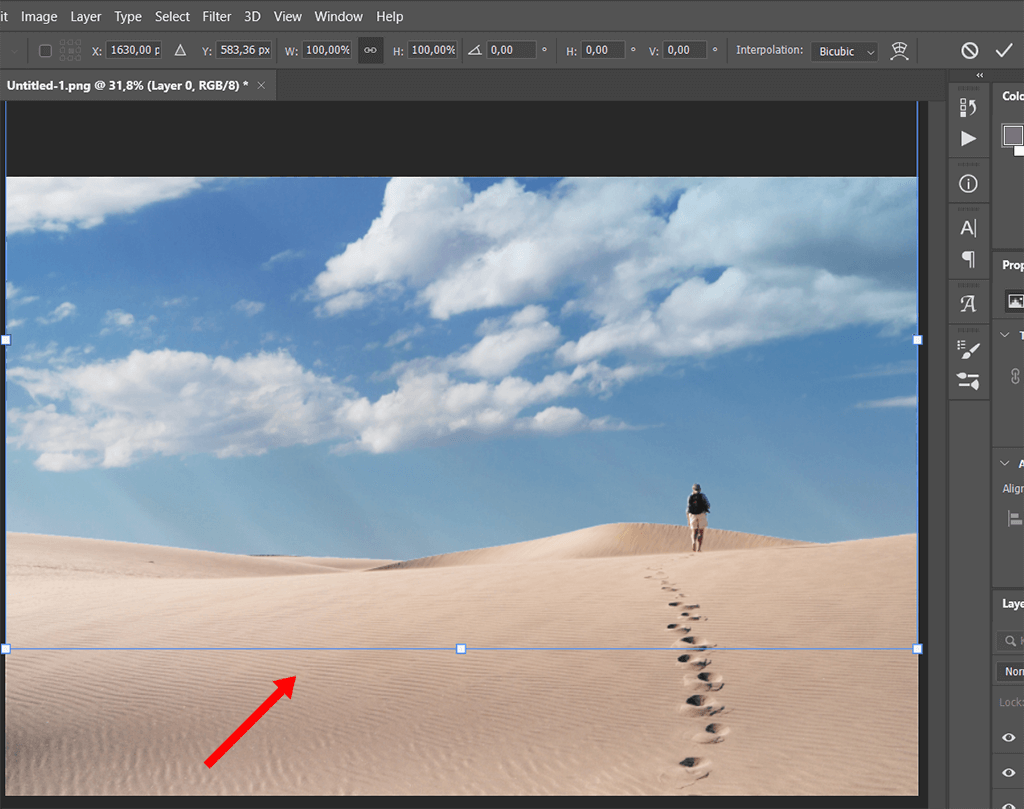
First, run the program. Then, you need to open your file in Photoshop. You can find it on your laptop and import it by using the Open option in the Files menu. Besides, you can drag it into the Photoshop window. Some people use Photoshop keyboard shortcuts to perform such tasks more quickly. Press the key Ctrl+O/Cmd+O key combination to open your photo.

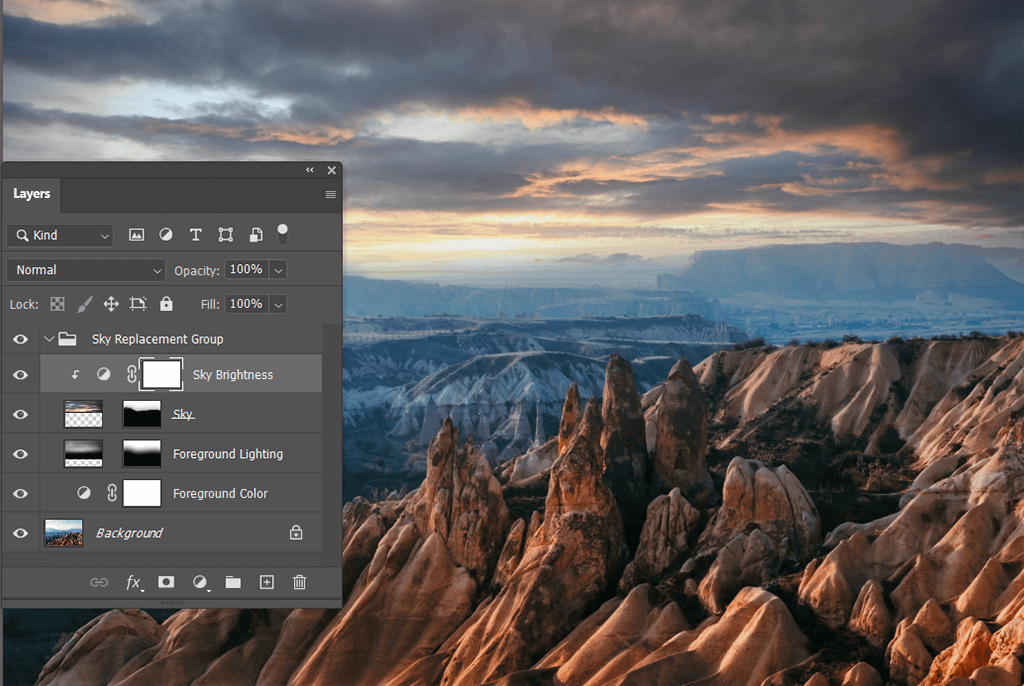
Now, when you have imported the image, go to the Edit tab and find the Sky Replacement tool. You will see a variety of options on the right.
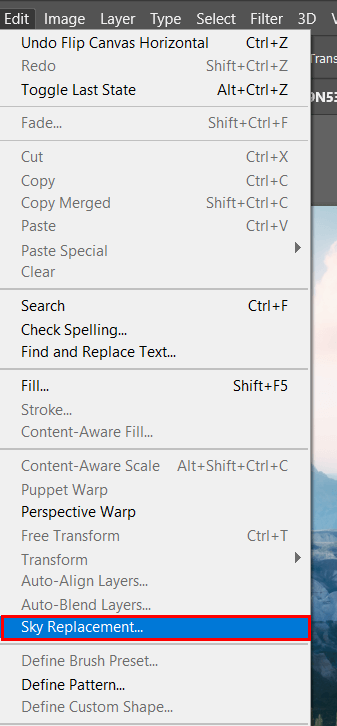
In the Sky Replacement panel, you will see a new sky that you can add to your image to replace the original one. With the help of the dropdown arrow, you need to choose the preset that suits your needs better. Besides, you can create a new preset with the sky to use it in your future projects.
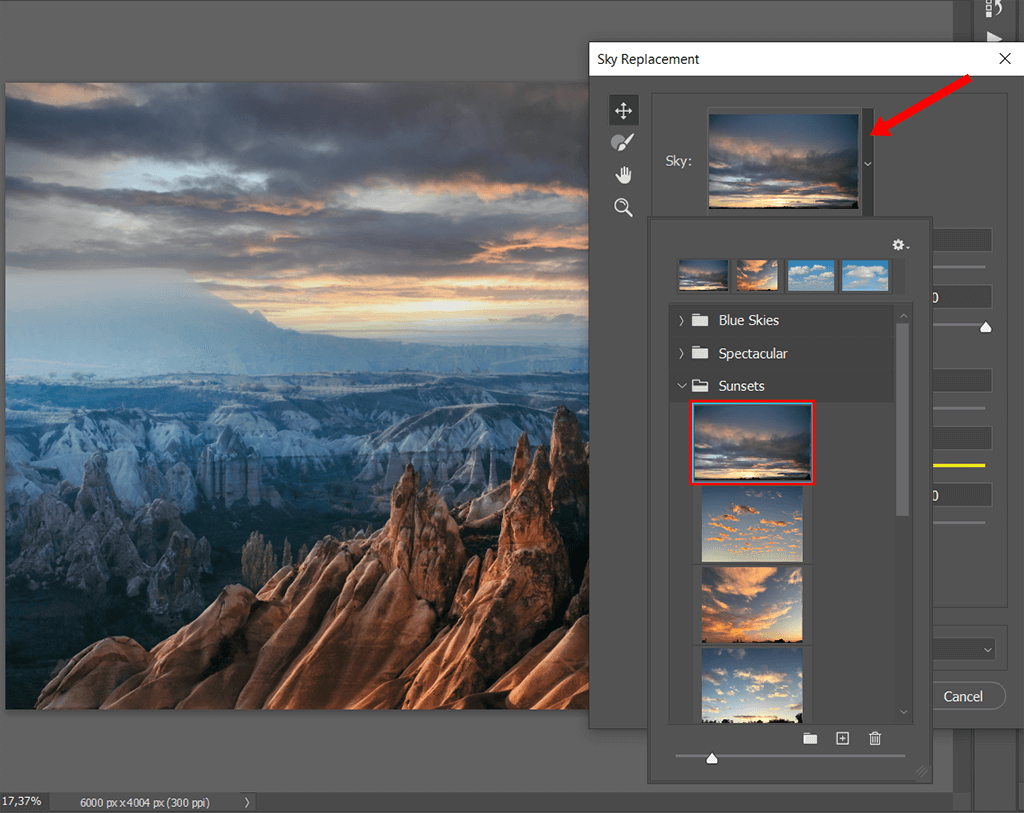
The Adobe Sensei system will automatically select the sky and create a new mask. Then, it will replace the sky in the selected area with a new one. However, you might still need to edit your image manually. I used brushes to fix some minor issues with my image that appeared after I applied the overlay.
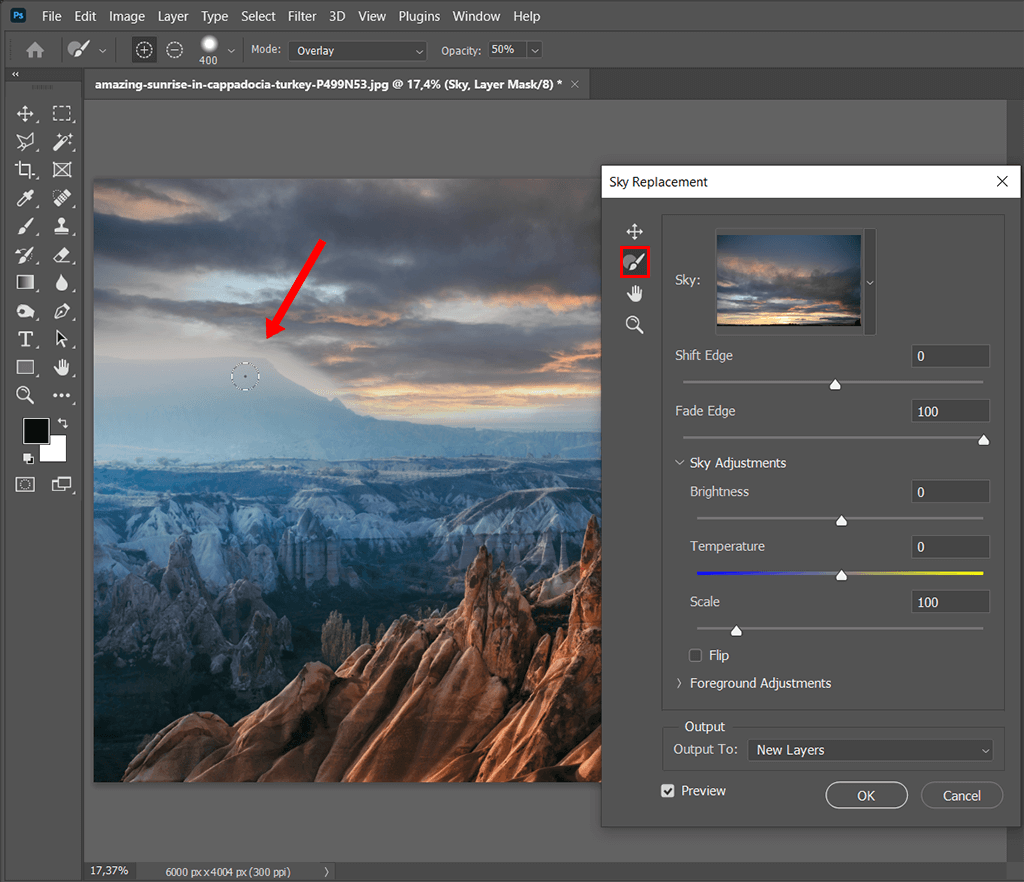
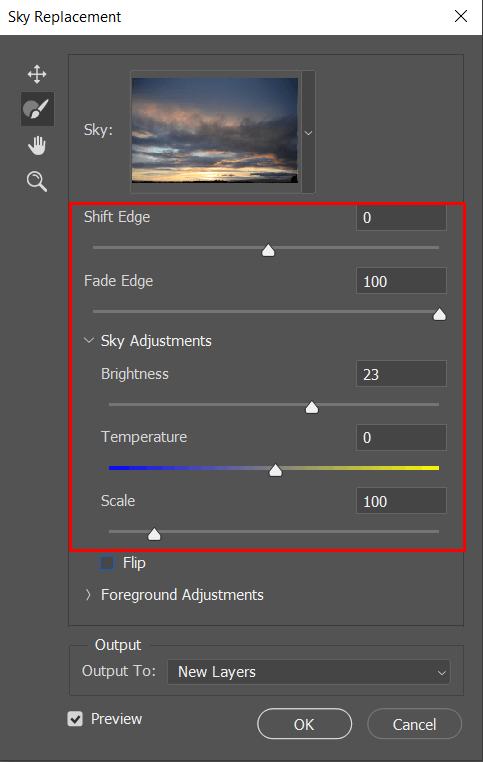
If you have advanced editing skills, you can further embellish your image by moving the sliders. It will help you achieve a perfect blend of the two parts of your image. You can adjust basic settings, such as brightness, temperature, size, or even flip your photo in the Sky Replacement window. To enhance your photo even more, try using the following settings:
Shift Edge: Denotes an area in-between the preset and source image.
Fade Edge: It allows you to adjust fading and feathering from the new sky to the original image along the edges.
Lighting mode: You can use it to select a blending mode for fixing lighting issues.
Lighting Adjustment: You can move the opacity slider to make some areas of the original image lighter or darker and make the shift edge less noticeable.
Color Adjustment: By moving it, you can adjust the colors of the foreground so that they match the colors of the sky.
Output: Here, you can decide if you need to create New Layers (named Sky Replacement Group) and apply all the changes to them or use a single Duplicate Layer.
Done! Now, you have successfully replaced the existing sky in your photo with a new one, more visually appealing. The only thing that you need to do now is to merge layers in Photoshop and save your photo.
If you have never tried editing images before or don’t want to waste too much time, you can address our service. We will replace the sky in your photo and give your picture a surreal look if needed. Since we have a quick turnaround, you will receive your photo in no time.
While older Photoshop versions don’t have the Sky Replacement Tool, you can still change sky in Photoshop with the help of overlays.
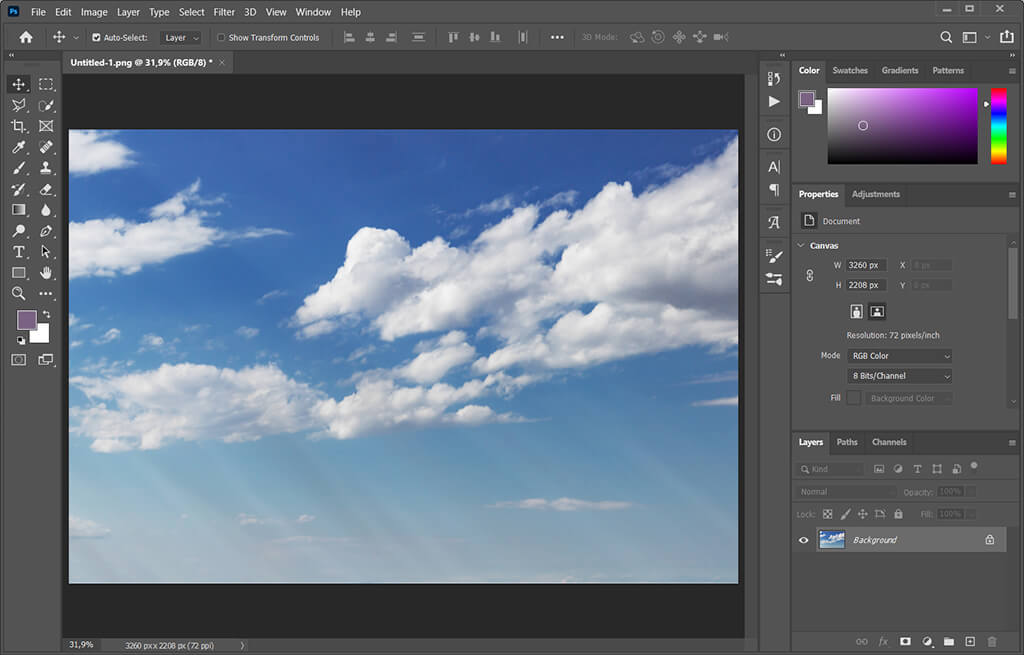
First, open a photo of the sky that you will use as an overlay.
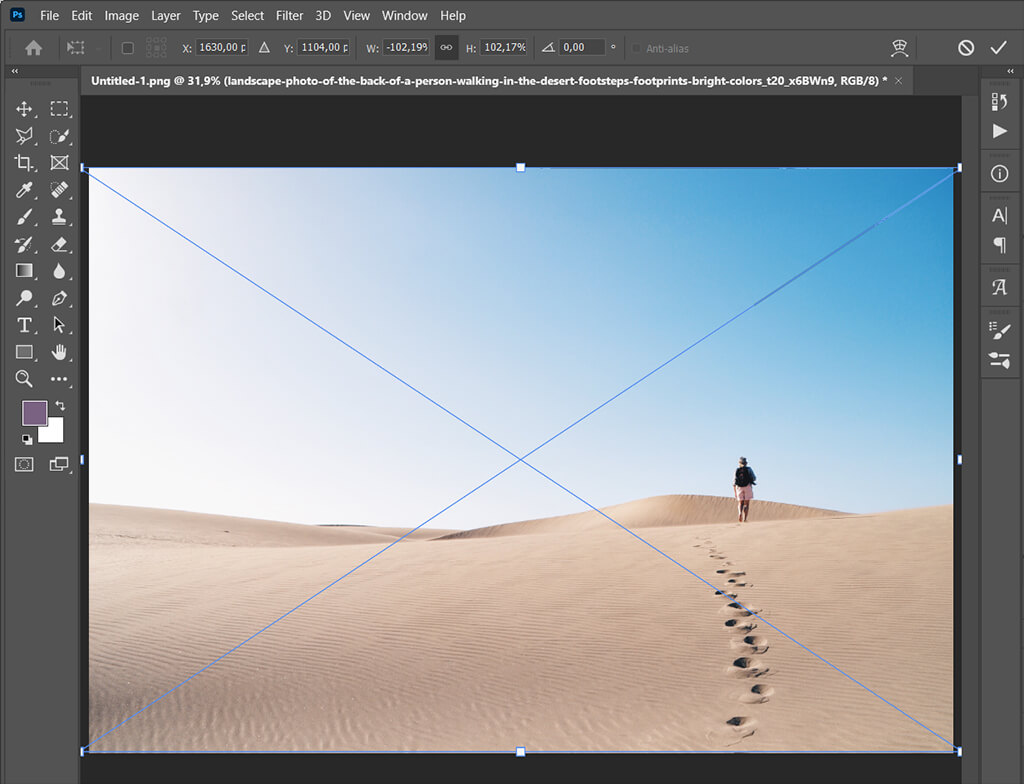
Then, drag your overlay to the part of the image that you want to replace.
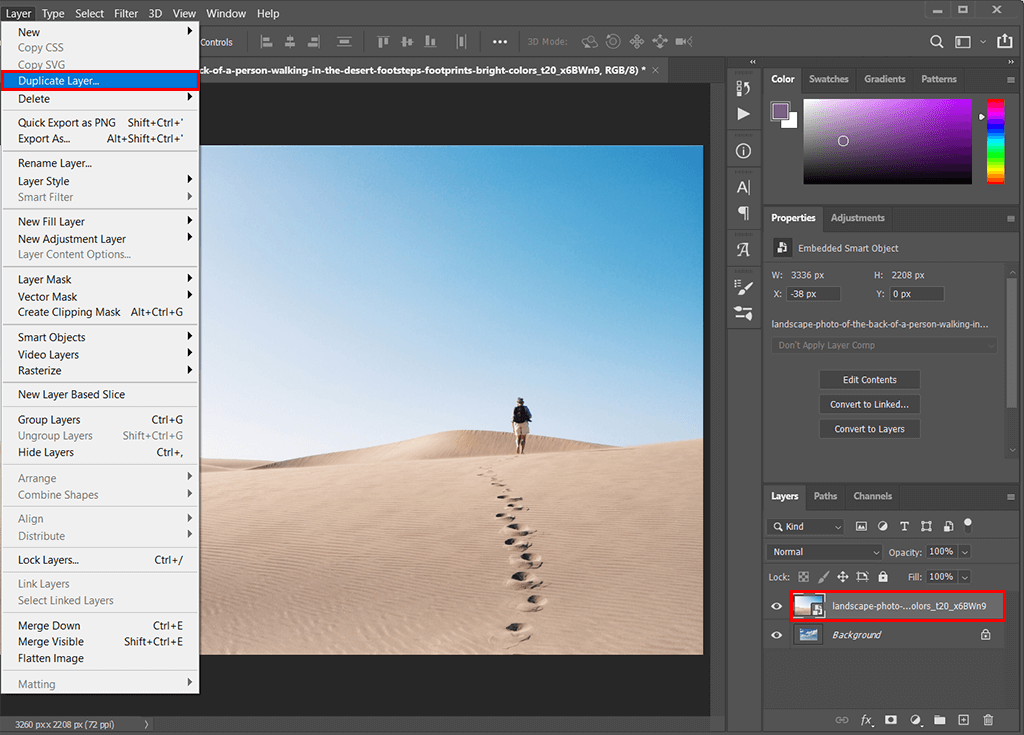
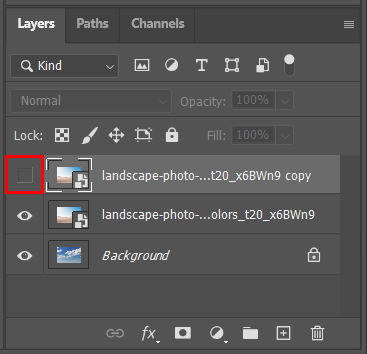
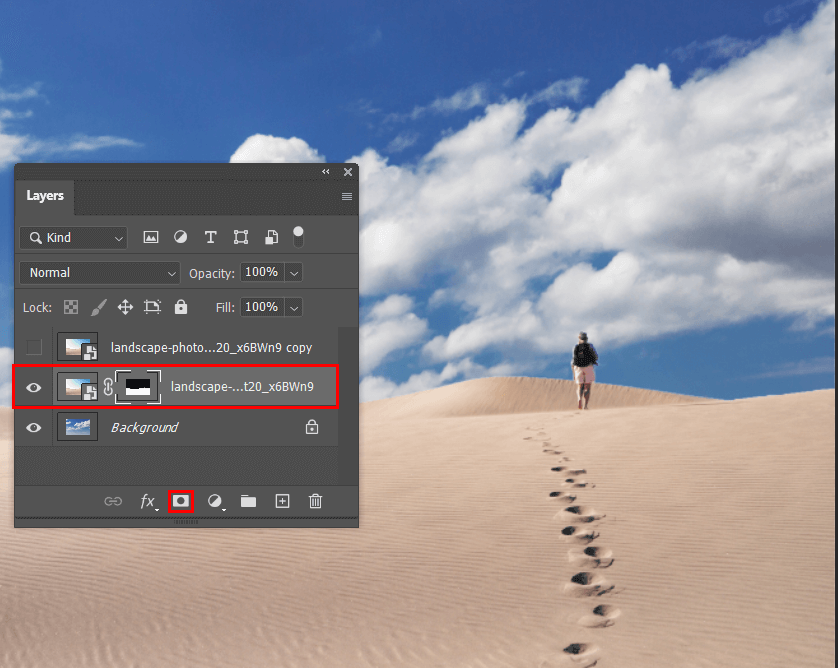
Now, you need to duplicate your top layer. Go to the Layers panel, click on the layer that you want to copy and use the Ctrl+J/Cmd+J key combination to duplicate it.
Next, you need to make your layer invisible. Just click on the eye icon next to it. If you can’t see it anymore, it means that your layer has become invisible.
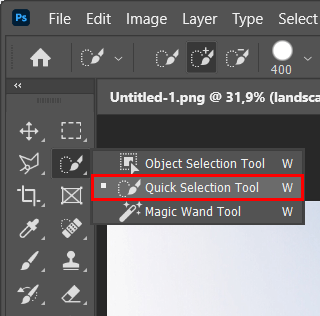
Every time when you need to remove the background of a picture in Photoshop, it’s important to select it first. It’s better to do it with the help of the Quick Selection Tool (W).
You will see it on the tool panel on the left. It can be found right below the Polygonal Lasso Tool. On the quick selection icon, you will see a paintbrush with dotted lines.
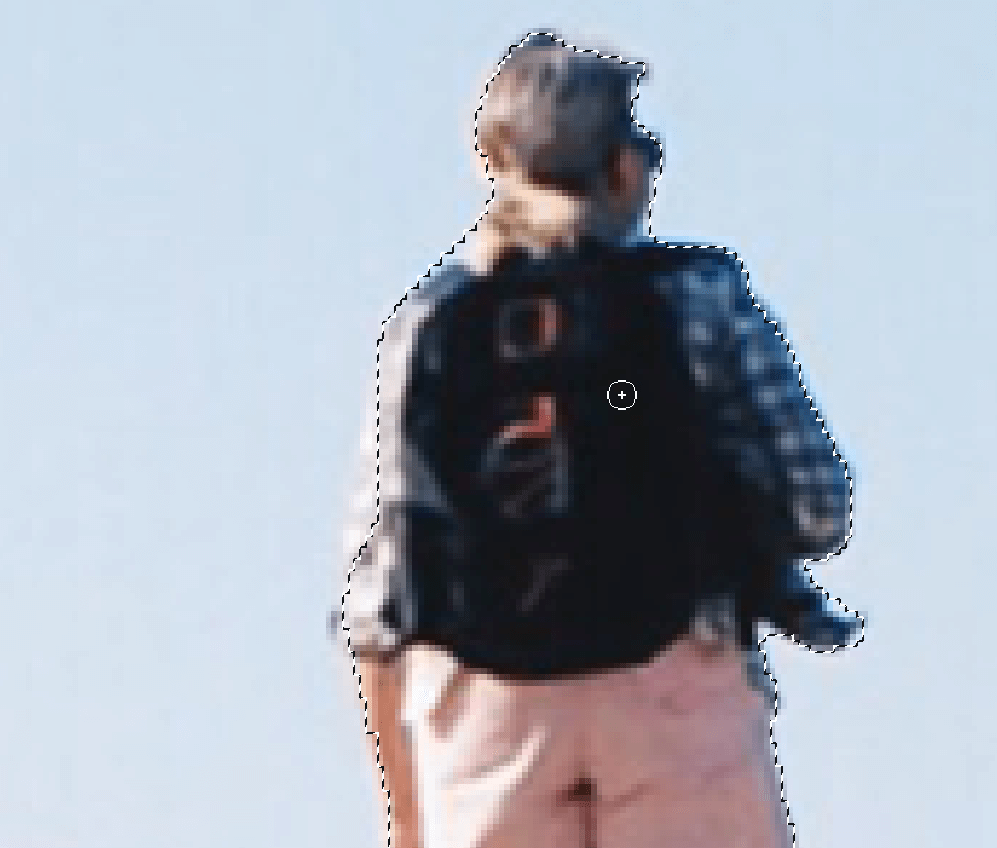
Start selecting the sky from the line of the horizon. You just need to drag the cursor over the part of the image that you want to select. When doing it, you will notice a line of ‘marching ants’ around the selection. Expand the selected area by dragging the cursor further.

When replacing sky in Photoshop, pay attention to selecting all the details. If you want to remove the selection from a large area, press and hold down Alt/Opt when moving the cursor around the part of the image that you want to deselect.
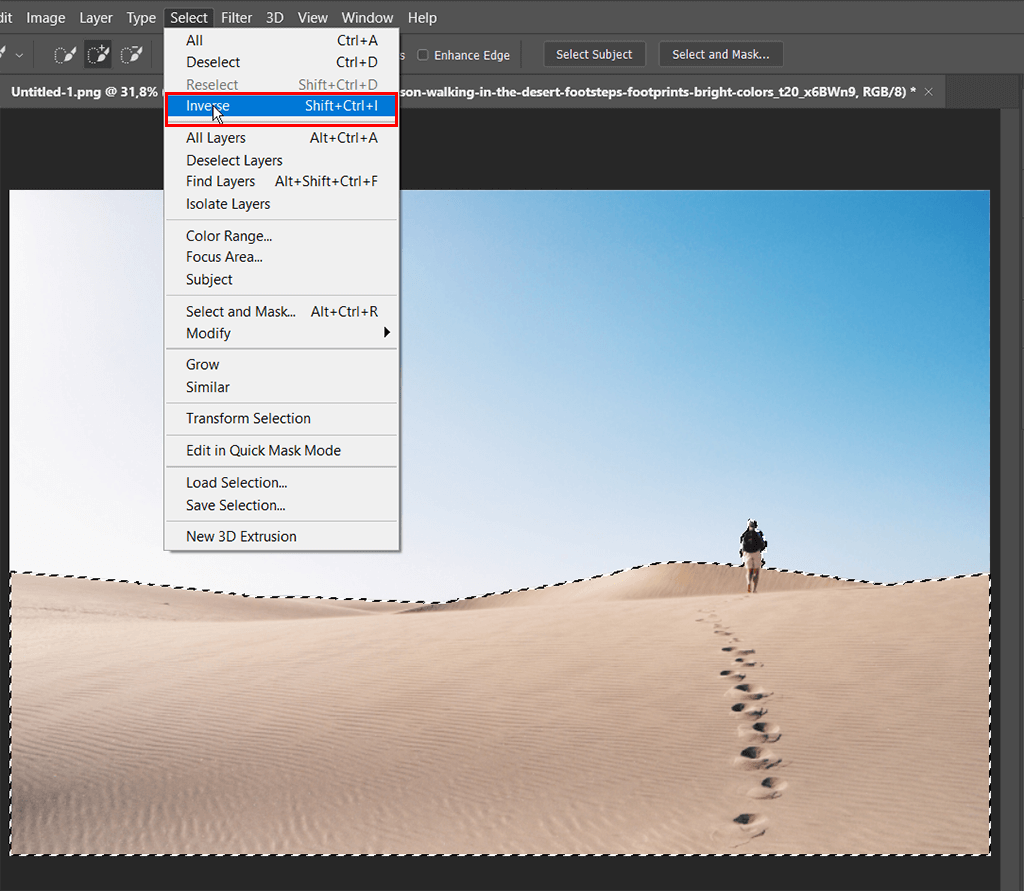
When everything is ready, you need to invert selection in Photoshop. Just click on the Select tab and select the Inverse option. You can also use Shift+Cmd+I/Shift+Control+I keys to solve this task even more quickly.
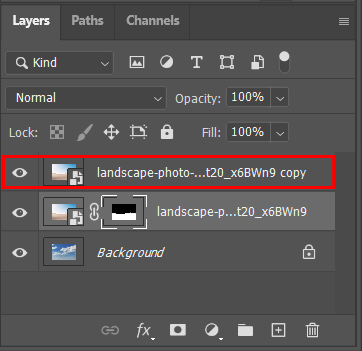
Go to the Layers panel and select the Add layer mask option at the bottom. You will see a B&W thumbnail of the mask on the selected layer.
If you take a look at the preview thumbnail in the Layers panel, you will notice that the selected area is white, which indicates that it remains visible. The area that we didn’t select is black, which means that it remains invisible.
Return to the inactive layer, make it visible again and double-click on it with the right mouse button.
Next, you need to add a layer style. To do it, open the Layer Palette menu and select the option at the bottom of the list. After selecting Blending modes, go to the Layer Styles menu.
At the bottom of the Layer Styles list, you will see the Blend If options. Select any suitable option to blend your layers and make them look more natural. For instance, you can use the Blue option.
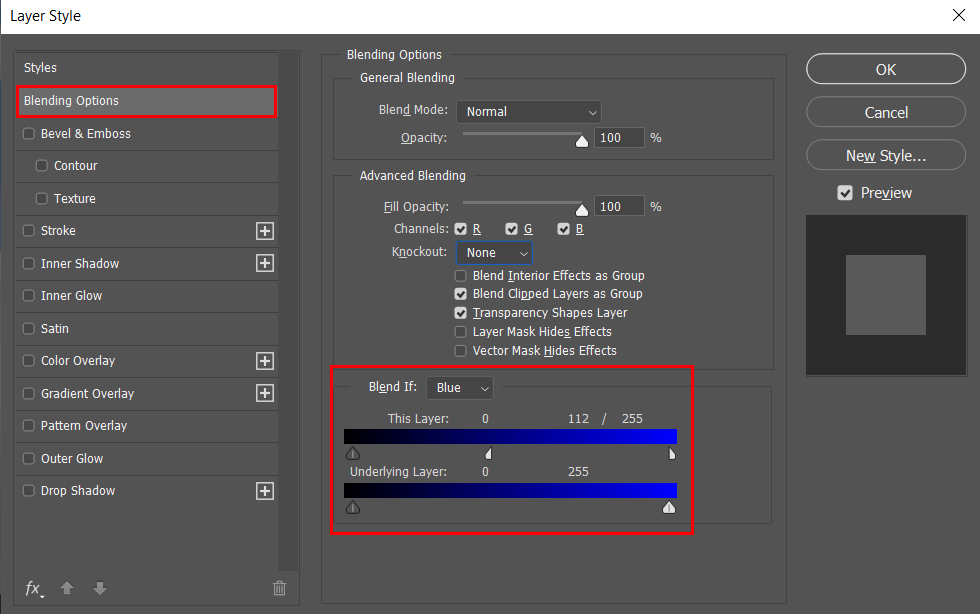
Go to the Layer Style dialog window, select the option This Layer and move the white slider to the left. This way, you can make the new sky visible and hide the original sky on the layer that you have selected. Move the slider to achieve a more dramatic effect.
Now, when everything is almost ready, we can move the overlay slightly higher so that the result looks more realistic.
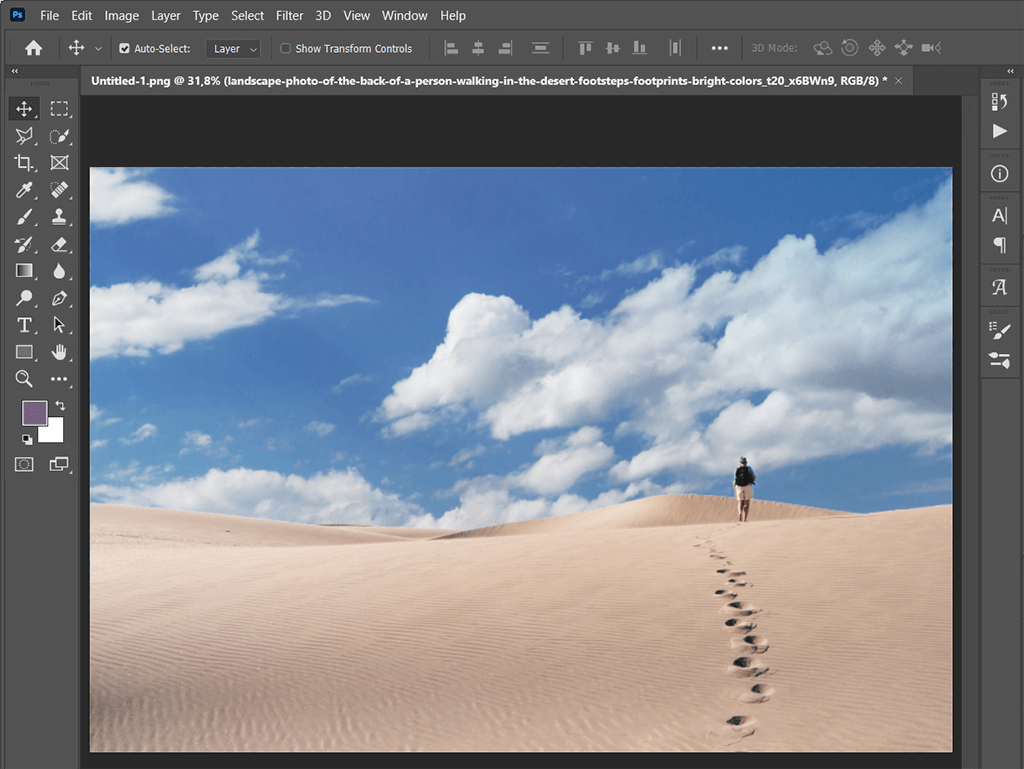
Congratulations! You have successfully applied the overlay to change sky in Photoshop. Use the Ctrl+E/Cmd+E key combination to merge your layer and save the photo to your device.

If you want to find high-quality sky overlays, look no further. We have created a collection of 100 overlays that you can download straight away. With the help of this set, you can add the blue, summer, spring, or autumn sky as well as create fluffy white clouds. This collection includes a variety of options that will be suitable for photos in various styles.


