If you want to learn how to add smoke in Photoshop and level up your editing skills, my tutorial will come in handy. With 3 simple yet effective techniques described in this article, you can easily add smoke effects in Photoshop. Besides, you can download these overlays for better results.
To improve simple photos with smoke or fog effects, you can follow this method. Here you need two pictures – your image and overlay, which is available on various resources or among Google images.
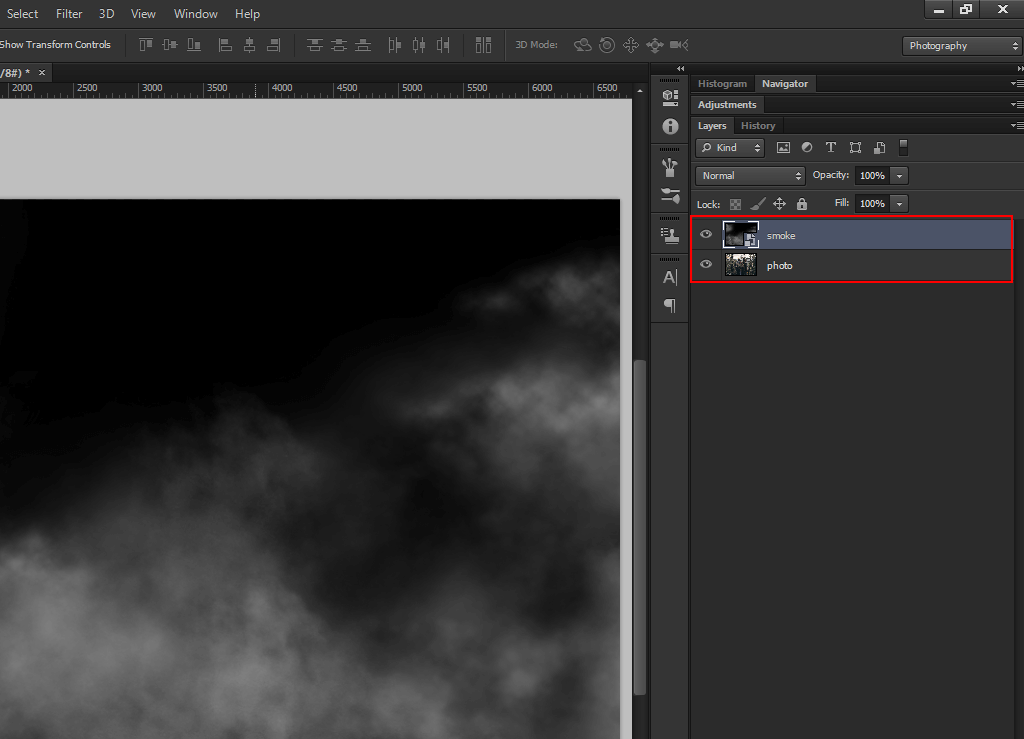
Open two pictures as separate layers in a PSD format. As an example, we’ve added a picture of smoke on a black background. This is the top layer that we’ll blend with the picture of a dark alley placed on the bottom layer.
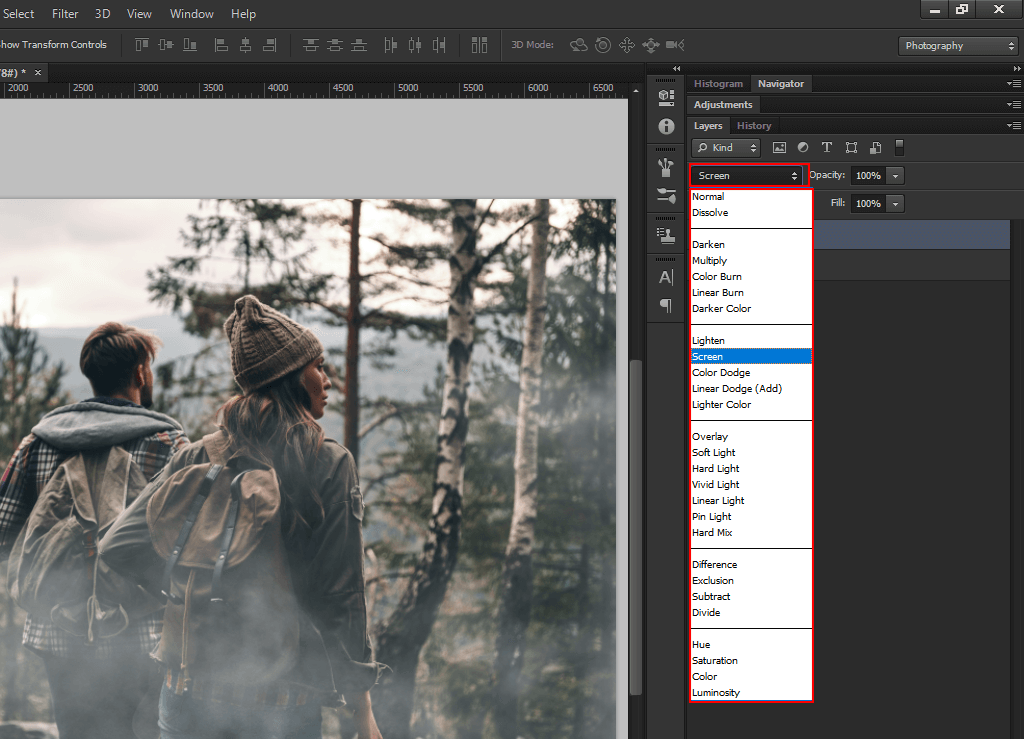
When you use a blend mode, Photoshop starts mixing pixels from the selected layer with the one placed below. There are several ways to mix pixels depending on the chosen mode. You can select the smoke layer and try different modes in the Layers panel to find the effect that suits perfectly.
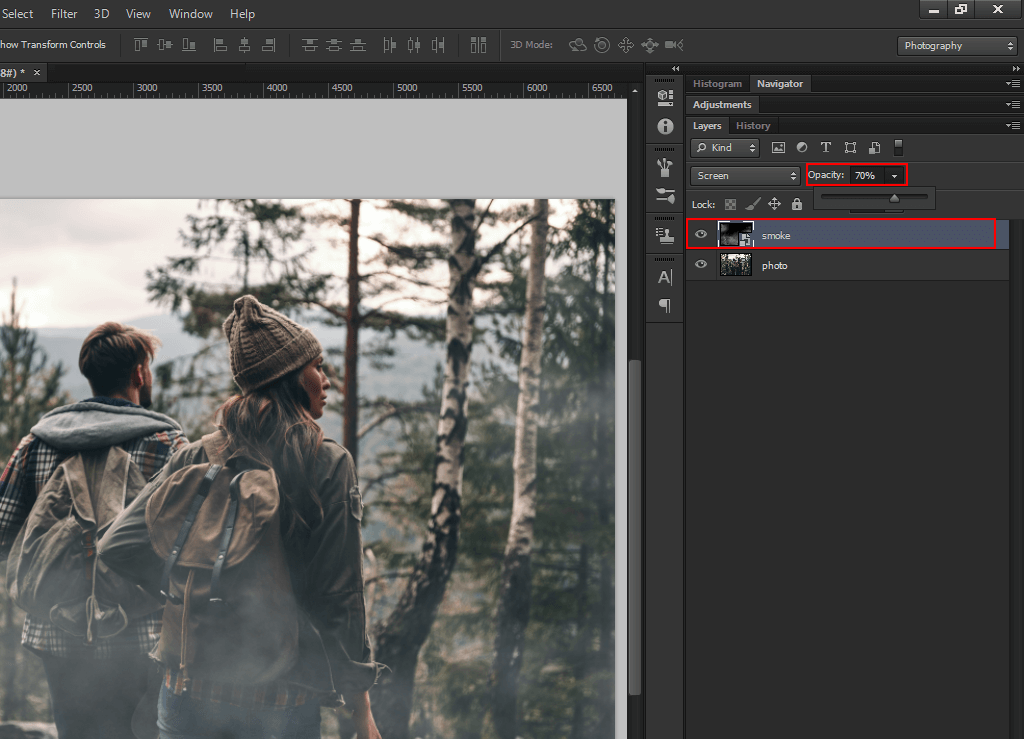
For this example, I prefer using the Lighten blend mode since it accurately hides the black background of the top layer to mix it with the main scene. I reduced opacity to get a well-pronounced effect.
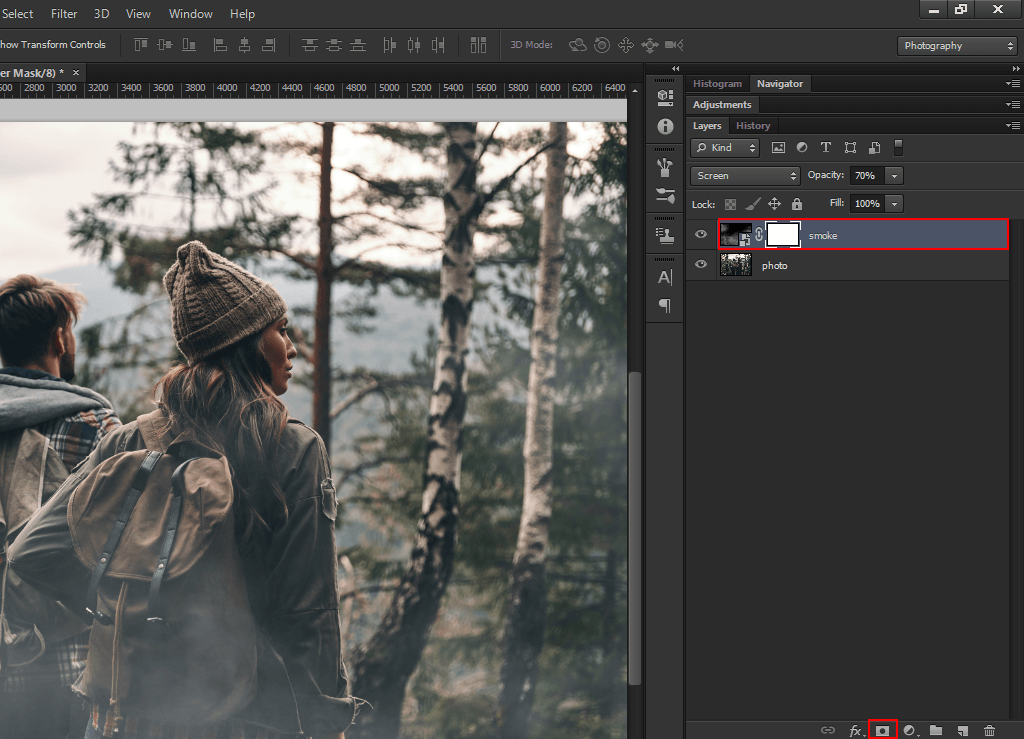
To get a lifelike Photoshop smoke effect, I added a layer mask since the outer edge looked too sharp. Besides, with the help of a soft-edged brush, I painted the smoke layer for smooth transition.
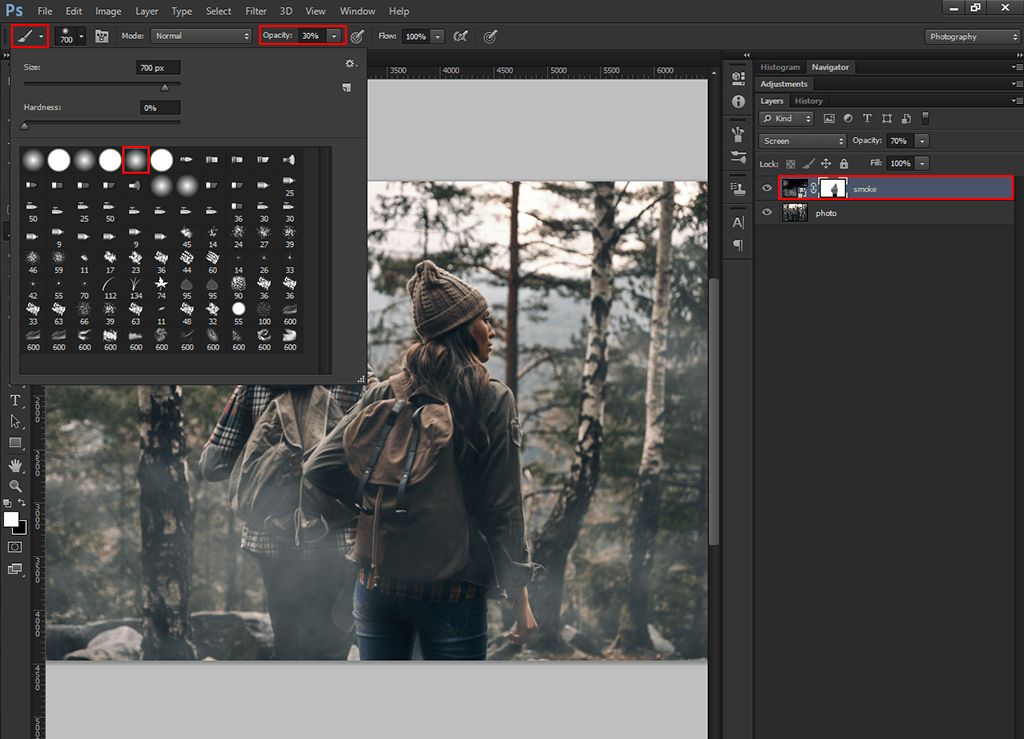
Remove excess smoke and soften some areas with a semi-transparent brush. After two pictures were blended, I received a great play banner.
To create new designs for future projects, you can combine image layers. This is a wonderful alternative for frequency separation retouching techniques. You can always ask experts for help and outsource your photos for professional and fast results.
Use this method to create cigarette smoke effect Photoshop. This method is also suitable for those who are fond of drawing.

Open a new file in Photoshop, choose custom size, and set white background in “Background Contents”. Click OK when ready.
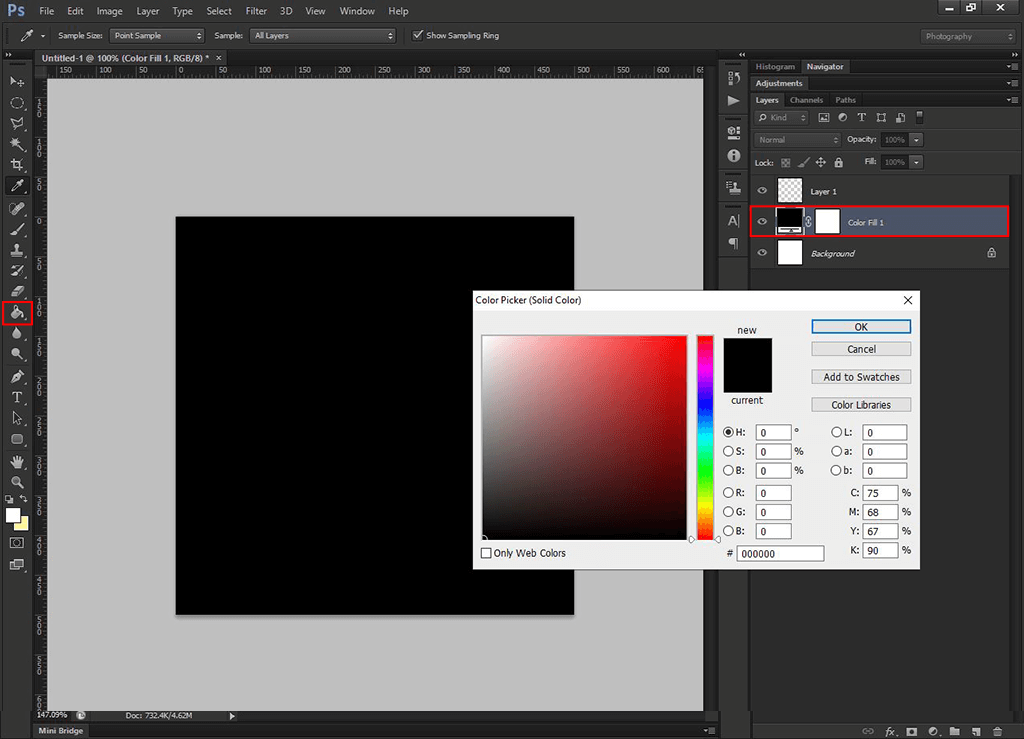
Select the Paint Bucket tool to make the background black. Create a new transparent layer.
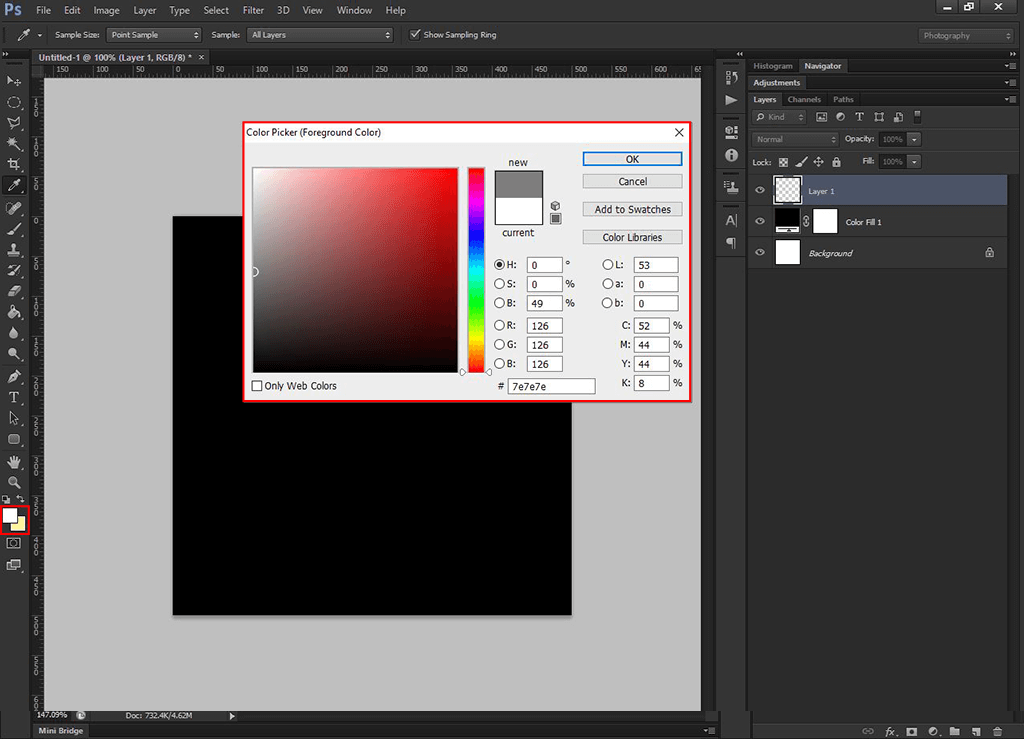
Click on the color picker and select gray.
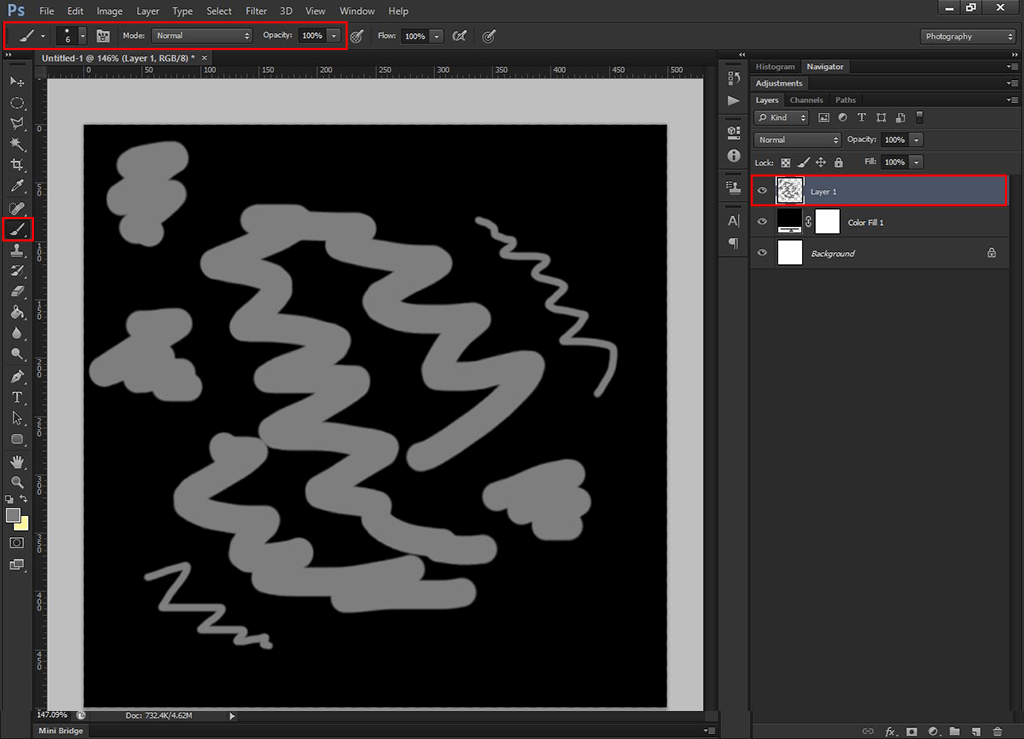
Take the Brush tool, set the desired size, and draw smoke.
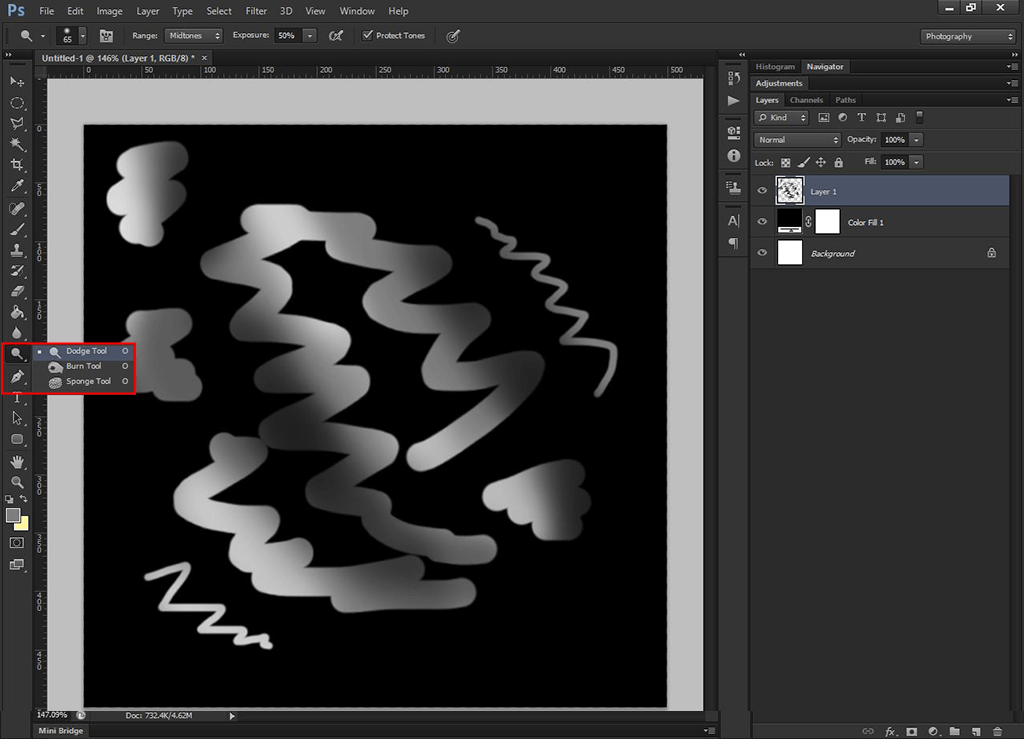
Use the Burn and Dodge tool to darken and lighten certain areas.
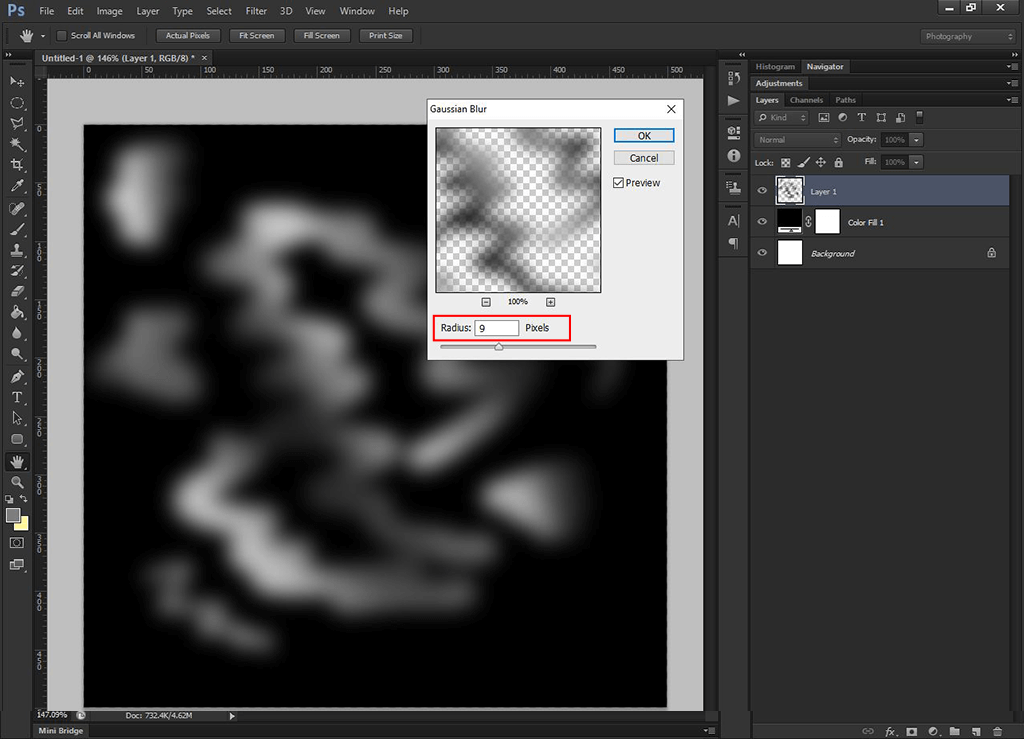
Use Gaussian Blur and set it to 9.
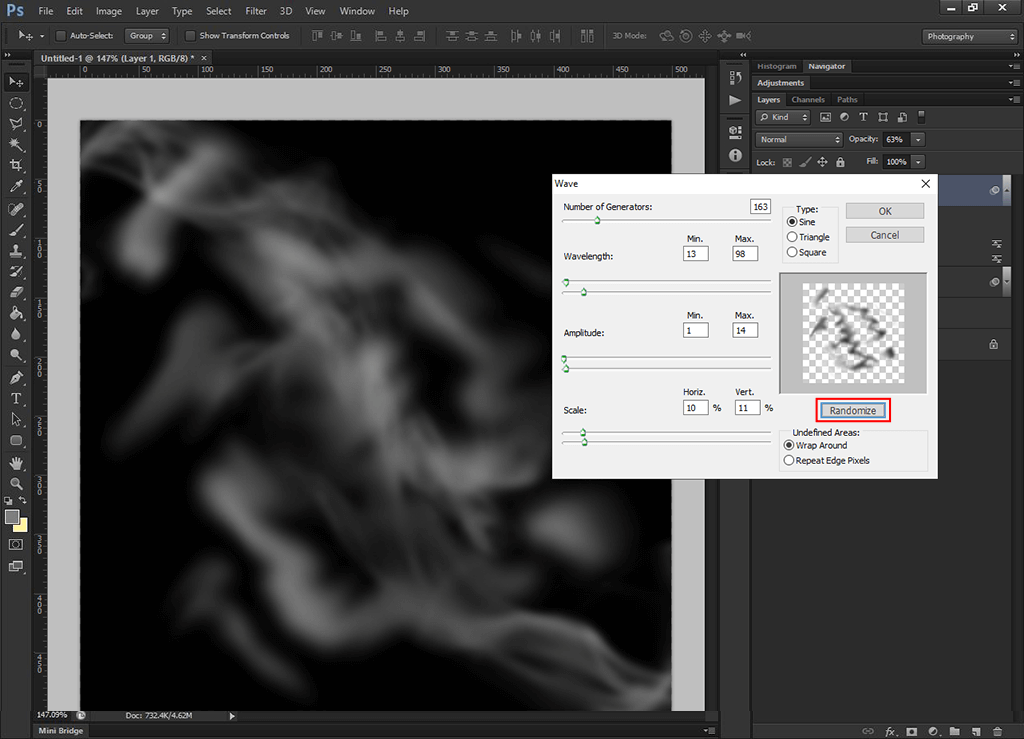
Press the randomize button until you get the desired smoke effect Photoshop. You can repeat the last steps to get better results.
This is a win-win method if you already know how to create a Photoshop action. To get a unique effect, use smoke brushes available in Photoshop.
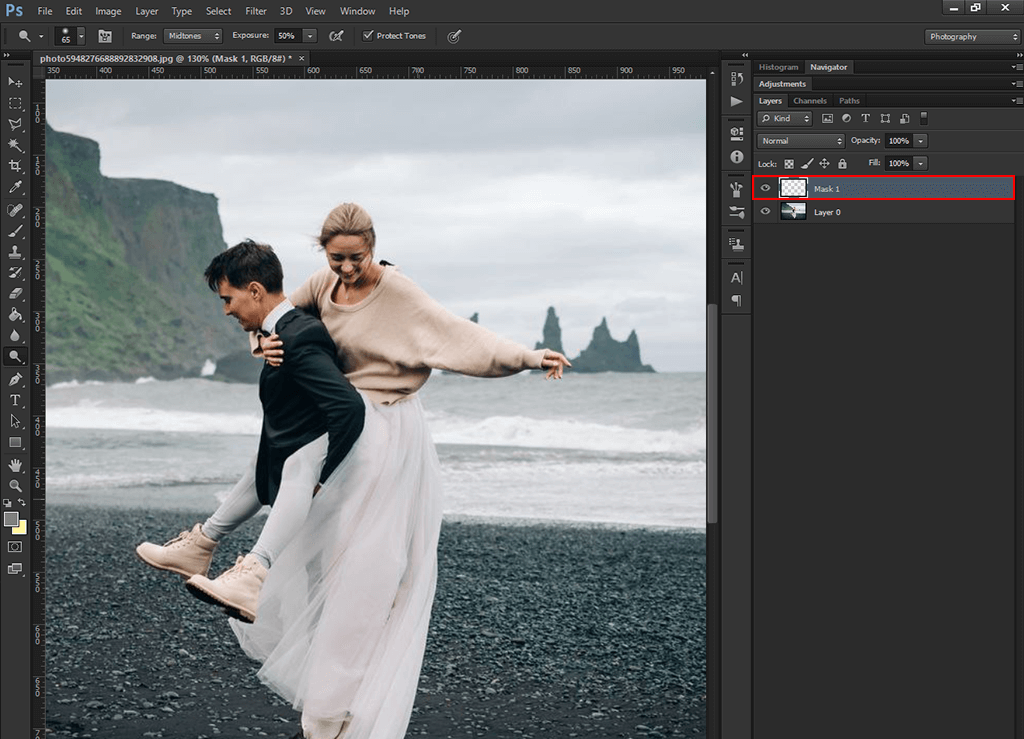
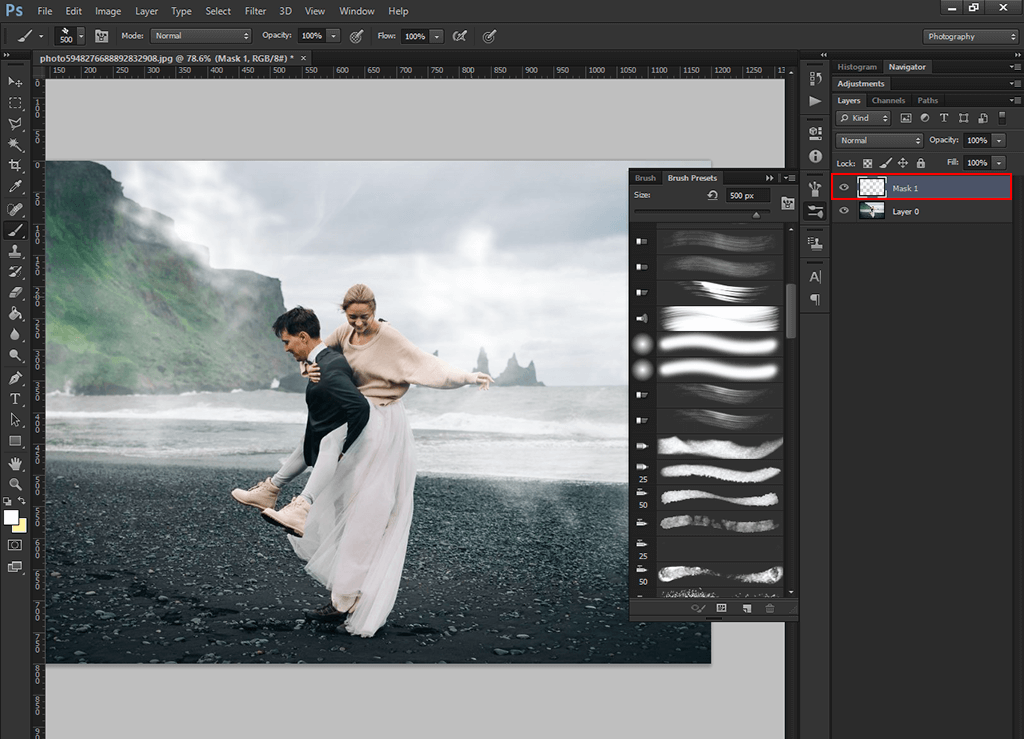
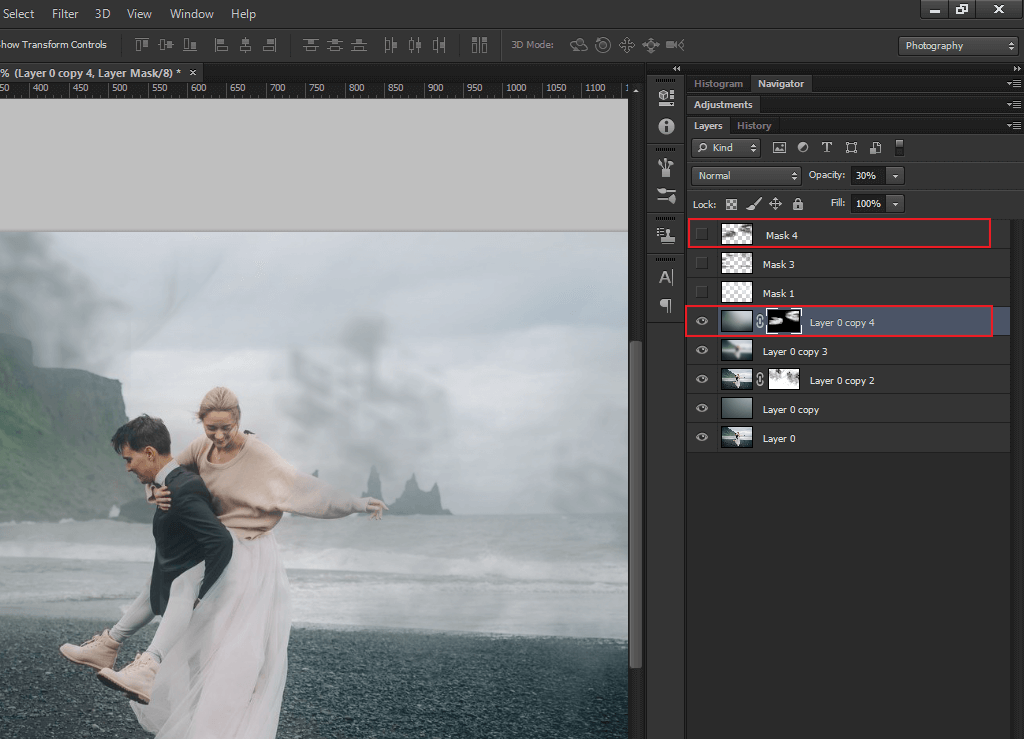
Open your file and prepare masks before recording an action. Make a New Layer and name it Mask 1.
Create another Layer and name it Mask 2. Paint it with black by using smoke brushes. Draw smoke clouds in the approximately same direction. Unfortunately, you cannot rotate stamp brushes but rotating canvas instead, you’ll get similar results.
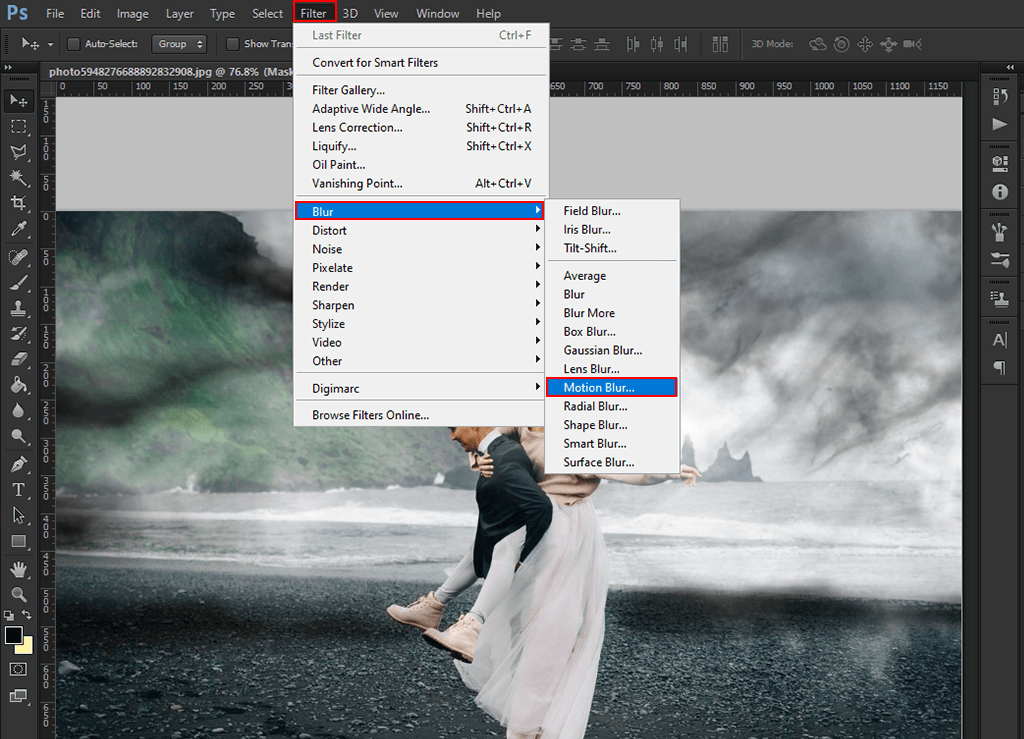
Create a New Layer (Mask 3) and paint it black. Then add a bit of background smoke. I recommend blurring the layer and reducing opacity. The Motion Blur filter copes with the task easily.
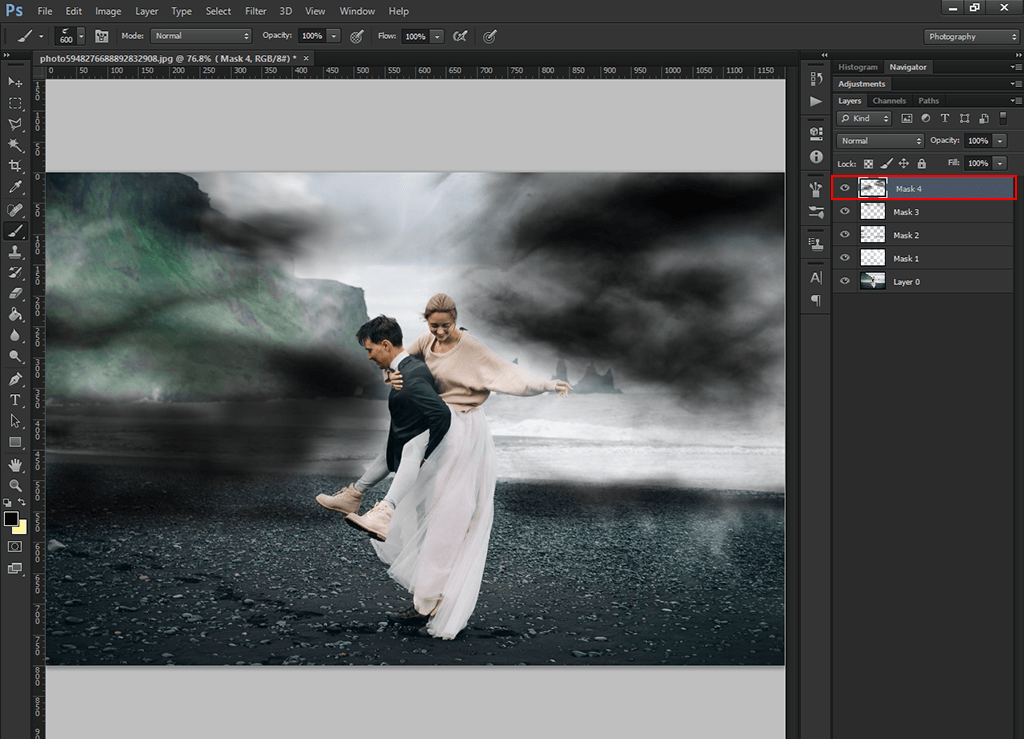
Create a New Layer (Mask 4) and draw black smoke in the same direction as the previous objects.
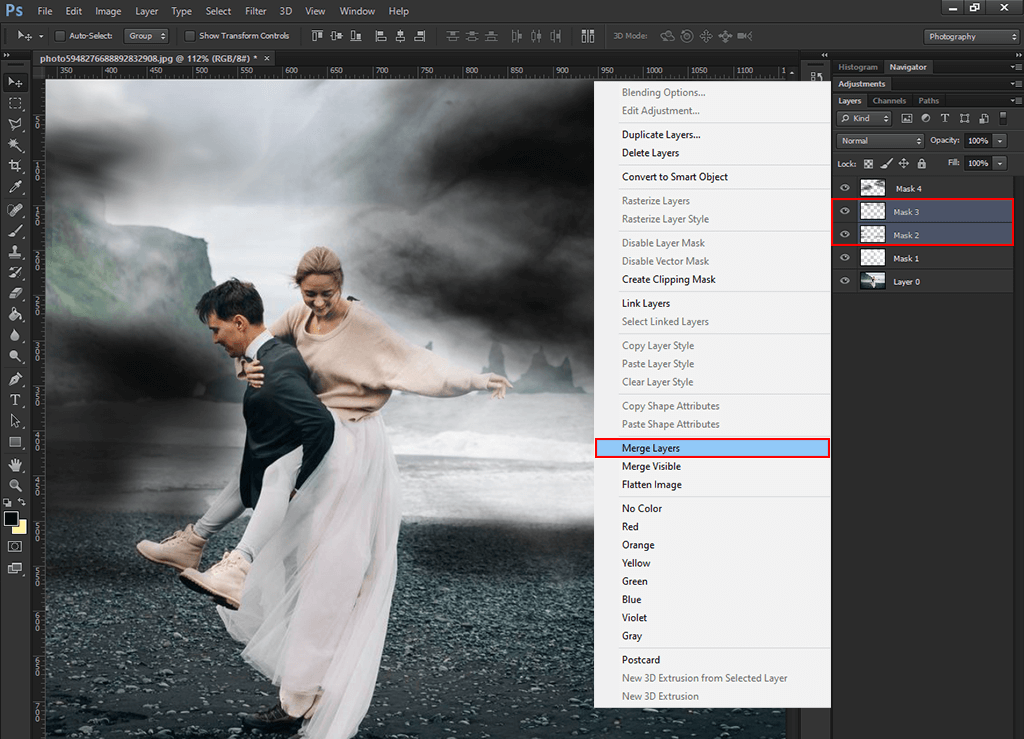
Merge Mask 2 and 3.
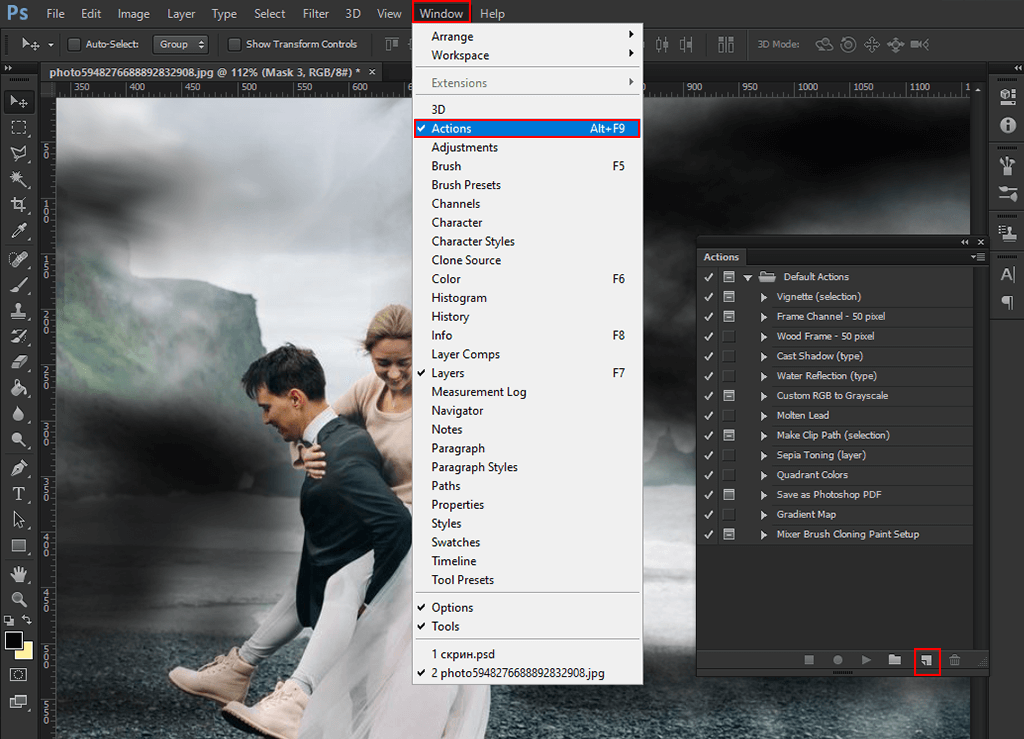
Go to the Action panel and create a new action under the name “Smoke Effect”.
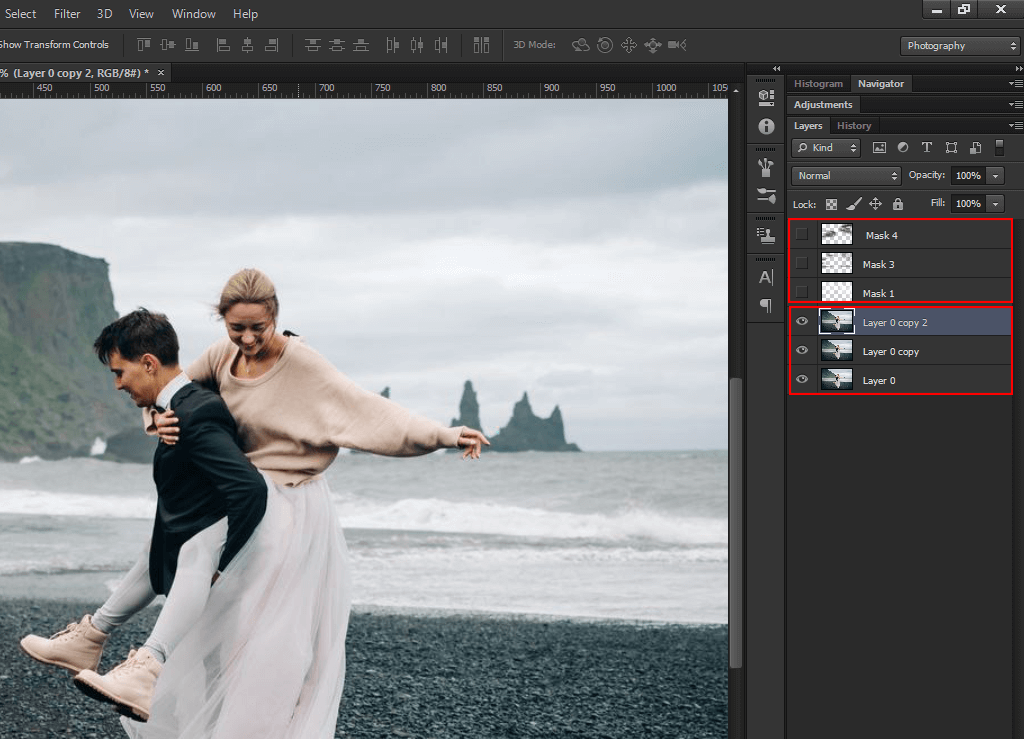
Click Control-J twice to duplicate the background layer. To select Mask 1, choose the upper copy, hold Control + click the thumbnail of the relevant mask. Invert the selection with Control-Shift-I, and add a Layer Mask.
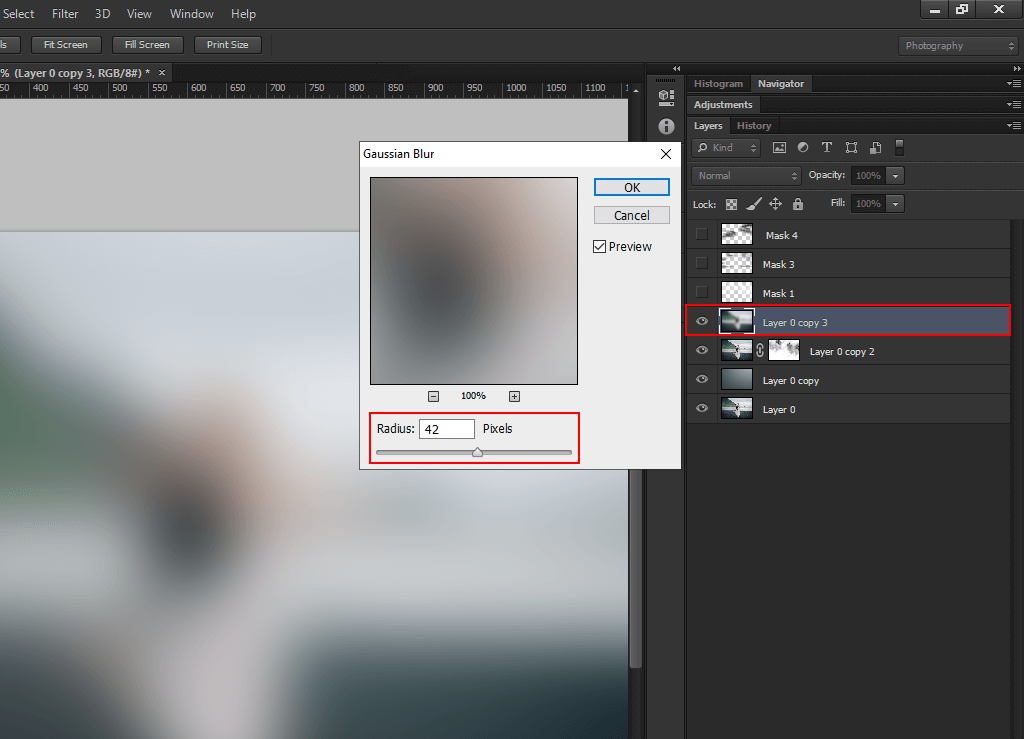
Go to the lower copy. Choose Filter > Blur > Gaussian Blur. There will appear the basic smoke effect.
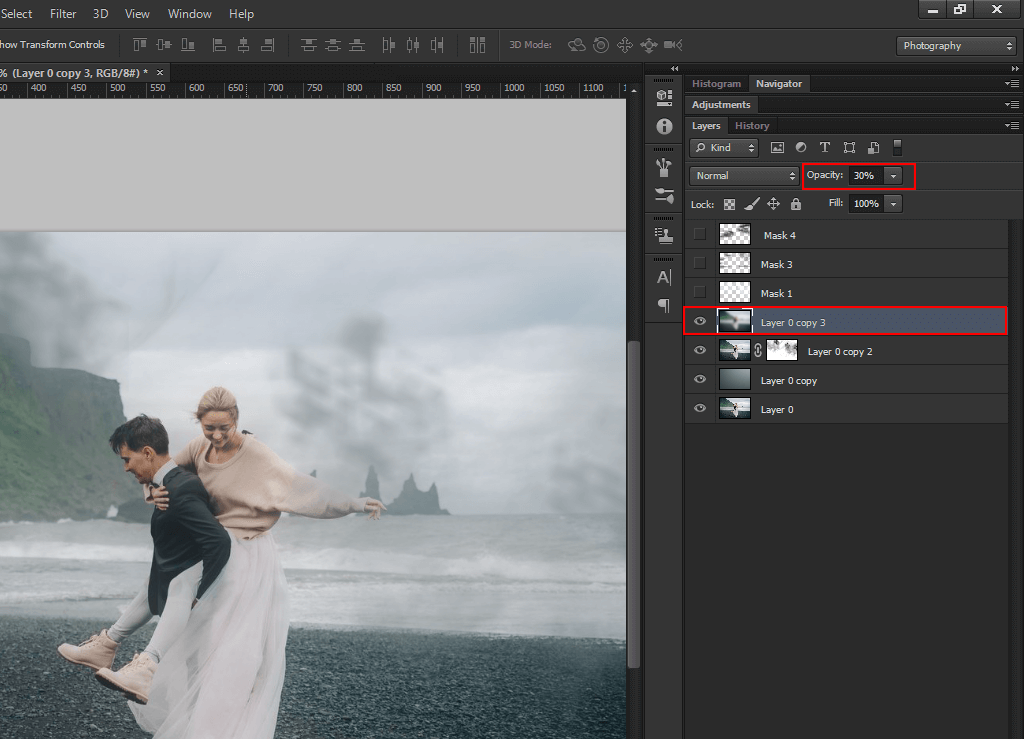
Duplicate the background layer and place it on the top. Add Gaussian Blur, make opacity lower to get a dreamy glow look.
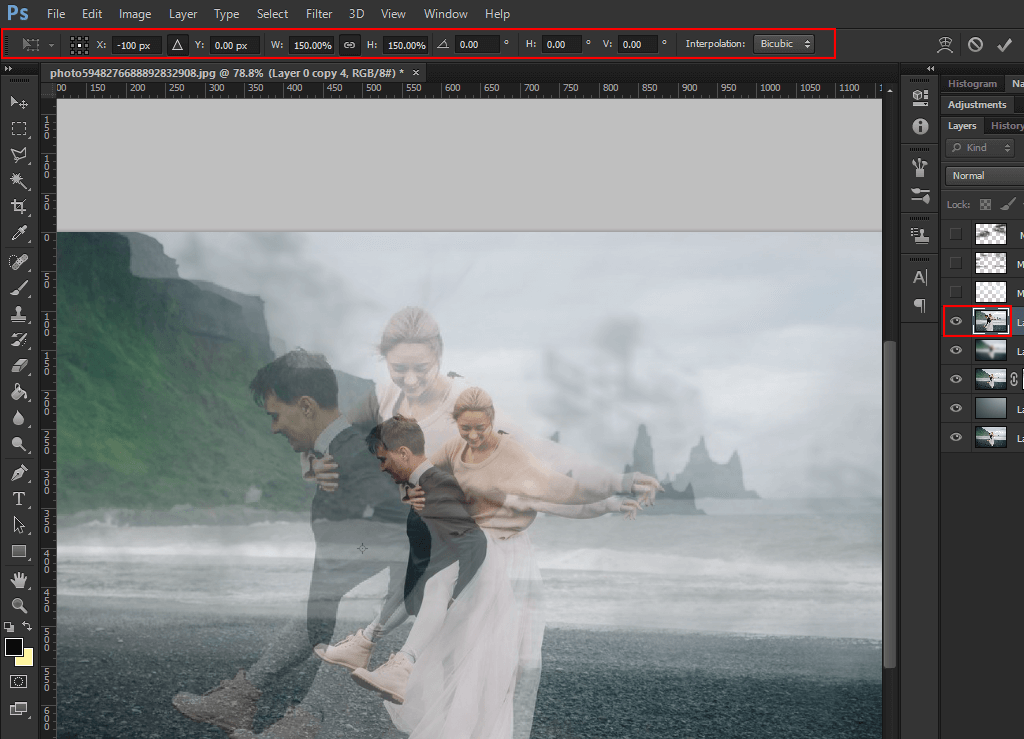
Create another duplicate of the original photo and move it up. Hold Control-T to resize the layer. On the top panel, choose “Maintain Aspect Ratio” and set the width to 150%. Then move the layer 100 pixels to the left. Double-click Enter.

Apply Gaussian blur to the created layer. Then take the selection from Mask 4 and add it as a Layer Mask without inverting.
Press Control-Shift-Alt-E to create a snapshot of the whole picture. Add Gaussian Blur to it. Then choose the selection from the middle mask and add it as a Layer Mask.
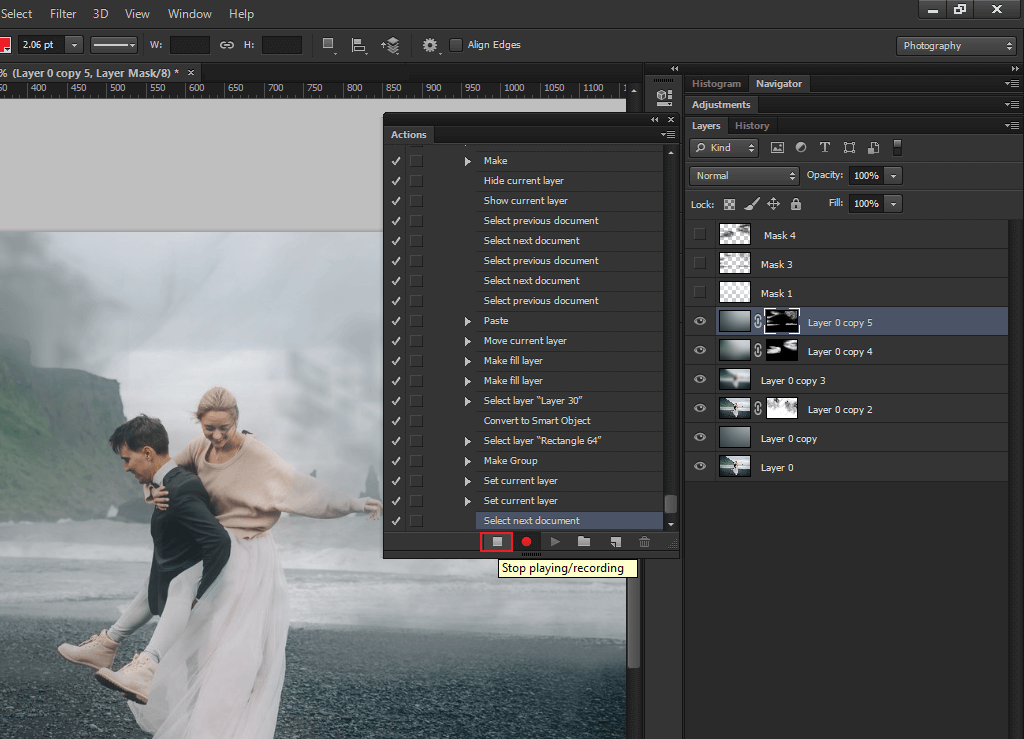
Stop recording. Now you can apply this smoke effect to any image. To create another image with the Smoke effect Photoshop, you need to add all the masks and click “Play”.
We’ve prepared a kit of brushes that come in handy when you need to apply smoke or fog effect to RAW and JPG pictures. These effects will make your shots look more dramatic. These brushes are commonly used by novice photographers, designers, and retouchers.


