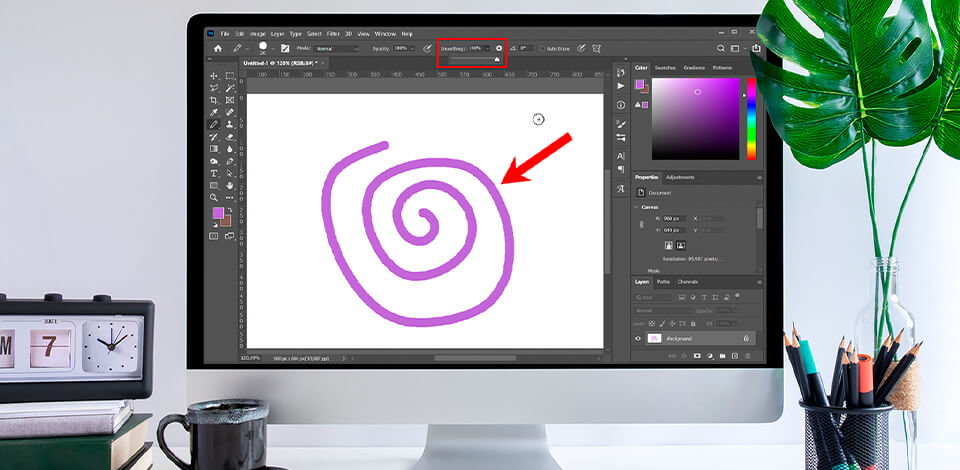
If you want your project to look professional, make sure to use the Photoshop tools that allow you to clean up your line art. I’ve created a tutorial to show you how to work with the newest Photoshop line smoothing tools.
Photoshop CC has been recently upgraded with a new line smoothing feature. It can be used with the Brush, Pencil, Mixer Brush and Eraser tools, which helps you fix the jagged effect. In this article, we will tell you how to draw smooth lines in Photoshop.
In 2018, the developers introduced the brush smoothing Photoshop algorithm. This feature helps you create a sharper and more refined line when working with brushes. Before you start using this option, make sure to read how to install Photoshop brushes.
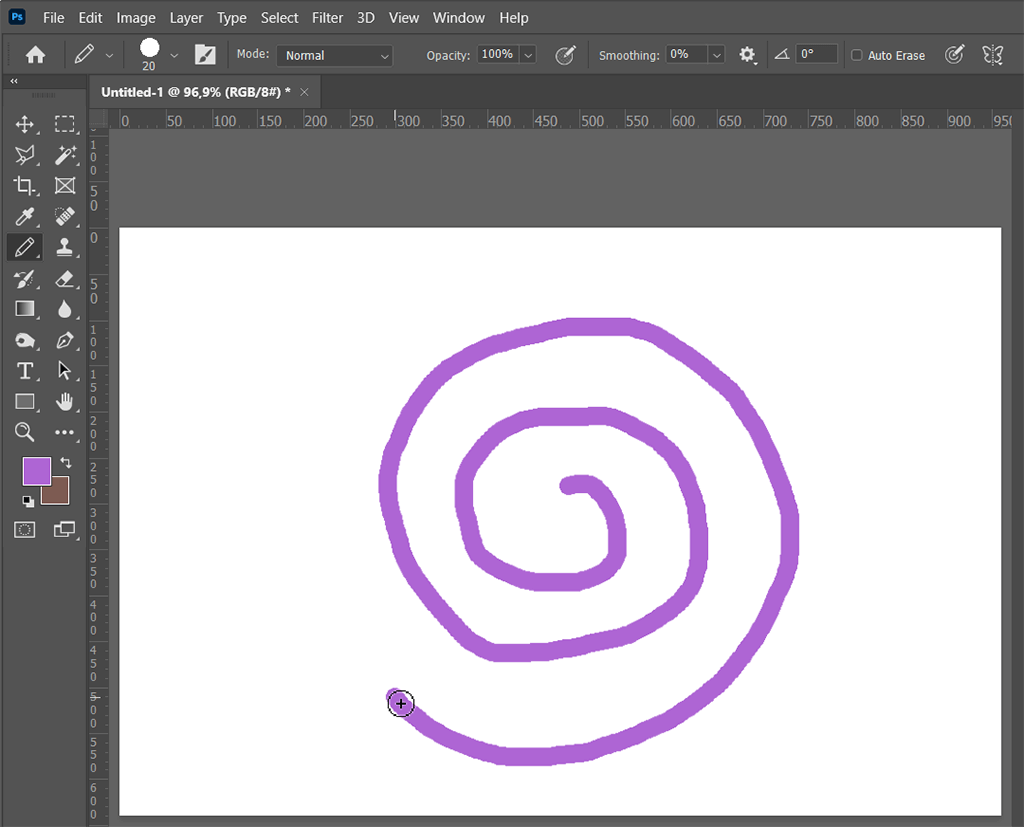
As you can see, the brushstroke drawn with the mouse looks a bit sloppy without a smoothing effect.
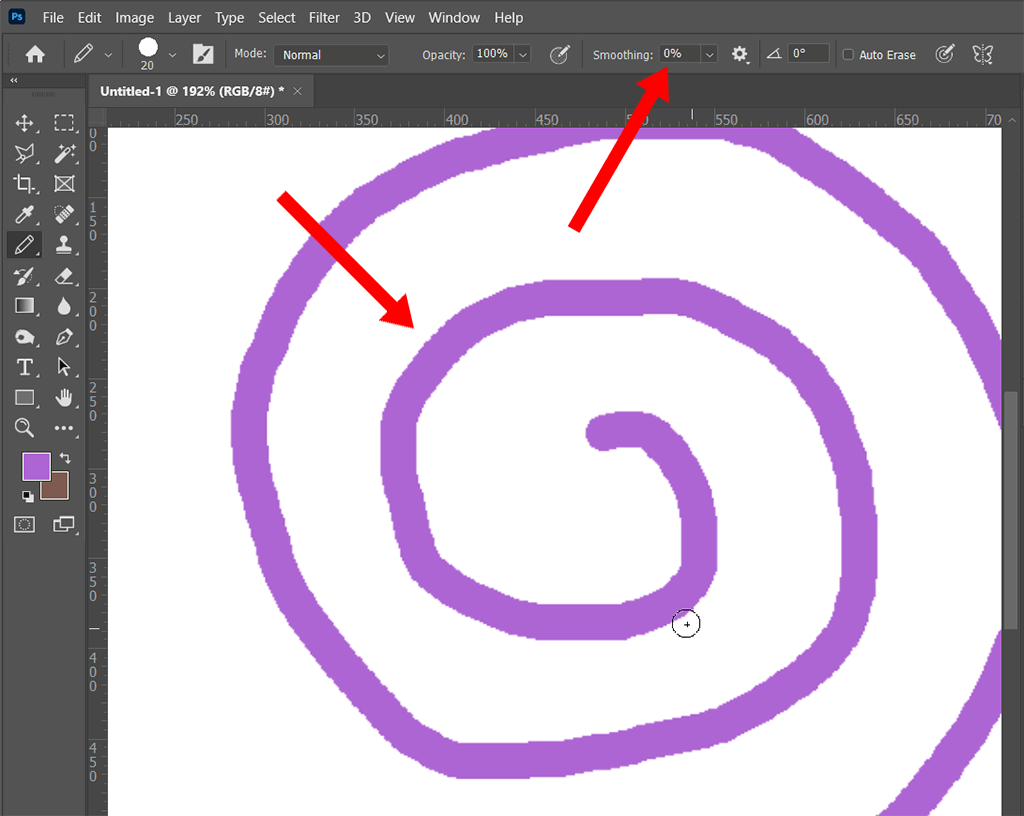
You will find the Photoshop smooth lines tool in the brush toolbar next to the opacity and flow bars. The tool value is set to 10% by default, which helps you smooth lines when drawing. You can use this option with a brush and an eraser.
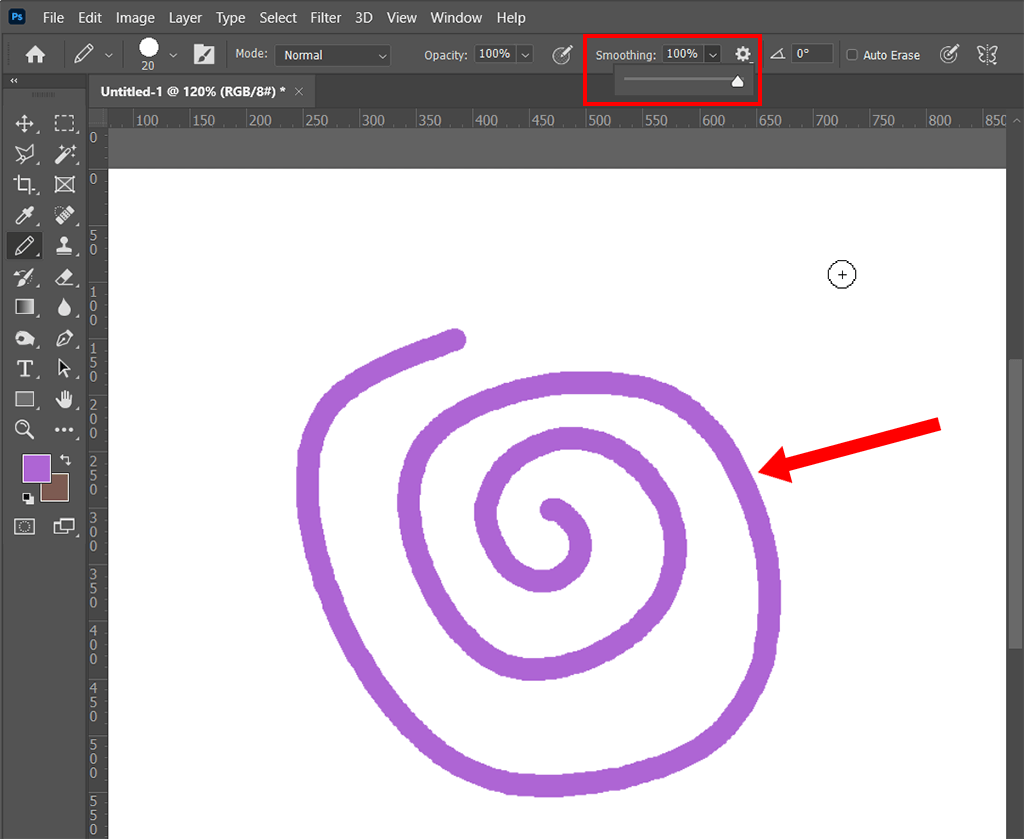
Before you start drawing, you need to adjust smoothing settings. For example, you can set smoothing to 100%.
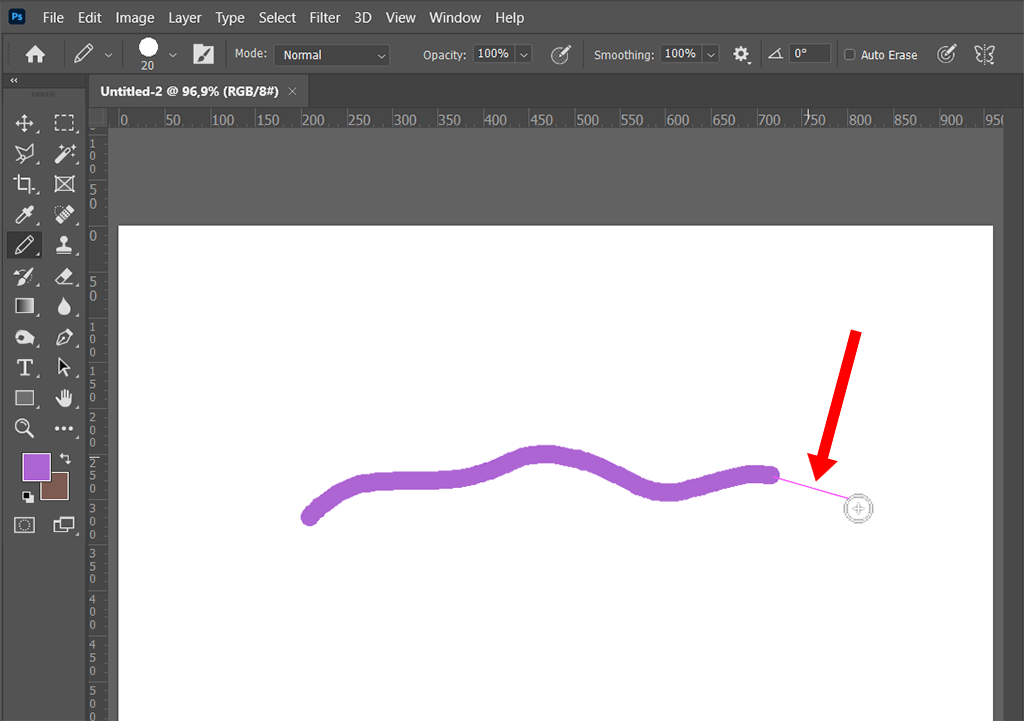
When you use the smoothing option, the cursor gets tethered to the stroke. If you use the Brush Leash, you will see a thin magenta line that shows the connection between the lagging stroke and the cursor. You can turn this option on and off by clicking Edit> Preferences> Cursors.
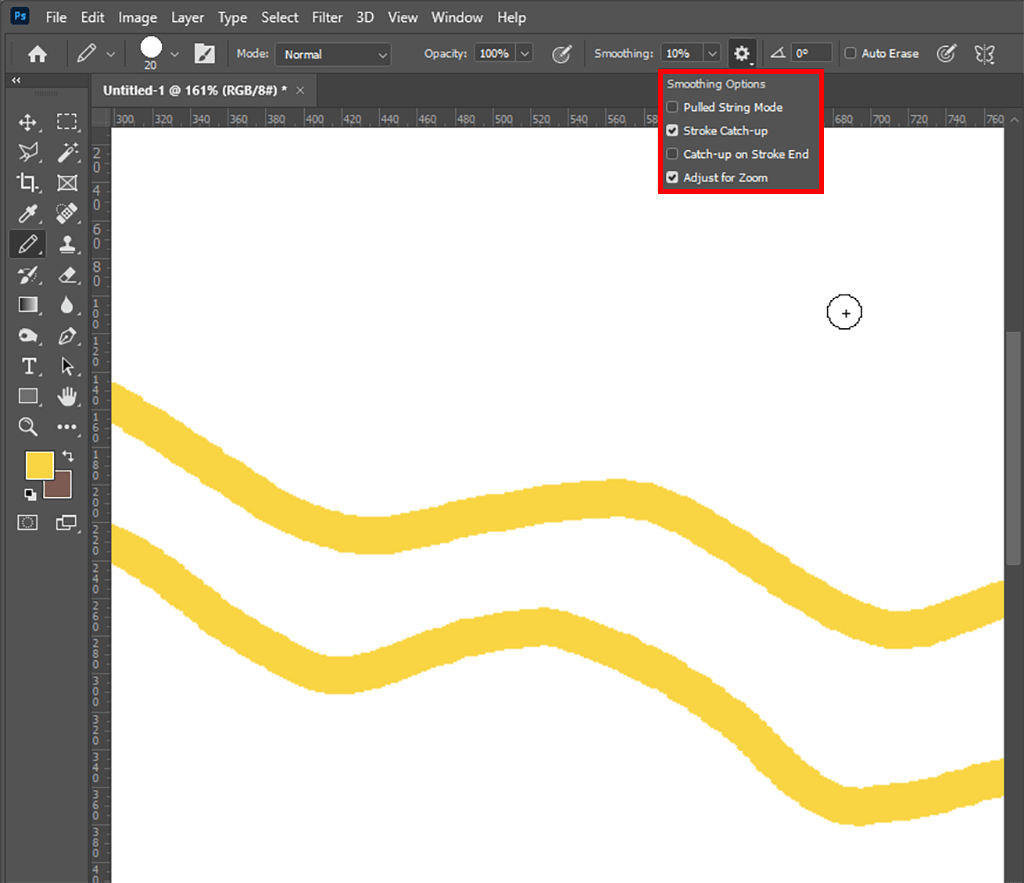
When using this tool, you can try several modes that will make it easier to work with a Photoshop brush stabilizer. It allows you to draw pictures in Photoshop without using Illustrator.
In this mode, you will see a magenta line with a magenta circle on the screen. The line indicates the lag of the stroke, and the circle shows where you will start drawing. Until you reach the edge of the circle, you cannot draw a line.
This is especially useful if you need to stop drawing a line. You can leave the cursor inside the circle without accidentally ruining the image. This option is also useful if you want to reverse the direction of the line. The percentage that you set affects the intensity of these modes. The higher the percentage, the bigger the circle.
If you draw slowly, the line becomes shorted until it catches up with the cursor. This mode helps users to use the brush with high precision. Thus, the movement becomes smoother, and the speed of the brush becomes lower. Use this mode paired with the Photoshop pencil brush if you need to draw elements with a lot of sharp edges.
This mode helps you finish the stroke. The result can be unpredictable because after you remove the pen from the tablet, the line jumps from the cursor to the point where the pen was taken away. You can experiment with different modes to find the one that works best for your needs. Keep in mind that in the pulled-string mode you won’t be able to use other parameters.
This tool will come in handy when the line smoothing Photoshop effect is set to 20% while the canvas is shown at 100%. It will create a slight smoothing effect when you are painting on the canvas. If you scale down the canvas while keeping the smoothing value the same, this effect will become more noticeable.
The magenta line will become longer. Thanks to a clever algorithm, the program understands that a smaller scale requires higher smoothing, so the line length is automatically adjusted based on the zoom level.
You can download bonus brush packs for Photoshop free of charge. Here, you can find different types of brushes, such as watercolor, grunge, fire, grass, smoke, hearts, leaves. With them, you can expand your design toolkit. Such packages will help you draw images, retouch photos and perform other tasks, which makes them perfect for optimizing your workflow.