If your photo features at least 10% grass or more, then it’s important to understand how to green up grass in Photoshop. This skill will allow you to both make the photograph more appealing and show off your professionalism as a photographer or retoucher. Check out these 3 methods designed for teaching amateurs how to make yellow grass green and grab the pleasant bonus at the end.
If you’ve noticed faded grass during image post production or it looks overly yellow or bland, then give these 2 fast and efficient methods on how to green up grass in Photoshop a try.
STEP 1. Open the photograph, create a new layer.
STEP 2. Go to the “Adjustments” panel that is located in the right corner of the editor (by default).
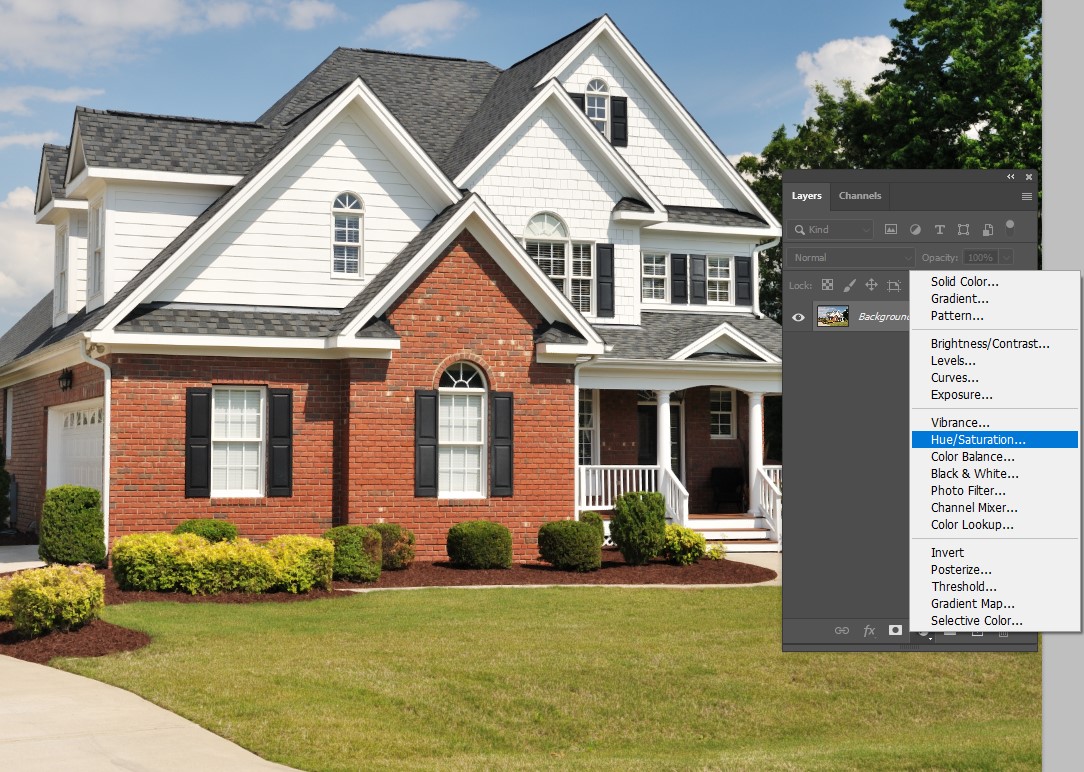
STEP 3. Choose the "Hue/Saturation" icon. This section has 3 parameters you need to adjust, including tone, which changes the color values (cold or warm), and a saturation slider that allows changing the intensity and brightness of a color, thanks to which you can make your colors bright and vibrant.
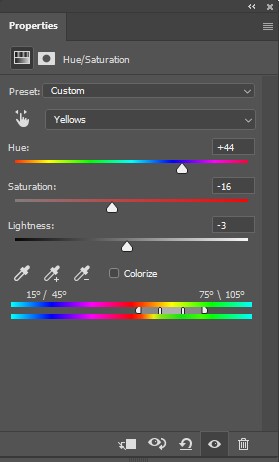
STEP 4. Select the yellow color and adjust the settings in the way I did in the screenshot. However, you can use slightly different settings since everything depends on your photo. In my case, the green color has a yellow cast. If you see any problems with green, then, select it as the second color and make it look more balanced.
STEP 5. Merge all layers and save the image.
When it comes to real estate photography, you can’t miss a single detail. The lawn should always look even and uniform since the quality of the photo you send to a client directly affects your sale chances.
If you doubt your editing skills, you can always reach out to experts in this field.
STEP 1. Upload a photo.
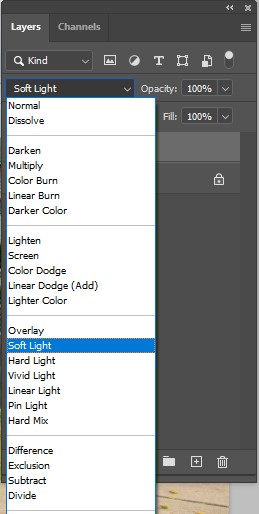
STEP 2. Create a new layer and set the blending mode to “Soft Light”.
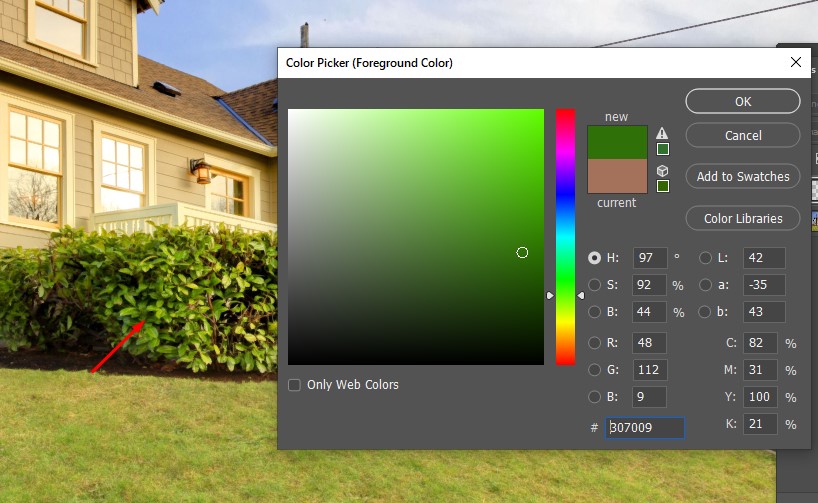
STEP 3. Set the desired green tone (depending on the overall lighting of the photo). Make sure you have selected the brush tool.
STEP 4. Start drawing all over the grass you want to fix with the brush.
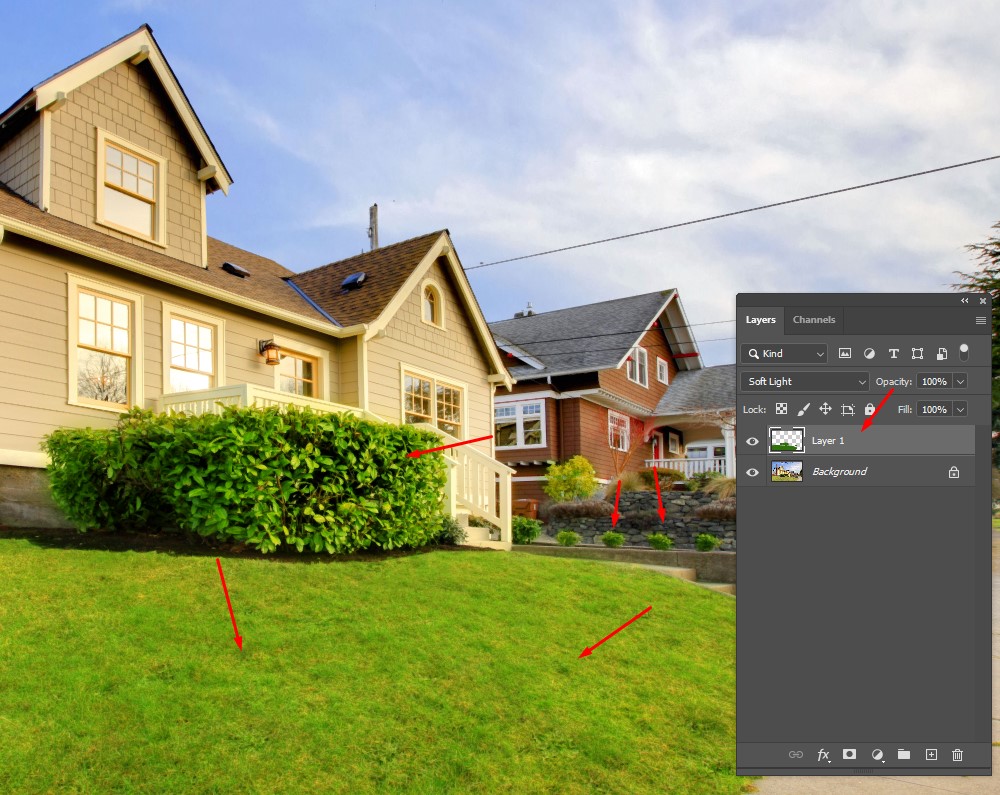
This action will apply the new color while still allowing the grass's texture to shine through.
STEP 5. If you accidentally drew over unneeded areas, choose the “Eraser” tool and restore the damaged parts.
STEP 6. Open “Levels” by pressing the right mouse button on the layer or using the “Ctrl + L” hotkey combination. Drag the right control point to the left to make the grass layer a bit brighter.
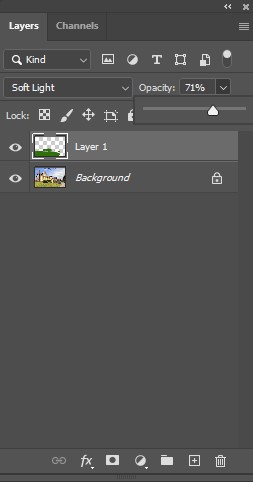
STEP 7. Adjust the “Opacity” parameter that is located above the layer list to achieve a more realistic effect. It's usually recommended to keep it at about 60-70%.
If the grass still looks unrealistic or bleak, then you’re going to need to use special brushes, thanks to which you can fill in empty spaces, make the lawn denser, while imitating grass bunches.
STEP 7. Done, merge the layers, and save your work.
STEP 1. Upload your RAW photo.
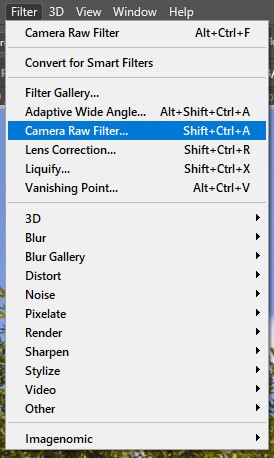
STEP 2. Click “Filter” – “Camera Raw Filter”.
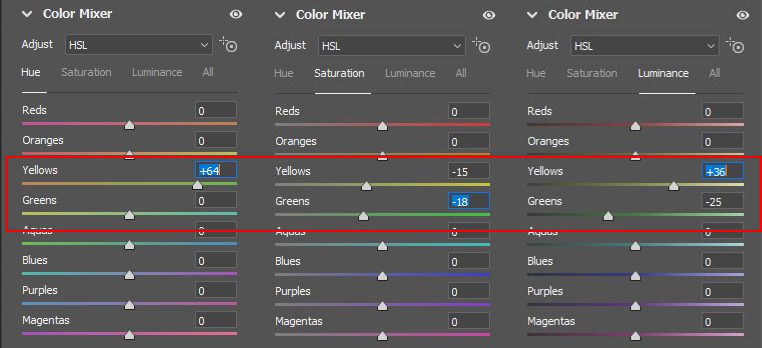
STEP 3. Select “Color Mixer”. You need to adjust green and yellow colors in all three tabs. Every photo is unique, but you can use the screenshot of the settings as a reference.
To add new textures, pick the “Settings” menu icon in the upper right corner of the main panel. Now, select the “Import Textures” option. Choose the needed files and upload them to Photoshop. Also, don’t forget to learn the only consistent way of how to add texture in Photoshop.
No, Photoshop doesn’t offer a batch editing option.
A brown tone is created by combining red and yellow colors, so go back to the first method, step 4, and adjust the “Reds” parameter.
Use the “Ctrl + Z” hotkey combination on Windows or “Cmd + Z” on Mac OS.
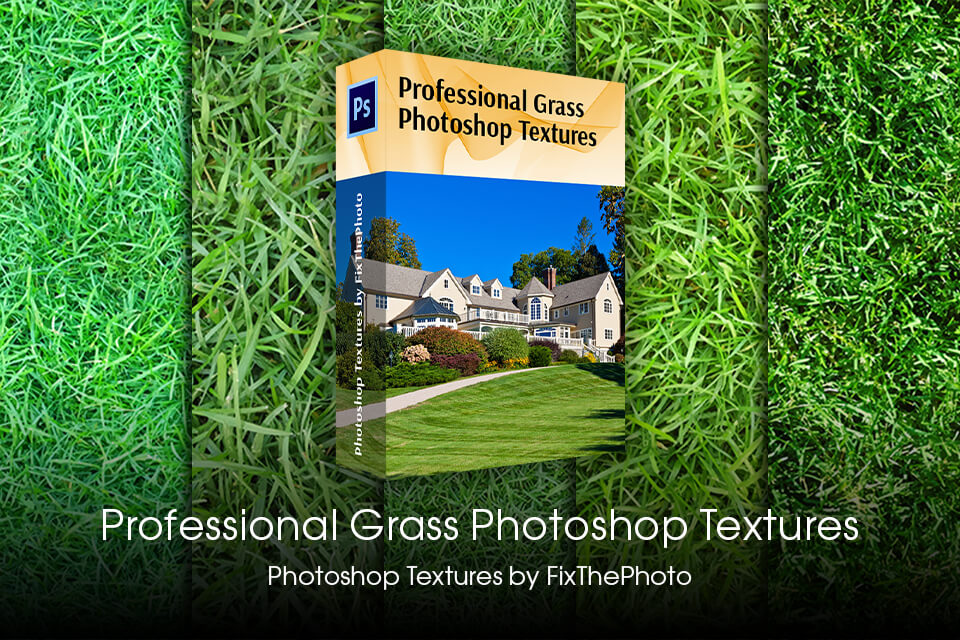
If none of the aforementioned methods worked or your photo doesn’t have grass at all (for instance, it burned out), then you can always use special textures, thanks to which you can make the desired areas naturally green in a single mouse click.
The FixThePhoto designer team created a collection of realistic and diverse grass textures for all possible situations, allowing you to learn how to make grass green in Photoshop and create an endless field or a tidy lawn in real estate photos.