If you have a lot of images you need to post-process, you can simplify the task with specialized actions created in Photoshop.
Photoshop actions are a series of preset commands that you can add to a single or several files within Adobe Photoshop. Much like a shortcut, an action helps users speed up the editing process or add effects with a simple move in a more automated fashion. Actions also eliminate the need for you to repeat the edits for a large amount of photos so you simply download Adobe Photoshop free for the further fast processing.
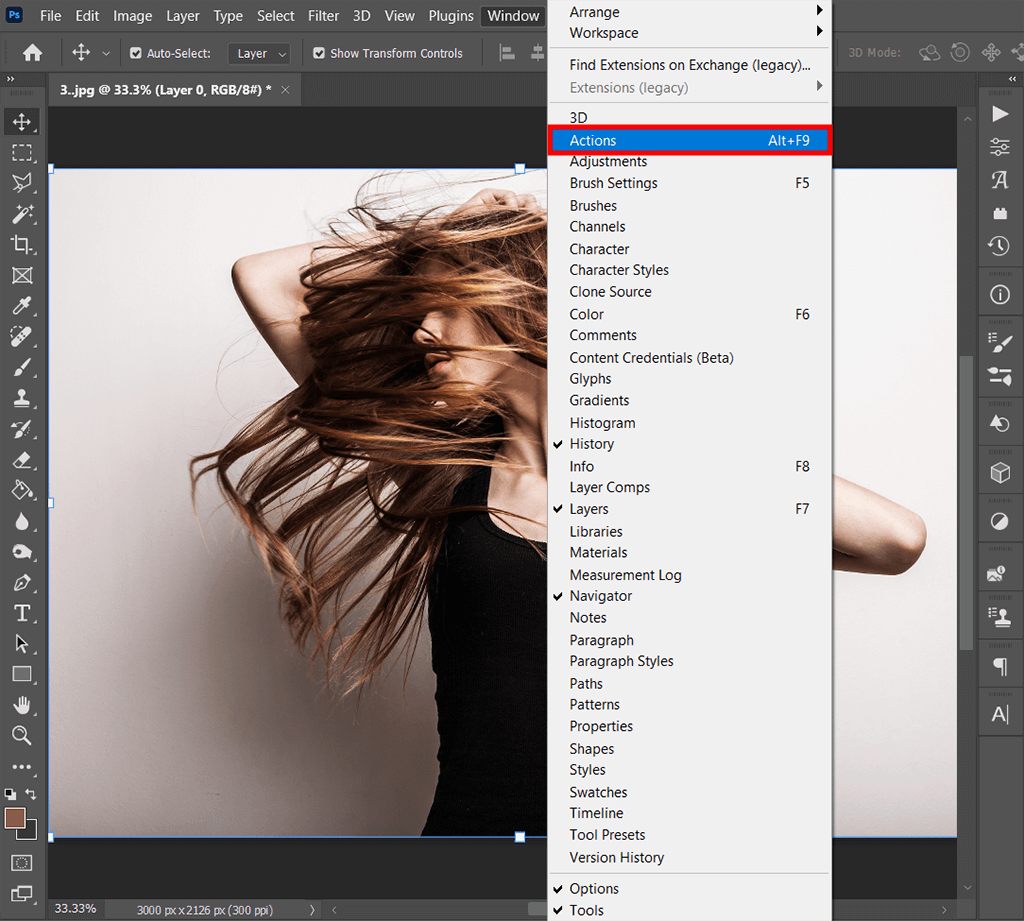
The first step in this Photoshop tutorial is to open the Actions panel. To do this, you need to go to the Window > Actions. You’ll see an icon with a triangle in the side panel on the right, making it easy to get back to the Actions panel.
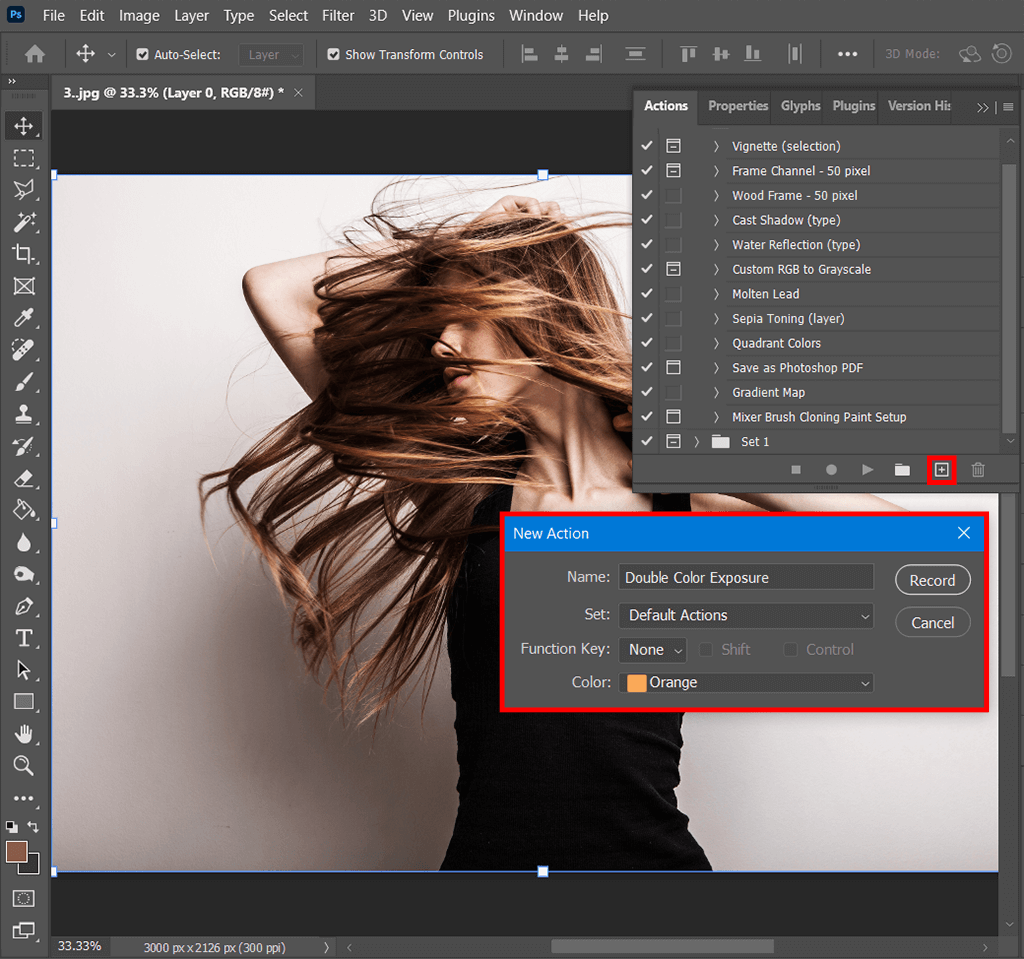
Now you can create a set of actions choosing from the default list + add the action you need. To keep things neatly organized, let’s create a folder for our custom actions.
Just click on the folder icon in the Actions panel and give the folder a name. Next just click on the icon that’s just to the right of the folder icon to create a new action.
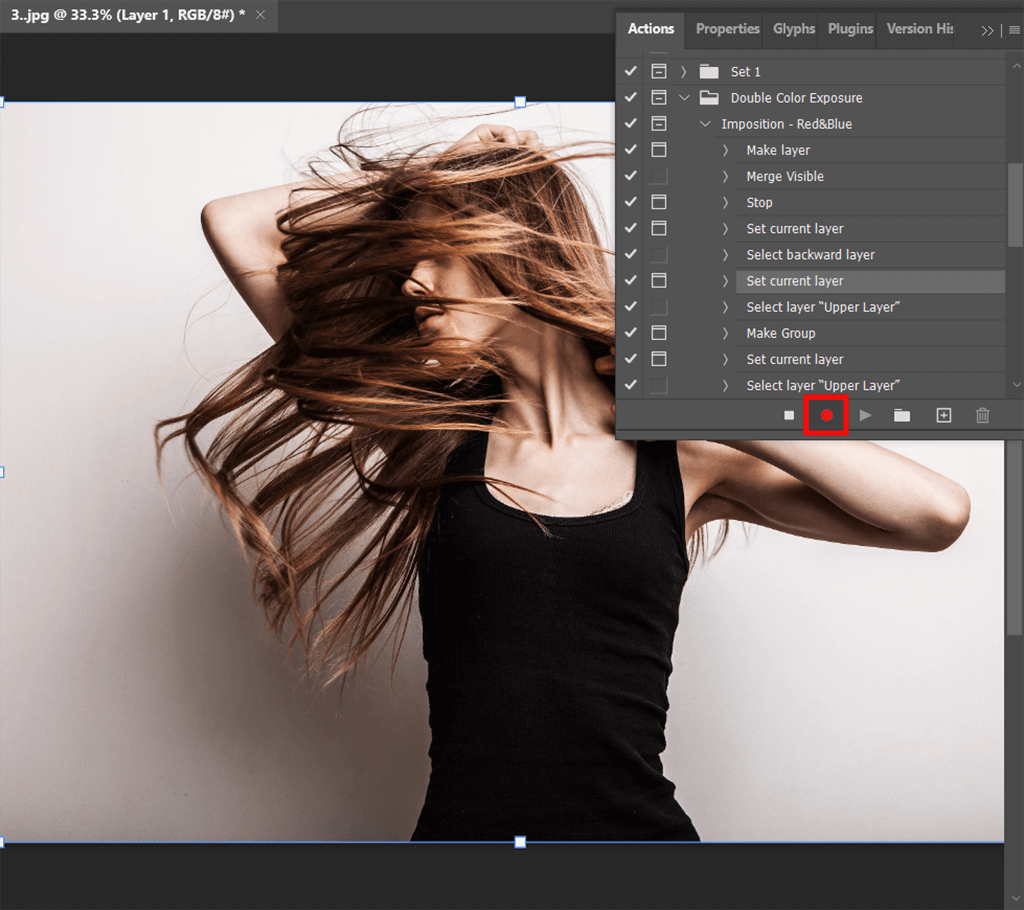
Now everything you do in Photoshop is being recorded. Start performing the steps you want your action to have.
All the actions will be recorded, and you can see all the steps in the function dialog. So, while performing Double Color Exposure, you may use such steps as:
Also you can stop recording any time and then continue the process. In this case you’ll see Stop in your list of done actions.
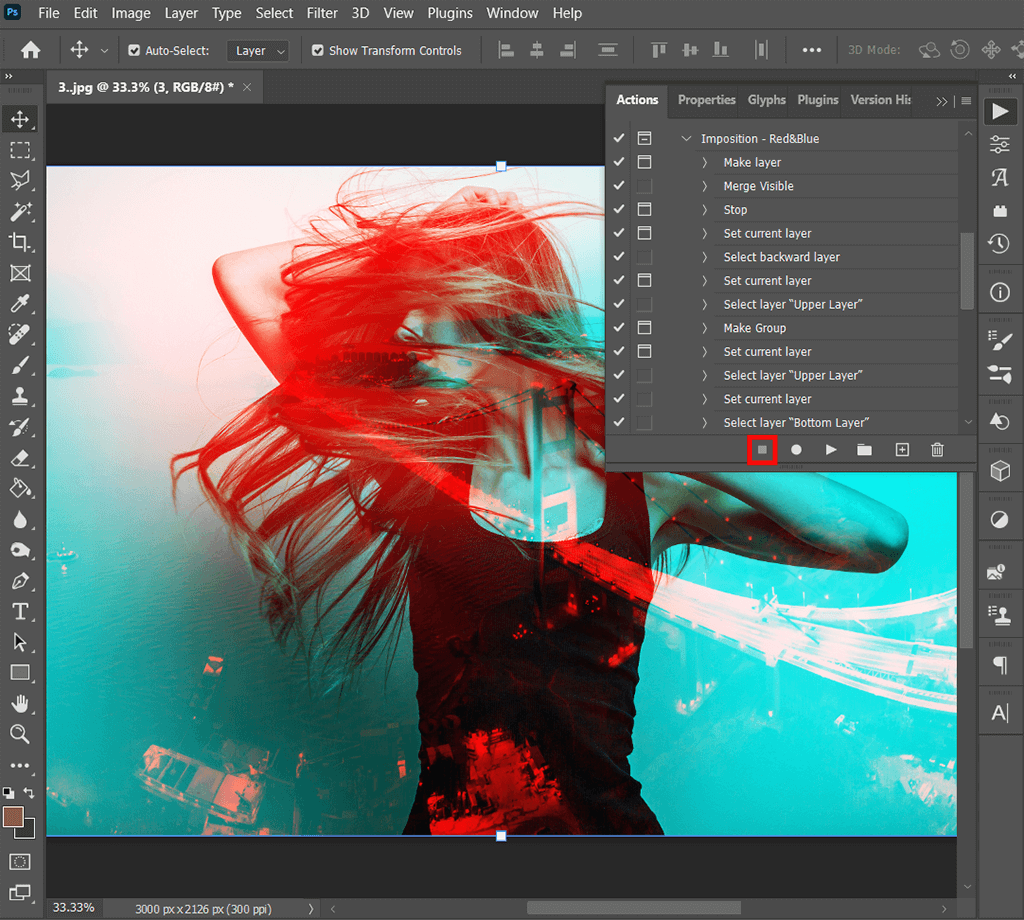
When you’re done with the steps for your action, just hit the stop icon from the Actions panel and you’re all done.
Now you can just click start on your action and all the steps will be done automatically.
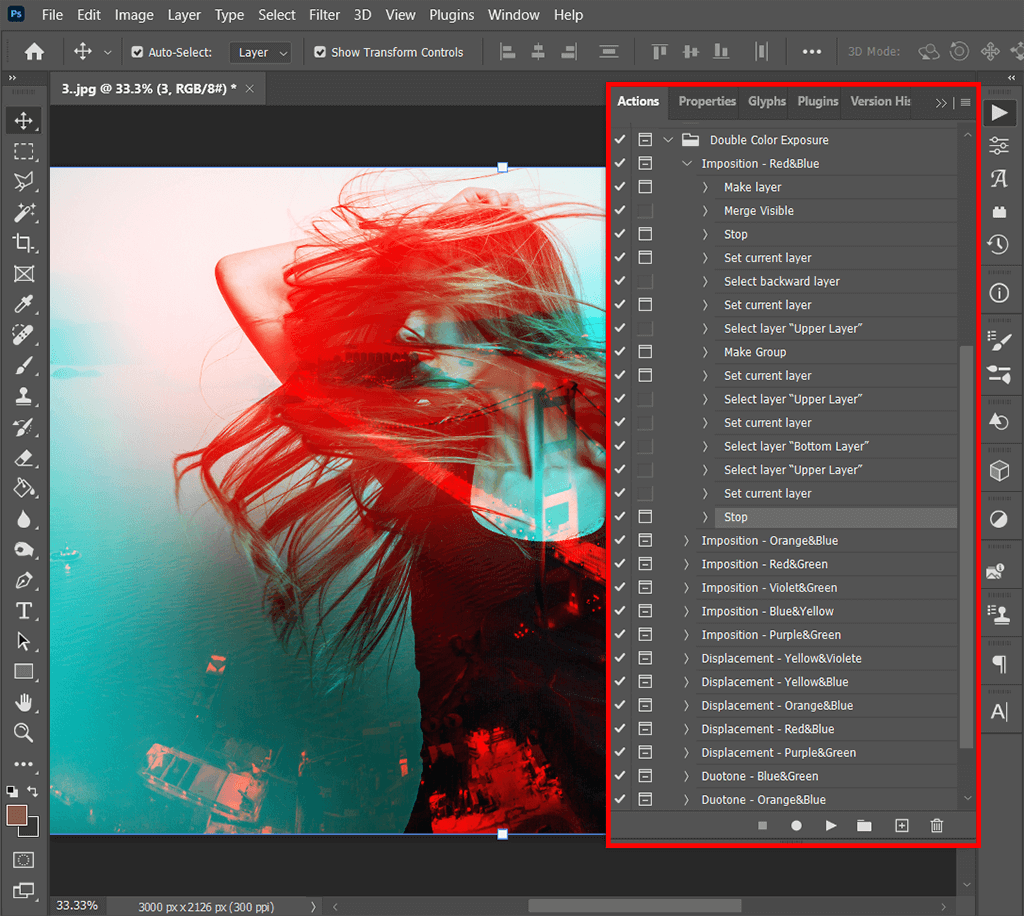
By default, once your action is created all the steps will be expanded. You can remove unnecessary steps you took, if any, by dragging a step to the trash can icon in the Actions panel. Or, if you want to deactivate a step without deleting it, you can click on the checkmark icon that’s on the left of a step. These steps are optional in this Photoshop portrait tutorial.
You can also reorder some steps by dragging/dropping them where you want them for that action.
You’ll also notice that there’s a box next to the checkmark icon that’s on the left of each step. If you click and activate that box, it’ll turn on the dialog for that step. That means that if there’s a step that opens a dialog where values can be selected, the action will stop at that step when the dialog for that step opens to let you enter values that work for the particular image you’re working on. This makes it easy to create actions that are flexible and work for all images.
If you need to do some standard editing tasks, you can start with installing Photoshop actions which were developed by FixThePhoto experts. They cover both routine photo post-processing tasks and adding creative effects. The great advantage is that the actions collection works with all the current Photoshop versions.


