To make a waterfall in Photoshop, I used the lasso tool and motion blur filter. Usually, retouchers use a neutral density filter and take long-exposure pictures. However, even if you didn’t adjust your camera’s settings in the right way when snapping photos, you still can enhance a waterfall image and make the falling water seem silky and smooth with the help of basic tools.
To create a realistic waterfall with mesmerizing light effects and smooth texture, you can launch Photoshop and use its basic intuitive tools that are perfectly suitable even for beginners.

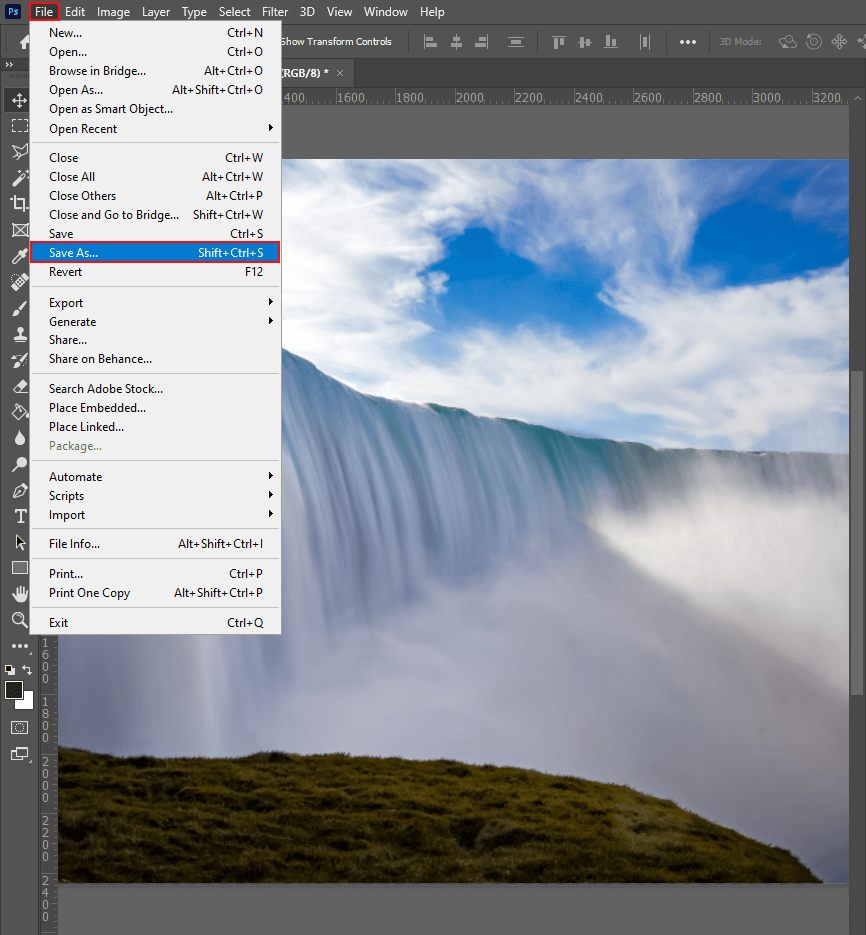
Open a waterfall photo in Photoshop or simply drag it onto your workspace.
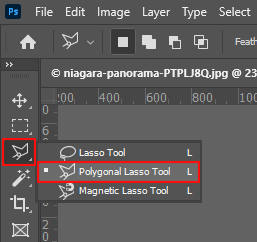
Find the Polygonal lasso in the toolbar on the left.
If you don’t see the toolbar, go to Window > Tools to turn it on. You can also press L on the keyboard to use this selection tool.
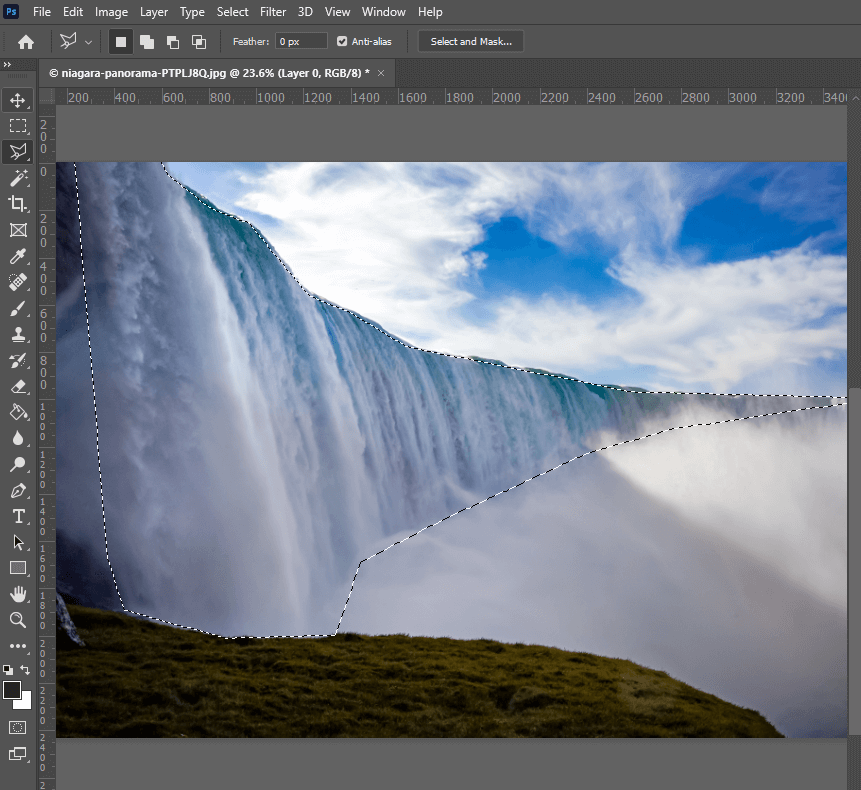
Select the waterfall using the Lasso tool. There is no need to be precise at this point. If there are two streams of water in your image, you can select two of them at the same time with the help of the Shift key.
If you need to select any other area, you can do it while holding the Shift key as well. Keep in mind that unless you hold Shift, your selection will disappear. You can use a similar technique if you need to replace the sky in Photoshop.
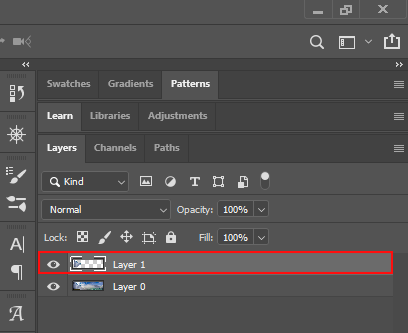
Press Cmd + J (Ctrl + J for Windows) on the keyboard to copy the selection to a newly created layer.
This way, you will be able to edit only the layer with waterfall effects without changing the source photo.
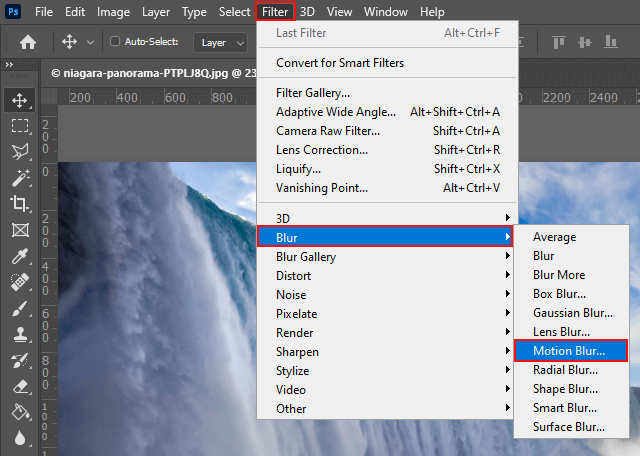
To make the stream of water look smoother and change its texture, apply the Motion Blur effect.
You just need to go to Filter > Blur in the top toolbar and find Motion Blur. You will see a new window.
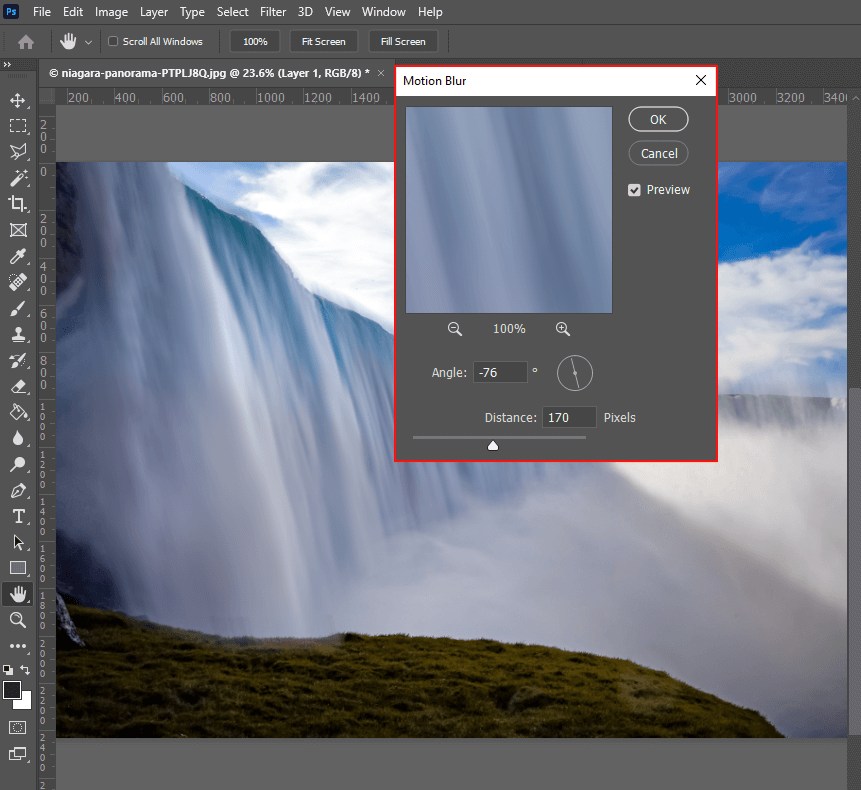
If you want to see the way your photo is enhanced in real-time, you need to tick “Preview” before starting to adjust the settings. Start by adjusting the blur angle. It should match the angle of the falling water.
You can change the angle value in the dedicated text box by clicking on the up and down arrows.
If you need to do this task faster click on the compass icon near the text box. You just need to click on the line and drag it to edit the blur angle.
Then, find the Distance slider and adjust the intensity of the effect. When you are satisfied with the result, click ОК.
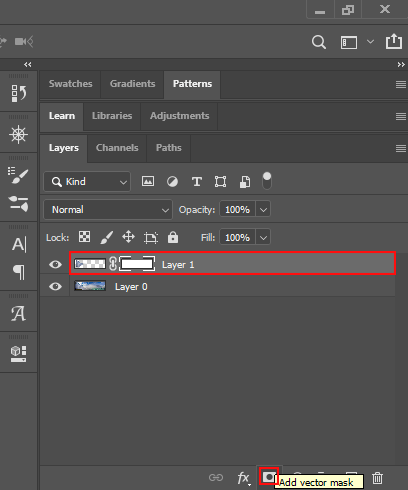
While now your photo should look much better, you might still need to adjust the selection to ensure that only the water stream is blurry. You can mask a photo in Photoshop to create a new mask layer. When you click on it, you will be able to delete unwanted pixels with the help of the paintbrush or restore them if you have erased them by mistake. With the mask, it will be easier for you to create a precise selection.
Select the layer with the blur effect and click on the Add a mask icon. You will see a thumbnail of the mask layer.
First, a new thumbnail will be white since you haven’t used this mask to edit your layer yet and haven’t erased any pixels.
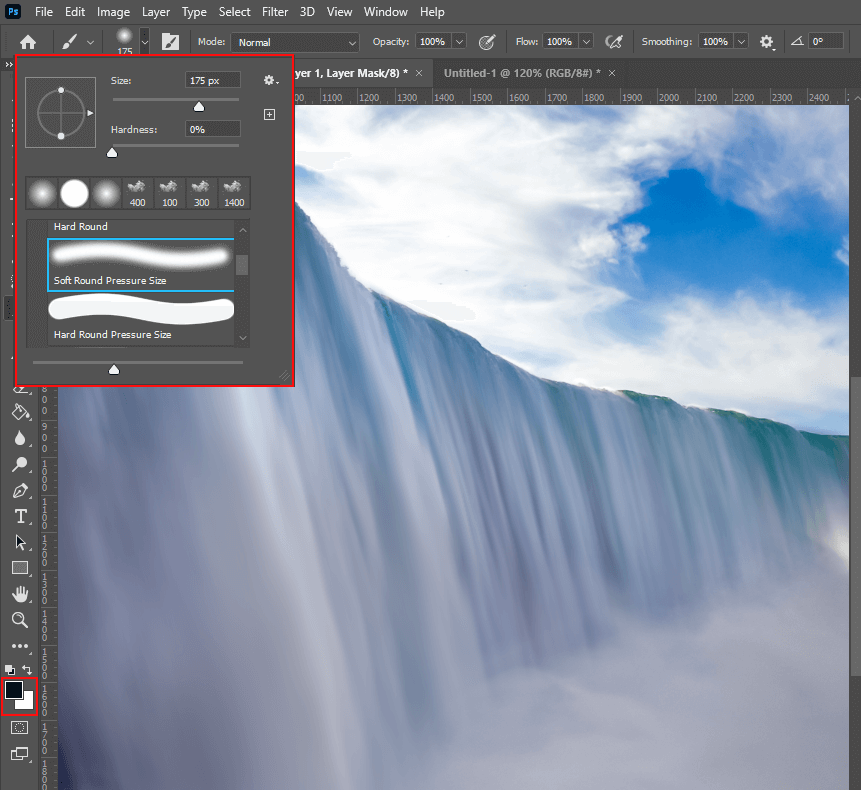
Find the Paint Brush tool in the toolbar. You can also press P on the keyboard. Select a brush with soft edges.
Change the brush color to black and start painting around unwanted areas. It will allow you to remove the blur effect from these areas.
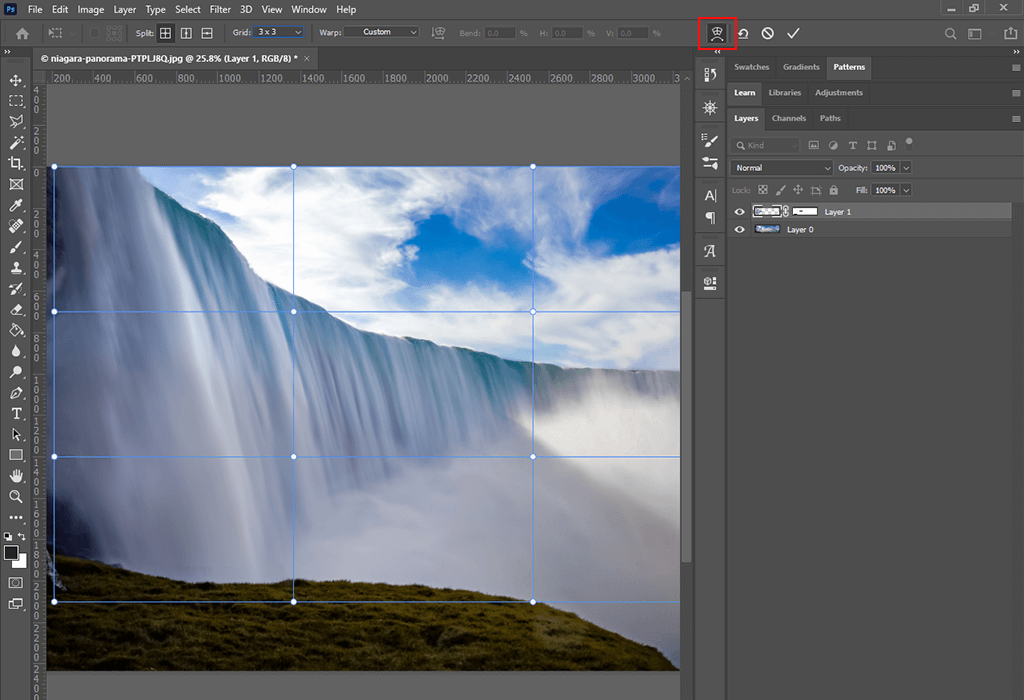
Press Ctrl + T to use the Free Transform Tool. Then, click on the button to transform your image.
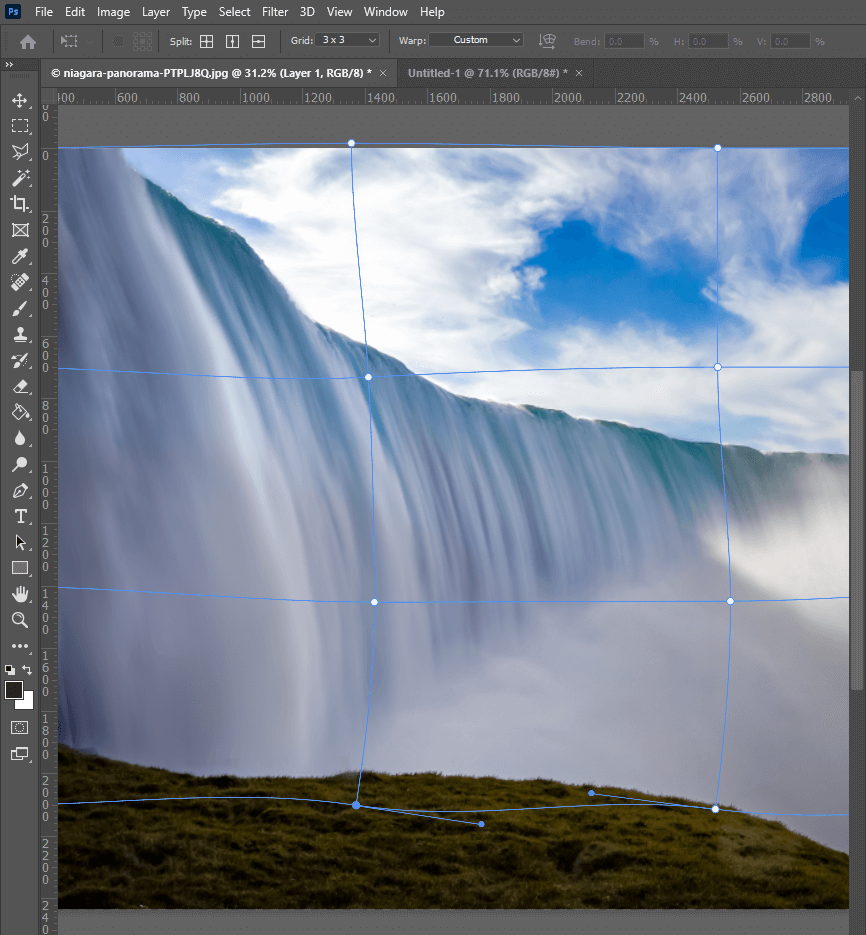
Click on the handles and drag them to change the curve of your waterfall effects. Click on the corner point to add distortion. This way, you can add a curve and adjust its angle. Click and drag inside the grid boxes to change the curve to your liking.
You might need to practice a bit until you can adjust the warp grid easily. To undo your edits, press Cmd + Z (Ctrl + Z for Windows) to restore the image to the previous version. When everything is ready, press Enter.
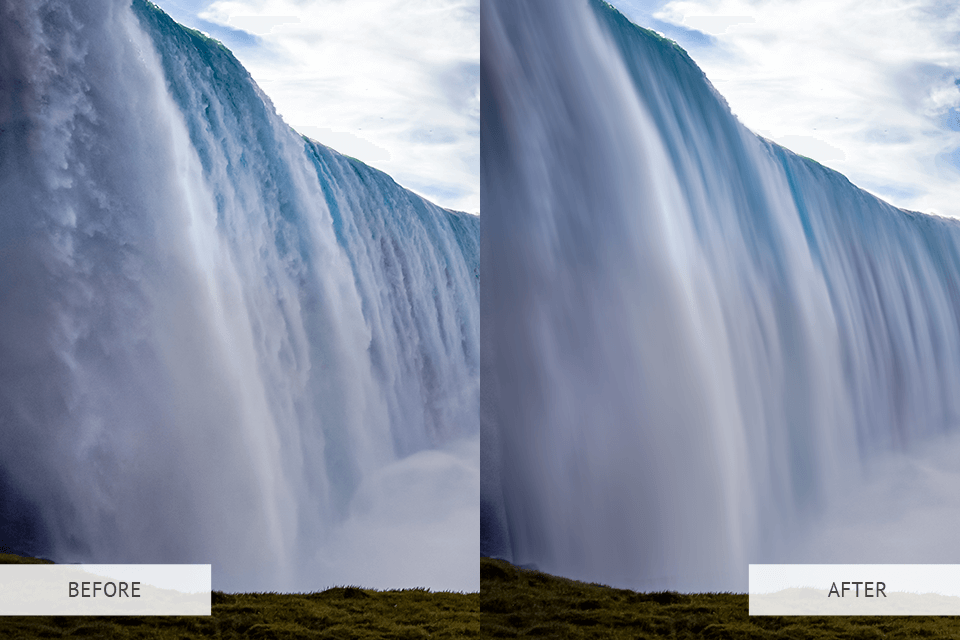
Everything is done! You have successfully applied this effect to make the surface of the waterfall look smoother. If you think that your photo might benefit from further enhancement, you can also learn how to brighten a photo in Photoshop. Take a look at the before and after photos.
If you don’t have time to enhance your waterfall images, you can entrust this task to professional editors. They will add new effects to your pictures, replace the background, or turn your images into oil paintings. You will receive retouched photos in a few working days.
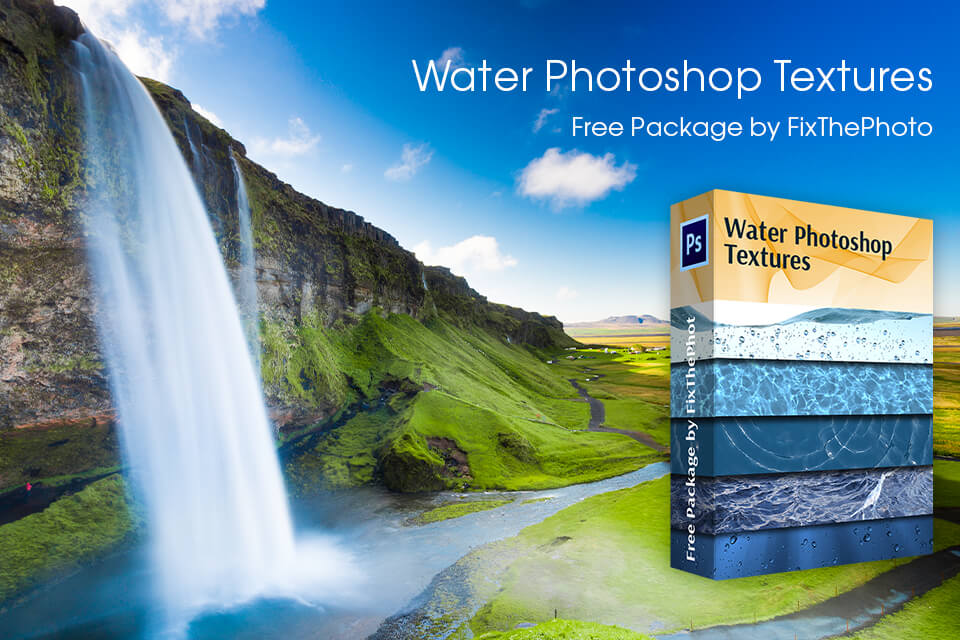
If after learning how to make a waterfall in Photoshop you want to add a water surface to your photo or transform them in one click, use these free Photoshop tools. These textures will make your images more captivating, dramatic, and serene, depending on the effect you are aiming for. In this collection, you will find 60 tools that will help you enhance your travel photos.


