Photoshop Rain Effect
When you purchase through affiliate links on our site, we may earn a commission. Here’s how it works.
Want to add rain effect in Photoshop? Add it with the help of adjustment layers, Smart Filters or free Photoshop rain overlays in the end of my article. View more how to add rain in Photoshop in 10 easy steps to make your photos dramatic and moody.
How to Make Rain in Photoshop in 10 Easy Steps
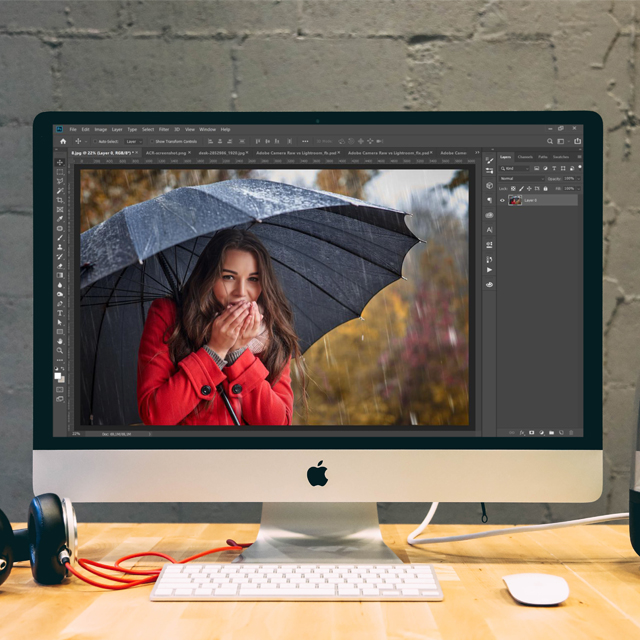
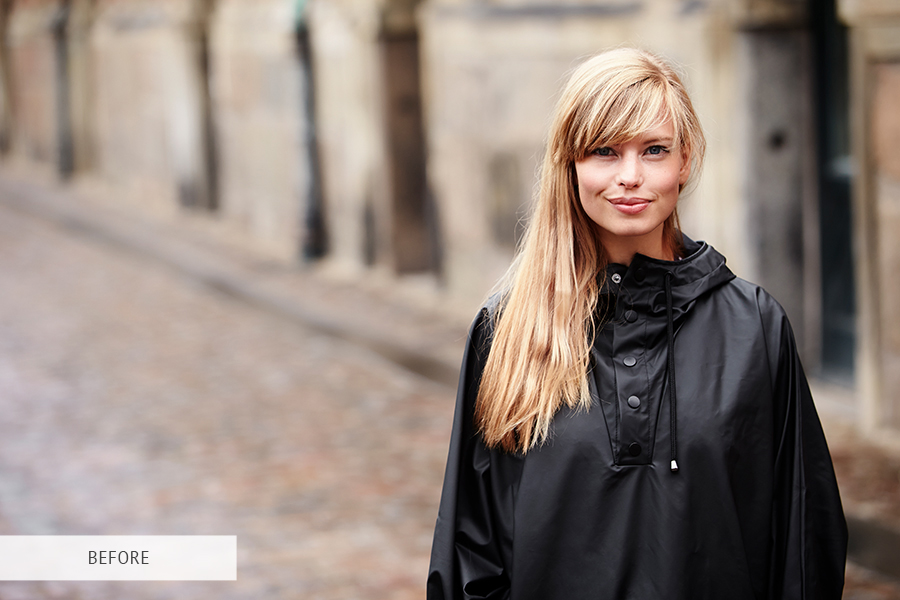
There are several ways to add rain drops to the photo in Photoshop but I find this way the easiest one that show realistic results. Here is the photo I used.
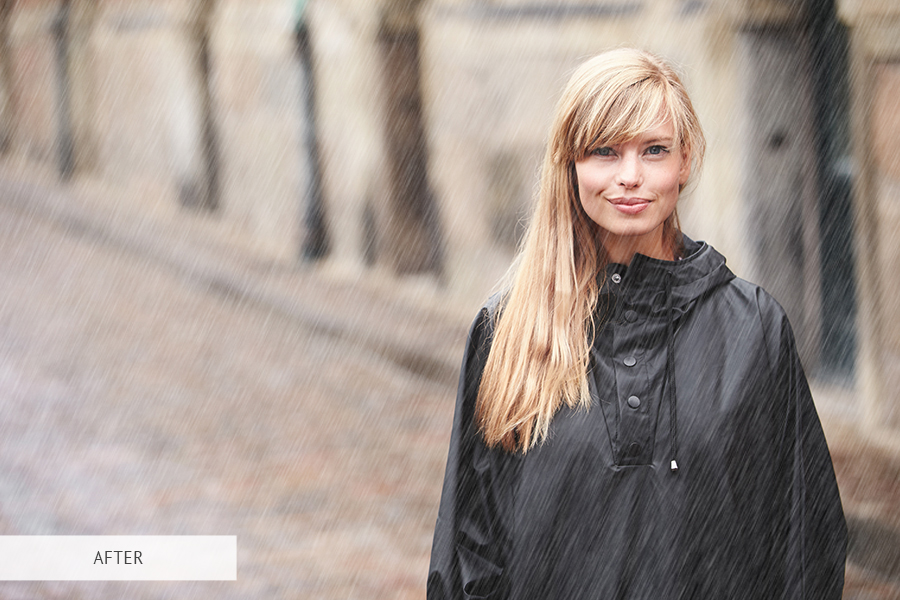
This is my end result with realistically added rain drops in Photoshop.
1. Create a New Empty Layer

After opening a picture, take a look at the Layers panel. You can see your picture on the Background layer. Create a new empty layer by pressing and holding Option (for Mac) or Alt (for Windows) key on the keyboard and clicking on the New Layer icon below on the Layers panel.
Then you will see a pop-up window, where you should name the layer with rain photo effect before creating it. I recommend naming the layer “Rain”. The next stage is clicking OK to close the pop-up window.
A new empty layer called “Rain” will appear on the top of the Background layer.
2. Fill the New Layer with Black

Fill your rain Photoshop layer with black by taking advantage of Fill command. Go to the Edit menu in the Menu Bar and pick Fill.

The Fill pop-up window will appear. Change the Contents parameter above to Black. Check whether the Opacity is set to 100% and the chosen Mode is Normal. Close the pop-up window by clicking OK.

3. Use the Add Noise Filter

For making this raindrops effect Photoshop, you need the Add Noise filter. With its help, you will create a number of spots (“noise”) on the layer. Open the Filter menu in the Menu Bar, pick Noise, after that select Add Noise.

In the Add Noise pop-up window, the Amount should be set to 25%. In the Distribution area, select Gaussian, after that, pick Monochromatic below in the pop-up window. As a result, the color of the noise can only be black and white. Once you are finished, click OK.
- Check out how to download Photoshop free.
4. Change the Size of the Rain Layer to 400%

The created spots are likely to be rather small to resemble rain texture. You need to enlarge them with the Scale command. Go to the Edit menu in the Menu Bar, pick Transform, after that select Scale.
In the Options Bar, click on the link icon within the Width (W) and Height (H) numbers. The Width should be set to 400% and the Height value will change to 400% accordingly. Click the tick in the Options Bar to confirm the scaling.
5. Set the Blend Mode to Screen

As for now, the noise blocks your picture from view. Correct it by changing the blend mode of rain effect layer from Normal (the default one) to Screen.
- Read these photoshopping portraits tips.
6. Transform the Rain Layer into A Smart Object

It is important is turn the white spots into the falling rain effect Photoshop with the Motion Blur filter. Prior to doing it, you need to transform the “Rain” layer into a Smart Object. As a result, you will apply the Motion Blur filter as a Smart one and will be able to play around with the filter parameters without making permanent modifications or distorting picture quality.
Select the “Rain” layer and click on the menu icon in the upper right corner on the Layers panel.
Pick “Convert to Smart Object” from the menu.
The picture won’t be changed. However, if you look at the preview thumbnail of the “Rain” layer in the Layers panel, you can notice a Smart Object icon in the bottom right corner. It is a sign that the layer is transformed into a Smart Object.
7. Use the Motion Blur Filter

Add dynamics to your rain effect on photo by applying the Motion Blur filter. Open the Filter menu, pick Blur, after that select Motion Blur.

The Motion Blur pop-up window will appear. To begin with, determine the direction of the falling rain with the Angle parameter. Either type in a number straight into the box or spin the dial (which is more entertaining).
My angle is 65°. After that, pick the intensity of motion blur with the Distance parameter. Move the slider along the bottom to alter the value and preview the modifications in the picture. My chosen value is 75 pixels but it depends on the picture’s size.
Don’t get upset in case the results aren’t satisfying. You may alter the values afterwards if necessary. Once you are finished, click OK to close the pop-up window.
Taking a look at the Layers panel, you will see that the Motion Blur filter listed a Smart one at the bottom of the "Rain" Smart Object.
8. Create a Levels Adjustment Layer

Lower the intensity of Photoshop rain effect and increase its contrast and brightness by creating a Levels adjustment layer. You need to press and hold Option (for Mac) and Alt (for Windows) key on the keyboard. After that, select the Adjustment layer or New Fill icon below on the Layers panel.
Select a Levels adjustment layer from the list.
As usual, the New Layer pop-up window will appear. Pick Use Previous Layer to add the Clipping Mask. In this way, the Levels adjustment layer will be clipped to the “Rain” layer under it and only the rain will be affected.
The adjustment layer won’t influence the picture itself. Close the pop-up window by clicking OK.
Take a look at the Layers panel and find the new Levels adjustment layer called “Levels 1” above the “Rain” layer. The adjustment layer is indented to the right and a small arrow points down at the “Rain” layer under it. It is a sign that that the adjustment layer is clipped to the “Rain” layer.
9. Move the Black and White Point Sliders

On the Properties panel, find the settings of the Levels adjustment layer. The histogram is located in the center of the panel. It shows the tonal range of the picture (the “Rain” layer, at this point).
Look straight at the bottom of the histogram and find three sliders – a white one on the right, a black one on the left and a gray one in the middle. Use only white and black sliders to modify the rain effect.
Lower the intensity by clicking on the black slider and moving it gradually to the right. While you are moving, you will notice the dimmed parts of the rain darkening and ultimately, fully fading away. After that, increase the brightness of the visible rain by clicking on the white slider and moving it to the left.
I suggest tweaking the sliders any way you want, moving them from side to side until you are satisfied with the result. The same as Smart Filters, adjustment layers are non-disruptive and adjustable. So if you want to alter the position of sliders afterwards, you may easily do it.
10. Modify the Motion Blur or Levels Parameters
Modify the intensity of motion blur by double-clicking on the Motion Blur Smart Filter on the Layers panel.
In case you have added more dynamics and the rain doesn’t look intense enough, click on the Levels adjustment layer and modify it once again. Keep in mind that you should select not the layer mask but the layer itself. Check it by clicking on the histogram icon.
Congratulations, now you know how to add rain to photo!
Other Methods of Raining Effect Photoshop
Rain may significantly enhance the image, conveying the emotions of melancholy or creating a romantic atmosphere.
- View more about rain photography.
Rain Photoshop Effects PNG
Often photographers use PNG clip art to imitate the rain effect in the picture. This method works best of all if you need, for instance, beautiful, large waterdrops on glass or a flower. Sometimes PNG files are also used to add the rain effect to the entire picture. Rain effect PNG files are easy to use.
Learn the following facts about the .PNG format. PNG files have a loss-free compression. Such files support 24-bit color (the same as JPEG files). A PNG picture possibly features more than 16 million colors. The transparent background doesn’t have any limitations.
- Read more about how to smooth skin in Photoshop.
Rain Effect Overlays
Another very easy way to create this effect is to use Rain filter Photoshop. All you need to do is download the overlay and apply it on top of the picture choosing correct Blending Mode settings.
Firstly, pick the layer opacity so that you can improve the way your overlay looks. In case there are some areas which you don’t need to be visible on the Layer Mask, just remove them.
The next step is to pick the Layer Mask. After that, find the Paintbrush in the Toolbar and fill the foreground with black. Brush over those areas you need to be clear.
Free Ps Overlay "Before the Rainbow"


This free PS rain overlay adds thick average-sized faint raindrops to your shot. In case your image features some rain already, it won’t be a problem. This overlay is aimed at enhancing rain images and adding a believable raining effect.
Free Ps Overlay "Storm"


This free PS overlay doesn’t add separate raindrops. It features a pouring rain effect with a blurry white background.
Free Ps Overlay "Cold Atmosphere"


Adding rain effect in Photoshop step by step won’t be necessary with this free overlay. It presents small falling raindrops which are perfect to apply for creating the effect of a starting rain.


