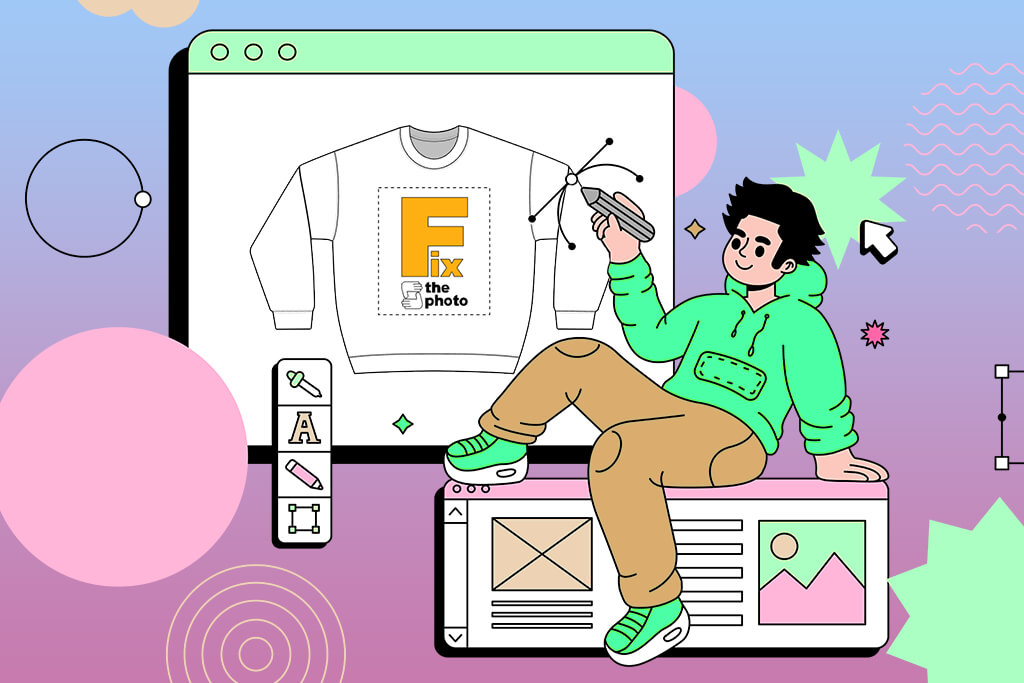
A few friends and I run a small streetwear project, and I had to pull together a hoodie drop. We already had the hoodies. That part was easy. The tricky bit was finding reliable hoodie design software that would translate the picture well onto fabric. Screens lie. What looks sharp on a laptop can look totally flat once it’s printed.
I didn’t need anything fancy – just clean text, strong visuals, and realistic mockups so we could see how things would look on the hoodie. We were on a tight deadline, so there was no time to mess around.
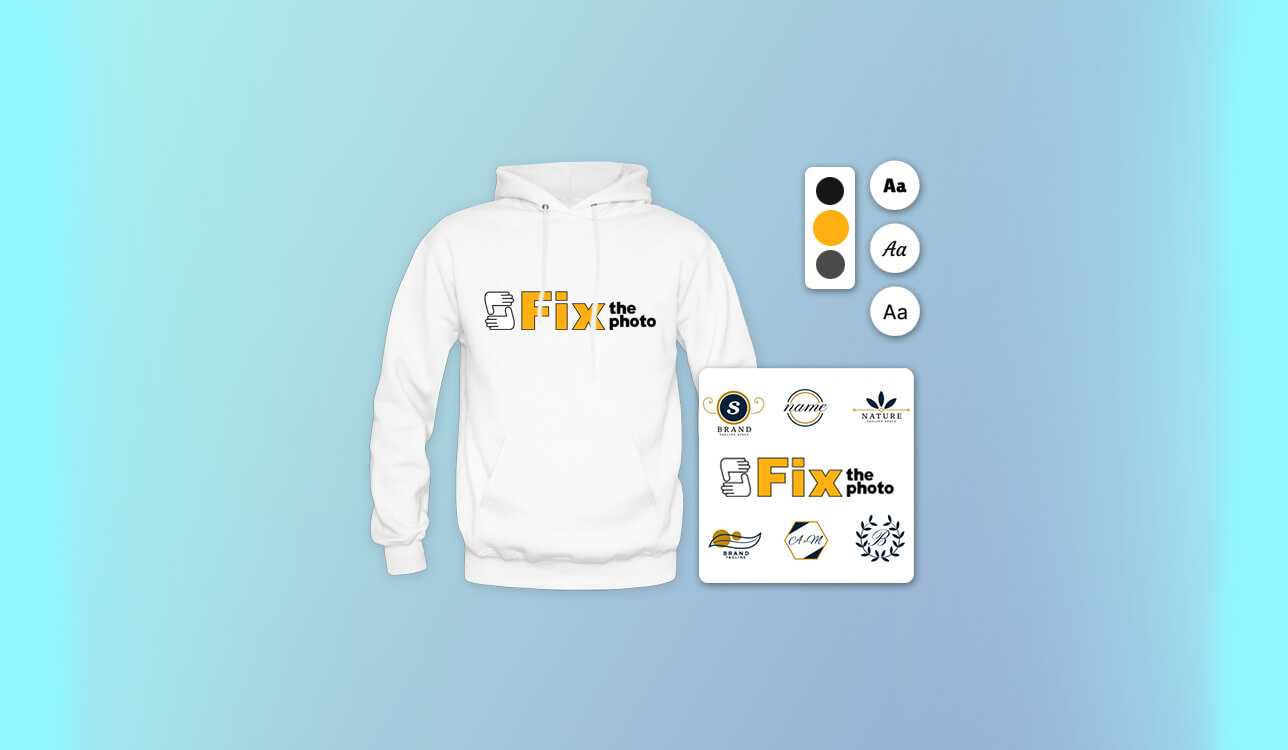
When selecting the best hoodie design software for the task, we paid special attention to certain factors:
Together with my mates from FixThePhoto team we rounded up the most popular options and tested 50+ hoodie design software recommended on forums, printing services, and top search results beforehand.
When picking hoodie design software, think about what you actually need. Making simple text or graphic designs? Basic tools work fine. Creating detailed artwork? Go for software that handles vectors and high-quality exports. Match the tool to your work, and you’re good.
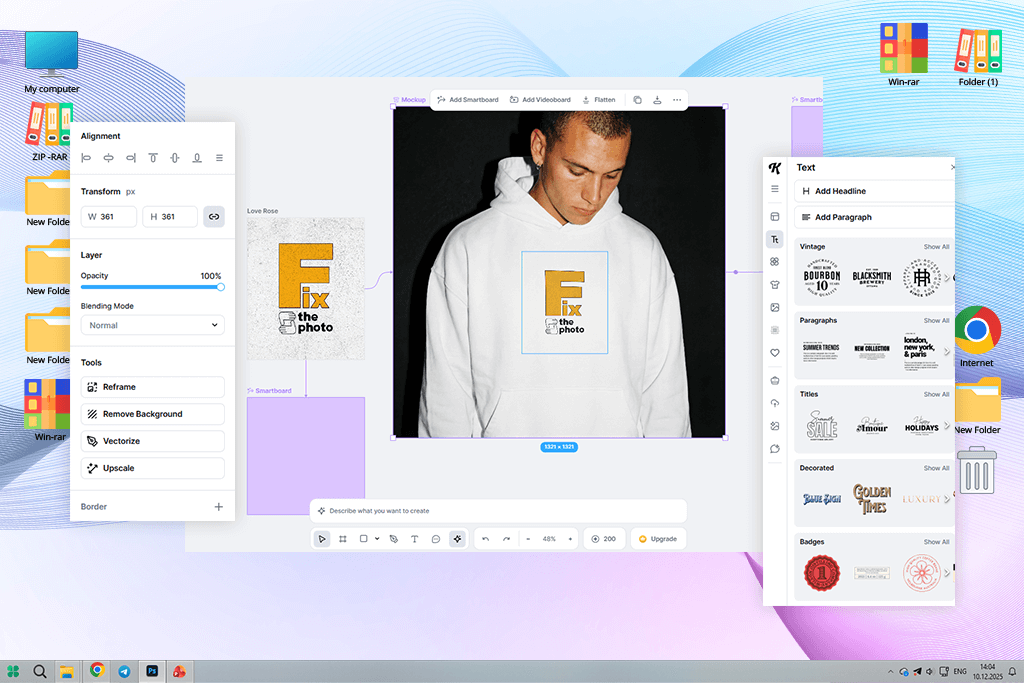
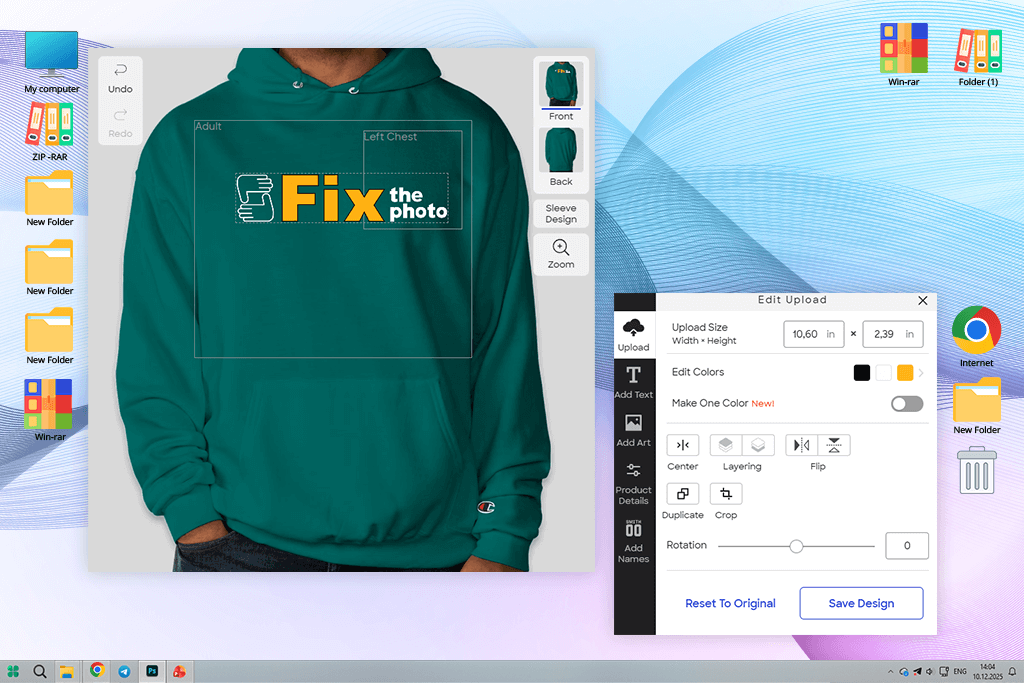
Mockups and placement previews are more important than most people think. Good software should show you exactly how your design sits on an actual hoodie, with real colors and proportions. Testing different placements and hoodie shades before printing saves you from costly mistakes, and it makes a much stronger impression when showing work to clients.
On top of that, custom hoodies maker should be easy to use. If you’re constantly fighting the interface, your creativity takes a hit. Look for something that lets you move fast, copy designs, and try out variations without slowing down. Saving brand styles or reusing elements across projects is a great time-saver, too.
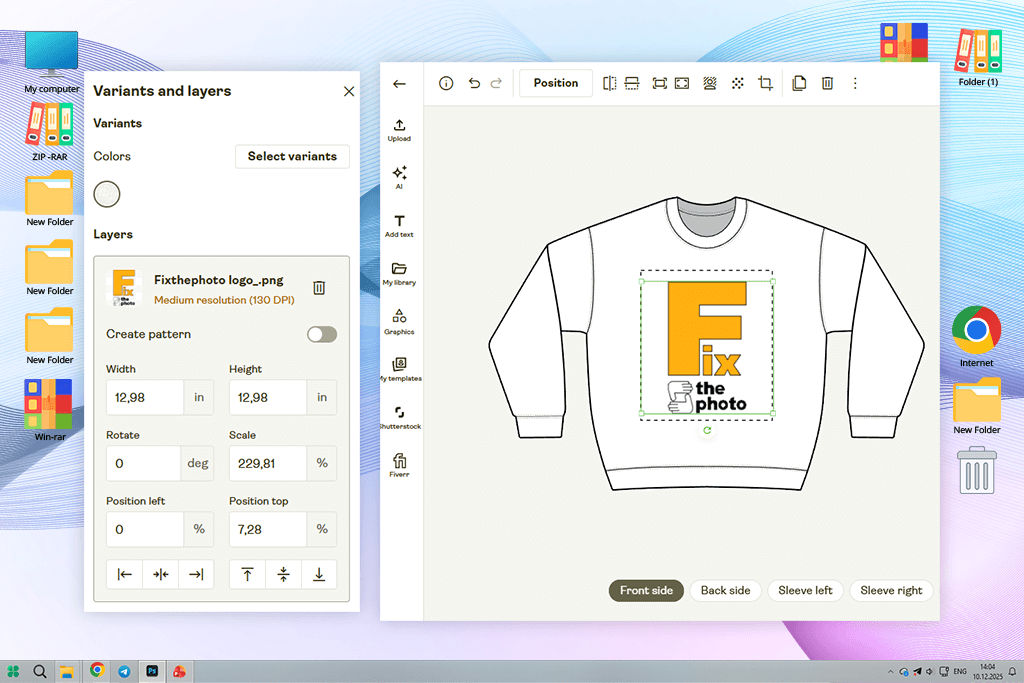
Step 1. Choose the right file format. PNG, PDF, SVG, or AI work best for printing:
Step 2. Stick to high resolution. The minimum should be 300 DPI at the actual print size. For example, if the print should be 30 × 40 cm, the file must be created at that exact size, not stretched later. Low resolution = a blurry print on fabric.
Step 3. Use the correct color mode. Most prints require CMYK, not RGB. RGB looks great on screens, but colors may shift during printing. Clarify in advance whether the printing service works in RGB (which is common for DTG printing).
Step 4. Make the background transparent. If the design can go without a rectangular background, remove it completely. A transparent background ensures the print looks clean on hoodies of any color. This is especially important for logos and text-based designs.
Step 5. Check line thickness and small details. Lines that are too thin or text that is too small may not print correctly. Recommended:
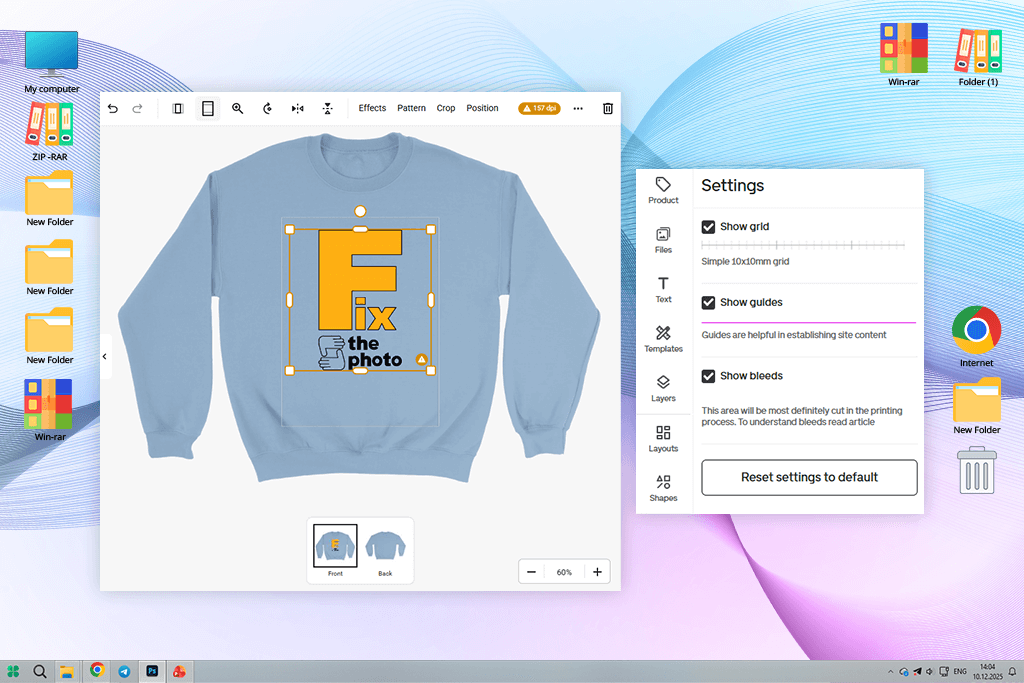
Step 6. Test the design on a hoodie mockup. Pay attention to:
Step 7. Convert fonts to outlines. If you use vector files, convert all text to outlines (curves). This prevents problems with missing fonts at the printing shop and ensures the design appears exactly as intended.
Step 8. Check the printer’s requirements. Every printing service has its own rules regarding file formats, sizes, colors, and margins. It’s better to ask once in advance than redo the entire design after rejection.
Step 9. Make a test print (if possible). This is especially important for a first batch or a new design. A test print helps you see the real result and avoid costly mistakes.
When I first opened Adobe Express to design a hoodie, I didn’t expect it to be so intuitive right away. I skipped the usual learning curve, and just grabbed an apparel-sized canvas and started creating. The built-in templates helped me picture how my slogan or graphic ideas would look. Tweaking the fonts and colors was just as smooth.
Then I moved on to mockups. I could see my design sit on an actual hoodie across different colors and styles. It was helpful because I was more confident about my choices before printing anything. The controls were straightforward, too. Resizing, repositioning, and swapping backgrounds worked exactly how I expected, so I could make quick changes without second-guessing.
“I just needed something quick. I built a hoodie design in 15 minutes, and it looked great. Easy text tools, instant mockup. This tool is ideal when you just need it done.”

Blurry or pixelated designs are a dealbreaker in apparel printing, so I had to check. I exported the files and tested them at print resolution. The graphics came out sharp, the sizing was right, and nothing looked strange. Thanks to brand presets, every hoodie variant looked consistent, and I didn’t have to start from scratch each time. Cloning a design and adjusting it took minutes.
Adobe Express is the best hoodie design maker for real production work. It wasn’t just a design tool. It actually understood where the final product was heading.
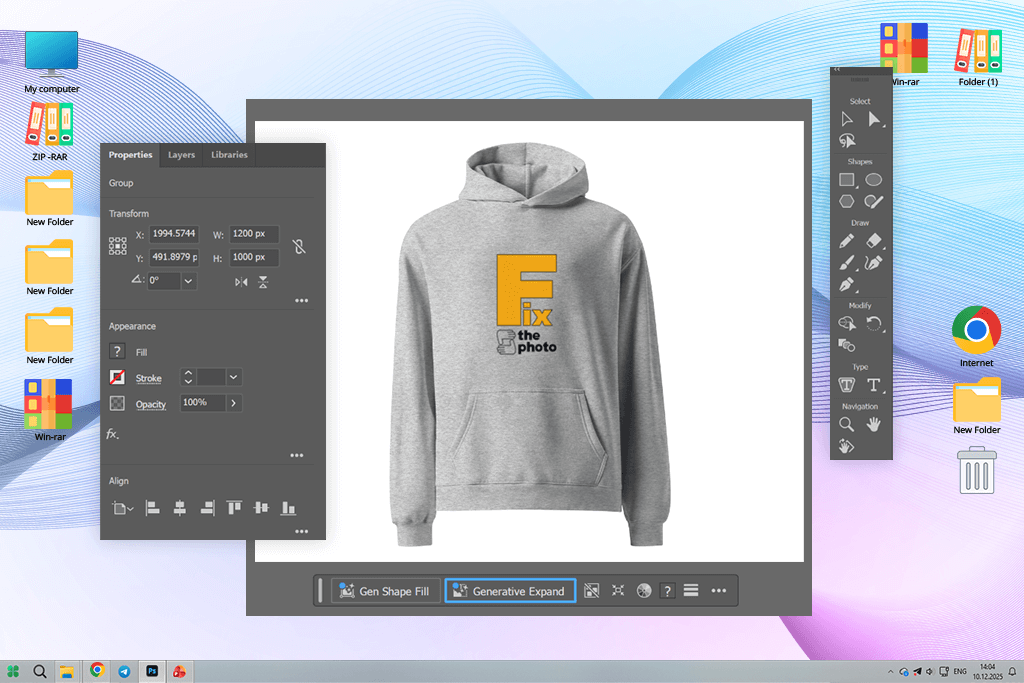
Designing a hoodie in Adobe Illustrator was surprisingly easy. The vector controls let me build custom graphics with real accuracy, which I struggled to find in other apps.
I started with a hand-drawn image, brought it in, and refined it inside Illustrator. When it came time to size everything up for printing, nothing looked stretched or rough. It just worked cleanly, which is exactly what screen-printing demands.
Neat organization is one of Illustrator’s advantages. Using layers and artboards, I could store several hoodie ideas together without things getting chaotic. Whenever I needed to tweak alignment or fix spacing, the smart snapping just handled it.
“I knew it was a professional program right after I opened it. Learning the tools took a while, but the precision you get for detailed prints is totally worth it.”

Illustrator doesn’t have a built-in mockup feature, so I brought in hoodie mockup files separately and dropped them in as smart objects. It added a couple of extra steps, but seeing my design on an actual hoodie image made everything click. It looked real.
When it came to exporting, everything was easy. This hoodie creator takes time to master, and it isn’t the quickest tool around. But if you want sharp, clean, scalable artwork that holds up at any size, nothing else really comes close.
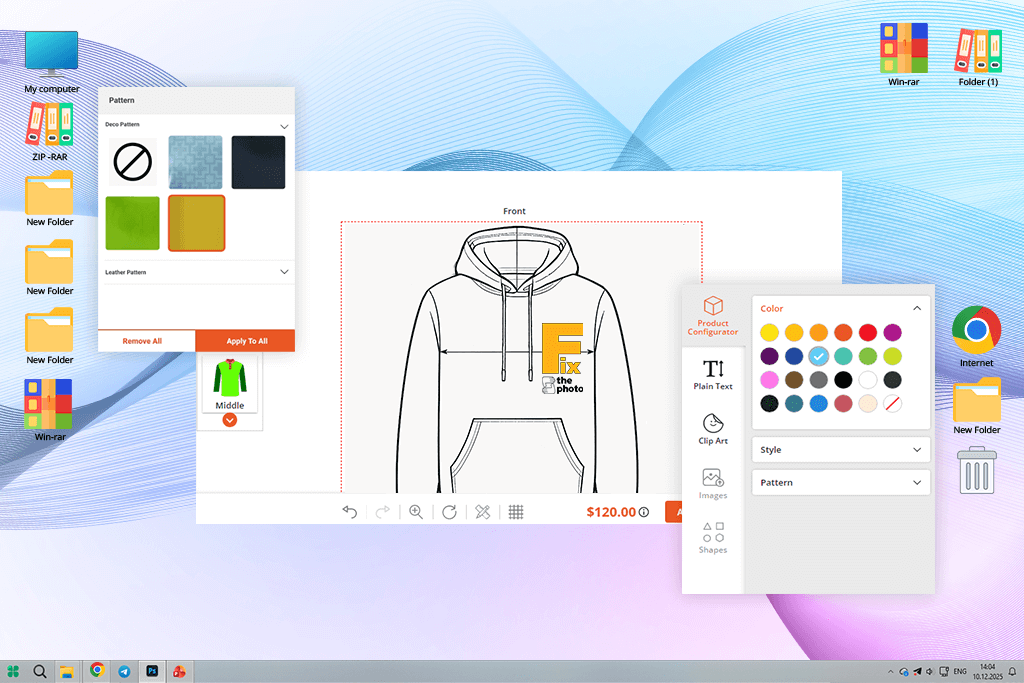
I was tired of mockups that looked great but told me nothing about real printing. That’s why I tried this hoodie maker. I didn’t expect much, but Printful’s placement was clear across different hoodie styles and colors, and I could actually compare things side by side, like pockets or no pockets, bigger or smaller designs. It felt hands-on, like I was holding the product before it even existed.
I liked that design and printing controls were available in the single hoodie and T-shirt design software. Once I adjusted the sizing and positioning, I used the live preview. It helped a lot because I knew what I was getting before anything went to print. When my samples arrived, they matched what I’d seen on screen, which isn’t something you can always count on.
“Designing and previewing my hoodie together was so easy. Seeing my graphic on an actual product made everything stress-free and simple.”

I also tested this online hoodie maker with a whole design series. Taking an existing hoodie, swapping the artwork, and refreshing the colors was faster than expected. When you’re working on a seasonal collection or a limited release, being able to move that quickly through multiple designs is a real advantage.

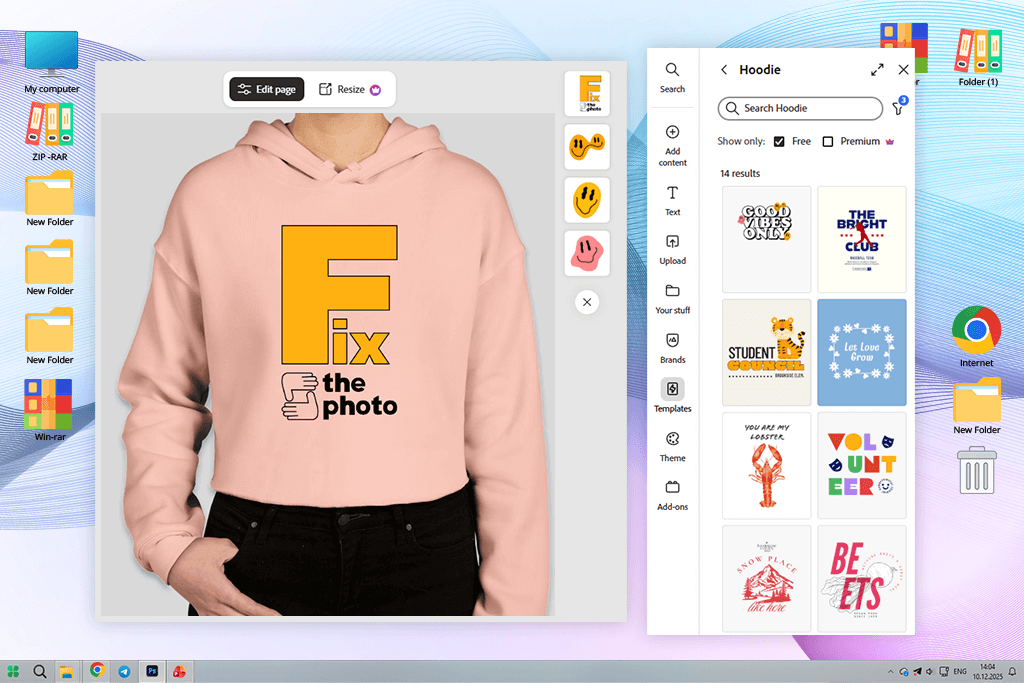
Canva surprised me. I expected something basic, but it turned out to be more capable than I thought. I started my hoodie project by picking a banner layout, then adjusted bold text and graphics.
The templates were good, not the generic stuff you see in many programs. I threw in some icons and background shapes to jazz up the design, tried a couple of color combinations, and eventually landed on something I liked. The drag-and-drop setup meant I could make changes quickly. It was the first custom hoodie maker that didn’t make me feel lost or frustrated.
“Even as a total beginner, I made something decent. Templates helped a lot – just don’t ignore the print export settings!”

The trickiest part was getting my hoodie design print-ready. Canva sometimes shrinks file quality on export, so I manually checked dimensions and maxed out the resolution. That small extra step made a big difference. The final design held up really well.
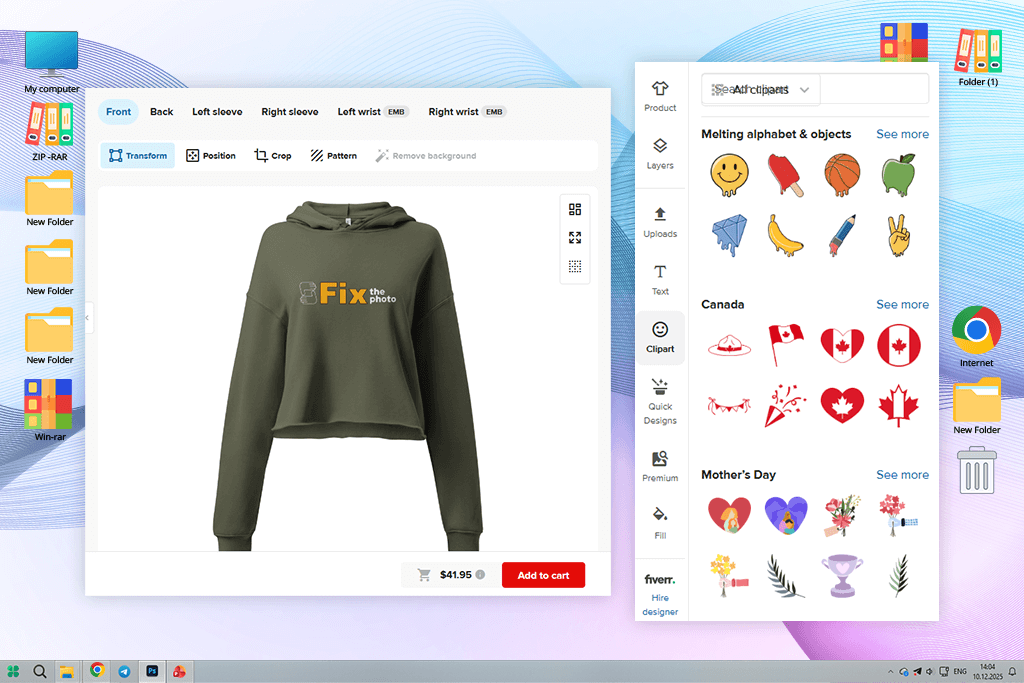
The first thing I noticed about Printify was how practical it appeared. There’s no pressure to be creative. You just bring your artwork and it helps you put it on a product.
“Switching hoodie colors, styles, and providers was very easy. Same design, different looks in an instant. Not flashy, but perfect for selling merch.”

I tested a few hoodie and T-shirt design placement tools, and they were very simple to use. You can move it, resize it, or adjust the color in seconds. I’ve used other custom hoodie online platforms where you lose an hour tweaking things that don’t even matter. Printify skips all that. It’s clearly built for people who want to go from idea to product fast, without getting stuck in the details.
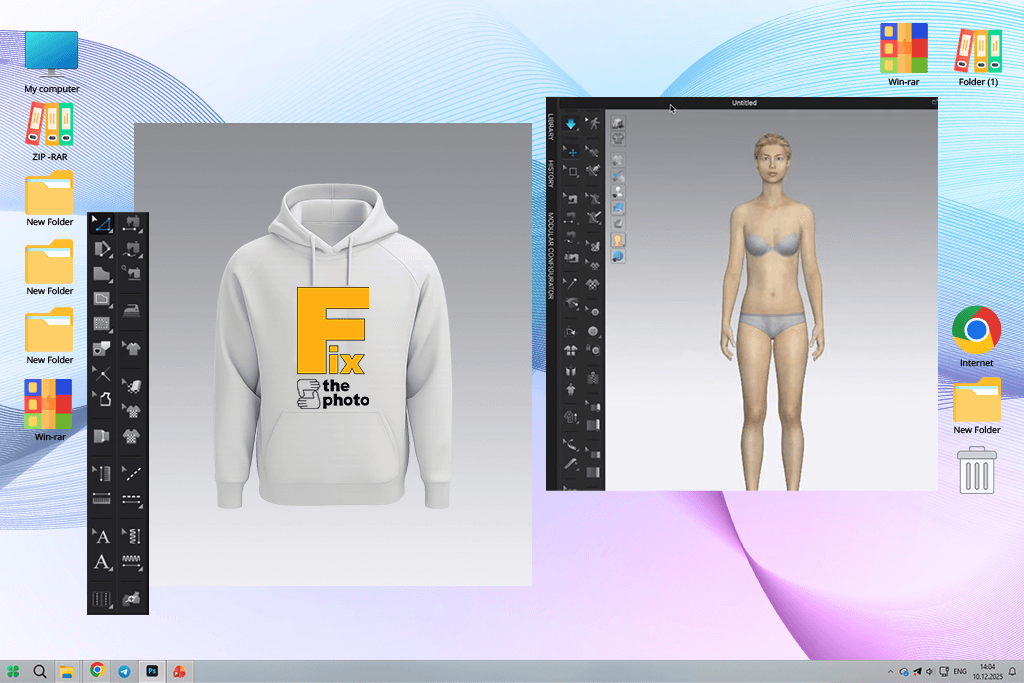
I didn’t expect CLO 3D Fashion to impress me as much as it did. I uploaded my hoodie patterns, added my graphics, and suddenly I wasn’t guessing anymore. I saw every detail I needed. The design wrapped around folds and seams exactly how it would in real life. That shift from flat artwork to something with actual movement and texture made a huge difference.
“At first, it was a lot to take in, but seeing the design wrap the hoodie in real life? Insane detail.”

Then I experimented with fabrics. The same graphic looked sharp and bold on cotton, but the moment I switched to a satin finish, it just died, looking dull and flat. Catching that on screen instead of after production was very helpful. This personalized hoodie maker let me see my design clearly and saved me from costly mistakes.
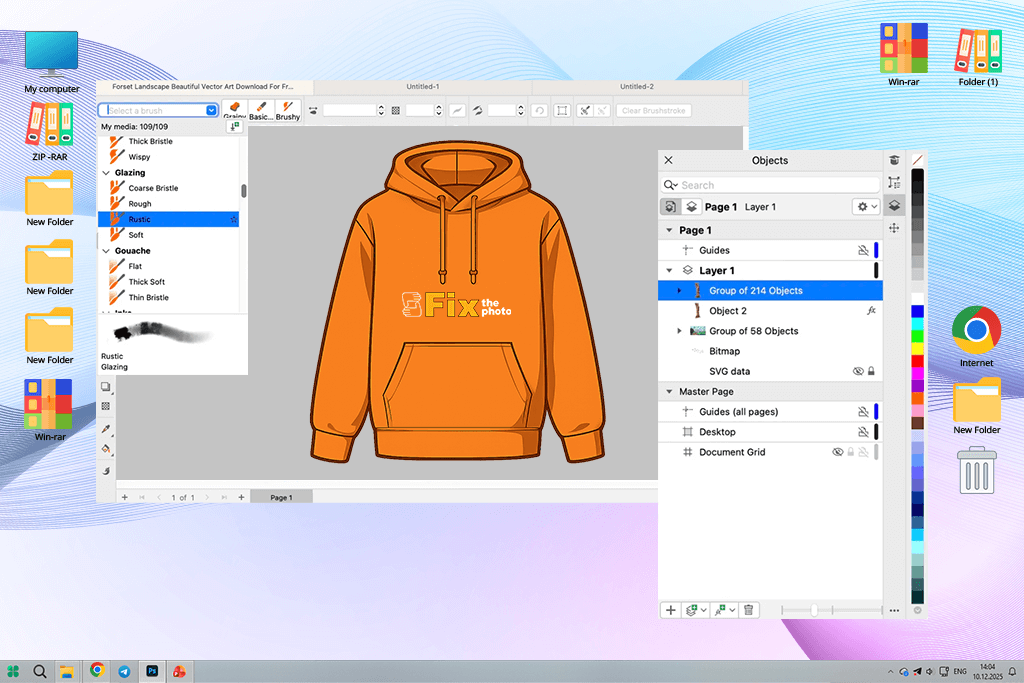
Making a custom hoodie design in CorelDRAW was easy. It’s not the flashiest software, but it works. The vector tools gave me clean, scalable graphics without much effort, and the pen tool handled every curve exactly how I wanted.
“Clean, sharp results, especially with text designs. The vector tools are solid and dependable. This is the classic tool that still holds up when it matters.”

I played around with bold fonts and basic shapes to start, then layered things up from there. It was simple to test multiple design directions because the layers kept things tidy. This free graphic design software offers helpful blend and transparency options. Even the simplest slogans looked more polished and interesting.
PrintXpand appeared to be a wonderful print on demand site for beginners. There were no overwhelming menus or unnecessary features. I just uploaded my graphic, placed it on the hoodie template, and saw how it looks instantly. And the previews aren’t just pretty pictures either. My finished hoodie showed up looking almost identical to what the mockup had shown me.
“Fast uploads, clear previews, and accurate results. Perfect for testing your design placement and sizing before actually printing anything.”

Adjusting placement, size, and color was quick and painless. There are no confusing features, and that’s kind of the point. If your goal is to get your design printed accurately without spending hours figuring out complicated software, PrintXpand handles that really well. This hoodie design tool guarantees a simple process and solid results.
Kittl was another cool tool to design your own hoodies, which I stumbled upon. I came in with a rough graphic concept and just started building. The vector tools were easy to figure out. For a browser-based app, it packed a serious amount of design options, great fonts, detailed shapes, and illustrative elements I didn’t expect to find.
“I had so much fun with this! Great design features and zero confusion. My hoodies turned out clean and professional.”

But the thing that really stood out in this free fashion design software was exporting. Getting print-ready files with clean transparent backgrounds took almost no effort. Hoodie printing can go wrong fast due to blurry edges and off-colors. Kittl avoided all of that. The results looked sharp and professional.
I wasn’t sure what to expect from Custom Ink, but the design toolkit pleased me a lot. Uploading my graphics was easy, and the hoodie builder gave me a real feel for how the final product would look. This pattern making software suggested sizing and placement as I went, so I did not make disappointing mistakes.
“Forget about issues with file formats or print specs. Just design, preview, and order. Simple tools, but they cover the basics. Perfect for group orders or quick merch drops.”

The editing tools were basic and easy to use. I could add text, swap fonts, and bring in custom images without any confusion. I particularly liked the mockup preview. It wasn’t just a rough estimate. The hoodies I received looked spot-on compared to what I’d seen on screen.
I didn’t expect much from Gelato, but this sweatshirt design maker won me over pretty quickly. Getting my hoodie designs onto templates was straightforward. The placement controls were helpful. It won’t replace your main design software for detailed work, but it works perfectly for checking how your graphics translate to real products.
“From upload to production, the entire process was understandable. Accurate previews took the guesswork out, so I knew my prints would turn out right.”
Planning my campaign was less stressful once I discovered the global print partner network. I could check how my design would be printed in each region and figure out local delivery options ahead of time. It was very convenient because I could move forward without worrying about it.
We built a simple test around a real project, creating a streetwear hoodie collection. Each FixThePhoto team member followed the same design brief but worked on separate platforms. We checked typography, graphics, mockups, and export quality across all three. Speed and ease of use mattered most – could a regular user get from blank canvas to print-ready without frustration?
We started the testing process with the design phase:
Together, we covered the three things most designers actually care about when building a collection.
Next, we looked at exports. We checked resolution, transparent backgrounds, and whether colors stayed consistent across file formats. Some tools spat out clean, print-ready files right away. Others needed extra tweaking to fix blurry graphics or scaling issues. We also compared how well the on-screen mockups matched real printed samples.
To wrap up, we scored each tool on the overall workflow. The winners made it easy to iterate quickly, update designs without hassle, and export without surprises. Creative freedom plus reliable output – that was the bar.


![7 Best AI ASMR Video Generators in {{%year}} [100% WORKING]](/placeholder-450x300.svg)


