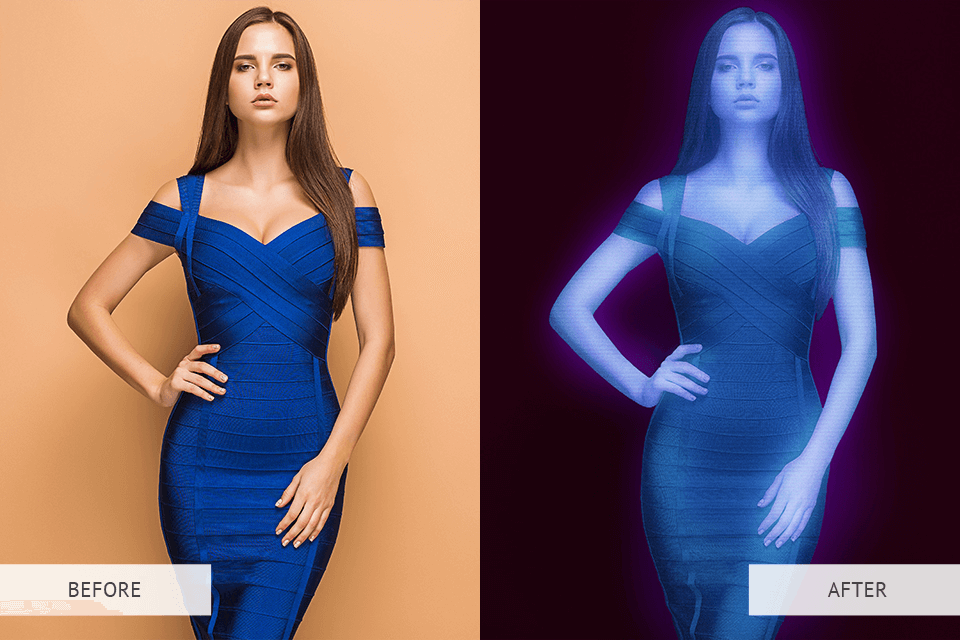
You can add a hologram Photoshop effect to achieve a digital representation of any photo with the help of light sources. Such an effect typically deals with holograms of humans being emitted in certain environments.
The first step you need to take is download Adobe Photoshop for free. Next, you have to learn how to take advantage of layer blending modes, layer masks, and the brush tool.
Before you can begin learning how to make holographic images Photoshop, you first have to cut out the subject so that it has a separate layer that doesn’t contain the background.
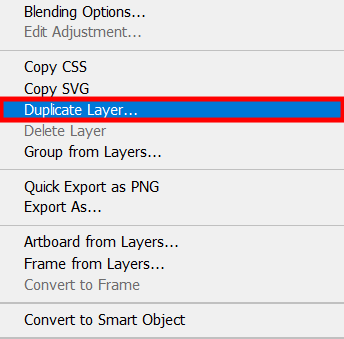
You can do so by clicking on Layer > Duplicate Layer. Alternatively, it’s possible to duplicate the image by using Photoshop keyboard shortcuts and pressing CTRL+J or CMD+J.
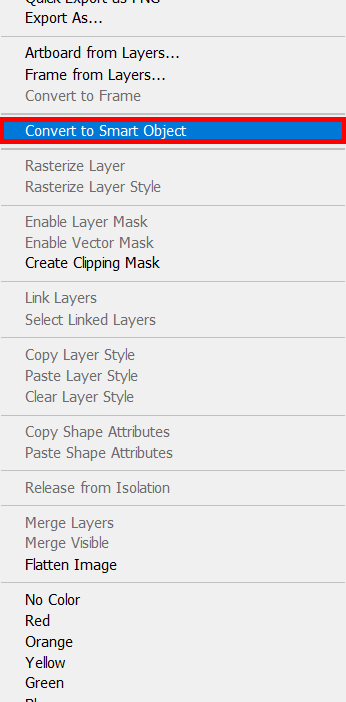
Next, right-click the newly created layer and pick Convert to Smart Object. This technique will enable you to add special filters that can be customized or deleted whenever you want without affecting the original photo.
Choose the duplicate layer, open the Select menu, and click on Subject. The software will automatically locate and select the image area that contains the subject. Give preference to photos that don’t have busy backgrounds to simplify the selection process.
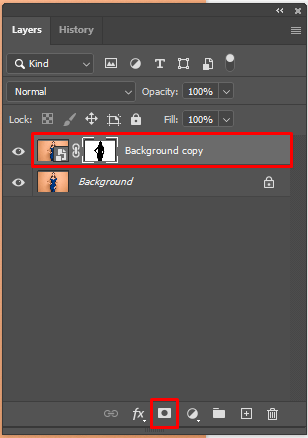
To do masking in Photoshop, you first have to ensure the selected subject is active, then press the Layer Mask icon under the Layers Panel.

Add a Levels Adjustment Layer on top of the original background photo but under the subject layer.
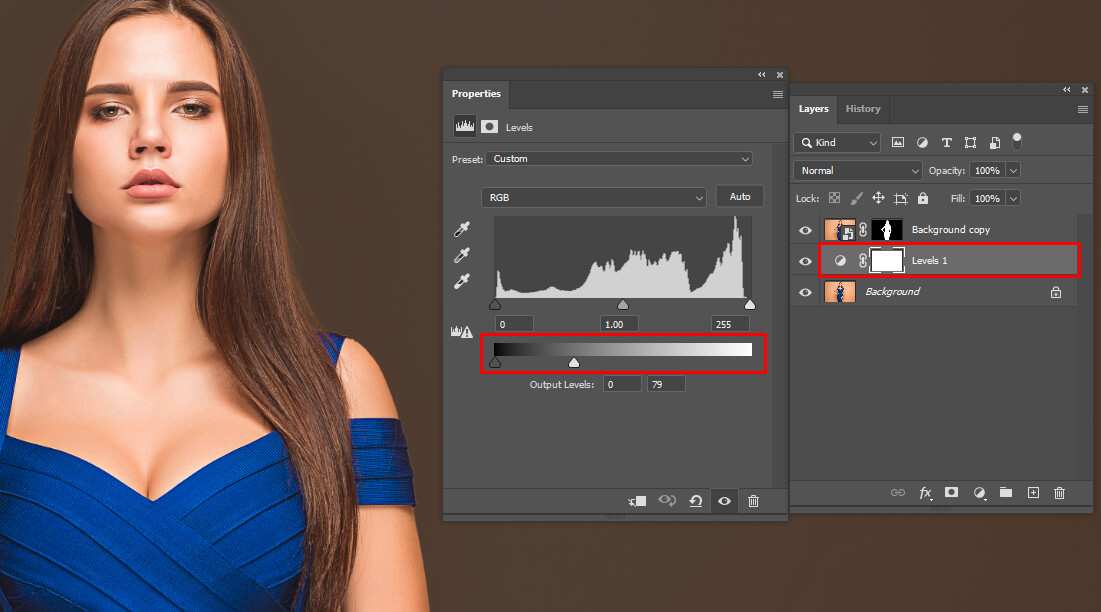
Akin to adding glow in Photoshop, you’ll have to employ natural, bright lighting to create the illusion of a glowing subject.
Press and move the highlight slider to the left to make the background significantly darker. You’ll see that the subject remains clear and bright because it’s located on an individual layer that isn’t altered by the Levels Adjustment.
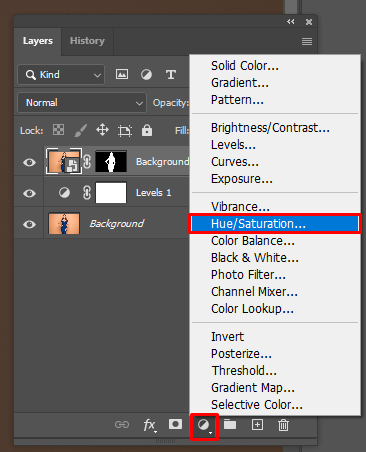
Add a Hue/Saturation Adjustment Layer on top of the subject layer and press the Clipping Mask icon. By doing this, you’ll ensure color adjustments are made exclusively to the layer below it in the Layers Panel.
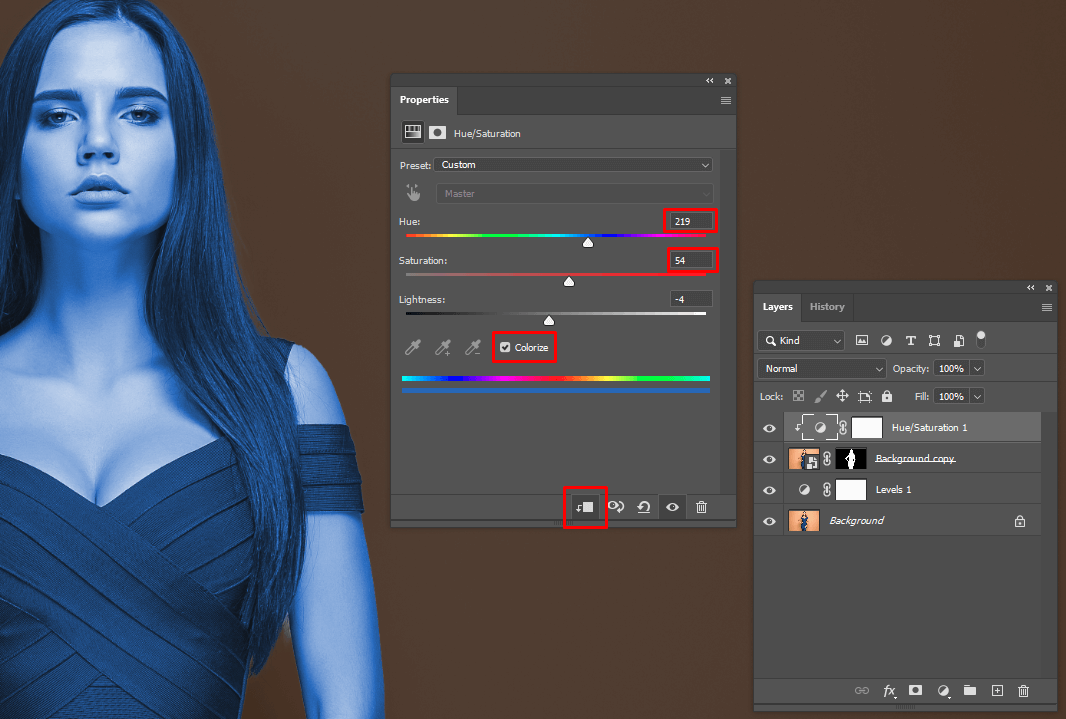
Now that it has been clipped to the subject mask, you have to change the color in Photoshop. While most holograms are blue, there’s no reason why you can’t pick a different hue if you want to.
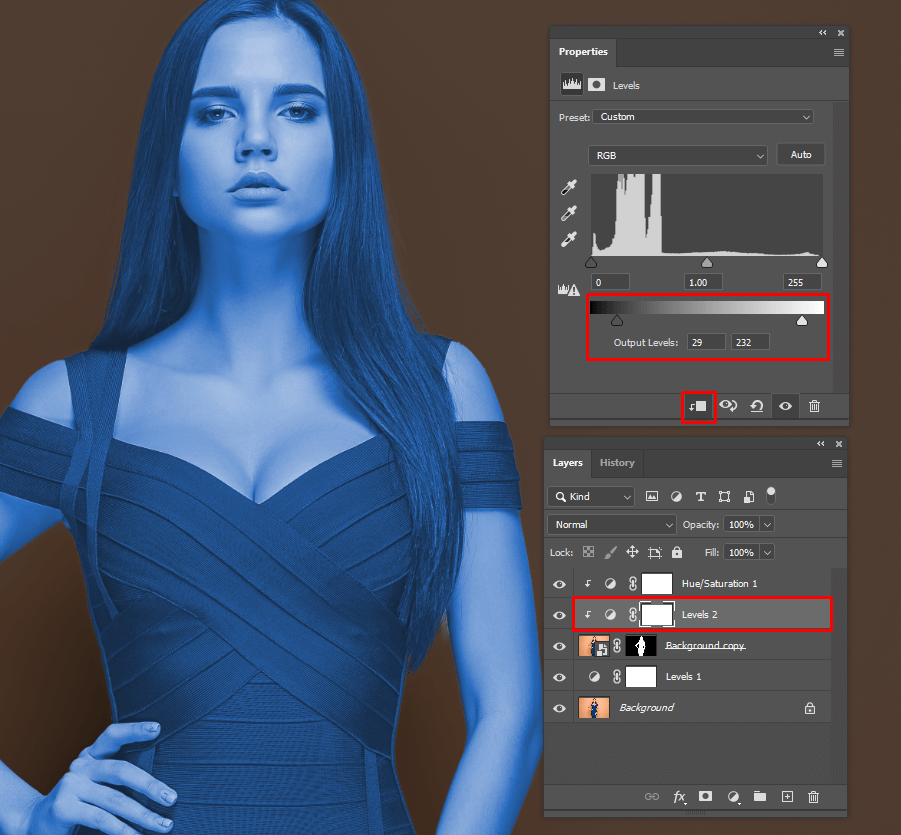
The next stage of making a hologram in Photoshop involves creating a second Levels Adjustment Layer, but this one should be located on top of the subject layer and clipped to it like the Hue/Saturation Adjustment one.
Tweak the highlights and shadows until you achieve a soft, glowing look.
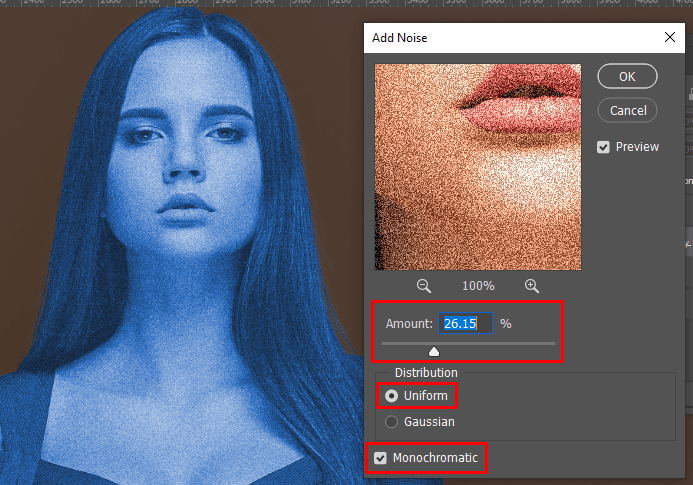
As most futuristic holograms are a bit fuzzy, you can further enhance the created effect by adding some static and interference to the subject.
Pick the subject layer, go to the Filter menu, and select Add Noise. This option enables you to add grain in Photoshop to make the image noisier just be sure to not overdo it.
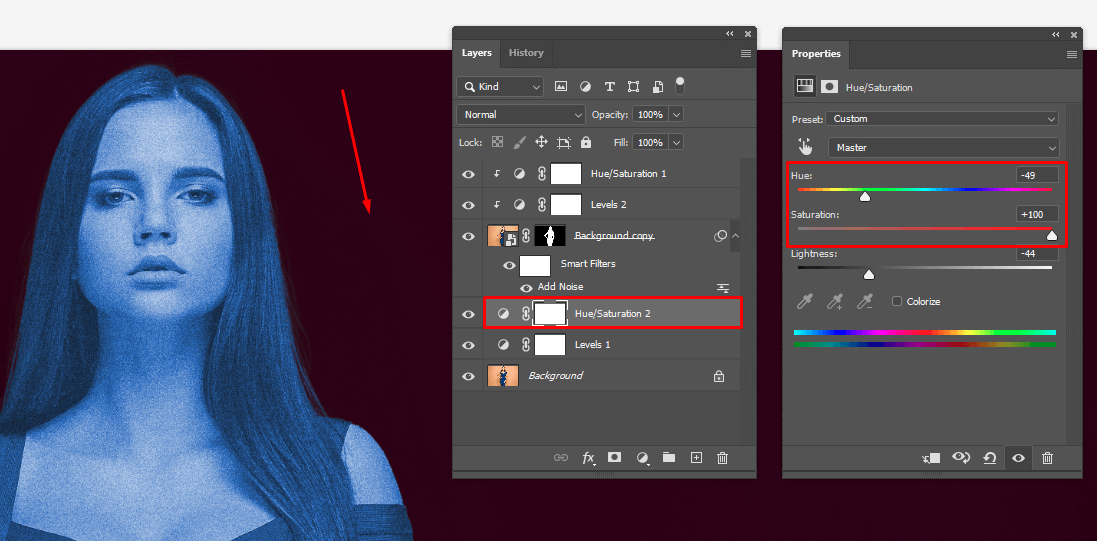
If you're not satisfied with the look of the background, you can change background color in Photoshop. Simply employ the Hue/Saturation tool. In this case, increasing the value of the red hue makes the image look a lot better.
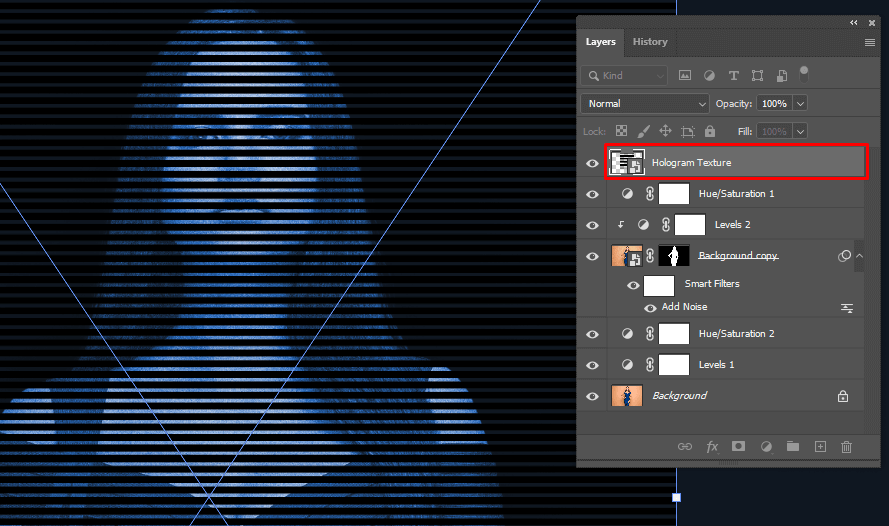
This step will help you enhance your hologram with scan line imitations by adding texture in Photoshop. You get to pick between regular patterns included in the software and new assets that you can buy online, or you can download the textures designed by FixThePhoto professionals.
Regardless of which option you choose, import the texture into your image file and put it on top of the Layer Stack.
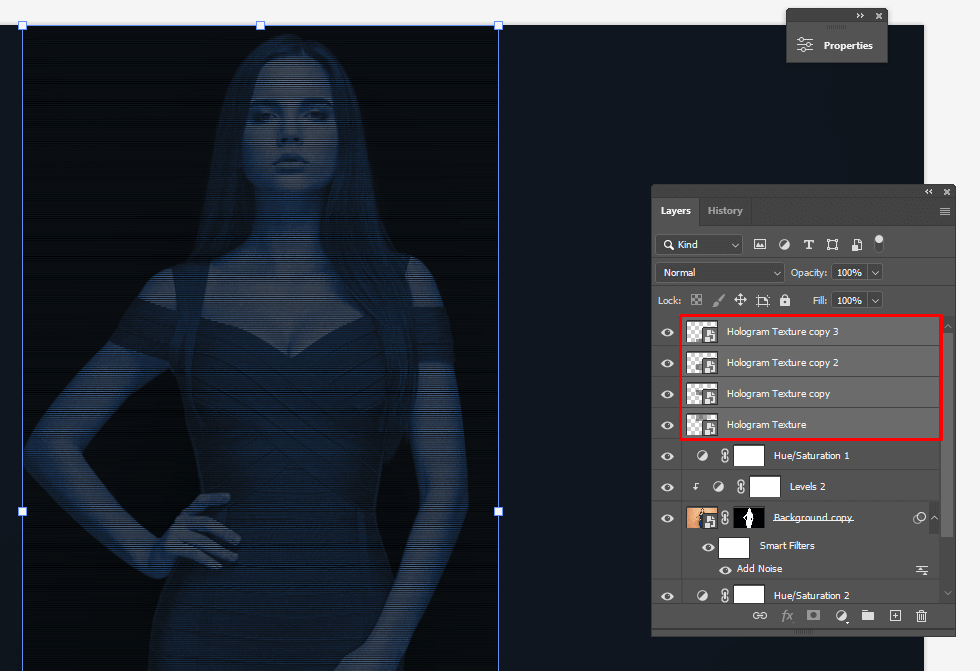
Resize the texture to ensure the black lines look narrower. Consider copying and compressing the texture to apply it to the entire hologram. Now, merge layers in Photoshop.
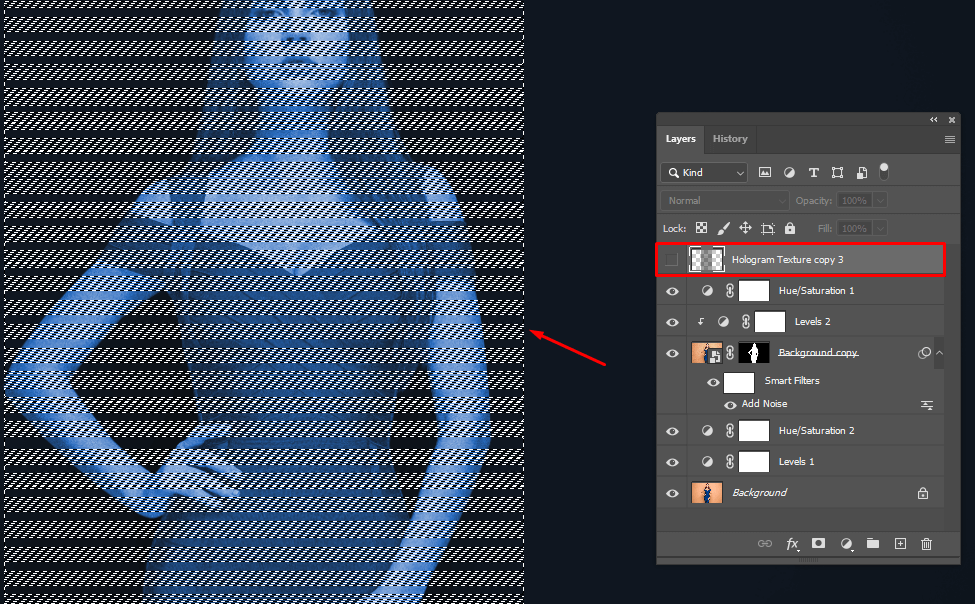
Press and hold CTRL or CMD and select the texture layer. This trick will select all elements present on the chosen layer.
Now, pick the subject layer along with all its adjustments and group layers in Photoshop together by pressing CTRL+G or CMD+G.
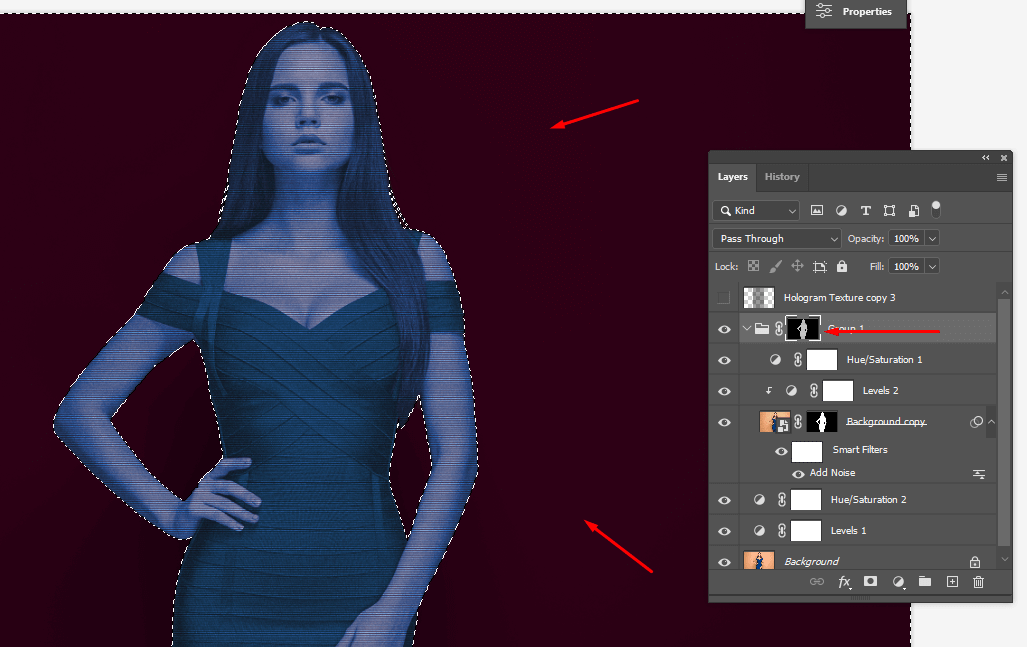
While the selection is still made, pick the newly-created group and press the Layer Mask icon below the Layers Panel. As a result, the selection of lines will be applied as a Layer Mask. If some of the lines are visible outside of the necessary areas, you can get rid of them by employing Inversion and Brush.
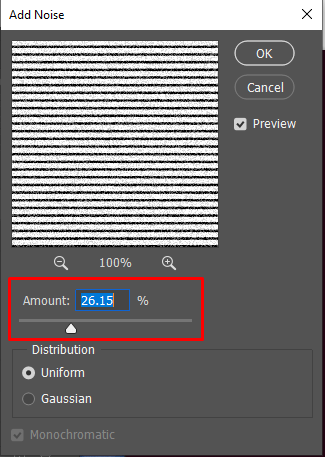
Similar to the 9th step, click on the Filter menu, and pick Add Noise. Adjust the Amount parameter to around 20-30%, to receive a soft noise effect.
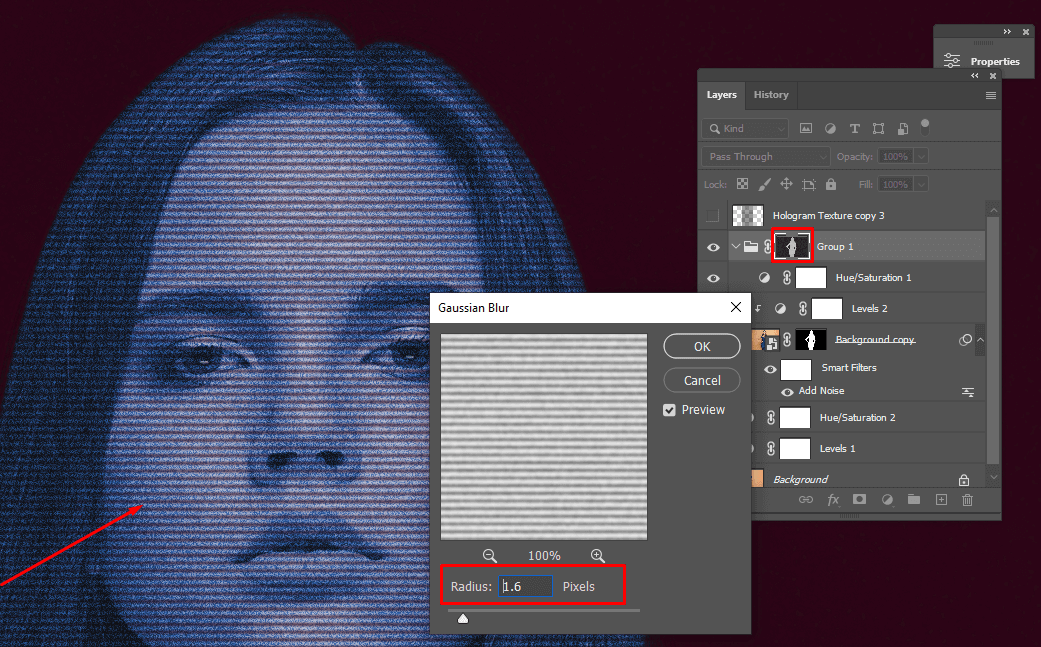
Make your hologram softer by adding Gaussian blur in Photoshop. To do so, go back to the Filter menu and choose Gaussian Blur from the Blur Gallery section to apply a barely noticeable blur.
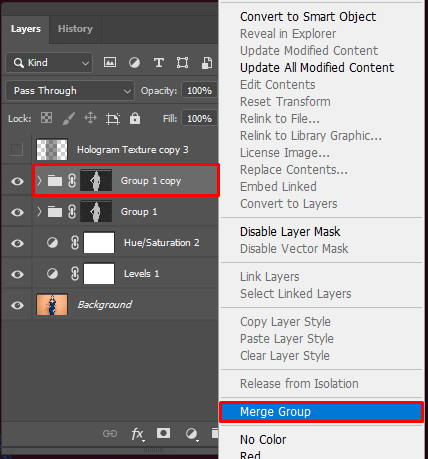
Click the right mouse button on the Layers group and pick Merge Group. Now, right-click the merged layer and choose Apply Layer Mask. Afterward, add 3 copies of said layer.
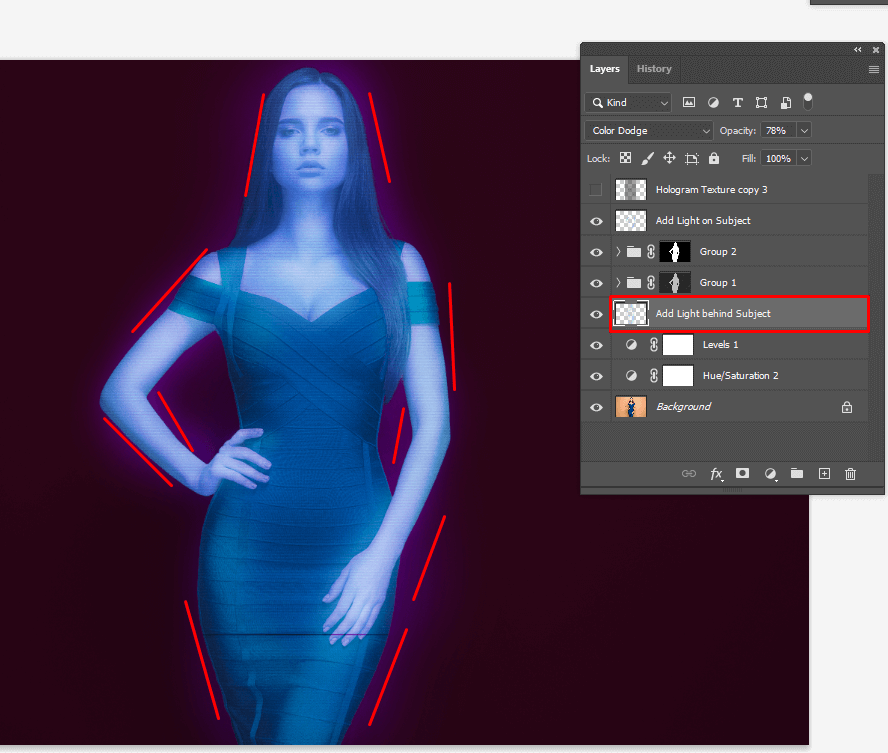
Next, you have to ensure the effect better resembles a light source by increasing the brightness and adding light in Photoshop.
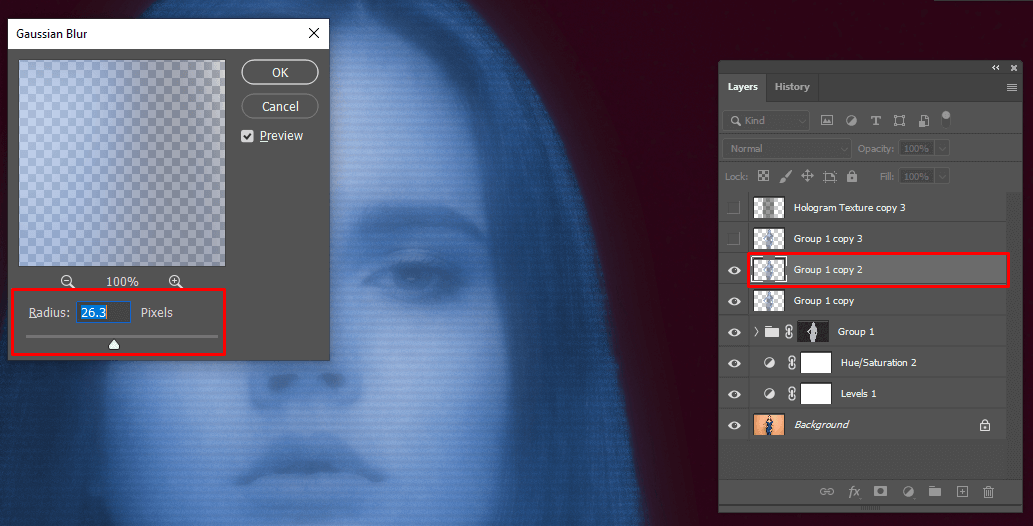
Add a dose of Gaussian Blur to each of the 3 duplicates. Set about 20-25 for the first, 50-55 for the second, and somewhere around 90-100 for the third. While you’re going through this process, you'll see that the surrounding area gradually starts to glow.
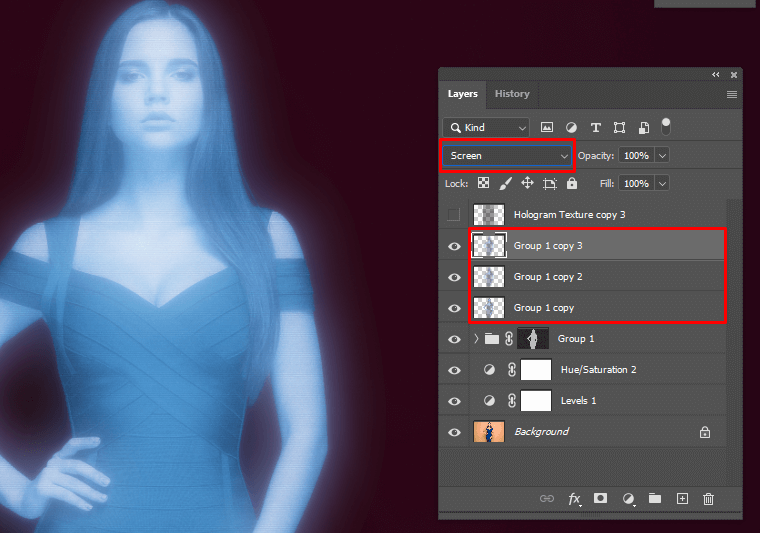
Start by choosing the glowing layers, which you can do by picking them and pressing CTRL+G or CMD+G. Right-click the duplicate and pick Apply Layer Mask. Now, change the Blending Mode to Screen.
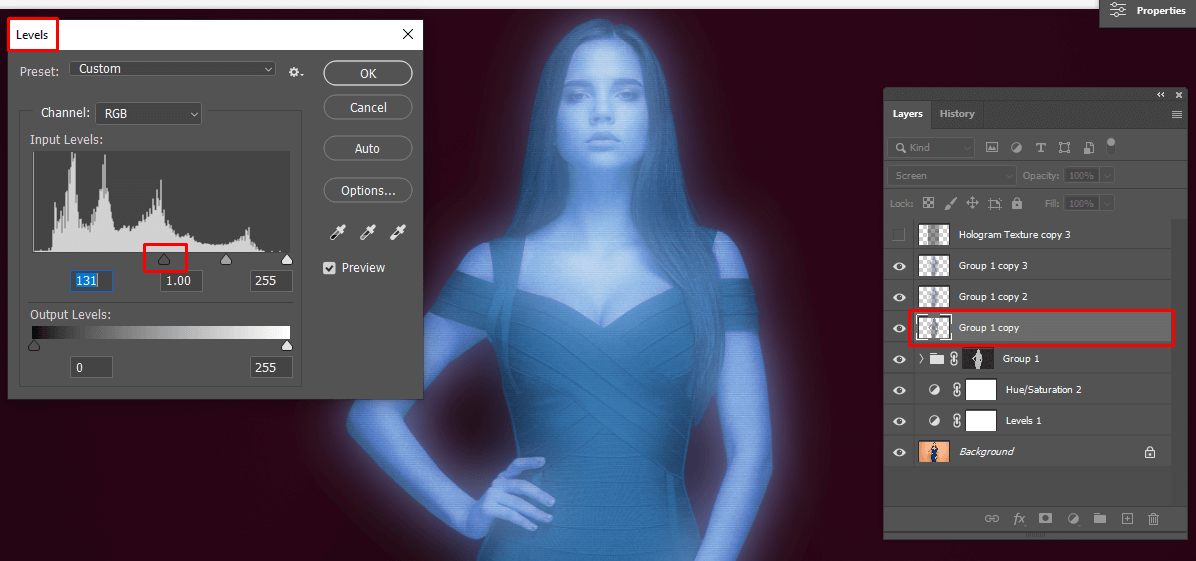
Now, limit the glow exclusively to bright areas. Create a Levels Adjustment for each copy and drag the shadows slider to the right. This way, the effect won’t be applied to the darker parts of the photo while remaining visible in the highlights.
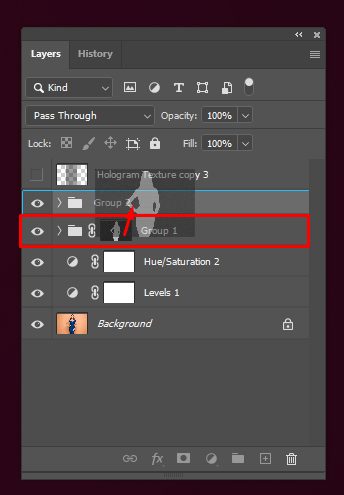
Put all the copies in a single group, press and hold ALT or OPTN, and then click and drag the Layer Mask from the primary subject layer onto the newly-created Group. This action will help copy the scan line to the glow effect achieved in the previous steps.
Now, add a Levels Adjustment to the new Layer Mask and drag the highlight and shadow parameters inward.

Add another Layer on top of the subject and blend layers in Photoshop by changing the Blending Mode to Color Dodge.
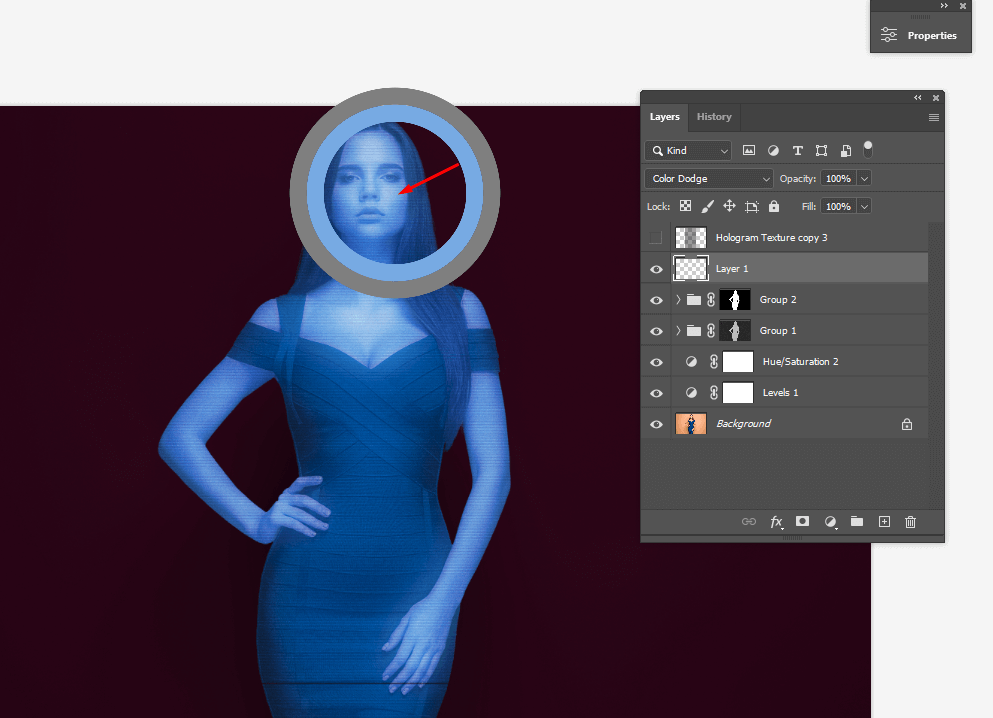
Pick the Brush Tool, press and hold the ALT or OPTN key, and click on a light blue tone anywhere in the picture to Sample it.
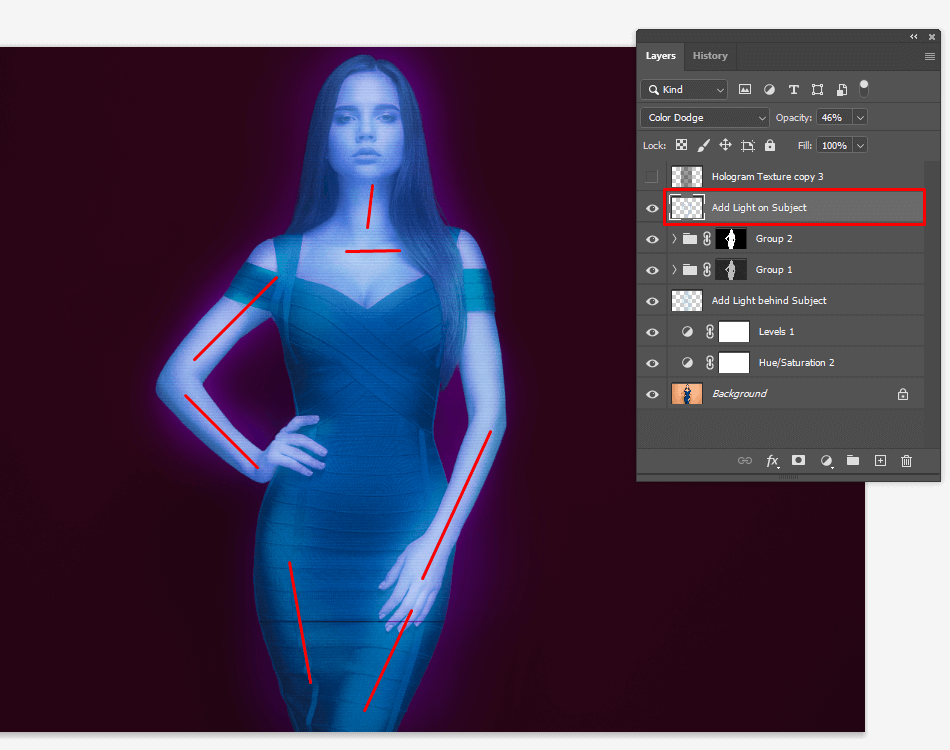
Next, start painting over the new layer with the Sampled hue while covering brighter areas to create the illusion of flickering.
Consider decreasing the Opacity if you’d like to have a subtler flicker effect and receive Photoshop line smoothing.
Following some of the described steps can be hard for beginners so if you don’t have the skill or the time necessary to complete all of them, but still want to receive a beautiful Photoshop holographic effect, reach out to FixThePhoto professional retouchers who excel at performing complex image manipulations with realistic results.
If you lack the patience to figure out how to create a realistic hologram Photoshop effect, consider using these premade pro-grade actions that were developed specifically for this purpose. The only thing you have to do is install Photoshop actions and then apply the desired option in a single click.


