Interacting layers in Photoshop is a great way to achieve different and original effects in your shots. All such operations are referred to as blend modes, the most popular of which is the composition of two or more photos. However, there are actually more modes and in this step-by-step tutorial on how to blend layers in Photoshop, I will describe 4 different and most interesting ways.
Auto-Blend Layers in Photoshop is designed for flawless stitching and combining your photos into a single composite picture with seamless transitions. The essence of this function is to apply a layer mask to those layers where it is required in order to mask under and overexposed areas, as well as discrepancies in the content.
Aside from this, Auto Blend Layers Photoshop allows for blending several photos of the same scene, shot with a different focus, to obtain a composite picture with increased depth of field. This also applies to shots of the same scene taken in different lighting conditions, which you can combine into an amazing composition. What’s more, with this command you can also create attractive and high-quality panoramas.
To get started, your pictures must be copied or placed in the same document. All images subject to combining will appear as different layers.
Choose the layers to be blended.
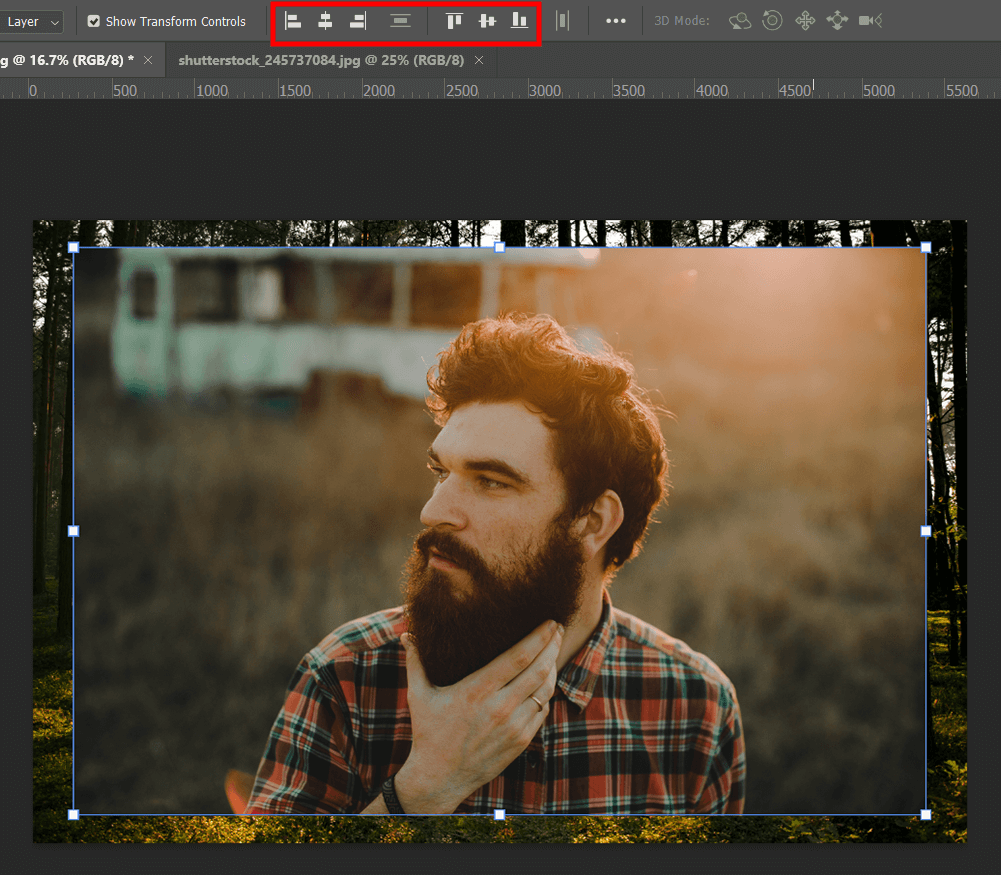
Layer alignment is available both manually and through the Auto-Align Layers option. If you choose the latter, Photoshop will recognize similar parameters for each layer (such as edges or corners) and align all layers accordingly.
You can find the function like this: Edit > Auto-Align Layers and then alignment. When creating a panorama, or when you’re merging multiple shots with overlapping zones, it’s best to choose one of the Auto, Perspective, or Cylindrical parameters. In the case of aligning scanned photos with some offsets, the Reposition Only parameter will suit you.

Keep your layers selected and click Edit > Auto-Blend Layers next.
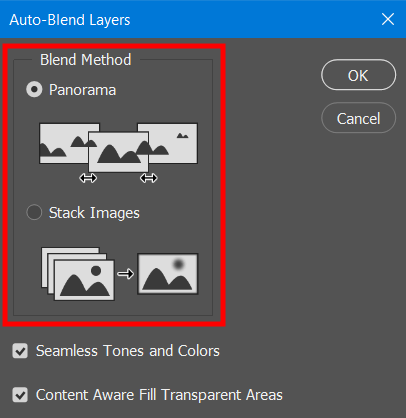
Next, select one of the two blend layers Photoshop options:
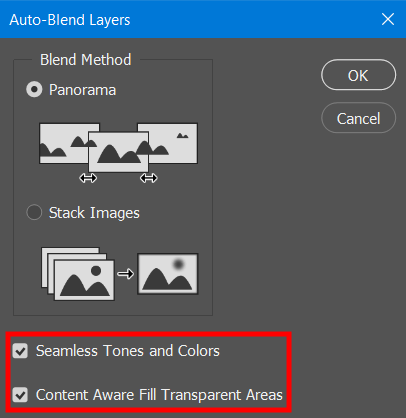
Seamless Tones And Colors is designed for adjusting color palettes and hues when blending layers in Photoshop. Use the undo and redo in Photoshop if needed. Click OK.
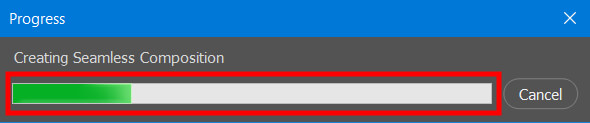
At the end of the download, you will have one image with a multiple exposure effect.
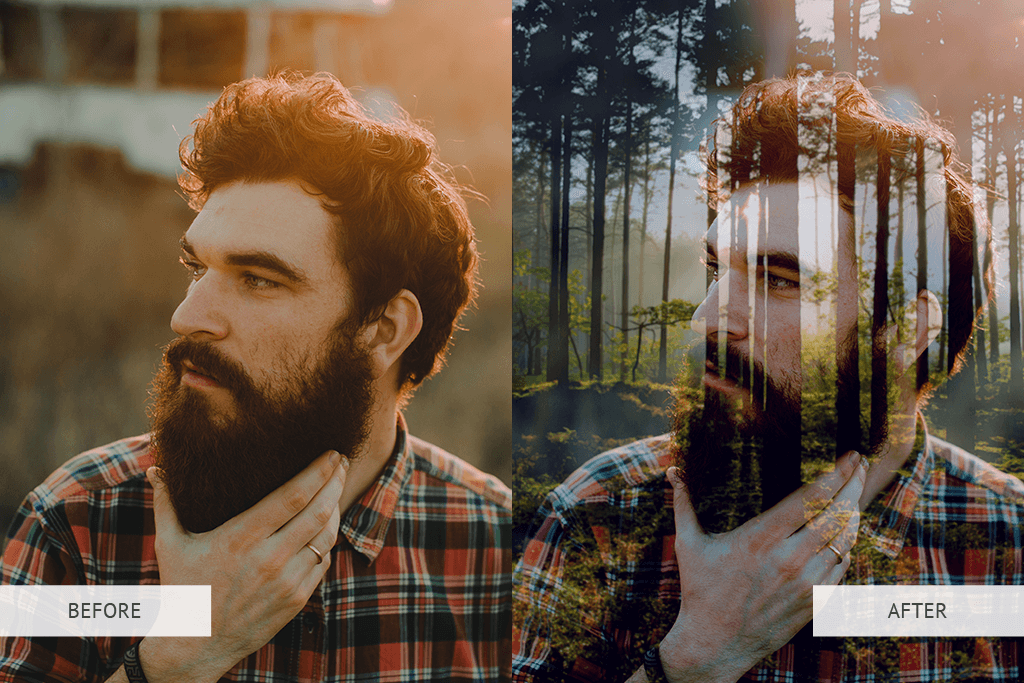
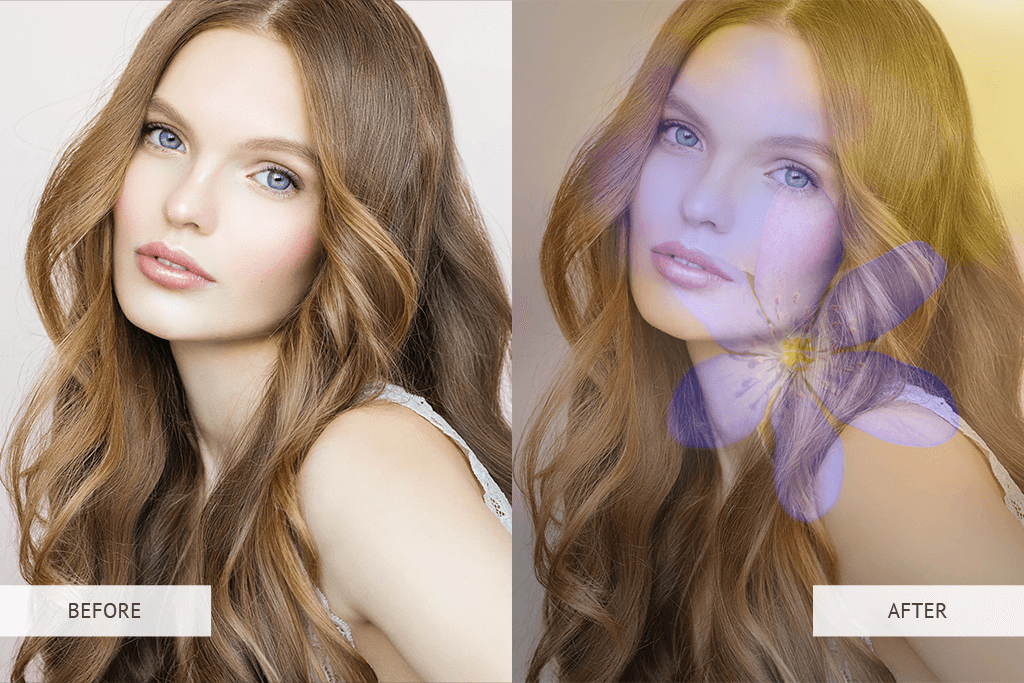
The next option on how to blend layers in Photoshop is playing around with layer opacity, which results in a double exposure effect. For the best result, you will need two harmonizing photos.
Open 2 images and align them similarly to the previous tutorial.
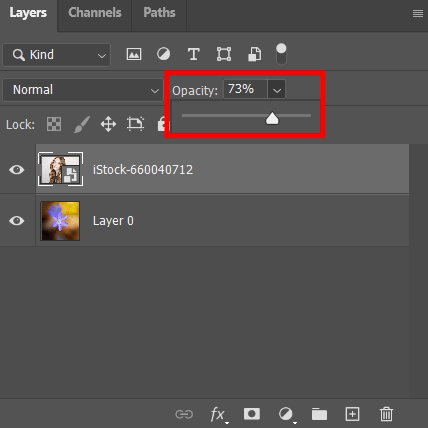
Click on the top photo to select it to start working on it. Next, go to the top of the Layers panel, find the Opacity slider, and click on the arrow next to it.
Move it to increase the transparency of the top photo. As you move the slider, you’ll see the bottom photo appear underneath the top one.
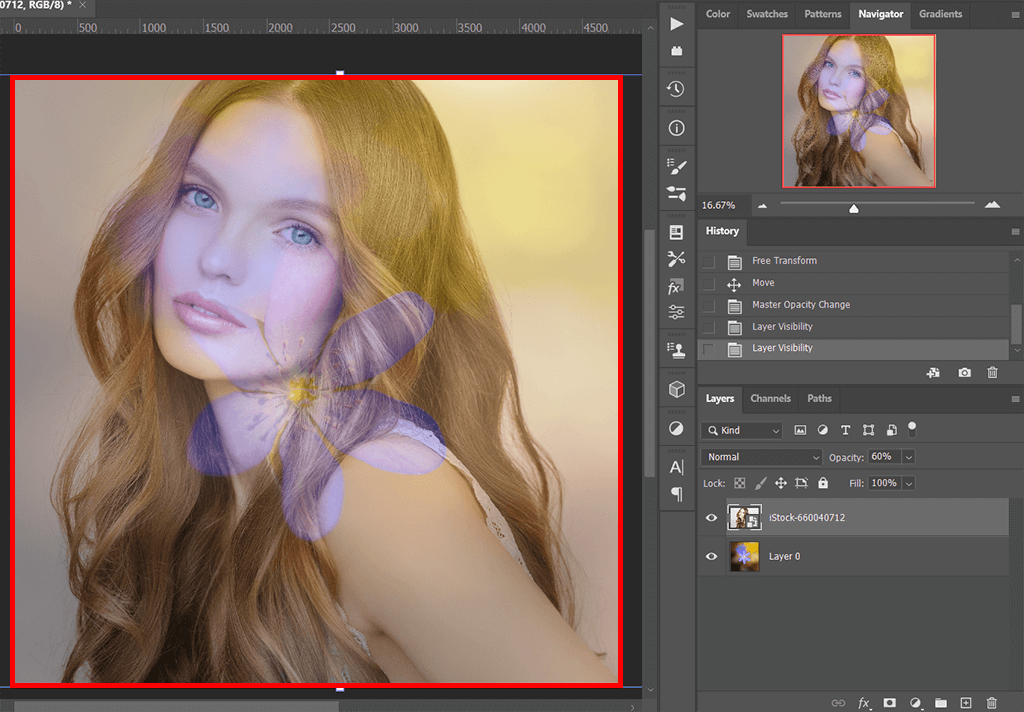
To achieve the perfect transparency value, move the slider slowly. Apart from this, you can enter a certain value in a special field, for example, 70, to get 70% opacity. The greater the transparency effect, the greater the blending effect will be.
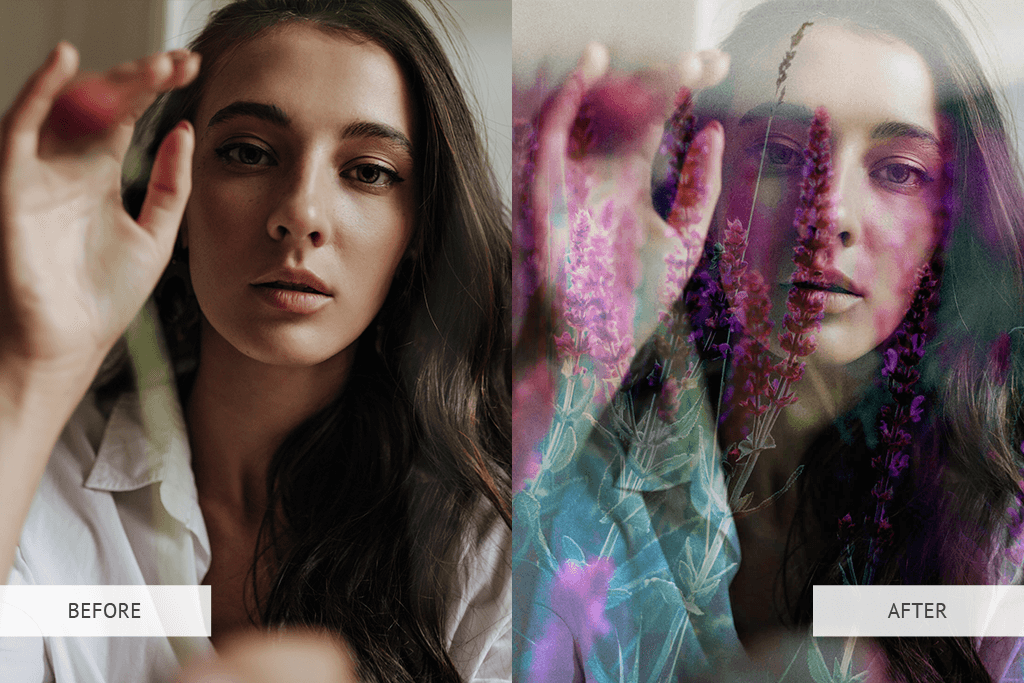
Blend Modes are a great option for adding texture to your shot. These modes also do a good job of managing adjustment layers and blending multiple photos (more than 2), since the application of different modes of blending layers in Photoshop becomes available. Blend Modes will also come in handy for those looking for how to use Photoshop overlays.
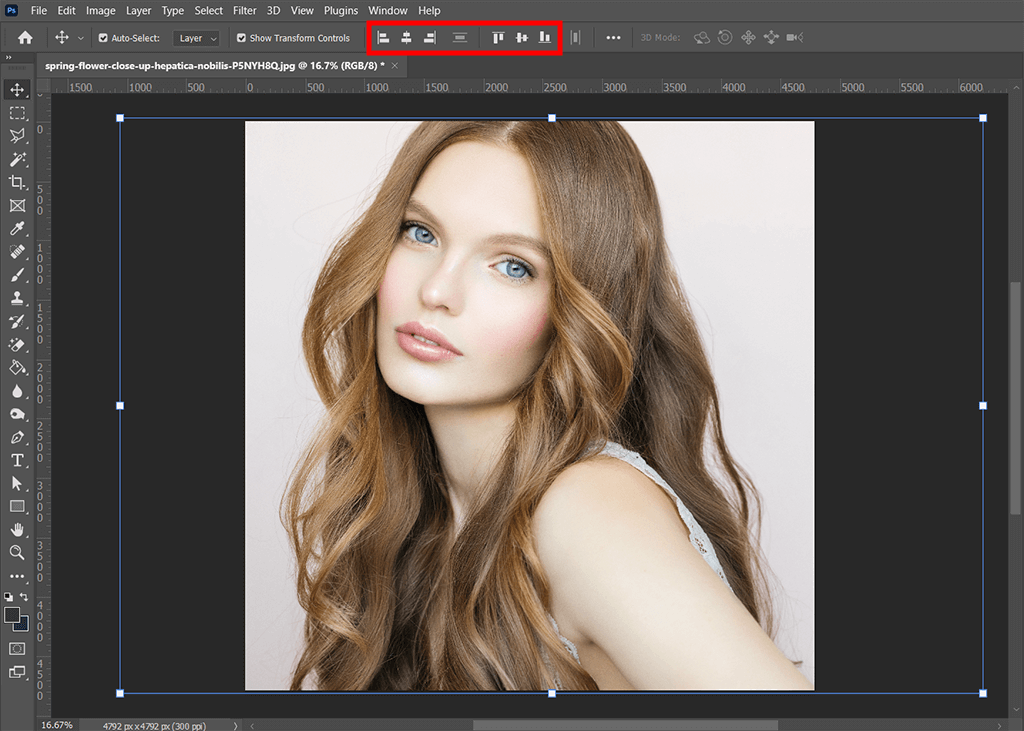
First, you need to open two of your pictures in one document and align them. The same size of both photos is a prerequisite. If the sizes are different, fix it by going to Edit > Transform or by pressing Cmd + T on your keyboard.
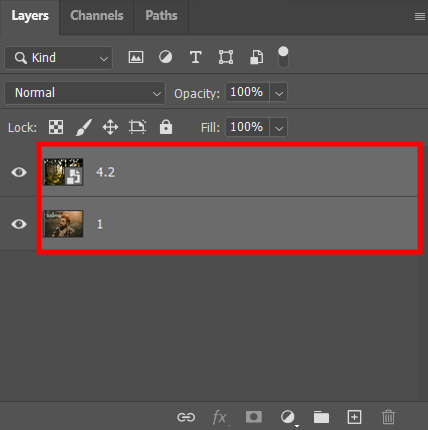
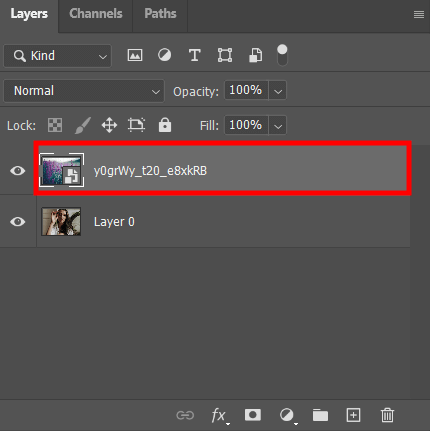
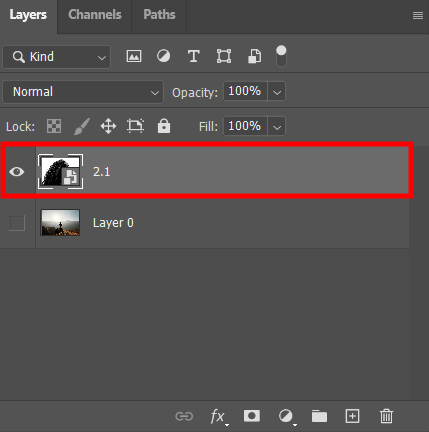
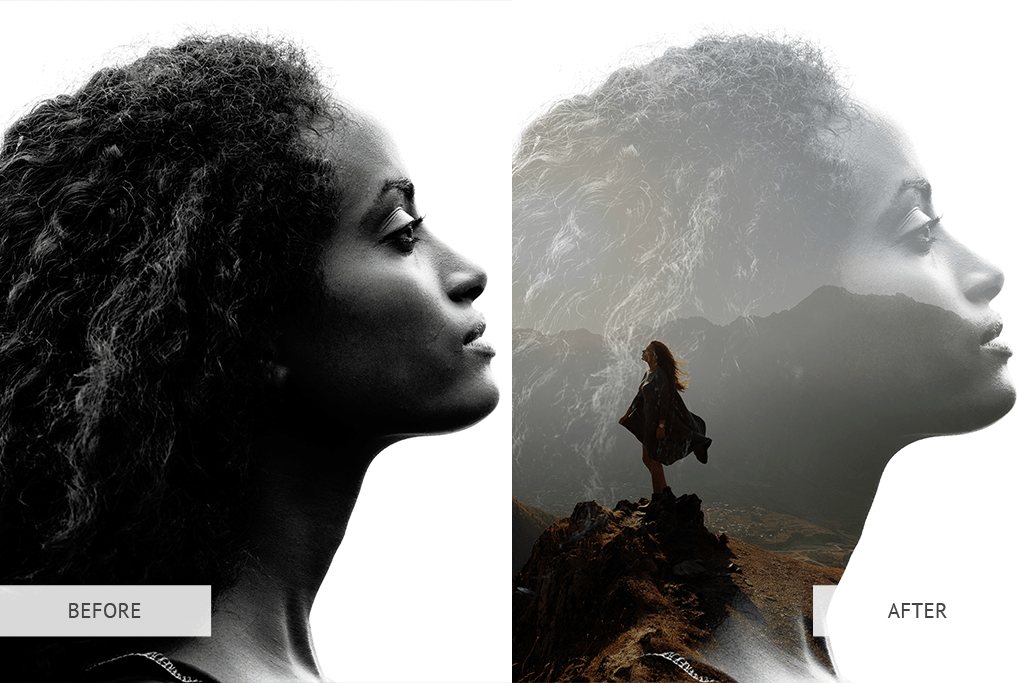
If you look in the Layers panel, you will see each image on a separate layer. The portrait is on the background layer, and nature is on the layer above it.
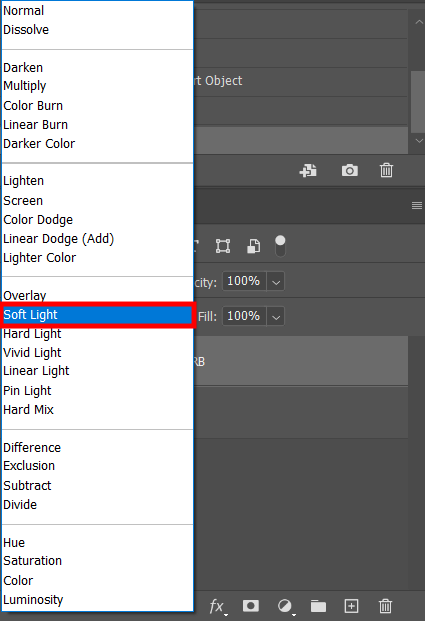
Go to the top of the Layers panel and find the Opacity slider. Next to it, you can see the selected layer blend mode. Initially, it will be a standard option – Normal. It indicates that your layer does not make any interactions with what is underneath it.
By clicking on the arrow next to it, the blend layers Photoshop menu will open. There you can check all the modes, which are conveniently divided into groups, separated by lines. The first group is darken-based interaction modes.
The second block refers to the modes interaction of which occur due to lightning. The third group contains modes that blend by changing the contrast, etc. If you have a new version of CC, then you just need to hover over the mode of interest and see what changes are happening to your project.
Photoshop offers over 25 Layer Blanding Modes. Several frequently used are as follows:
If you are interested in how to blend layers in Photoshop in a different way, then try layer mask. The main difference between this method and those described above is the precise and complete control over the image blending parameters.
Open the photos. Each of them will be on separate layers – you can see it in the Layers panel. Select the girl photo layer.
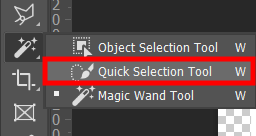
Choose the Quick Selection Tool and select the silhouette. You can use the Lasso tool in Photoshop to do this.
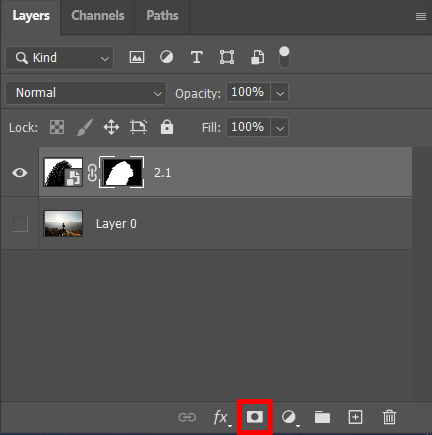
Hold down the Alt/Option key and click on the layer mask that hides the background.
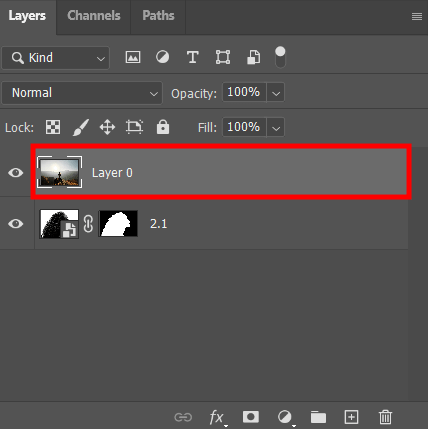
Drag the background layer above the portrait layer.
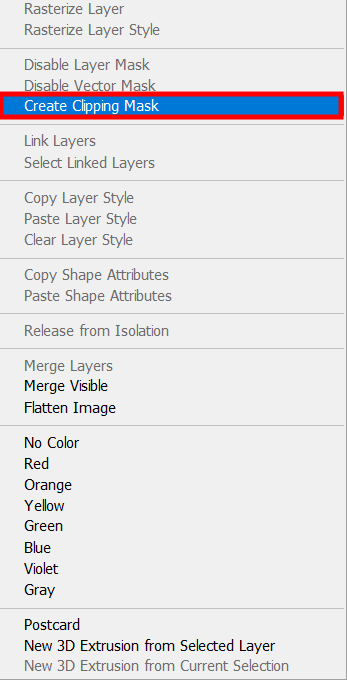
Go to the Layers panel and choose the top layer. Next click Layer > Create Clipping Mask.
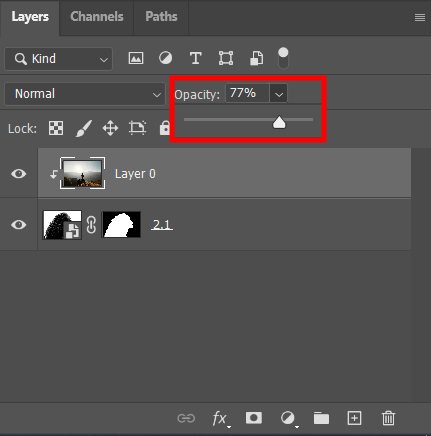
Slightly reduce the transparency on the top layer.
If you don’t understand how to blend layers in Photoshop on your own, contact the professionals. They can blend photos naturally and create an image to grab attention on social media and blogs.
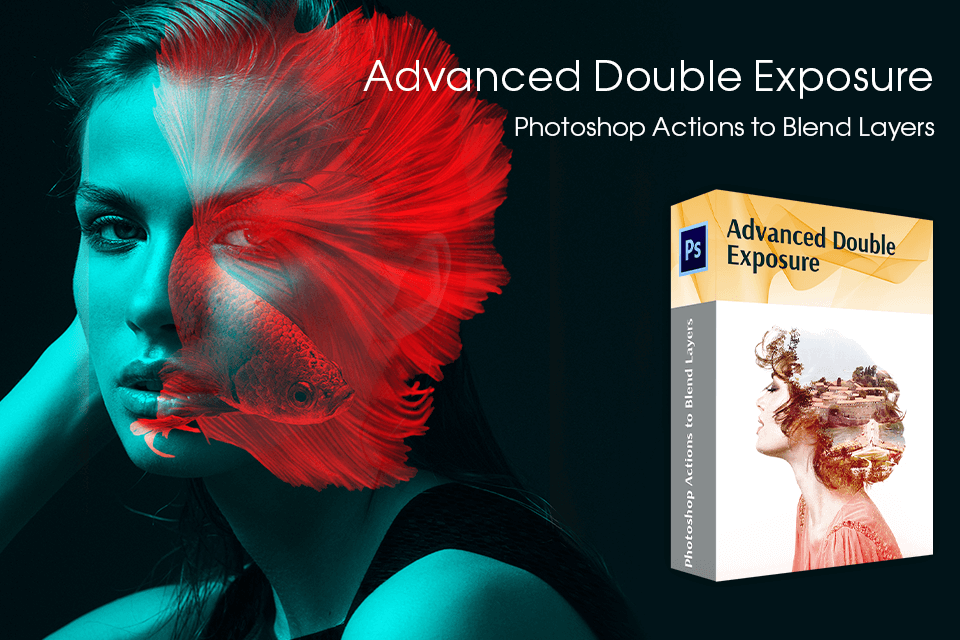
This set of actions will help you create eye-catching double-exposure images. There is a set of 7 tools with which you can create realistic images hassle-free and in a matter of minutes. For the first photo, it would be better to choose a male or female portrait, love story shots, or even photos of pets, captured in either a studio or outdoors. Nature scenes, inspiring inscriptions, or other portrait shots can best complement the first frame.
Blending Modes are designed for blending layers in Photoshop, thereby giving a new look to their hues, saturation, brightness, or even all at once. They will help you avoid creating layer masks when applying overlay, texture, or point changes to your photos. They are also great at making non-destructive changes, as they only affect the visual without affecting the pixels. Therefore, changing or deleting the selected Blending Mode is always available.
Each mode works according to its own model and formula. It uses colors and defines a pixel blending formula, as well as combinations of hue, saturation, and lightness. In order to see the effect of blending, take at least two layers, where the base will be the bottom one, and the top layer will be the overlay. The blending mode will determine how the above formulas will work on your layers. When you apply any blending mode, pixel blending starts and it is performed for each individual pixel in the Blend layer in relation to the respective pixel in the Base layer.
A neutral color is one that does not work when blending. They can be found in Some Blending Modes. Multiply Blending Mode is no exception. Its neutral color is white. This means that when applying Multiply on white pixels, they will become transparent. Screen Blending Mode also has a neutral color. In this case, it’s black. Just like white in Multiply, black will become transparent when Screen is applied.


