Are you interested in a quicker and simpler method for selecting different photo areas and cutting out images in Photoshop? If you don’t want to deal with complex tools and dozens of parameters, simply resort to the Lasso Tool in Photoshop. In contrast to the Marquee Tool, which is typically used for selecting rectangular shapes, or the Magic Wand, which is ideal for selecting color ranges, the Photoshop Lasso Tool is employed for outlining and selecting irregular shapes in a freehanded manner. Adobe Ps provides 3 Lasso options for you to choose from, and I’ll explain in detail how to use the Lasso tool in Photoshop regardless of its variation.
The Lasso Tool is the standard variation of this feature so its usefulness is somewhat limited. It can be employed for drawing freeform shapes of a selection border. The biggest benefit of this tool is that it’s a lot more intuitive compared to other selection utilities. That said, considering that it’s designed for making freehand selections, it frequently requires a lot of refinement until you can make a perfect Photoshop cut out.

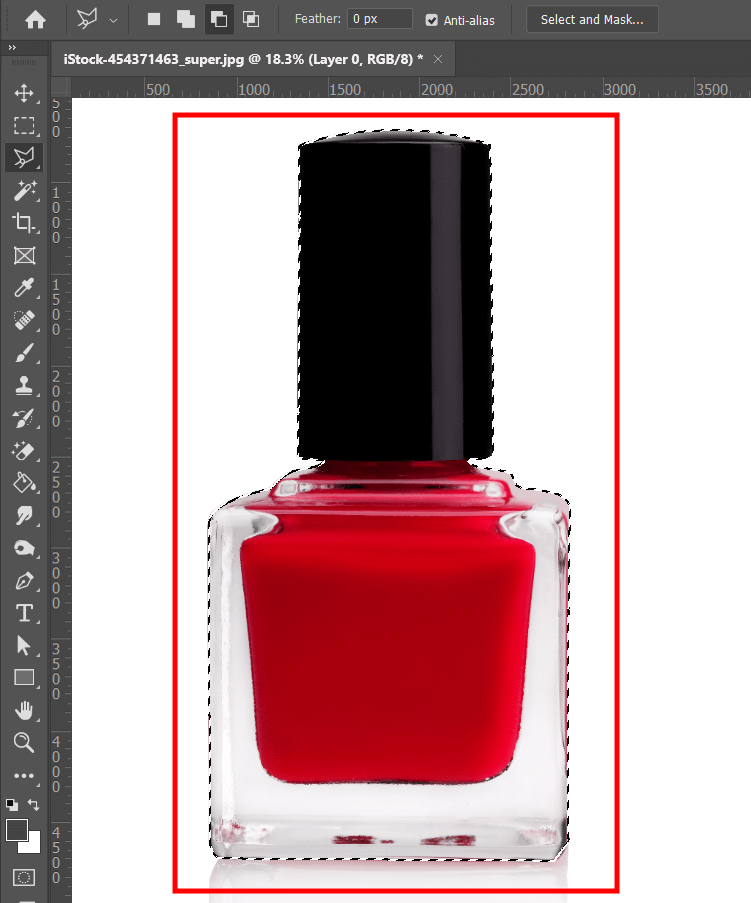
Pick the Lasso tool from the Tools panel. Before you begin making a selection, glance at the parameter at the top and specify the desired feather radius. If your goal is to have a clean, sharp edge around the selection, keep this parameter at 0px.
On the other hand, if you’re interested in a pleasantly soft, blurry edge, you can consider bumping the feather value to about 20px or 30px to achieve that goal. Regardless of what route you go with, you’ll have to determine this setting before you can begin drawing the selection. You can also enable anti-aliasing in the Options menu.
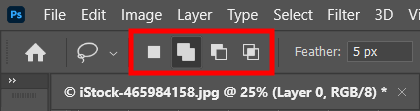
To expand, reduce, or intersect with a different selection, press the appropriate icon in the Options menu. The first icon is the basic selection, the second one acts as the Shift key and will add to the selection, the third button replaces the Alt key, and the final icon will create an intersection.

Simply drag the mouse around to create a freehand selection shape. If you want to go from making freehand to straight-edge segments, press Alt/Opt, and specify the beginning and end points of the segments. If you want to discover how to edit lasso selection in Photoshop to get rid of newly add straight segments, you simply have to press and hold the Del key.
If you want to ensure you’ve chosen all the pixels you wanted near the edge of an image, press the F key and switch to Full-Screen Mode with Menu Bar and then move the selection outline into the pasteboard zone around the photo.
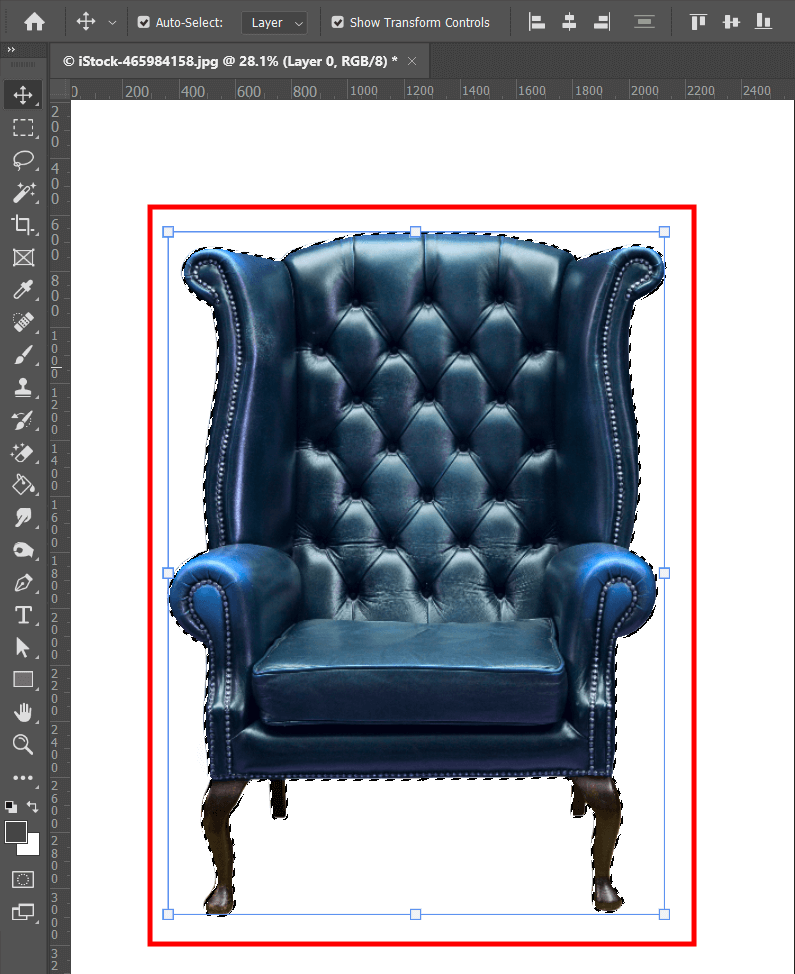
When you’re ready to close the selection, let go of the mouse key without pressing Alt/Opt. If you’re not happy with the result, you can choose Select and Mask to fine-tune the selection outline. At this point, you can invert selection in Photoshop, remove the backdrop, add the selection to a layer mask, or cut and copy the selection to a different photo.
Don’t want to handle tasks like background selection and deletion or copying an object from one photo to another manually? Delegate that task to professionals. They’ll handle even the most complex manipulations while saving you a ton of time.
The Magnetic Lasso Tool is another feature that you have at your disposal. Instead of forcing you to manually draw the selection outline, this tool is a lot more automated. This Lasso tool is capable of automatically selecting an object with a high level of precision by having you simply drag it around the target. This feature is particularly efficient when it comes to quickly selecting objects with complex edges that are juxtaposed against busy backdrops.

Press and hold down the mouse button while hovering over the Lasso Tool in the toolbar. A pop-up window will show up that lets you pick the Magnetic Lasso tool. Remember to pick a selection option from the top-side menu.
Specify the desired feathering and anti-aliasing parameters in the appropriate menu. The Magnetic Lasso offers a bigger range of settings that you’ll have to figure out before you get to drawing the selection. Let’s take a look at all of them.
Width determines the detection width. This tool detects edges exclusively within the user-defined distance from the cursor.
Contrast determines the lasso’s sensitivity concerning the object's edges. Type in a number between 1% and 100%. The higher the number, the more the selection will be focused on edges that have a sharp contrast against their surroundings, while lower numbers are focused on lower-contrast edges.
Frequency determines the frequency with which the tool will add fastening points. You can specify a number between 0 to 100, with higher values anchoring selection outlines in place faster.
Stylus Pressure. Depending on whether you’re using a stylus tablet, enable or disable the Stylus pressure parameter. If you keep this parameter turned on, higher stylus pressure will decrease the edge width.
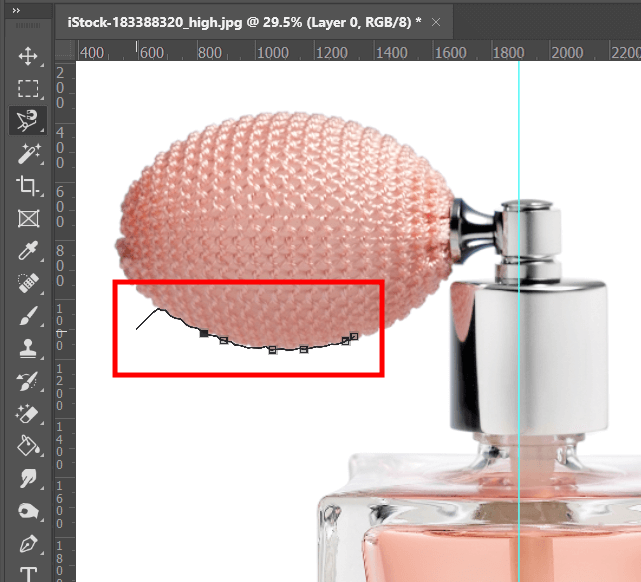
Click somewhere on the object to establish the initial fastening point. Fastening points are used for setting the selection outline in stone. Let go of the button or continue pressing it, and then drag the cursor along the edge that has to be outlined.
The selection border of the newest segment remains active at all times. As you continue to drag the cursor, the active segment will become attached to the most defined edge in the photo, based on the chosen detection width parameter. Occasionally, the Magnetic Lasso tool will create new fastening points that serve to anchor different segments along the way.

If the outline didn’t snap to the required edge, you can single-click the mouse to create a manual fastening point. Move forward while outlining the edge, and create fastening points where required, until you’ve covered all edges of the object and returned to the start point.
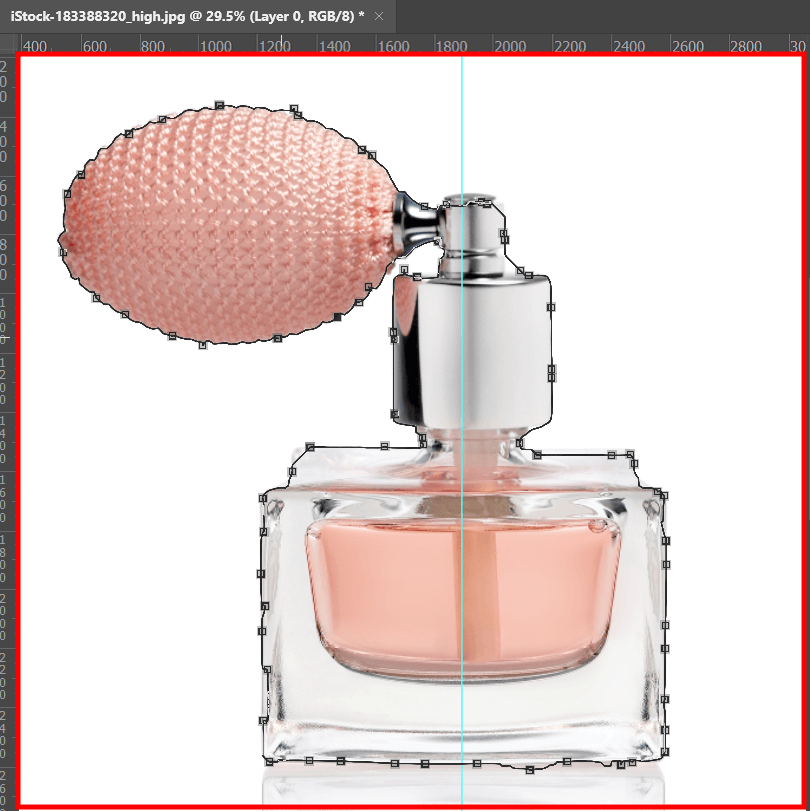
Once you’re ready to finalize the selection using the magnetic lasso, you can either double-click or hit the Enter/Return key. If you want to close the outline manually, simply click on the starting point. As is the case with other selections, the Lasso path will be converted into “marching ants” that highlight the active selection. If you’d like to remove the background of a picture in Photoshop, simply click the layer mask icon on the layers menu to delete the backdrop in a non-destructive way.
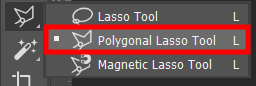
This variation of the tool can also be found within the Lasso Tool option of the toolset. To choose it, you’ll need to press and hold the Lasso icon and pick the corresponding option from the pop-up menu.
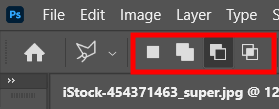
Choose the optimal selection mode from the Options bar. The potential options include New, Add To, Subtract From, and Intersect With.
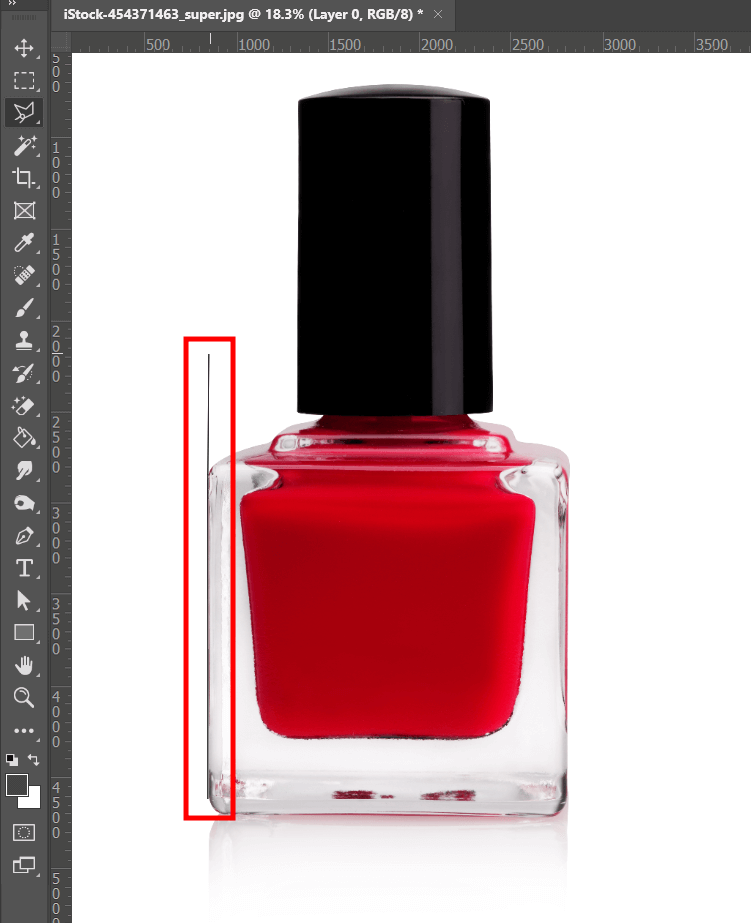
Click somewhere on the object to determine the starting point. To create a straight section, place the cursor where you'd like the initial segment to end and click the mouse to confirm your choice. Move forward while clicking your mouse to establish endpoints for each new segment.

To create a straight segment at a multiple of 45°, keep pressing Shift while you continue your way to the next segment.
If you accidentally create a poorly-placed fragment, you can simply press Delete to get rid of the most recent point to revert to the previous selection stage. The software lets you continue to remove sections until you arrive at the desired point. This basic shortcut for deselecting in Photoshop can save you a ton of time that you would otherwise waste if you had to create the selection from scratch again.
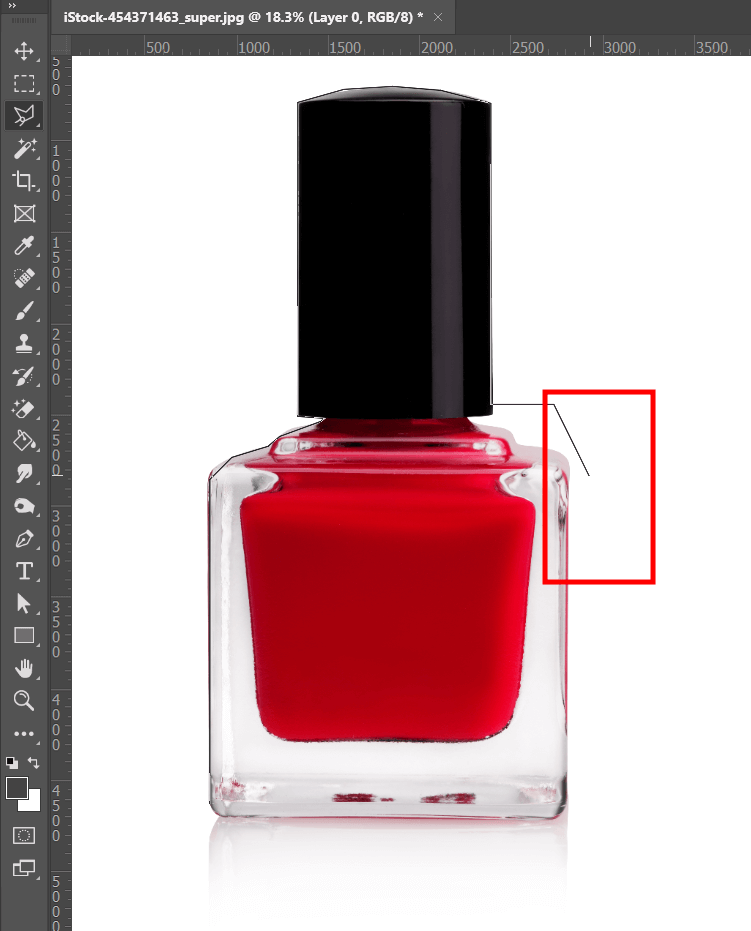
You can finalize the selection border by placing the mouse cursor on top1 of the start point and clicking the left mouse button.

Choose Select and Mask to continue editing the selection overlay.

If you want to enhance your photos appealingly while spending less time on this task than professionals, take advantage of this expertly-designed set. These tools can be instrumental in instantly enhancing the colors of your images with minimum effort. The biggest benefit of this collection is its versatility which makes it an appropriate choice for all photography genres.
Double-clicking the left mouse button while the Polygonal Lasso tool is active will close the selection. Adobe Ps will automatically create a straight line from the last clicked-on point to the start point.
The Lasso lets you create freehand selection zones while the Polygonal Lasso lets you create straight lines that are later merged to generate a selection border.
If you’re a fan of Photoshop keyboard shortcuts, all you have to do is press Shift+L. If you press Shift+L multiple times, you can switch between the standard Lasso and its Polygonal and Magnetic variants.
While employing the Lasso tool, press and hold the spacebar (without releasing the mouse button). As a result, you’ll temporarily enable the Hand tool that will remain active until you let go of the spacebar.
Of the many Photoshop tool names included in the software, the Lasso Tool is the easiest to understand and master since it involves a freehand selection process that heavily resembles the physical process of outlining something on a sheet of paper using a pencil or brush.


