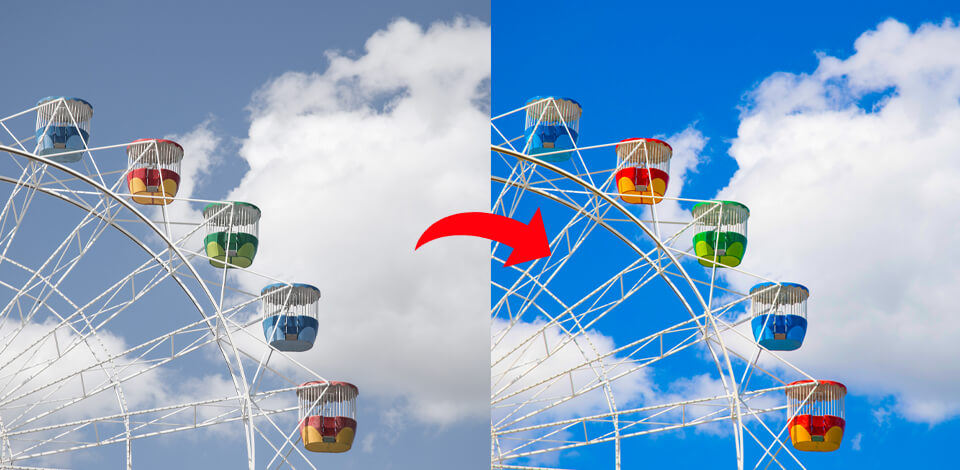
Photography saturation can drastically impact the mood and feel of your photos. Even a subtle change in saturation will completely change the look of your image. This post will explain all aspects related to saturation and how you can use that knowledge to increase the quality of your work.
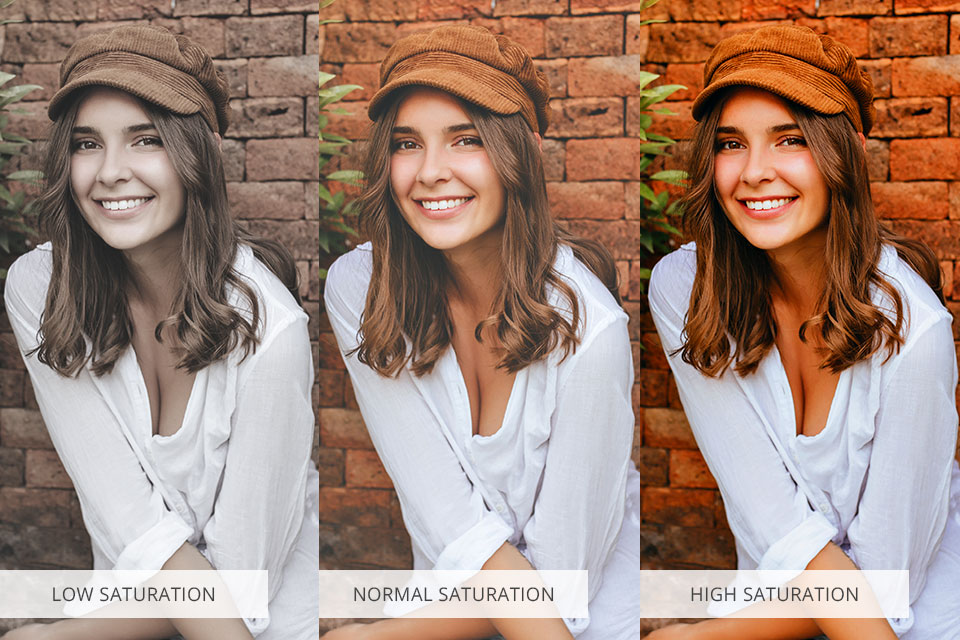
Photographers and graphic designers use terms like hue, saturation, and lightness (HSL) when they are talking about color. If you want a loose saturation photography definition, then know that this term refers to the intensity and purity of the colors featured in a photo. By changing the saturation degree, you can make the colors of an image appear more muted or vibrant.
High saturation values make the tones more intense and the overall scene more colorful and livelier. On the other hand, a desaturated photo will have duller, more muted colors. Some pictures have a naturally higher saturation level but the specific value of this parameter is decided by you during the editing process and is determined by the subject, scene, and your goals.
Hue is related to the primary light wavelength that our eyes perceive as color but you can think of it in terms of basic colors on the color wheel. Lightness is related to how light or dark specific hues are. Inexperienced photographers typically confuse vibrance vs saturation. The key distinction here is that vibrance only increases the intensity of muted colors while saturation boosts the strength of all hues in a photo.
A lot of photos look better with highly saturated colors while others are more appealing when they have a dimmer or pastel color palette. The optimal saturation level is typically determined by 3 factors:
By better understanding what does saturation mean in photography and its benefits, you’ll learn how to use color to convey your vision and ensure the viewer’s attention is instantly drawn to your photos.
If you want to take full advantage of saturation in photography, you need to know the basic rules of how you can change this parameter. There’s an array of different techniques for tweaking saturation and you have several options for how and when you make such changes. The saturation can be adjusted proactively before you even take the photo or after the fact, using photo editing software for PC or Mac.
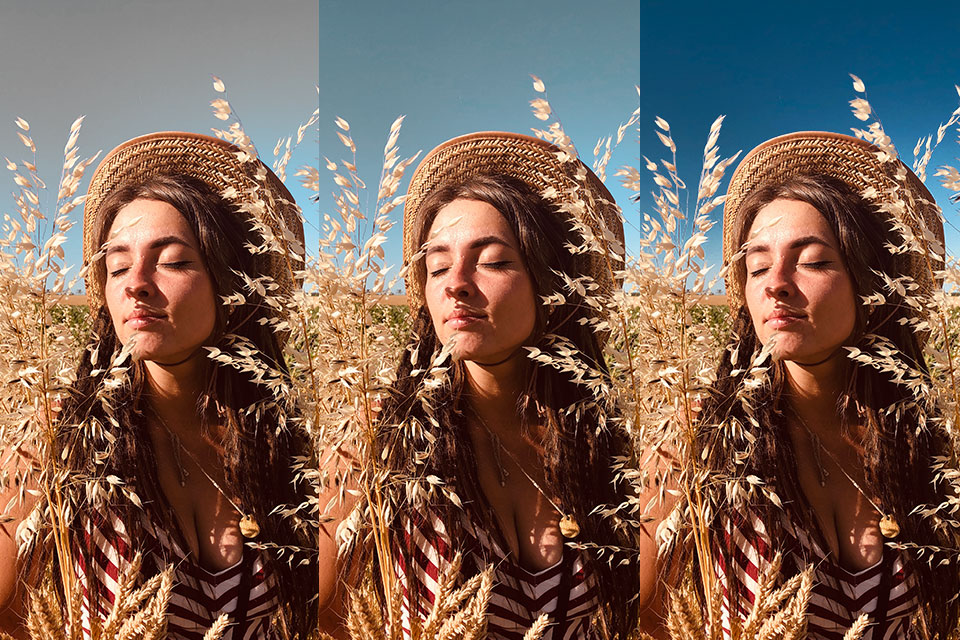
Undersaturation can occasionally be employed selectively to emphasize specific areas of a photo. By saturating some parts of the scene while leaving the rest of it undersaturated, you can aim the viewer’s attention at the most important parts of your photo. HSL tools let you conveniently adjust specific tones to quickly change the color of an object in Photoshop.
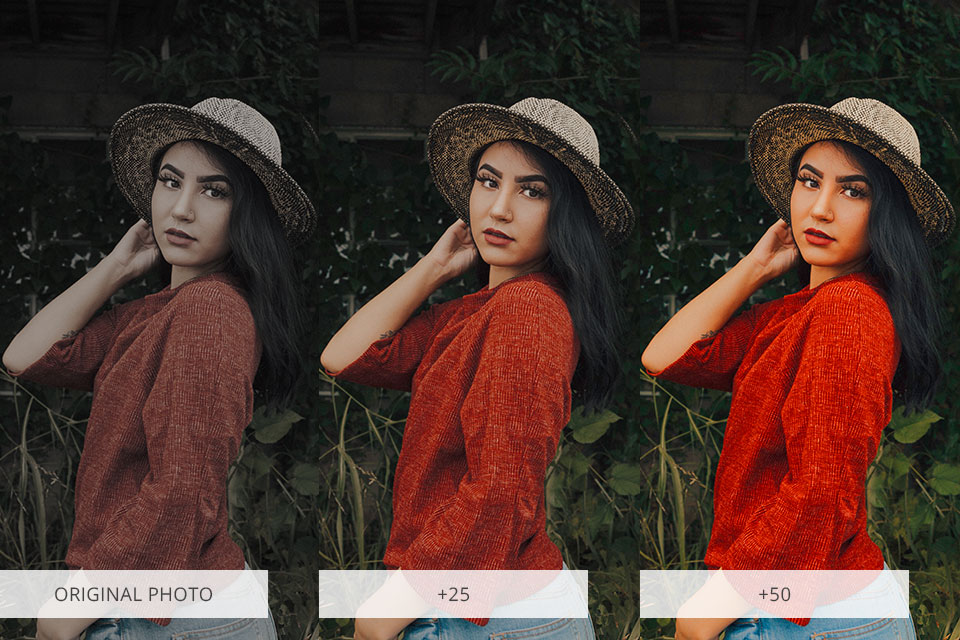
Keep in mind that minor adjustments tend to be more beneficial than drastic ones. Oversaturated photos usually look extremely artificial. Be particularly mindful when tweaking the saturation intensity in portraits and other images that feature people. If you go too far, clothes will appear painted on and skin tones will come across as unappealingly weird.
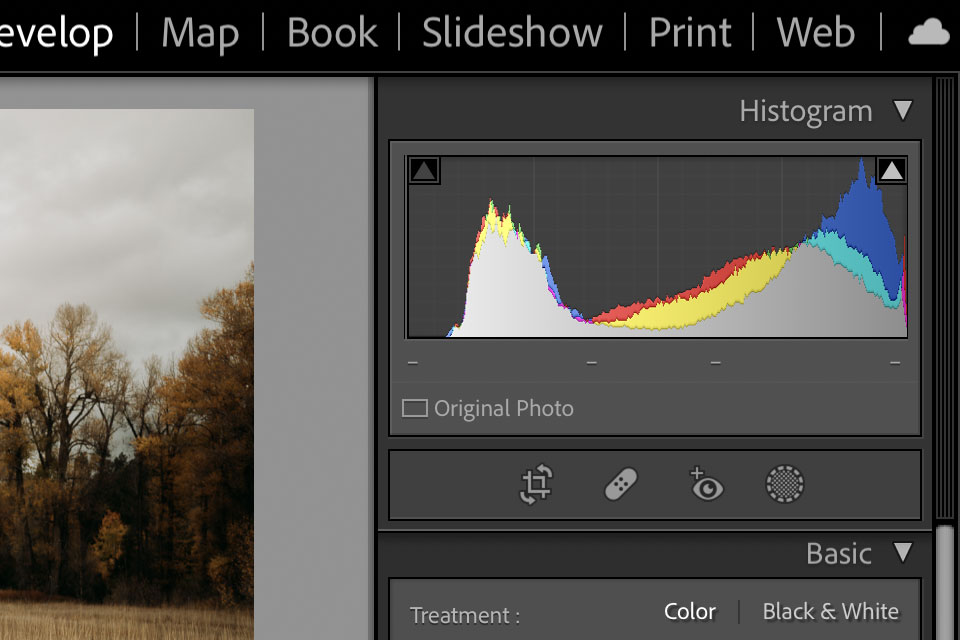
A histogram is a graph that displays the tonal range of your photo, from shadows to mid-tones and highlights. It’s typically used for adjusting the exposure and tonality. A color histogram can also be found in DSLRs and most photo editing software for beginners.
Search for places on the graph where tonal values go off the chart. This is called clipping and means the image sensor was overloaded, which led to a loss of detail in those areas of the photo. Lowering the saturation might help you restore a bit of that detail.
Photography saturation affects the emotional landscape of the image. Muted colors usually convey a somber or restrained mood while more saturated tones typically infuse more extreme emotions and passion into the scene. Consider what kind of emotional impact your photo has to offer and how you can tweak the saturation to achieve the desired result.
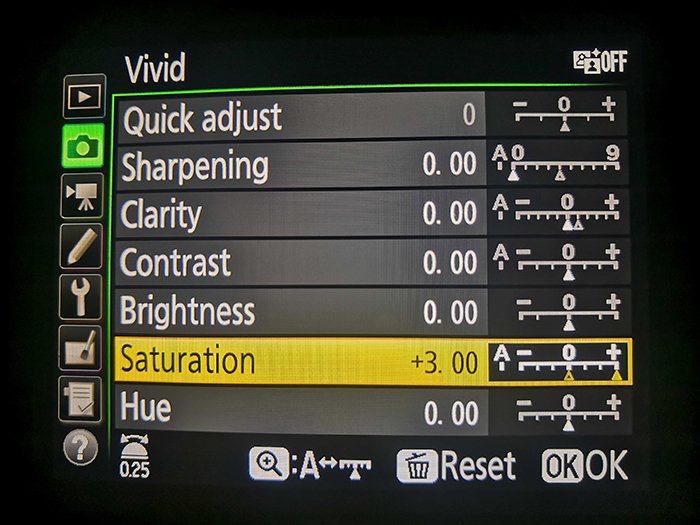
Each camera brand offers a slightly different selection of built-in settings. Canon allows you to adjust the saturation in Picture Style parameters while Nikon lets you do the same in Picture Control settings.
You can also access various shooting modes like Auto, Portrait, Landscape, and many others to alter their standard parameters. Most modern cameras allow you to change their sharpness, contrast, brightness, saturation, etc.
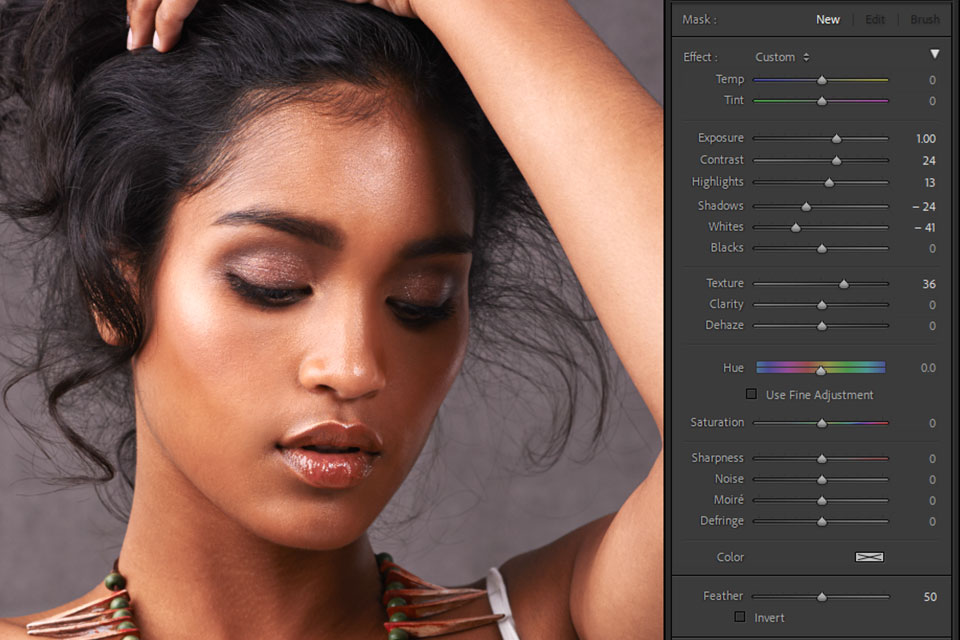
Digital editing is the main method used by professional photographers for creating a saturated photo and fine-tuning different colors. In Lightroom, you can find the saturation slider in the Presence menu section. Alternatively, you can take advantage of the HSL panel to tweak the saturation of each hue individually. In Photoshop, the Hue/Saturation icon is located in the Adjustments menu or you can access it with the help of Adjustment layers. Once you open the corresponding window, you’ll be able to manipulate the offered sliders to boost or decrease the saturation of different colors.
If you have a film camera, different film brands will provide different saturation levels. Since you won’t be able to examine the photo before it’s developed, mastering the art of adjusting saturation with a film camera requires a long process of trial and error. Try out different kinds of film to see what saturation levels you can get for your photos.
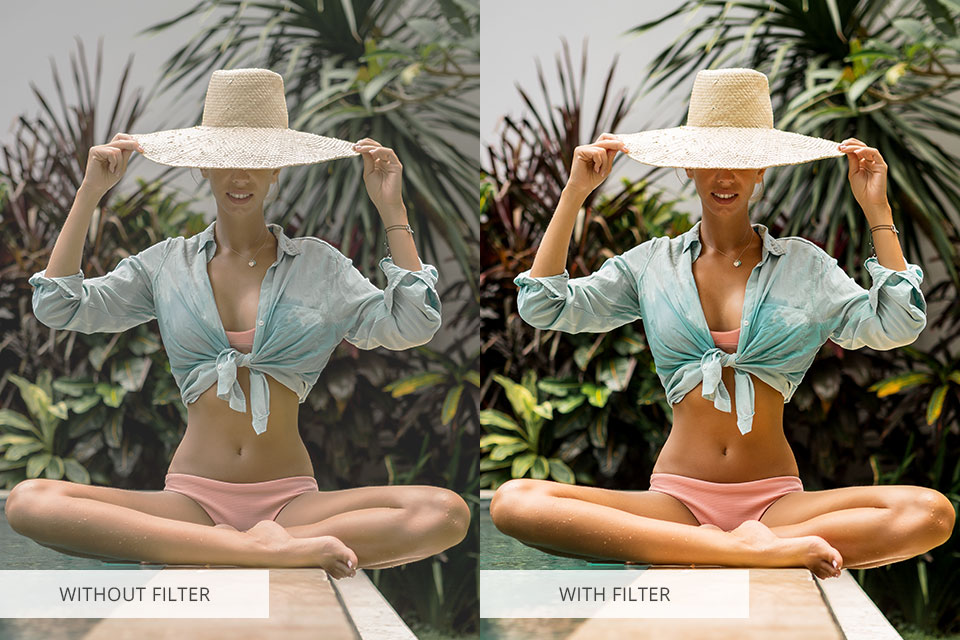
Saturation can also be adjusted with the help of some lens filters like polarizing filters. Polarizing filters are designed to minimize glares and reflections in photos while increasing color saturation. You can use such a filter to dehaze a picture and make the colors more vibrant.
Improve your editing workflow with the help of this collection of professional effects. They will help you quickly batch edit in Lightroom and will enhance your photos with attractive colors that have the perfect saturation level. These effects are also pleasantly versatile and are suitable for all photography genres, representing a must-have addition to the retouching toolset of any professional photographer.