Wonder how to make an image look 3D in Photoshop? Even newbies can cope with the task, by following six steps described below. In fact, you can use this tutorial when working with videos as well. I’ll show you how to make red and blue, retro 3D movie effect in Ps 2021 and older versions.

Upload a photo to Photoshop. You can choose a picture on Adobe Stock or similar platforms, or use your unique image.
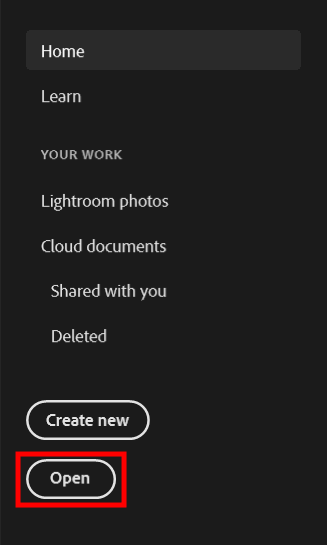
In the File drop-down menu choose File > Open (Ctrl/Cmd+O). Go to the picture and click Open.
Head to the Layers panel and you will see the image on the Background layer.
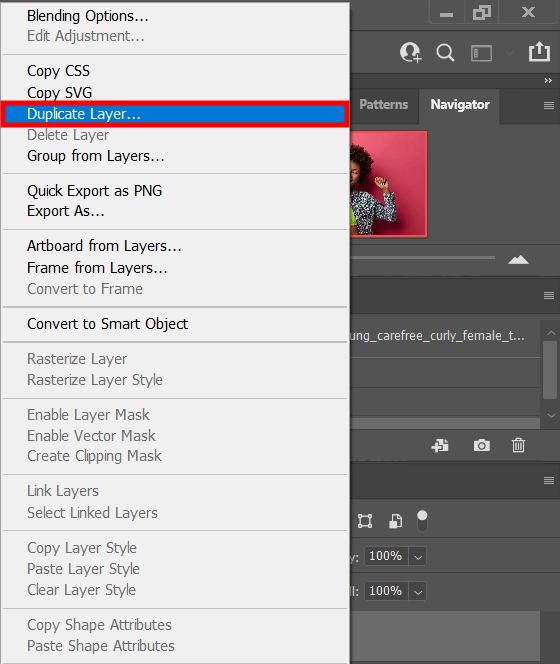
Next, to make an image look 3D in Photoshop, you need to duplicate a source file. Navigate to Layer > New > Layer via Copy (Ctrl/Command+J) in the Layer drop-down menu and put the copy of an image over the original pic. Another option is to find a new layer icon (a plus sign) in the Layers panel and drag the Background layer onto it.
Name the layer “3D”. Select the Background copy by double-clicking it and type in a new name in the window that appears. Press Enter (Win) / Return (Mac) to confirm. Now, the Layers panel contains a 3D layer and the Background layer with a source picture.
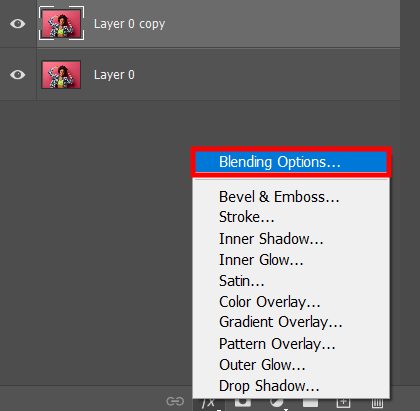
Double-click on the 3D layer to launch the Layer Style dialog window. Or find the Fx icon at the lower edge of the Layers panel and select “Blending Options.”
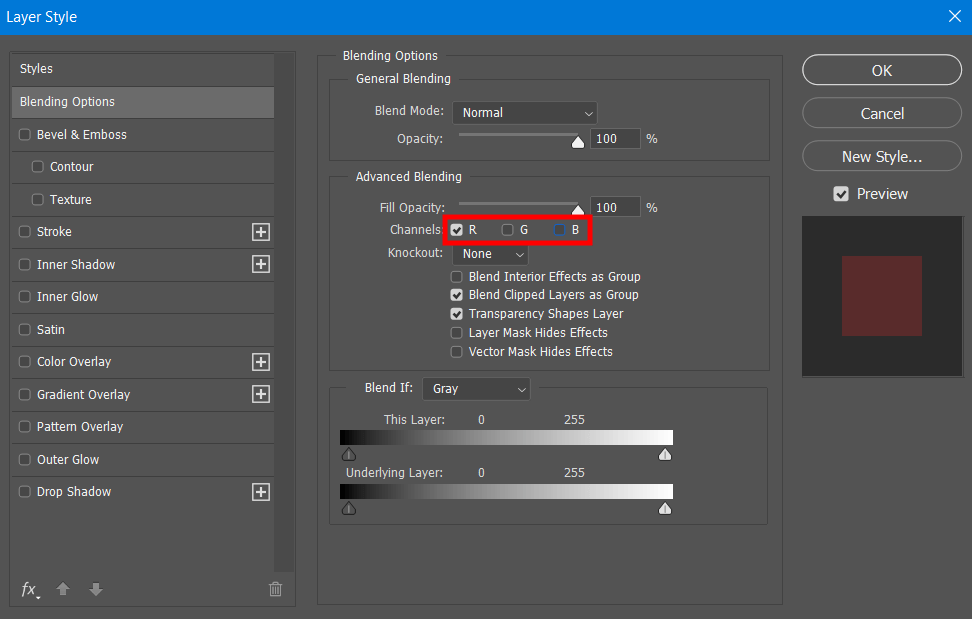
There appears the Layer Style dialog window with the Blending Options in the central column. In the Advanced Blending section, find R, G, and B checkboxes (which stand for such basic colors as Red, Green, and Blue) near Channels. Each channel in Photoshop is assigned to a specific color, whereas a combination of these channels produces all the colors that we see in pictures. Turn the Green and Blue channels off leaving only the Red (R) channel activated.
To hide the Layer Style dialog window, click OK. To check the result, return to the Layers panel and hide the Background layer by clicking its visibility icon. If everything is done correctly, the 3D layer will feature only red color. Tick the empty box where the visibility icon usually appears to activate the Background layer again.
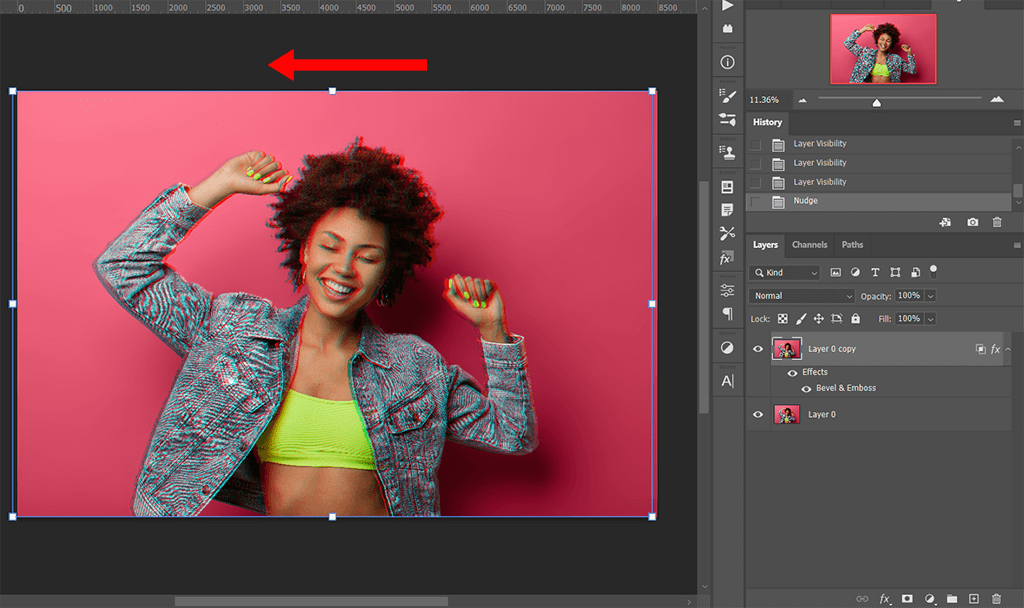
After selecting the 3D layer in the corresponding panel, choose the Move tool. You can activate it quicker by pressing “V” on the keyboard. Hold Shift and click the left arrow key 5-10 times, or drag the layer leftwards. If you want to make a glitch effect in Photoshop, move layers in different directions.
Whilst separating the red layer from the Background layer, a colored outline will become visible on the source picture. The more you drag, the more intense colors become. A red contour will appear on the left, and a cyan outline – on the right. Offset layers will also become visible. But remember that too much offsetting will make a layer look like a double exposure.
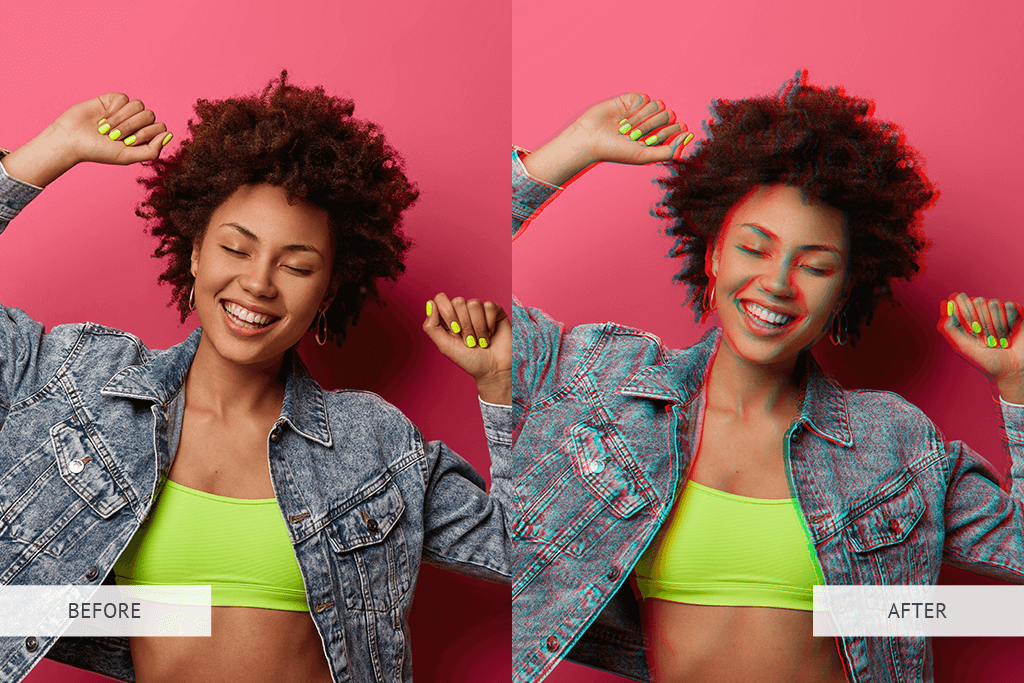
Moving the 3D layer creates a basic 3D picture effect that you can see, using red and blue glasses.
You can boost your creativity and try to achieve a retro look in a picture. Head to the Advanced Blending panel, keep the green and blue channels activated, but switch the red channel off. Another tip is to move the layer upward instead of dragging it to the left.
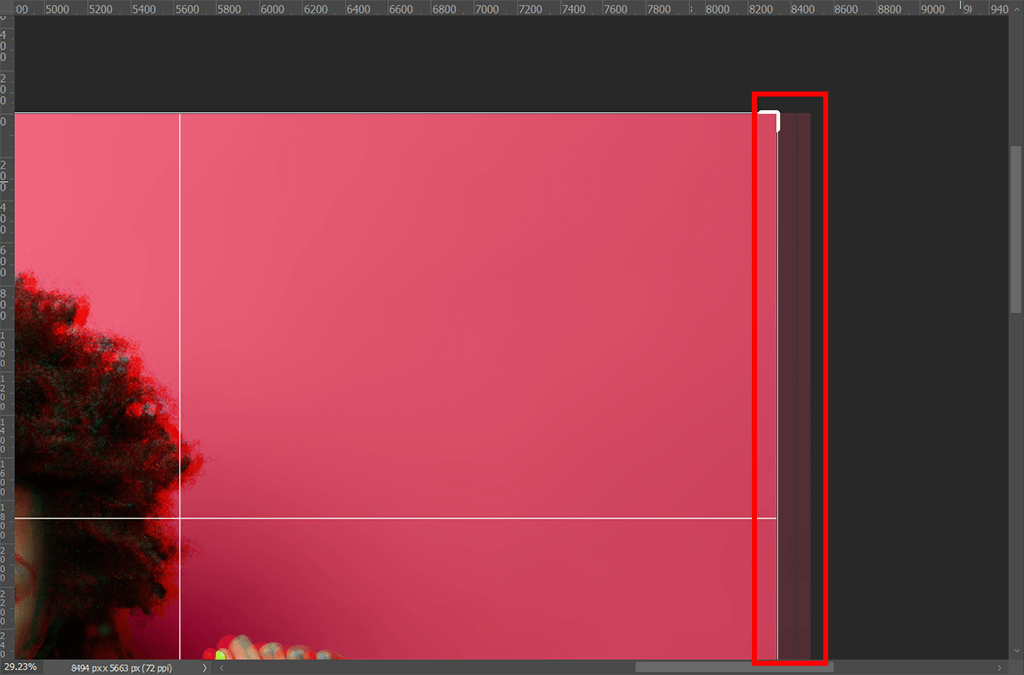
Take a closer look at your frame. A thick line indicates where two layers overlap. In some pictures, the offsetting is more noticeable than in others.
Use the Crop tool (shortcut “C”) to get rid of such edges.
Photographers experiment with different compositional techniques to add some depth to pictures. But it is also possible to produce a 3D effect by overlapping two pictures in different colors like red and blue, similar to what was described in the tutorial. Anaglyph or 3D glasses filter the colors perceived by each eye. They make our brain think that the picture is 3D. This is probably the simplest and quickest way to create three-dimensional pics. The classic retro halo of the 3D photo effect is what you will see without such glasses. With this accessory, the illusion of depth in an image is easy to achieve.
Yes. To make 3D text in Photoshop, open Window in the main menu, choose 3D, and there will appear a dialog window. There, you can transform any layer into a 3D image. Or, you can keep it flat, extruded, turned into a mesh, or of a basic shape. By rotating the text, it is possible to change the camera angle. You can also customize it further by altering shadows or the light source, as well as shadow angle. It is possible to move and roll over the 3D text by reselecting the layer and changing its placement.
Sure. By using VHS Photoshop Actions, you can easily achieve the desired result, add lines to create an illusion of an old film in just several clicks, and more. The collection contains 20 actions, which are optimized for Adobe Photoshop CS5+, and Creative Cloud.
This collection of free actions will come in handy for all those curious about how to create 3D effects in Photoshop. Adding a noise gradient to your pictures is a great way to jazz them up. The most impressive effect is achieved if you edit outdoor, studio, summer, and travel shots. The filters can be applied to RAW and JPG images. They are designed for Photoshop CC, CS6, and newer versions.


