To batch edit in Lightroom is an invaluable skill for those who need to enhance many pictures and do not want to perform similar tasks for hours.
Working for FixThePhoto as a wedding photo retoucher, I discovered that batch editing can be extremely useful for situations when you need to enhance many photos taken during various events. Below, I have described how I use this method to ensure that my output pics have a consistent style.
Keep in mind that you will need to install the most recent version of Lightroom to use this method.
After enhancing your photo with the help of presets or adjusting its settings manually, you can use the same settings to enhance a batch of images in Lightroom. Make sure to edit photos shot in a similar style and under the same conditions.
When I want to select a specific category, I usually go to the Select menu. After clicking it, I can select between such categories as All, Modified, Default, or None.
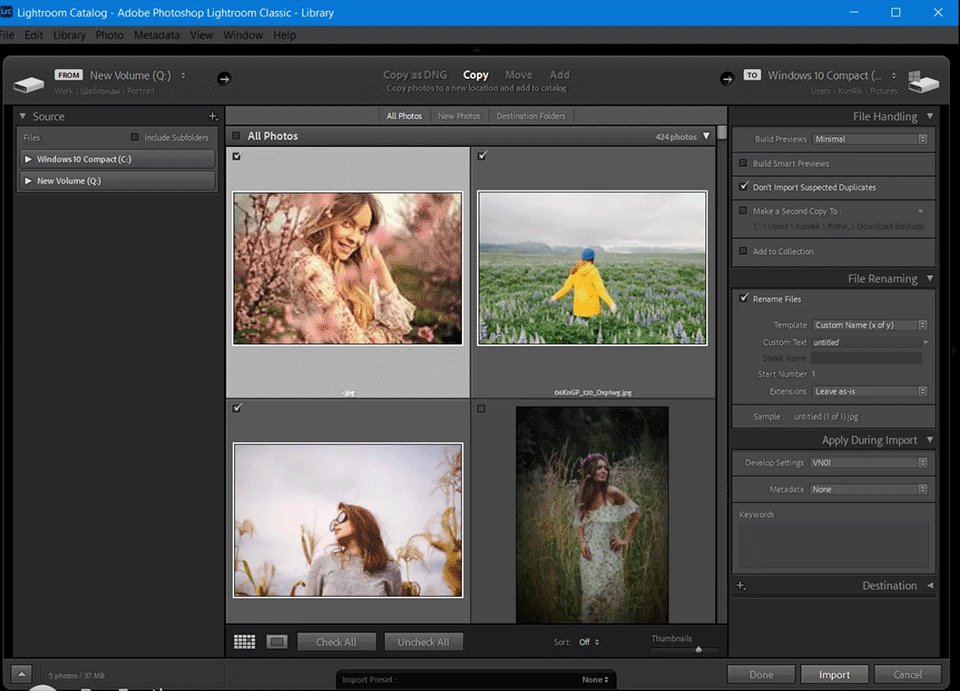
I can’t do without batch edit enhancing pics taken during different events, I can select suitable presets and apply them when importing pics. I use this method to ensure that every photo from a batch has the same presets.
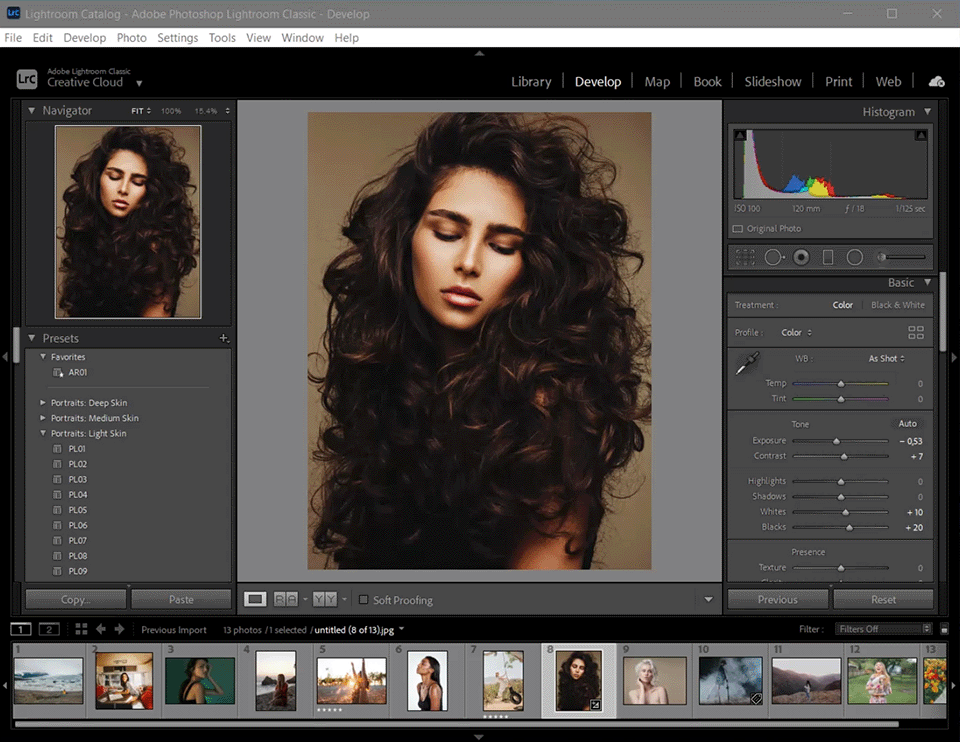
Before enhancing your photos using this method, make sure to perform other corrections. For instance, you can tweak colors to give a voluminous feel to your images using one-click presets. You can download free collections of presets to make colors richer without wasting a lot of time.
While it’s always useful to be able to apply the same effect or preset settings to selected photos, I do not often use this editing option. It enables me to fix contrast, lighting, exposure, and other issues for similar images, but I often need to enhance pictures taken in different shooting situations.
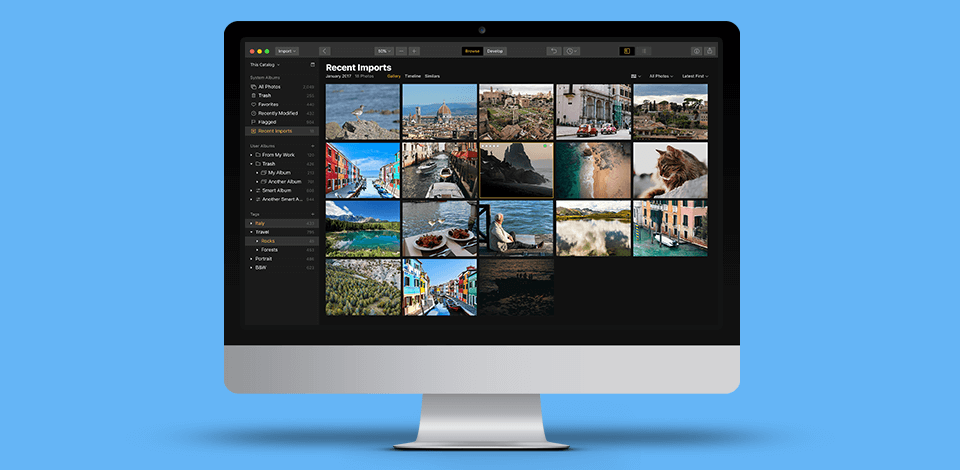
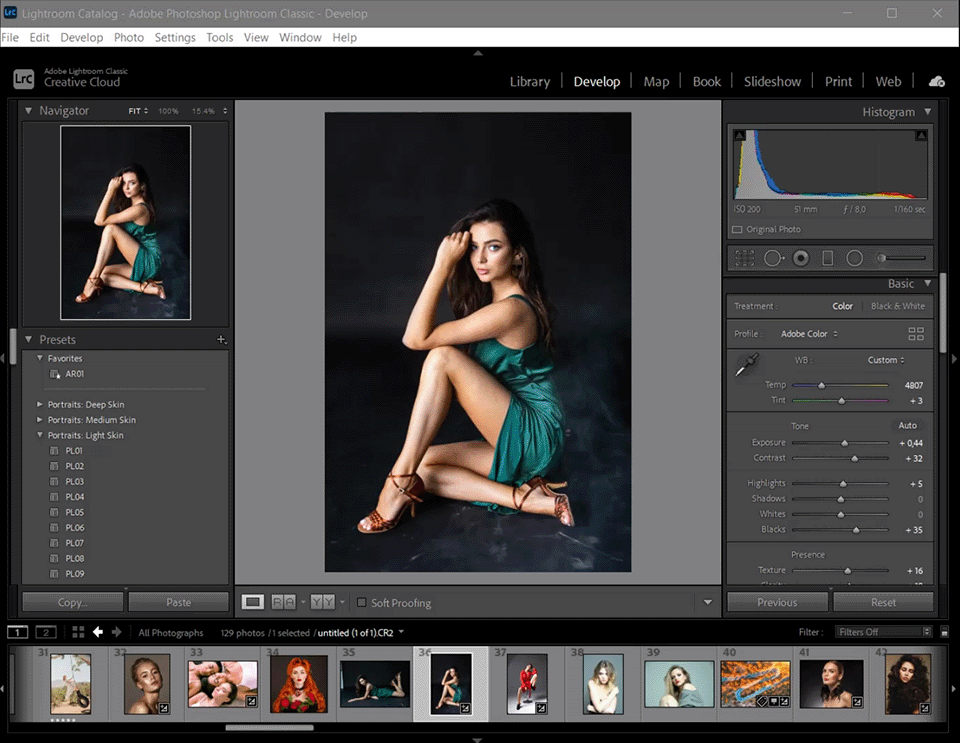
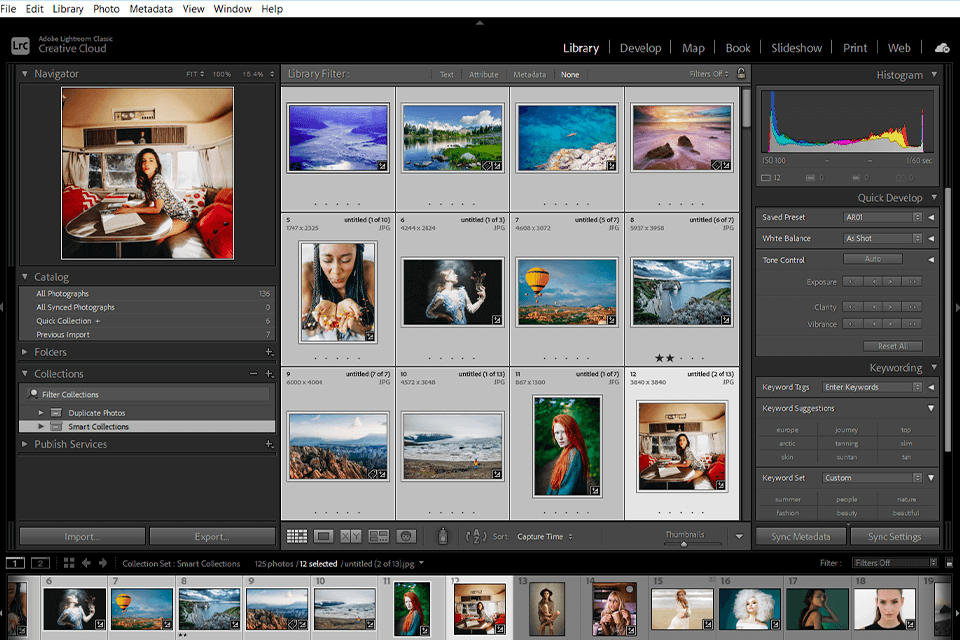
Due to this, I prefer applying effects when editing photos in Lightroom using the Library module. This editing method is more effective, as it enables me to perform batch editing and enhance multiple images simultaneously.
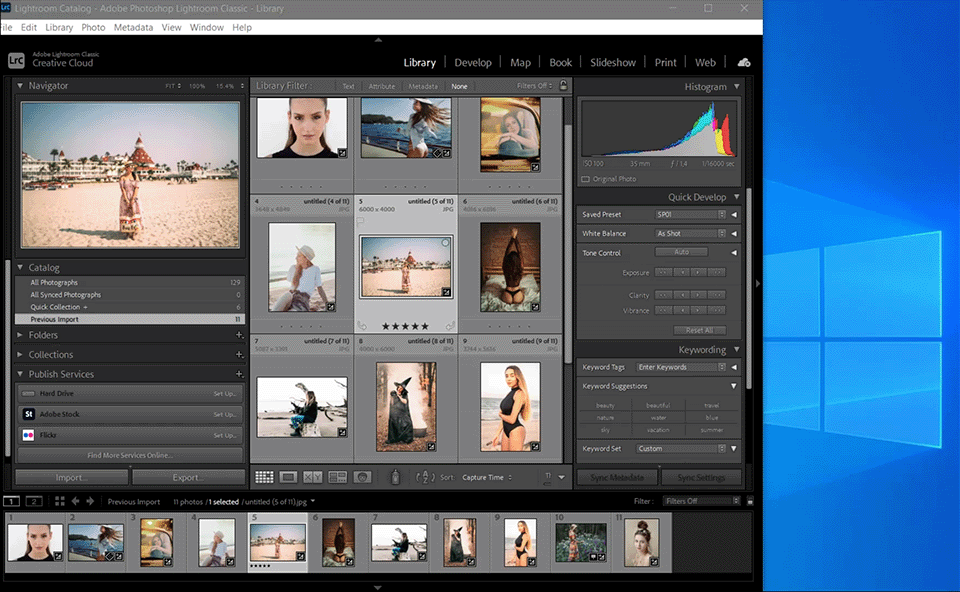
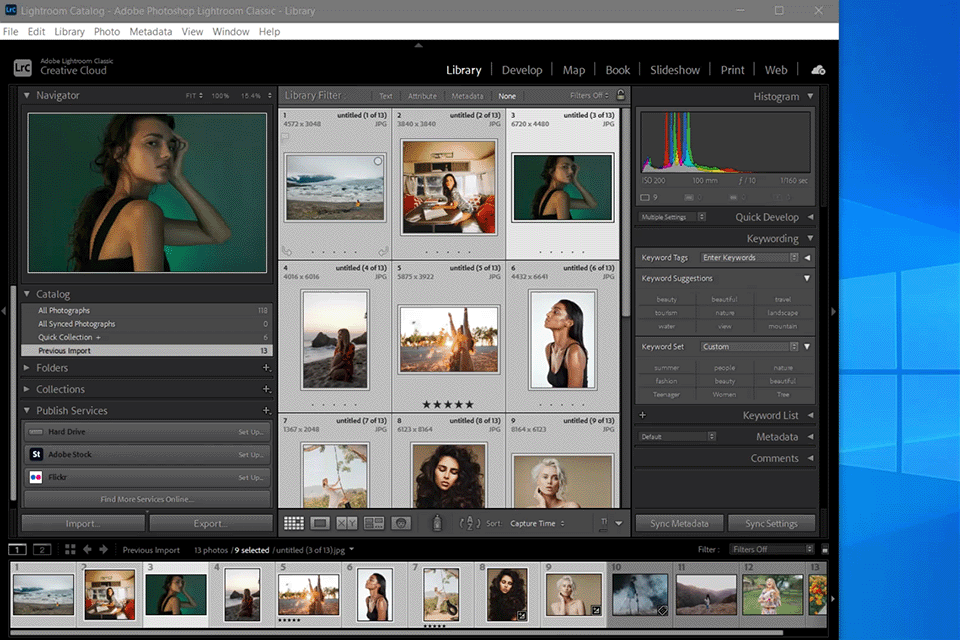
The Library module is also suitable for situations when you need to make custom adjustments besides applying presets. You just need to use Quick Develop tools that you can find in the Preset drop-down menu. It will enable you to adjust the contrast, exposure, and other parameters of your pics.
After learning how to copy settings in Lightroom, you will see that the “paste” and “copy” options allow you to copy your edits to photos one by one. This technique is useful for quick batch processing, but hardly suitable for the situations when you need to apply specific edits to a batch of images. This is why I like to synchronize my edits.
I select a batch of pictures by holding the Shift key. It allows me to quickly select a range of pics between the first and the last image.
Metadata includes information about your photo and when it was taken. It allows you to learn the date when you took your pics, camera settings, time of day, and other details. Lightroom allows you to edit metadata for bundles of images.
This option is useful for those who need to add copyright details to their files’ metadata. Besides, you can add your contact info, keywords, and other information. Many professional photographers use metadata to ensure that their images will contain detailed information about them.
✔️ Streamline the process: Makes it easier for the user. All these methods I’ve shown above prove for efficiency in batch editing and help the user improve his/her methods since they are free to adjust the contrast, color, and exposure for a set of certain images at once.
✔️ Efficiency: It is helpful when a photographer is perusing a day making a good number of changes to photographs, and by settings it defers. Necessary changes for your batch pictures can be made easily, saving time considerably.
✔️ Consistency: The feature of batch processing permits giving a consistent look to associated photos so that they appear a part of a set having a common visual theme which is so important for weddings.
✔️ Repeated tasks: For example, when you need to paste settings in Lightroom to a multitude of photos. You can fix an issue with exposure, perform WB correction, remove defects caused by a lens, etc., for many pics at once.
✔️ Syncing edits. The batch editing synchronization feature available in Lightroom allows users to quickly enhance pictures taken in a similar lighting situation to give them a consistent feel.
❌ Lack of individualization. Batch editing may result in a set of photos that look the same, as you won’t be able to pay attention to every photo and make custom edits.
❌ Limited flexibility. Batch editing is hardly suitable for those who need to enhance a variety of photos with different subjects and lighting conditions manually. This option is hardly suitable for those who want to pay attention to important details and edit portraits in Lightroom.
❌ Quality issues. When you edit a batch of photos at the same time, you might notice some issues with the quality of your pics. It might be impossible to make custom adjustments to ensure that every photo looks professional.


