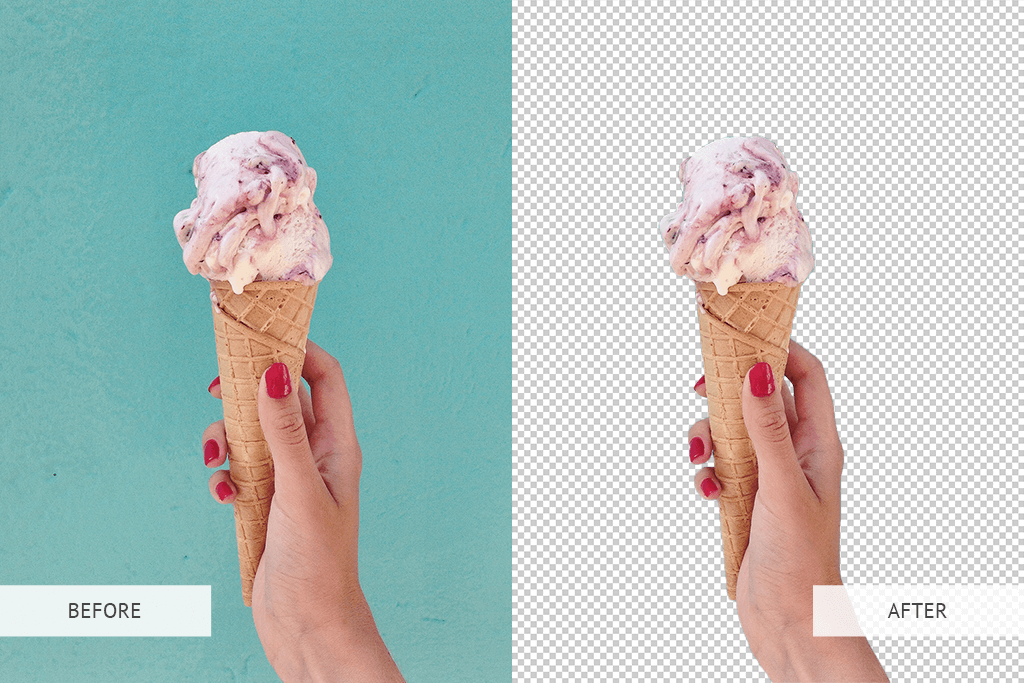
Those involved in ecommerce and graphics design know that background removal and transformation is a regular task needed to focus viewers’ attention on the main subject. If you know how to make background transparent in Photoshop, you can instantly ditch distractions and make an object depicted stand out in the frame.
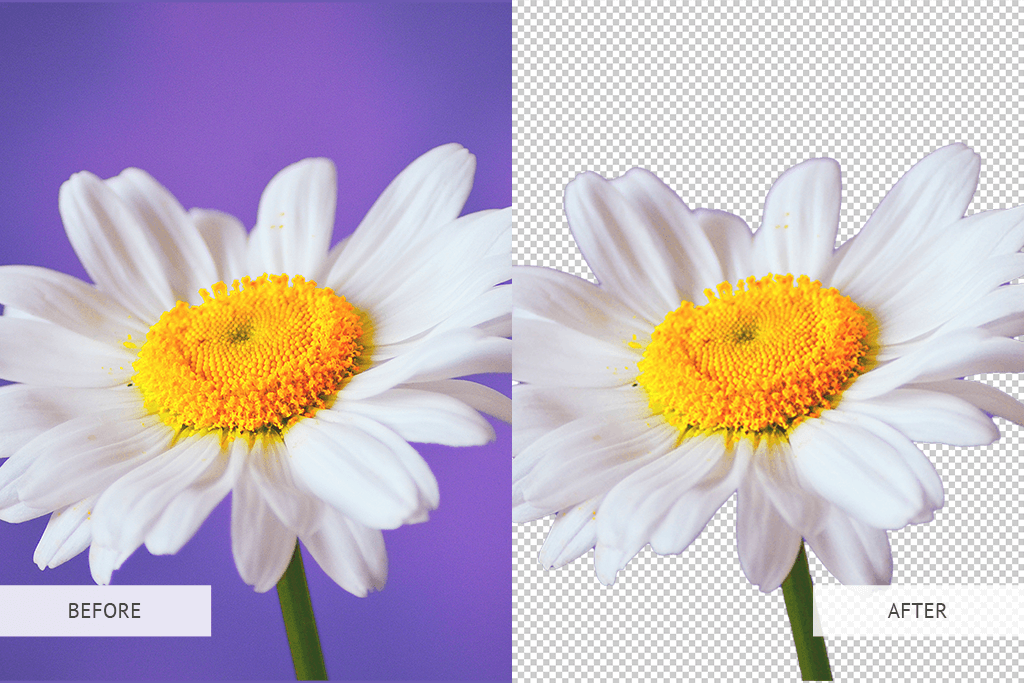
You can get rid of the whole background or remove the background of a picture with the help of AI-based features in Photoshop. The most popular option, in this case, is Remove Background. Thanks to AI nature, it accurately scans the background and removes it without affecting subjects. Most processes are carried out in the Layers panel. You can use provided sliders to adjust contrast, obscurity, and jagged edges.
First off, open Photoshop and upload your file.
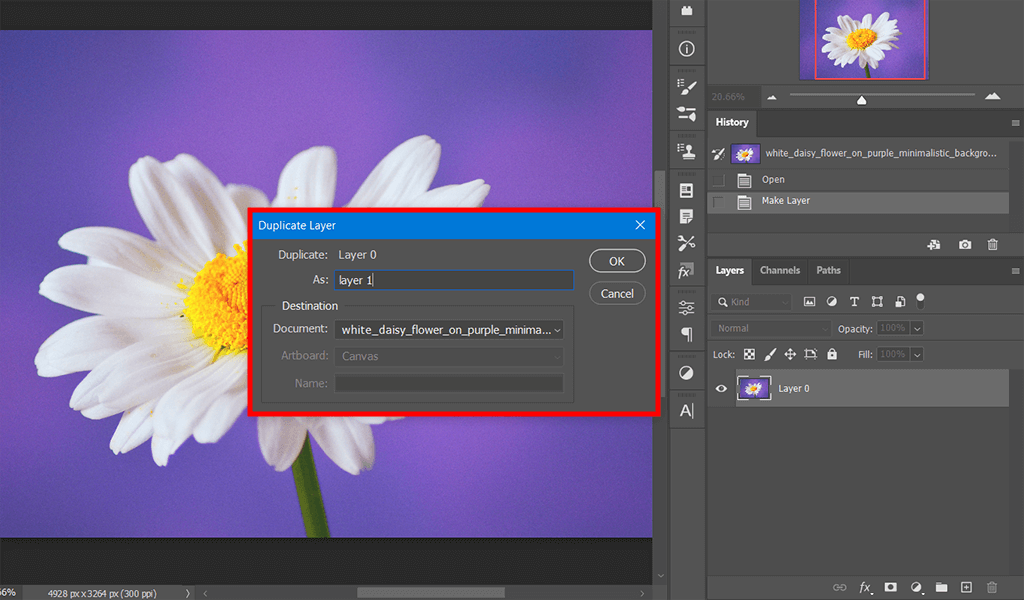
Duplicate the image in a new layer. You need to press Ctrl+A (Win) or Cmd+A (Mac). Then, press Ctrl+C > Ctrl+V. This way, you will select a photo, copy it, and add it to a new layer. Once done, a new layer will appear in the Layers panel on the right.
Find the Background layer in the Layers panel, and click the eye icon to make it invisible. Such steps won’t cause changes to the source photo because the duplicate Layer 1 is on top of the Background layer.
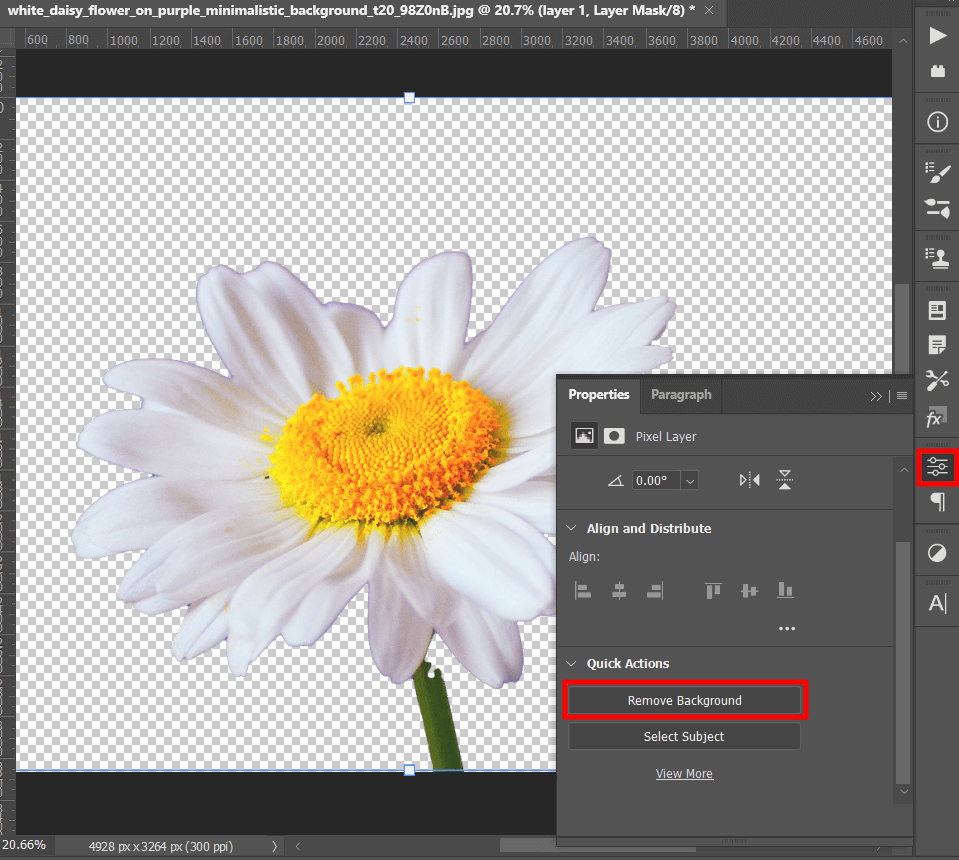
Head to the Properties panel on the right, choose Quick Actions there, and click Remove Background.
Now you know how to make background transparent in Photoshop. To save an image with a transparent background, you need to export a file in PSD or PNG format.
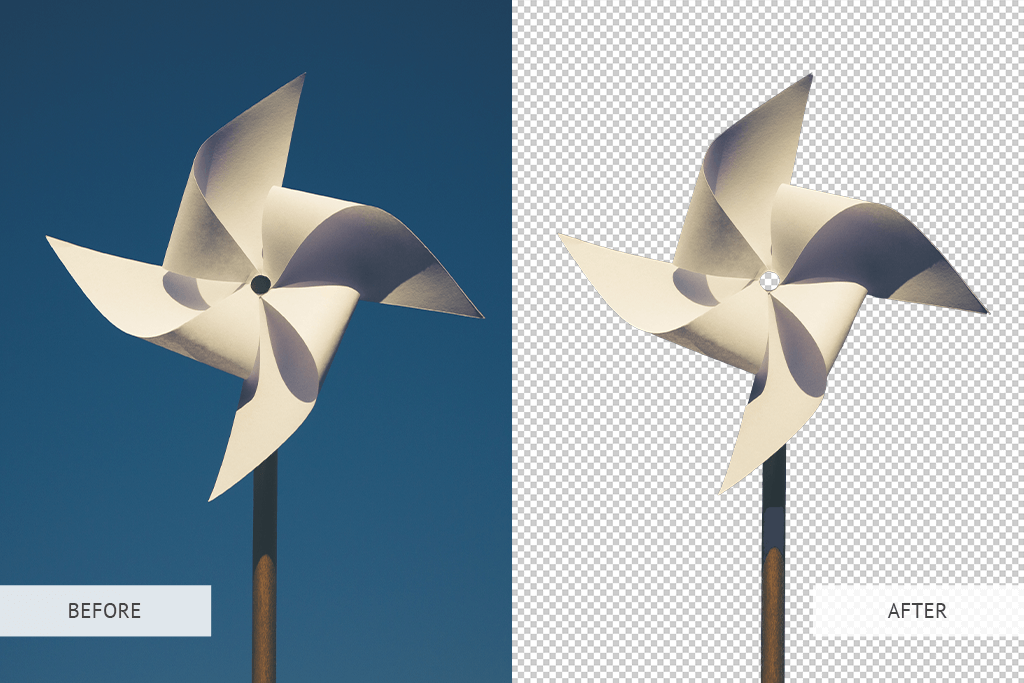
If you want to learn manual methods to make a background transparent in this photo editing software, keep reading.
To zap the background manually, you need to select an entire subject by outlining even its finest details so that it clearly stands against the background. Photoshop offers several tools for the task. The choice mainly depends on the photo you are working with and your personal preferences.
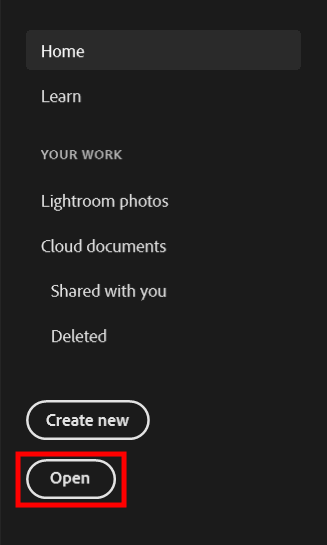
Import a photo or drag & drop it into the program. Next, click Window > Layers.
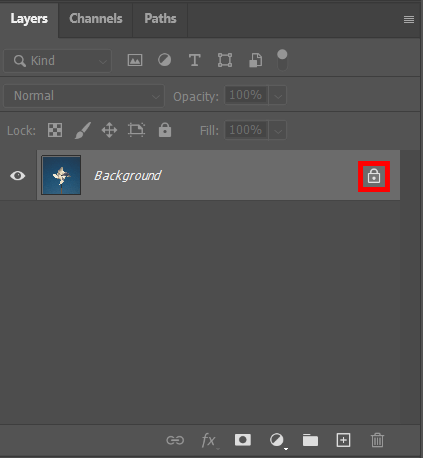
Click on the lock next to the background layer to make it accessible for work.
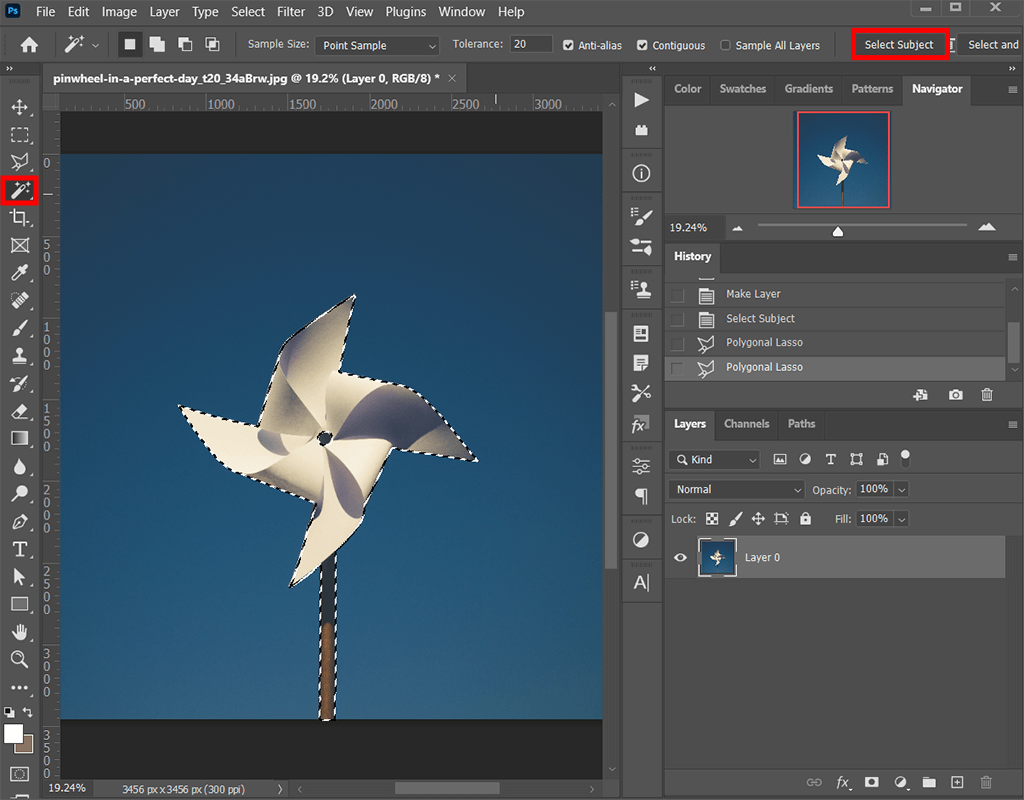
Go to the panel with tools and choose Magic Wand Tool there. Click Select Subject in the upper panel.
To adjust the sensitivity of the tool, go to the top of the window and use the Tolerance control.
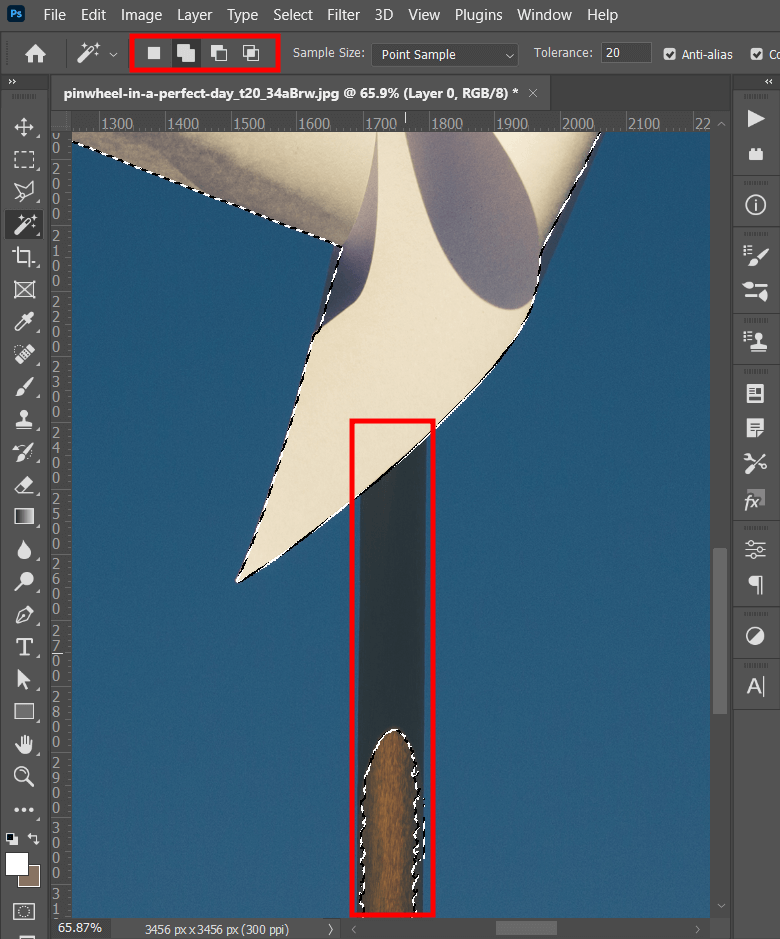
You can customize the selection with the help of the Magic Wand Tool by holding Shift.
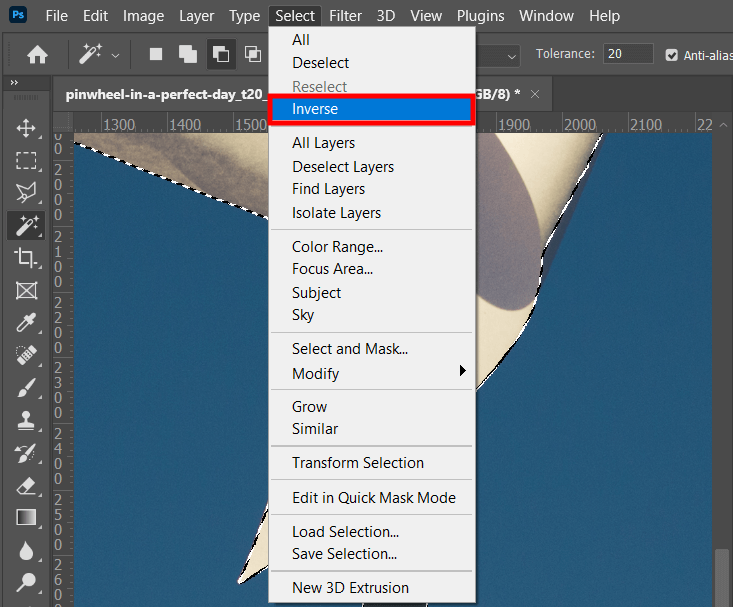
Once the entire subject in the photo is selected, choose “Inverse”. You can do it by pressing Shift+Ctrl+I/ Shift+Cmd+I depending on the OS. Or, you can head to the “Select” tab and choose “Inverse” there.
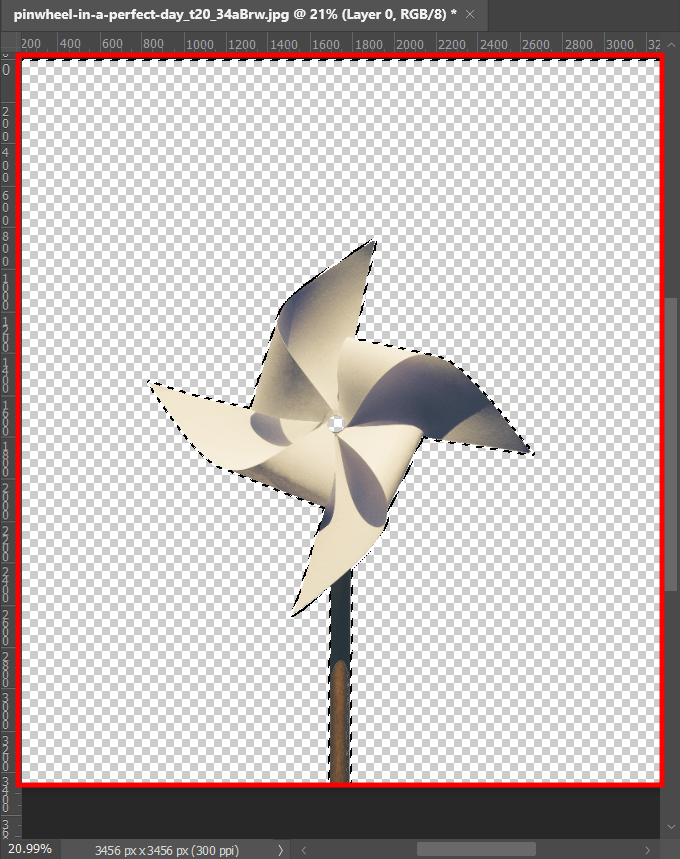
With the inverse (background) selected, press Backspace / Delete. The subject must be surrounded by a checkerboard pattern, which is the transparent background Photoshop. Use the same formats for exporting the file as in the previous method.
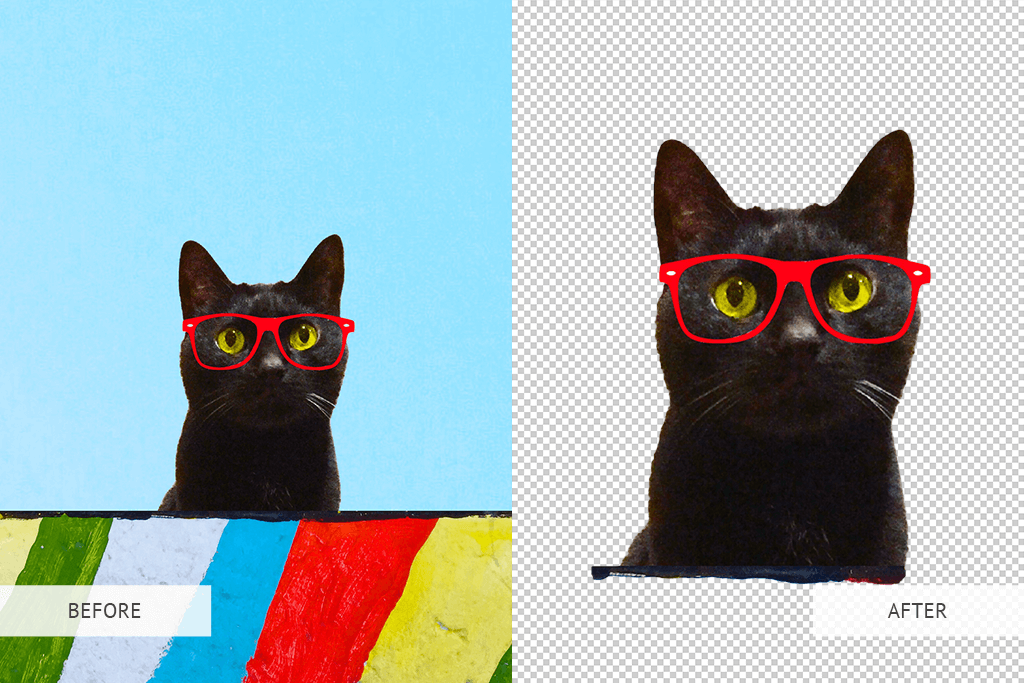
Another popular method to make background transparent Photoshop is by using Select and Mask, which is sometimes called Refine Edge. It is one of the most powerful selection instruments in the software, which is indispensable if you need to get rid of different objects in a picture.
In fact, this tool works particularly great when it comes to removing objects with uneven edges and irregular shapes.
Upload the needed photo.
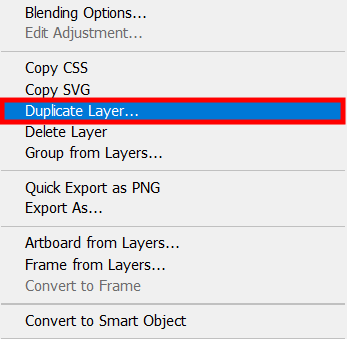
Press Ctrl/Cmd+A to select a whole image. Next, press Ctrl/Cmd+C > Ctrl/Cmd+V. This is identical to what we do in the first method and the purpose is the same.
There will appear the Layers panel. Click the eye icon there to conceal the background layer.
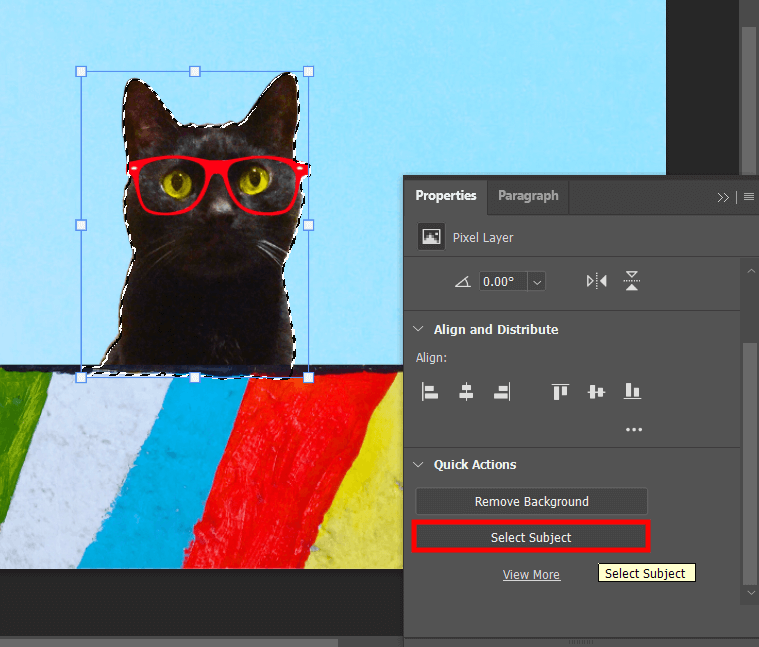
Click Quick Actions > Select Subject on the Properties panel.
Open Select > Select Subject.
Use a mouse or a stylus to select a subject. Don’t worry about the accuracy of the selection, as you can easily adjust it in the process.
Open your photo.
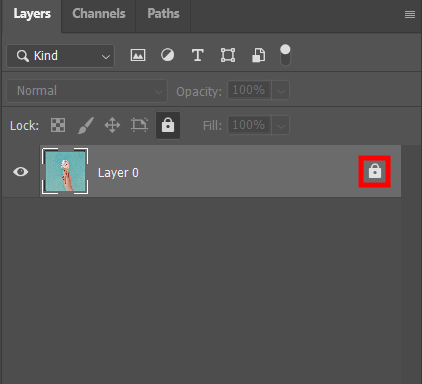
Click on the lock icon next to the layer with a photo to make it active.
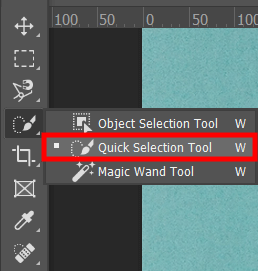
Choose the Quick Selection Tool and select your subject.
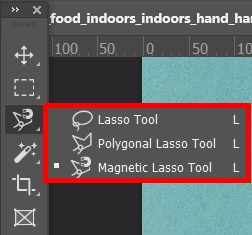
Head to the Toolbar and select Magnetic Lasso Tool there. To select several areas in an image, hold down Shift while moving the tool across the photo.
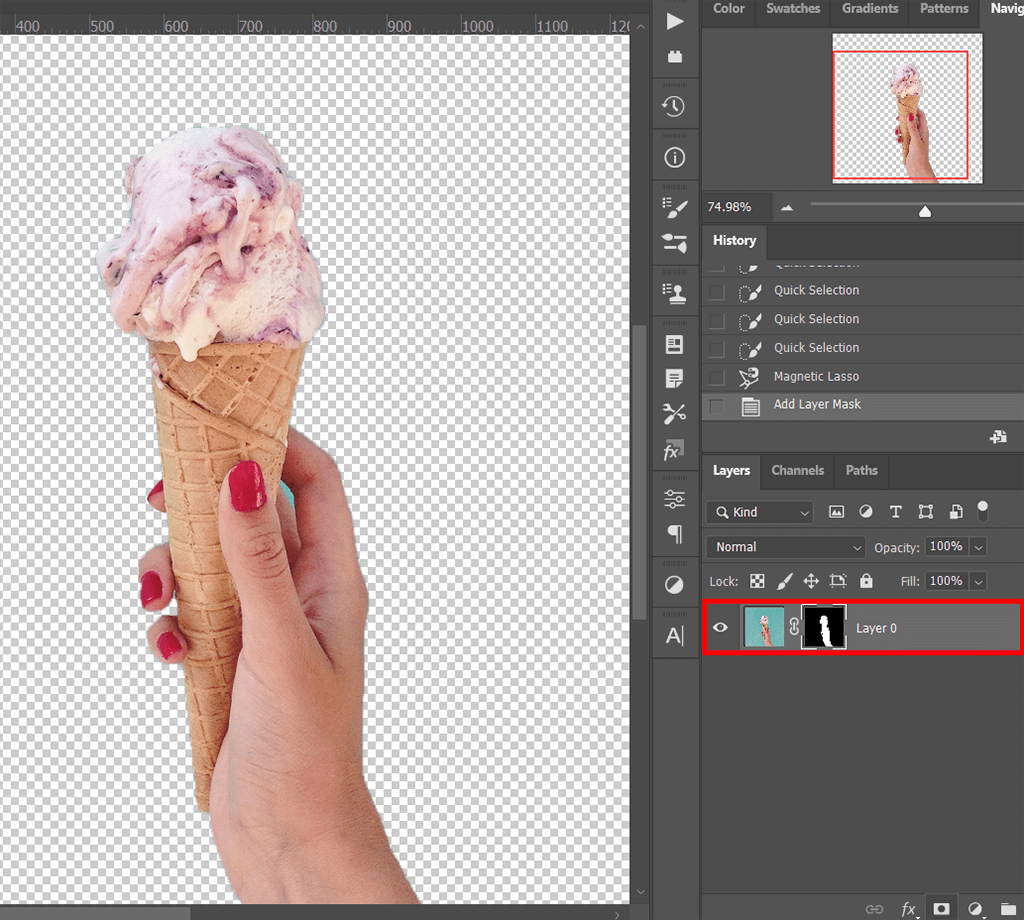
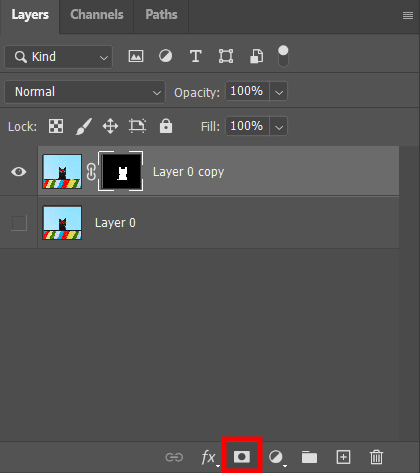
Add a mask to this layer.

If there are several images with a transparent background that you want to improve, make use of these textures. Adding texture in Photoshop is a no-brainer task and once done, you can alter the mood of any photo with ease.
The back contains textures that mimic the pattern of leaves and stones, wooden surfaces, concrete, and metal, as well as different natural phenomena. You can use such textures to create art projects, invitations, branding materials, etc.