Creating graphics, editing, and compositing images can be time-consuming if you don't know how to move images in Photoshop. There are several methods for training how to do this, each useful in its own way. Below you’ll learn how to drag and drop images between tabbed documents, documents in a multi-document layout, and two floating document windows.
The first method you need to learn to move photos between documents is to copy and paste an image from one document to another. In Photoshop this works like copying and pasting text when editing an ordinary Word document.
Before jumping into blending images, you need to learn how to insert different photos into the same document. However, for those who are new to Photoshop, blending two images may seem like a dead end. That's because Photoshop opens each photo in its own document. So, to blend or composite images, you need to have them in the same document.
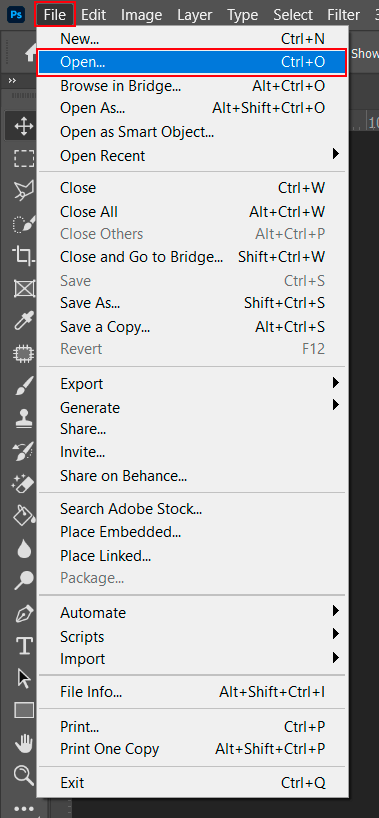
Open the necessary files in Photoshop.
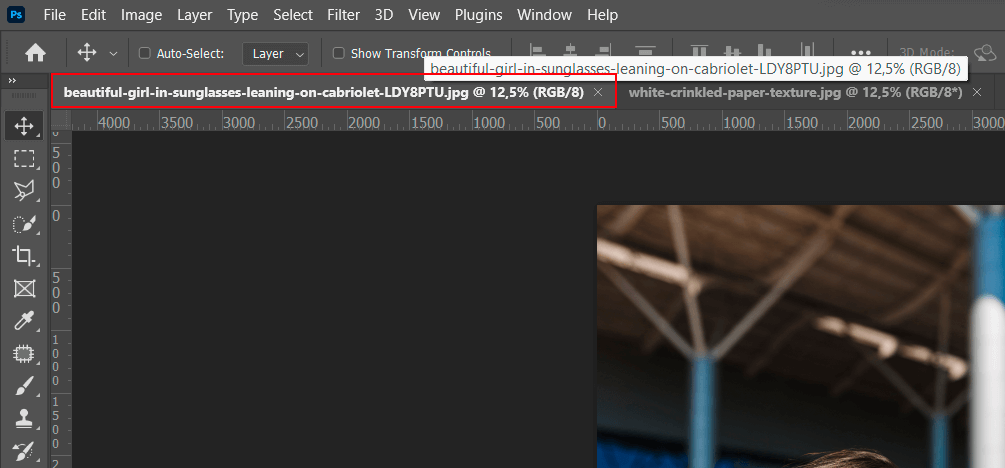
As preconfigured, Photoshop opens the images as tabbed documents, with only one document visible at a time.
To copy and paste an image, you must first select the document containing the image you want to move.
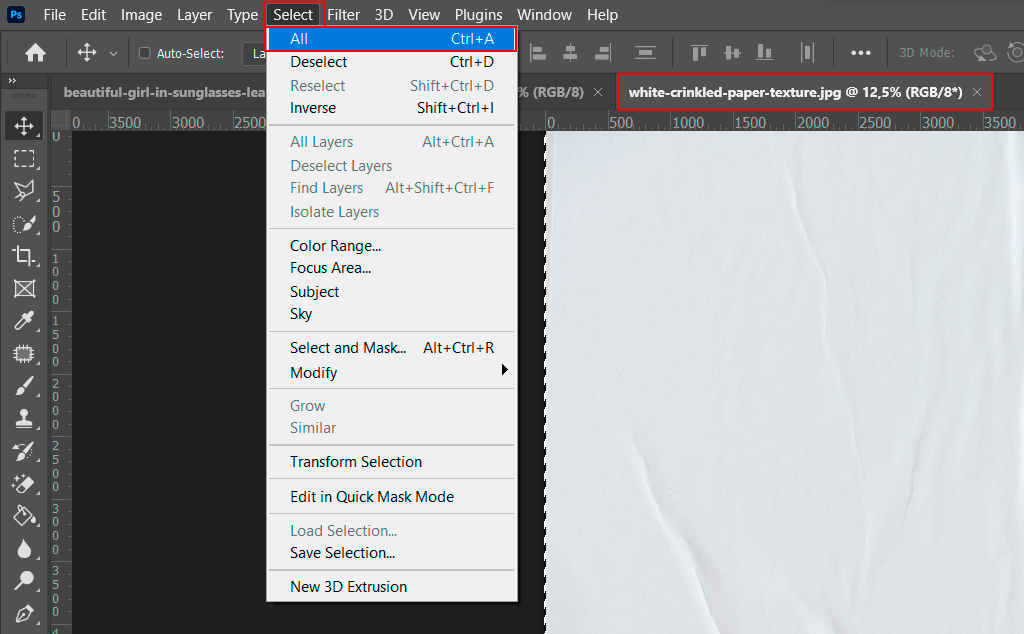
To select the image itself, open the Select menu in the menu bar at the top of the screen. Then select All.
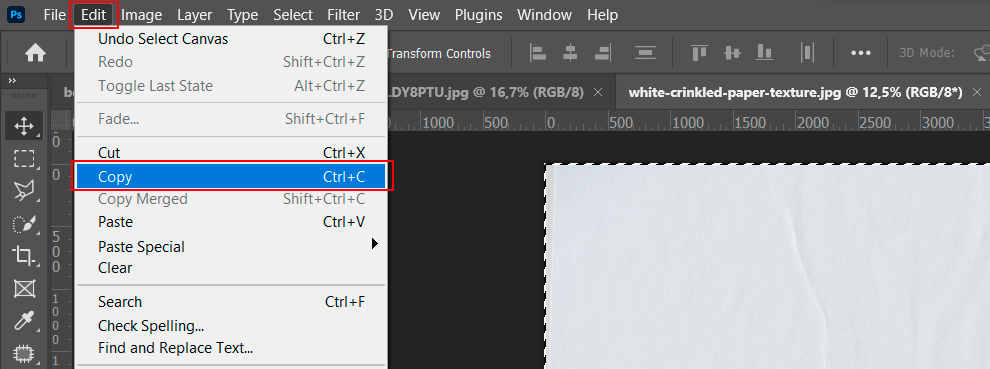
Copy the chosen image to the clipboard by calling the Edit menu in the menu bar and selecting Copy.
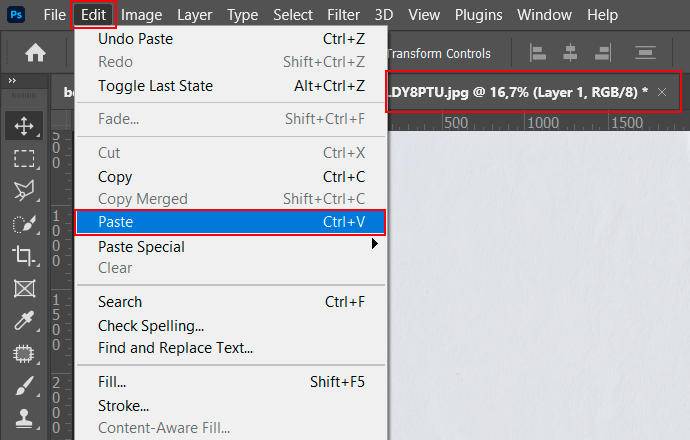
To insert the texture image, call the Edit menu in the menu bar. Then select Paste.
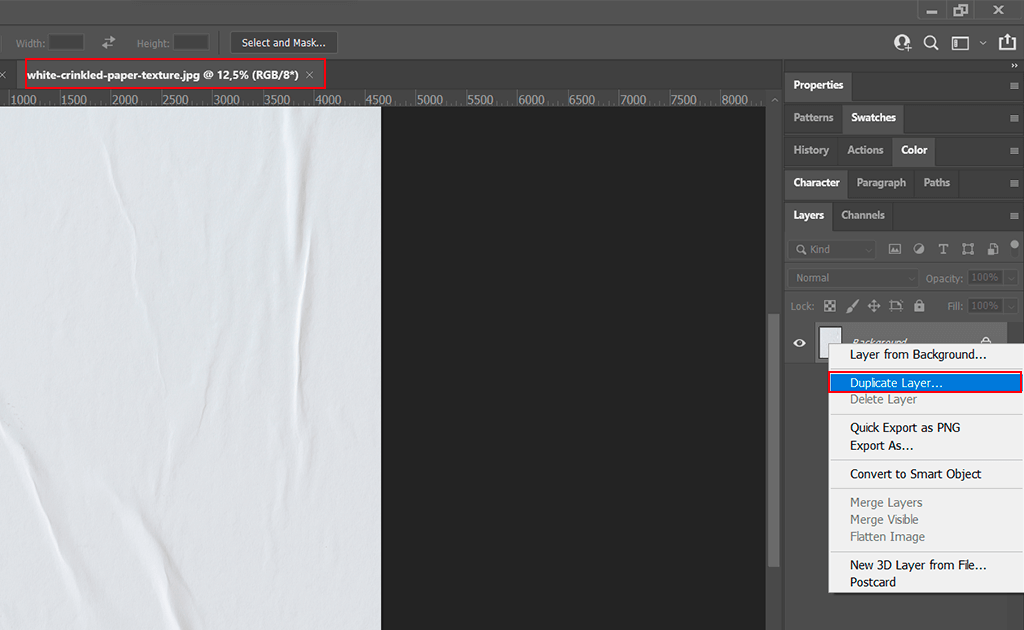
To duplicate the layer, call the Layer menu in the menu bar. Then select Duplicate Layer.
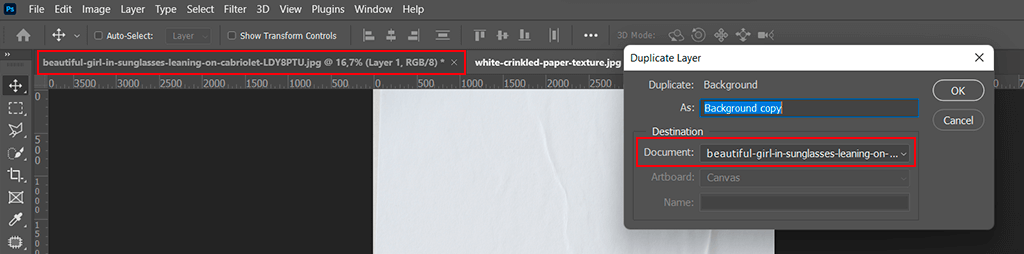
In the Destination area, select the document to which you want to move the image. Then click OK. The image appears on a new layer in the other document.
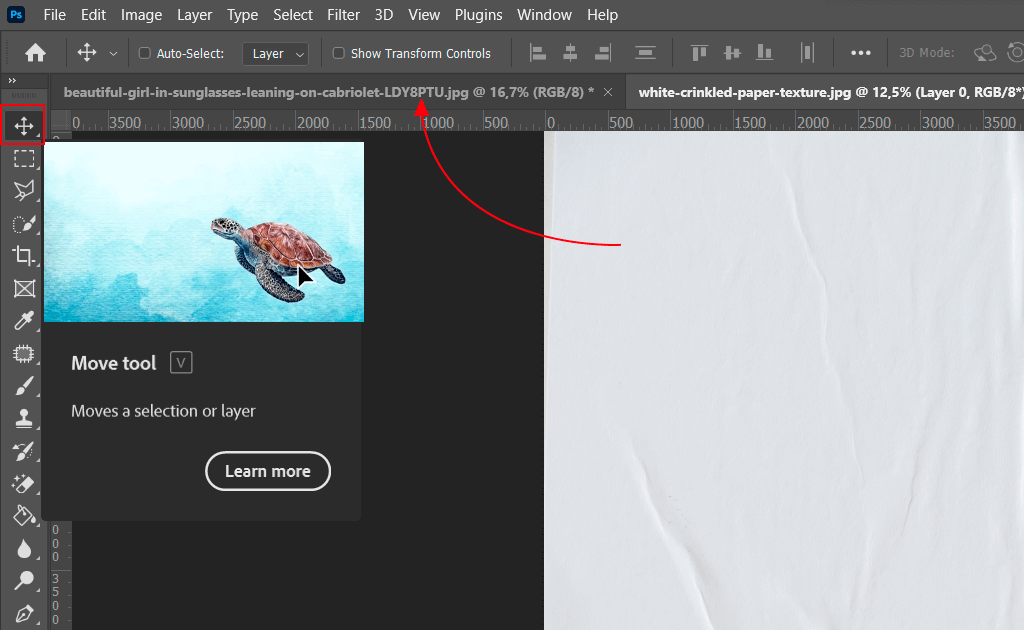
Click the Move Tool and drag one file onto another.
Hold down the Shift key and loose the mouse button to drop and center the image in the document.
Now let’s grasp how to drag and drop an image between documents using one of Photoshop’s multi-document layouts.
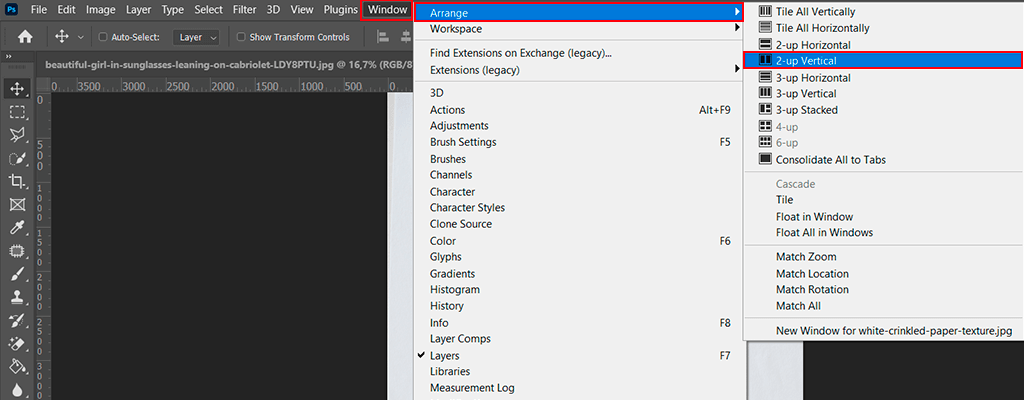
Call the Window menu in the menu bar and select Arrange. There, use the 2-up Vertical layout.
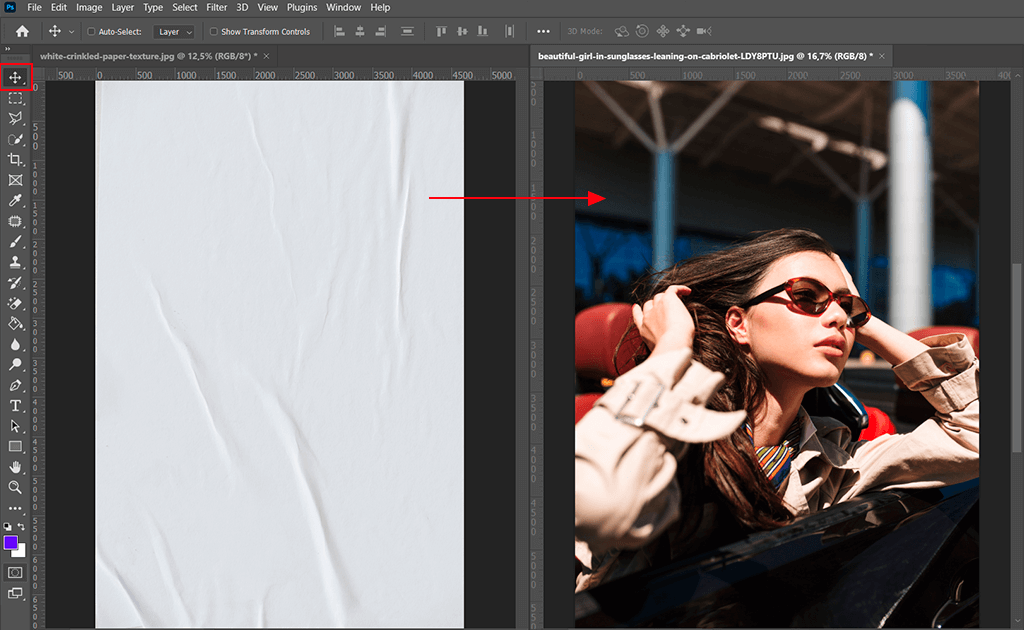
Then, pick out the Move Tool from the Toolbar.
With the Move Tool selected, drag one file onto another.
To complete the guide, let’s look at how to move an image from one document to another in Photoshop by dragging it between two floating windows.
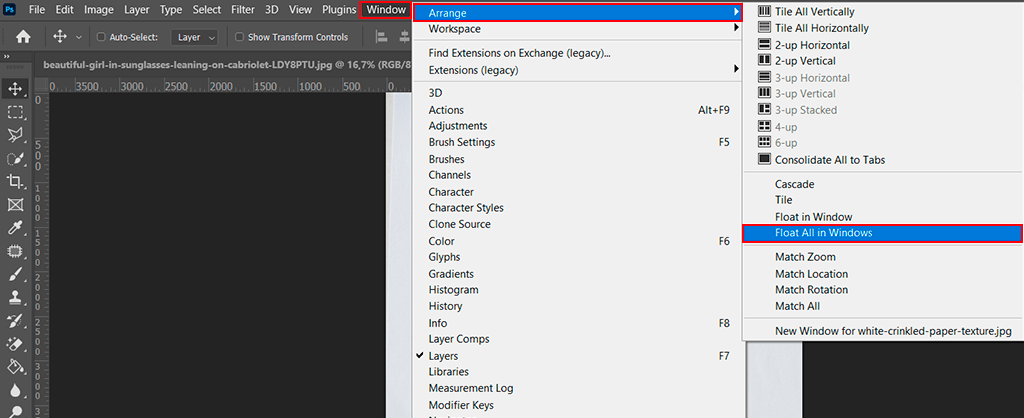
Go to the Window menu and pick out Arrange. Then use Float All In Windows. This will place each image in a floating document window.
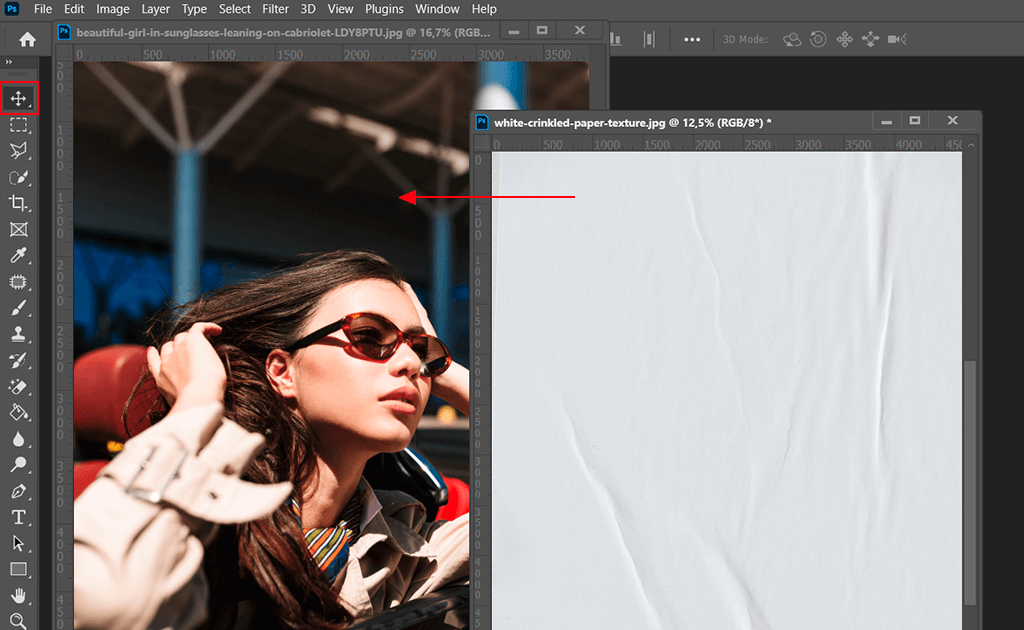
Next, use the Move Tool from the toolbar. Use the Move tool to click in the window where you want to move the image and drag it to another window.
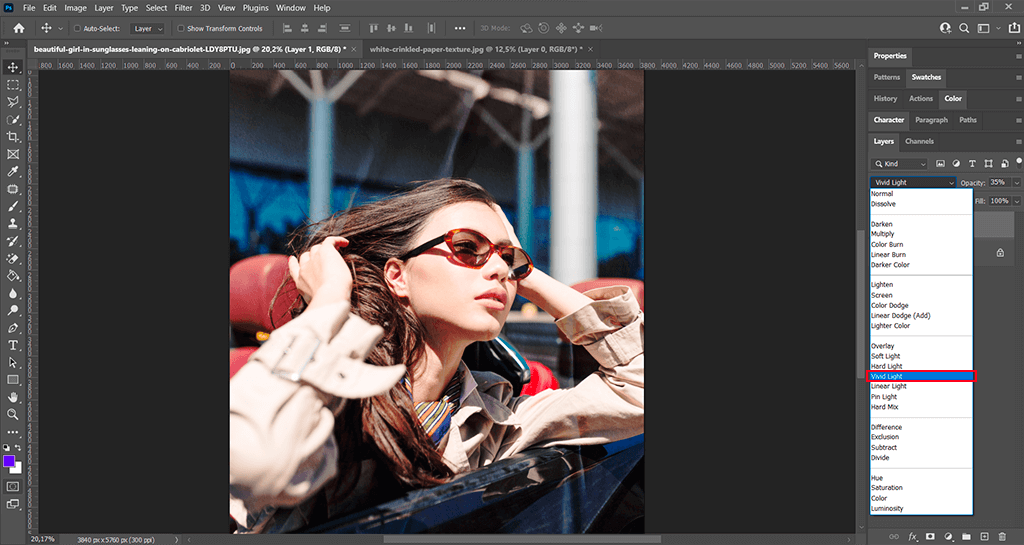
To get done working with files, select another blending mode.

Once you are done with images, install Photoshop actions to enhance them. With these photo actions, you’ll save a lot of time on image post-processing and get incredibly high-quality images.
Also, there is a terrific selection of cool effects. For example, you can apply the Bohemian Film, Vintage Colors, or Matte Pro actions to give your photos a classic look. To make your creative photography look more sophisticated, you need additional actions, such as Color Double Exposure or Glitch Effect.


