Adobe Super Resolution
Verdict: Adobe Super Resolution technology will come in handy for those who are longing to boost the resolution of their digital pics. This feature doubles the linear resolution of an image by quadrupling the overall number of pixels count while keeping even the finest detail clear. As this is a built-in function, all users who have purchased the Creative Cloud Photography Plan can reap the benefit of it.
The ability to apply this feature to a bunch of images at once is a real bonus, especially for ecommerce. Besides, you won’t need to be tech-savvy to work with this technology, as the whole process is straightforward and takes a few minutes. Moreover, it allows increasing the resolution of RAW pics as well as files of other formats.
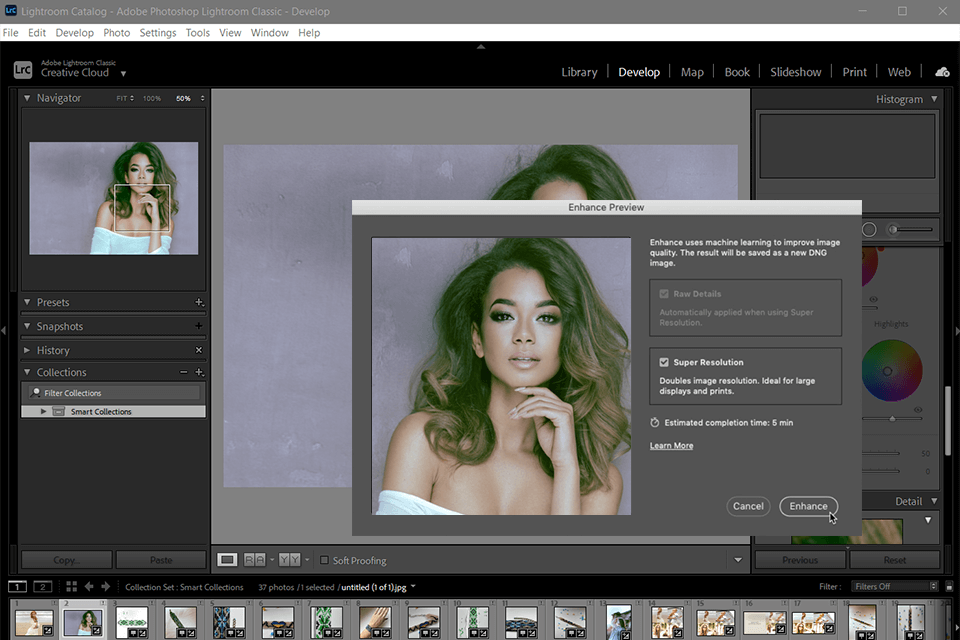
This technology transcends older Adobe solutions allowing you to get bigger prints of premium quality. With Adobe Super Resolution, boosting the resolution of heavily cropped photos for making large prints is a cinch. It relies on the exact algorithm of Artificial Intelligence transcending other tools that struggle to fill in the missing pixels.

Adobe developers introduced Super Resolution in Camera Raw 13.2 to provide users with the ability to upsample any pic essentially doubling the length and height of the source file. For instance, if you deal with a 12MP original file, you can easily turn it into a 48MP pic, whereas increasing a 48MP image resolution up to 192MP is not a problem as well.
Instead of using classic upsampling technologies like Preserve Details and Bicubic Smoother, Super Resolution relies on AI upsampling tech that was trained by processing “millions of images” to provide pics of impressive quality.
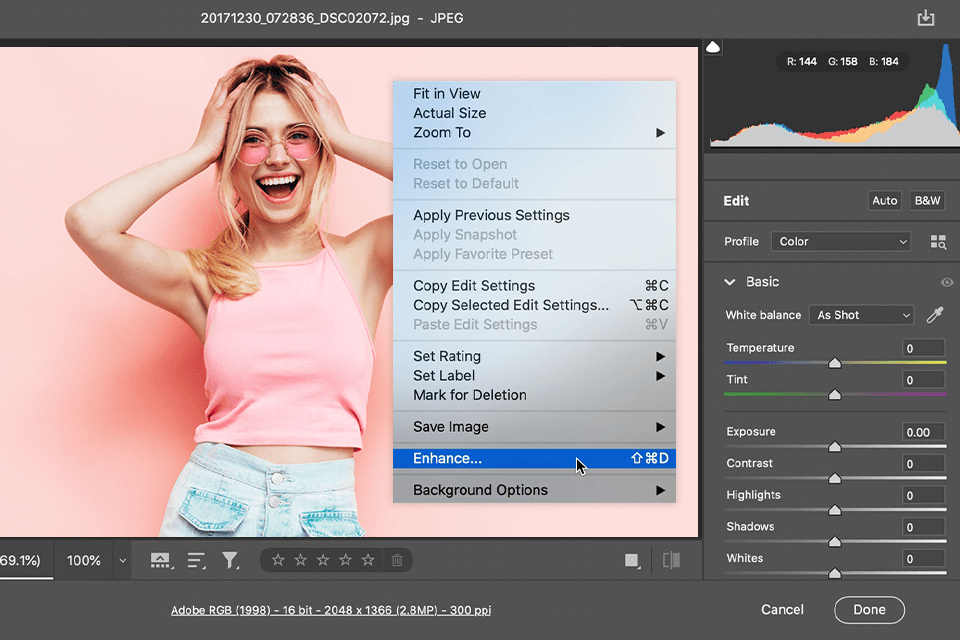
The Camera RAW boasts a straightforward interface, which makes the application of Super Resolution to any RAW file an intuitive and speedy procedure. Even if you are just making strides in the editing field, enlarging pics by taking advantage of this feature won’t be a problem. All you need to increase resolution in Photoshop or Lightroom is to open a photo in Camera Raw dialog, click it with the right mouse button, and choose “Enhance”. Afterward, the system will show how much time is needed to finish the process.
The resulting raw file will be in DNG format and feature a refined image. Besides, a new pic will also have all previously done edits so you won’t need to start your retouching anew. Not only that, it is possible to tweak a DNG file by refining it with your favorite adjustments or presets.
Bulk enhancement is the most appealing feature for me. With it, applying the Adobe Super Resolution function to multiple pics at once is as easy as a pie. All you need to do is to check the required images in the filmstrip and click the Enhance button.
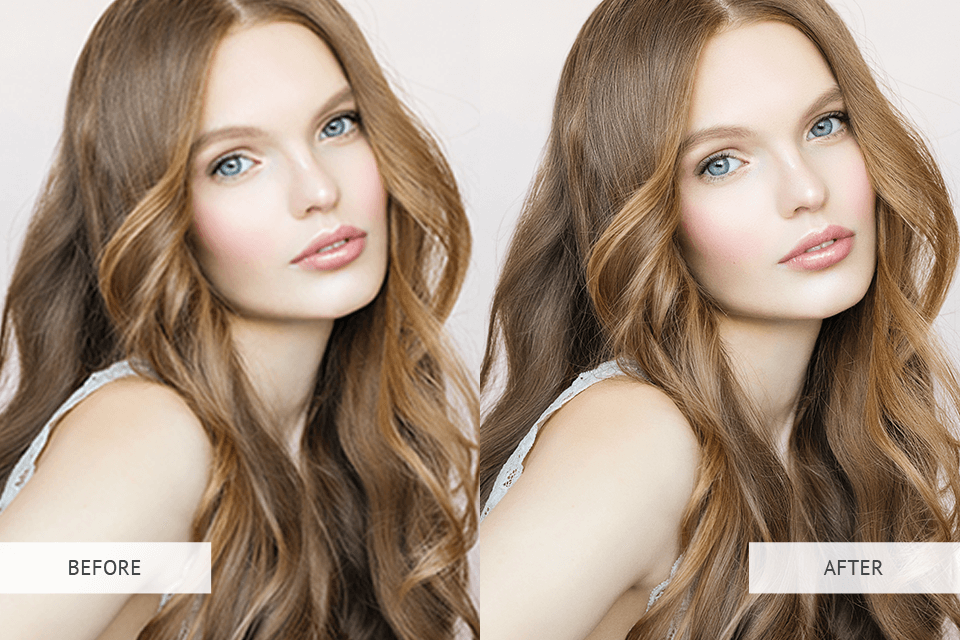
When it comes to image enhancement, I strongly recommend choosing RAW files to achieve the best possible results, especially for further printing. The reason is that this format holds a greater amount of data for processing. However, many editors also work with JPGs, PNGs, and TIFFs and get perfect images in the end.
So, if your images were taken on an old camera and have low resolution, this new Adobe feature can help you fix the problem. With it, boosting image resolution to meet today’s quality standards is a worry-free experience.
But note that the processed file should be less than 65,000 pixels on the long side and the megapixel count should not go above 500. Keep in mind that improved images in DNG format are ten times larger than the source RAW files. With that said, file size is probably the most considerable minus of this technology.
If you need to make large prints, your images should have many pixels. However, even modern cameras cannot deliver photos of super high resolution. For example, the majority of smartphones are fitted with a 12-megapixel camera, whereas most cameras enter the 24-megapixel range. This quality is enough for posting online or sharing pics with friends.
To enlarge a picture for printing and create an eye-catching composition to hang on the wall, high resolution is a necessity, as it helps keep edges clean and preserve details. With Adobe Super Resolution, you can make large prints from any image turning a 12MP pic to 48MP — equivalent to a 16” x 24” photo.
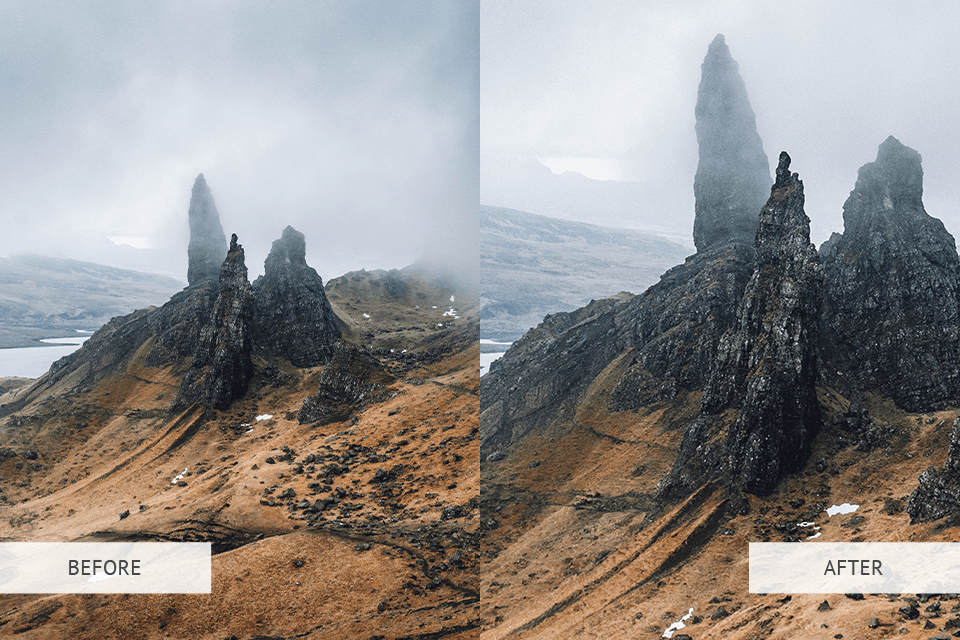
Many photo enlargement software employ classic upscaling algorithms that cannot boast a high level of accuracy. Outdated image-enhancing technology does not know how to fill in missing pixels, delivering blurry images of low quality. Super Resolution uses AI when fulfilling the task of picture resampling. The developers uploaded millions of low-resolution pics, which were upscaled, to the system and set it to compare these terribly-looking pics with source files of excellent quality.
Gradually, the software learned how to keep even minor detail while interpolating the file. No matter whether you need to enhance portraits, wildlife, architecture, or other photography types, Super Resolution can help you achieve unbelievable results. Another advantage is that pictures edited using this feature lack color artifacts, noise, or waxy-looking areas.
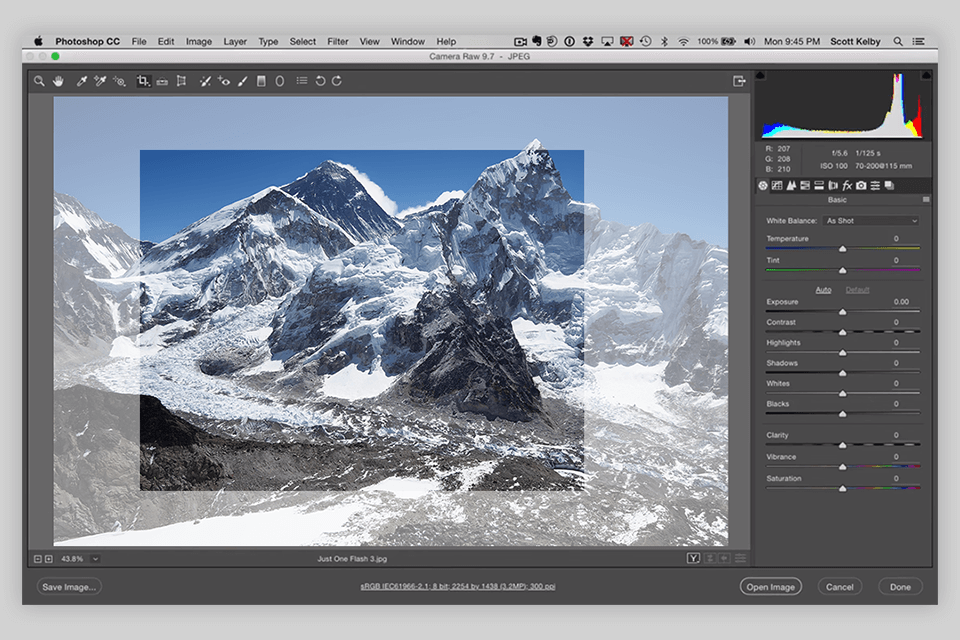
To take photos being far away from the subject results in pictures, in which a person occupies only a small part of an image. To focus on a model, you need to crop a photo at post-production reducing its size, thus lowering its resolution. With this tool, cropping a pic preserving its quality is a breeze. Clear images and clean edges even in close-ups are possible using this cutting-edge technology.
This feature is available in the Adobe Camera Raw tool and Lightroom and can be activated via the Enhance command. This is an embedded function so subscribers to the Creative Cloud Photography Plan can take advantage of it without paying a cent.
My recommendation is to choose clean photos to get the best possible results. If the original picture features artifacts, which are usual for compressed JPEGs or HEIC files, then the system will make them more visible after enhancing images.
A fast GPU is beneficial in different scenarios. Both Enhance Details and Super Resolution do multiple operations when upscaling images, so a speedy graphics card can definitely accelerate this process and make it smoother. Laptop users are recommended to acquire an external GPU. If you are shopping for a new PC or video card, prefer models optimized for CoreML and Windows ML machine learning technologies.
No, the array of formats this feature can work with is very extensive. This selection includes DNGs, TIFFs, PSDs, JPEGs, and RAW files from cameras fitted with Bayer-type sensors (Nikon, Canon, Sony, and others) as well as with Fujifilm X-Trans sensors.
Super Resolution doubles the linear resolution of a pic by quadrupling the overall pixel count. It means that the output file will have twice the width and twice the height of the source photo. For example, it is possible to turn a 16MP photo into a 64MP DNG pic without problems.
Batch image enhancement is the strong point of this technology. You need to select the required pics in the filmstrip and click Enhance button.