If you need to know how to undo or redo in Photoshop to accelerate your project design workflow, this guide will come in handy. Very often editors need to cancel some actions or customize some settings to achieve the desired results. Beginners are likely to have difficulties when performing such actions, so these tips are what they need. Depending on whether you want to undo the last action or a series of actions, you can use one of the six main methods.
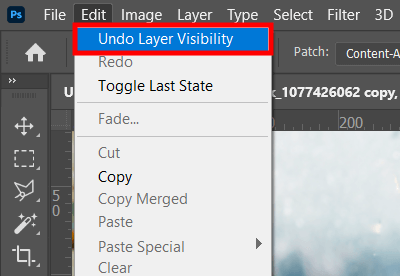
One of the most intuitive ways to cancel the last action in Adobe Photoshop is to head to the Edit panel and select the Undo tab. By doing so you can return to the previous stage of your project, canceling the specified action. For example, if you need to redo the option related to layer visibility, find Undo Layer Visibility in the Edit menu.
Use keyboard shortcuts to simplify this process and make it more time-efficient. Windows users should press Ctrl+Z, and Mac owners - Cmd+Z. These combinations are identical for a variety of standard programs. Besides, those who often work in Photoshop, especially with Clone Stamp or Healing Brush tools, will find these keyboard shortcuts for photographers quite useful, as switching between options via the Edit panel is a bit tedious task.
The Redo option restores the changes canceled with the Undo function. You can find it by heading to the Edit menu where you should select Redo. Just like with the Undo example, the program will offer you actions that were recently performed and can be redone. In this sample, Redo Layer Via Copy is the option available in Photoshop. The Redo feature also provides you with a convenient way to repeat some commands when working on complicated designs.
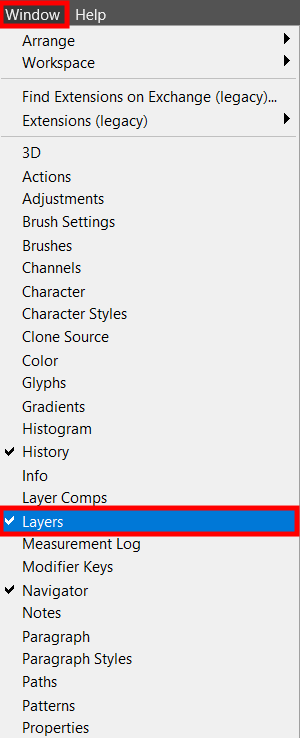
Very often editors need to cancel or fix some actions by going back several steps. A history panel is a perfect way to annul several adjustments at once. To get access to History in the Photoshop menu, go to Window>History.
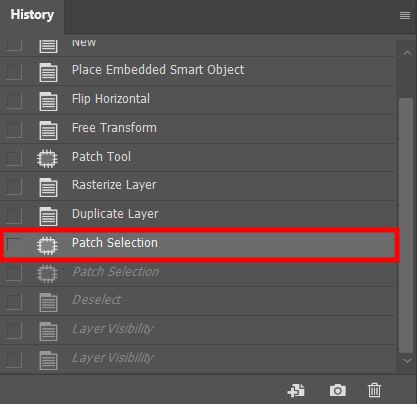
Afterward, the program will list all your previous actions. Choose the desired one and click to correct or cancel it. You will see 50 recent actions in the History panel by default. However, you can adjust the settings so that Photoshop saves the history of more actions. To do it, go to Edit>Preferences>Performance. Keep in mind that by increasing this number, you may deteriorate the performance of Photoshop.
Another way how to undo or redo in Photoshop is to use the History Brush option, which allows canceling changes by selecting an image fragment. For instance, if you customize saturation and the result is satisfactory but could be better on some parts of a picture, apply this tool to cancel edits or customize settings to get the perfect composition.
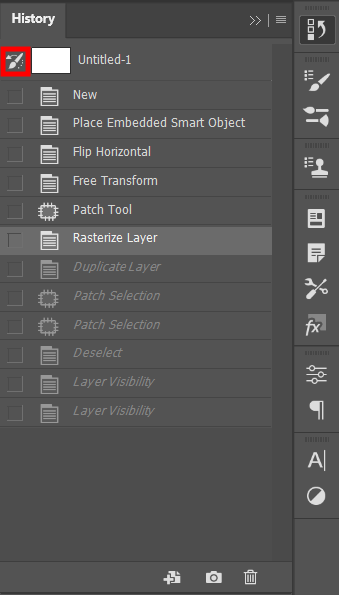
The first step is to define how far you are going to go back in your history of changes. On the left of every history state, you will see a field. Click next to the history state you need to return to, and the brush icon will appear.
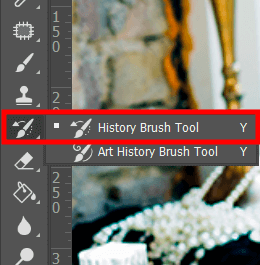
Look at the box to the left of the History State to choose the state you need to return to when applying the History Brush. Then go to the Tool panel, click on the brush option, and paint over the segment of a picture you need to undo. Besides, it is possible to customize the size, hardness, and other brush specifications.
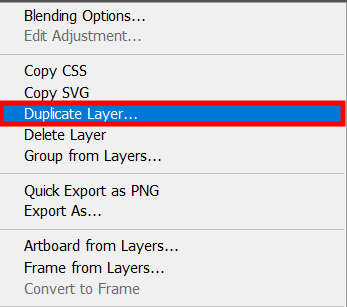
The first action you need to perform when opening a picture in Photoshop is to duplicate a background layer. Make sure to always apply edits to a new layer so that you could cancel them without affecting the original picture.
Besides, such a technique ensures that all edits and actions are applied to a new layer and won’t affect any other effects you’ve applied to your picture.
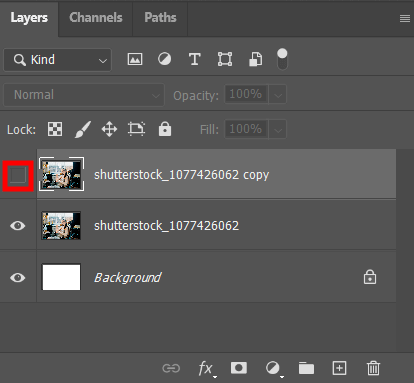
Each layer on the panel contains an eye icon. Click it and this layer will become invisible. In such a way you can follow the changes you’ve made when processing a picture. If you are not certain if some edits are appropriate for your design, leave this layer invisible and go back to it when you will make a final decision.
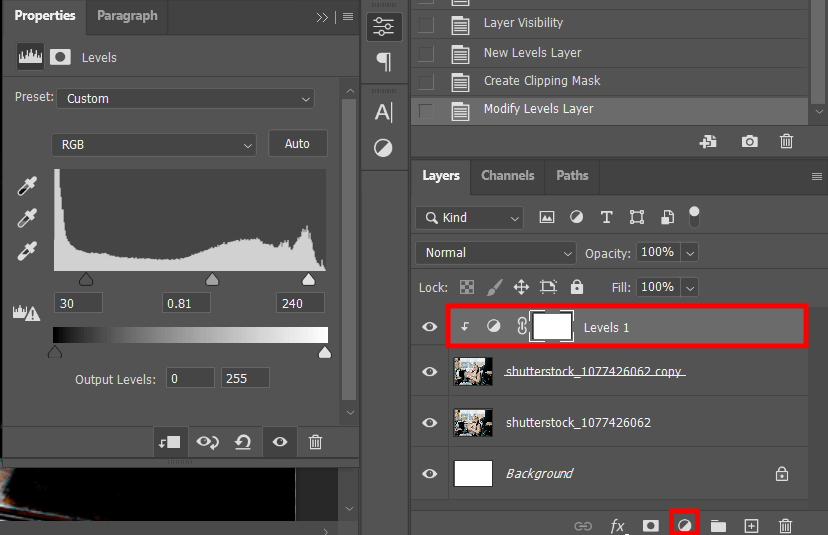
If you are still wondering how to undo or redo in Photoshop, try using adjustment layers. Go to the panel with the same name to edit pictures on a separate layer. You can edit, customize, and cancel all the changes at any time.
Retouchers often need to adjust brightness, saturation, etc. Sometimes, they find out that all these alterations have not enhanced a picture. With the adjustment layers, it is possible to customize all these settings without canceling any other changes you’ve made before.
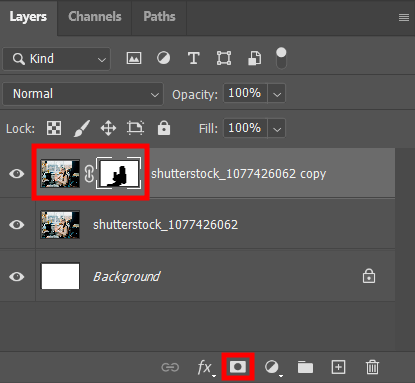
The sixth most effective method described in this Photoshop tutorial is to use layer masks to make edits. Create a layer mask to conceal and show edits you’ve applied to some part of an image. A layer mask can be applied to any layer. Photoshop applies empty masks to adjustment layers by default.
However, the History Brush option may cause a destructive effect, whereas undoing and redoing with layer masks do not have such drawbacks. The most convenient way is to edit the necessary elements using an adjustment layer and then use layer masks to avoid affecting some specific part of an image.
If you’ve performed the major edits manually using one of the described methods but want to achieve a more professional result, try using these pre-made Photoshop actions. In several clicks, you’ll get perfectly toned skin, a well-balanced color scheme, ideally retouched hair, etc. Besides, this package can improve such basic picture specifications as white balance, exposure, textures, contrast, lighting, etc.


