The Hand tool in Photoshop is an indispensable instrument for editors who want to optimize their workflow. Using it, you can easily drag a picture while zooming it to over 100%.
Note that some sections of a pic won’t be visible in this case. Very often, editors couple this tool with Zoom in Photoshop.
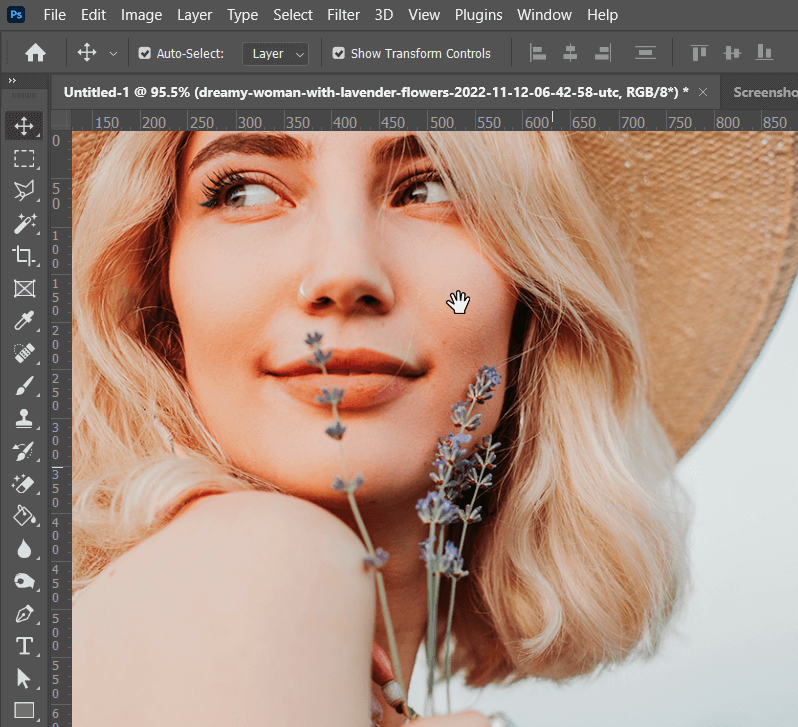
The main function of the Hand tool is to enlarge some particular part of a picture to discern the details. The feature will come in handy when you need to check how a photo was changed. However, this tool is useless for editing as it only allows moving image sections to have a closer look at them.
By examining tiny details, you can make the required adjustments to a picture such as if you want to fix red eye in Photoshop.
With the Hand tool, focusing on a specific detail is a straightforward procedure so you can view that part of a pic you are processing from top to bottom.
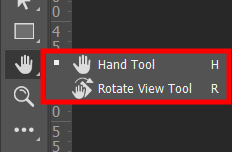
There are several ways for accessing the Hand Tool in Photoshop. Check the toolbar, find the icon that displays a hand, and click on it.
Those who have not installed Photoshop yet should download its free version or upgrade to the most recent one to try all the available features.
Besides, you can press H on your keyboard to start using the Hand Tool.
Holding the spacebar on your keyboard is another quick way for activating the Hand Tool in Photoshop for a short period. Perform this task and move your doc in the direction you need to bring the desired area into focus.

Once the Hand Tool is enabled, new configurations will appear in the Options bar.
If you need to work with more than one document scrolling the files at once, check the Scroll All Windows checkbox first.
With the 100% button, it is possible to zoom in on your pic to the maximum level.
Control + + (Win) or Command + + (Mac) shortcuts allow zooming in on your creative photography. The number of times you press one of these commands in succession corresponds with the zoom level. A 25% zoom is proportionate to using one Adobe Photoshop keyboard shortcut. Hit it again, to get a 50% zoom.
The Fit Screen button makes your image fit the workspace area. This is equivalent to the default document view mode. If you change the view mode and want to return to this default state, you can use the shortcut Control + 0 (Win) or Command + 0 (Mac).
If you want your picture to fit the working area, press the Fill Screen button. This activates the default document view mode. The quick way to switch from the selected mode to the default state is to use Control + 0 (Win) or Command + 0 (Mac) shortcut.
Although the Hand Tool in Photoshop is very intuitive, one can do without it when working on various types of projects. But first, push the spacebar to enable it.
After analyzing the Photoshop toolbar and learning how to use its features, devote some time figuring out how to edit like a pro with this photo editing software. To speed up this process, install Photoshop actions and refine your pics like an expert.
Push the letter H to enable this feature.
The 1st option is to hit the “Esc” button on your keyboard. By doing so you will deselect this feature returning to the initial tool. The 2nd option is to head to the “Tools” menu at the upper part of the screen, then find the “Hand tool” icon. Do this to return to the default tool. The 3rd option is to navigate to the “Toolbox” at the left of the screen and find the “Hand tool” icon. This disables the hand tool and activates the initial feature. The 4th way is to click on the image with the right mouse button. By doing so you’ll make a menu of options appear. Find and click “Deselect”.
The Hand tool in Photoshop is used for navigating and panning around an image when it's zoomed in, allowing you to move the viewable area without affecting the actual image layers. On the other hand, the Move tool is specifically designed for moving and repositioning selected layers or elements within the image canvas.
No, it is not possible to customize the behavior or appearance of the Hand tool in Photoshop. The Hand tool functions as a basic navigation tool with a fixed behavior and appearance that cannot be altered or modified.
The Hand tool in Photoshop is primarily used for panning horizontally and vertically within an image. It does not support other types of movements such as rotation or tilting. Its main purpose is to navigate and reposition the visible area of the image without affecting the actual image layers.


