Adobe DNG Converter
If you're one of the users who want to download Adobe DNG Converter because you need a dependable RAW file converter, then you came to the right place. This article will ensure you download this app safely and learn how to use it in no time.
Getting an Adobe DNG converter for Windows will allow you to enjoy a variety of handy features, fast conversion support, and a long list of compatible cameras, meaning you can rest assured your file will be available everywhere.

The Digital Negative format serves to both contain all the pixel data included in the RAW image as well as all the extra, proprietary metadata used by a lot of manufacturers. The Adobe DNG Converter can, occasionally, bypass some of the aforementioned metadata, and only contain all the standard data required for creating a high-quality image format.
That said, the original RAW file can also be integrated into the new DNG file to make sure all the proprietary metadata is preserved for future use.
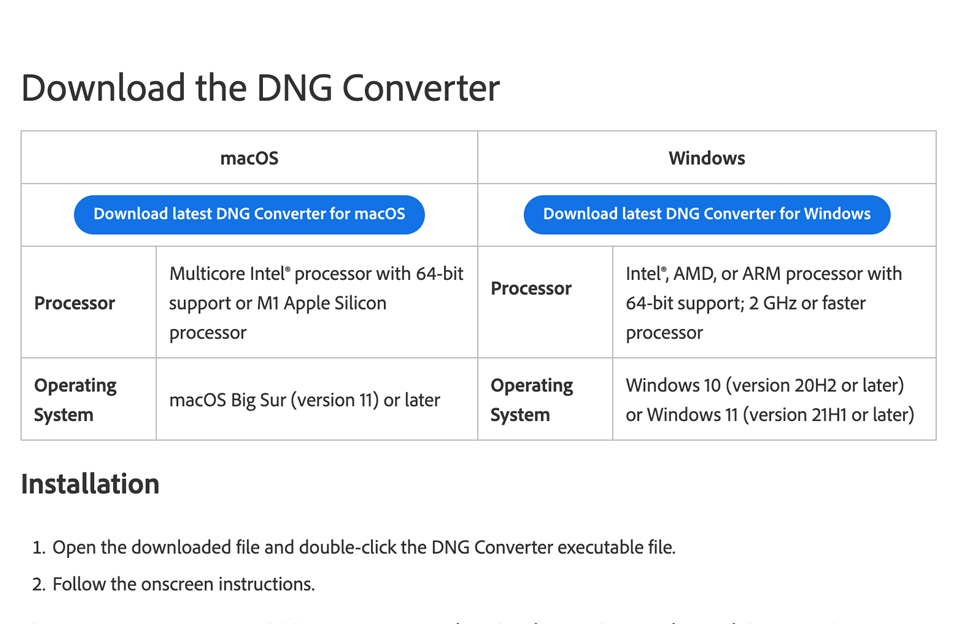
If you’re interested in downloading this image converter, simply perform these two steps:
At this stage, you’re ready to install the app.

You can now find the app in the Programs (Windows) or Applications (macOS) directory. Once the installation is complete, the app will also be supplied with a collection of color profiles, which are essential for this software to work properly. Such profiles can be found in your system’s common resource directory.
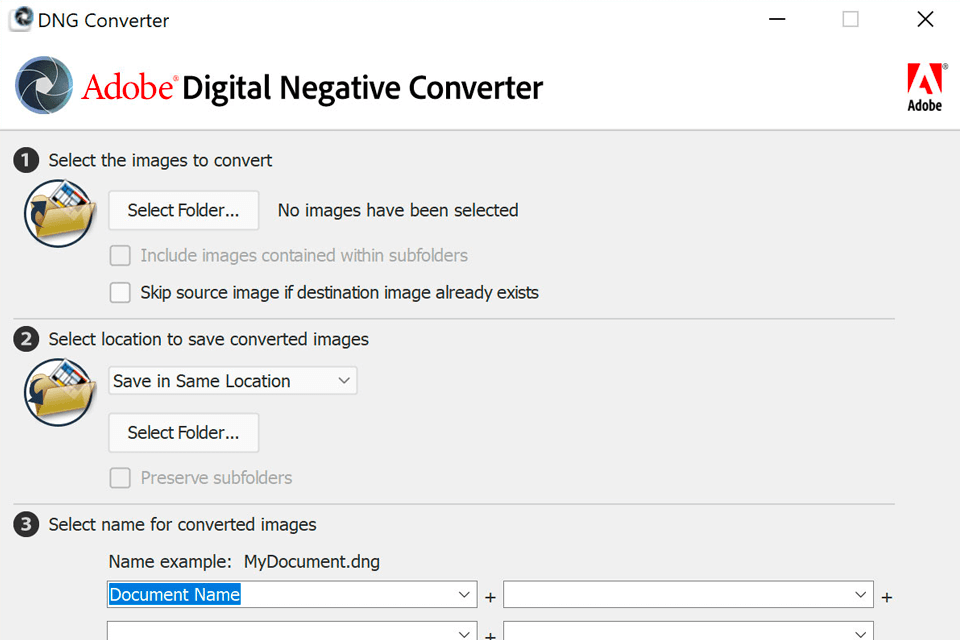
STEP 1. Open the DNG Converter.
STEP 2. Next, you have to choose the images that need to be converted and the destination for the converted files so that you can find them later.
STEP 3. Additionally, the app lets you rename the image using an advanced pattern. You can also play around with various extra parameters that allow you to embed fast load data, maintain pixel count, perform lossy compression, and image optimization, etc.
STEP 4. Once you’re done, simply press the Convert button. You can keep track of the conversion process by checking the appeared dialog window.