Speaking more specifically about Polaroid photo sizes, the SX-70, 600 and i-Type have 4.233 × 3.483 inches of total area, where 3.108 × 3.024 inches are taken up by the image itself. The same total area is inherent in the Polaroid Round Frame, but the area of the image here is already 3.024 inches.
The Polaroid instant camera also has a Go format, which is the smallest with a total area of 2.623 x 2.122 inches, of which the photo area is 1.851 x 1.811 inches.
As you know, Photoshop does not offer a ready-made Polaroid template, so you have to make it manually. This is not difficult and the following step-by-step tutorial will help you figure it out or you may skip it downloading FixThePhoto free templates.

The first step is to create a new custom-sized document. Open the Home Screen, find the Create New button in the column on the left, and click. Enter 1500x1000 pixels in the appropriate fields just like in the picture – this is exactly what your new document should be.
At the bottom right of this window, you will see the Create button. Click on it to close the New Document dialog box. After closing, your new document will appear in front of you.

Find the Tools panel on the left side of the screen and select the Rectangle Tool by clicking on it. Alternatively, you can press “U” on your keyboard if you’re used to working with Photoshop keyboard shortcuts.
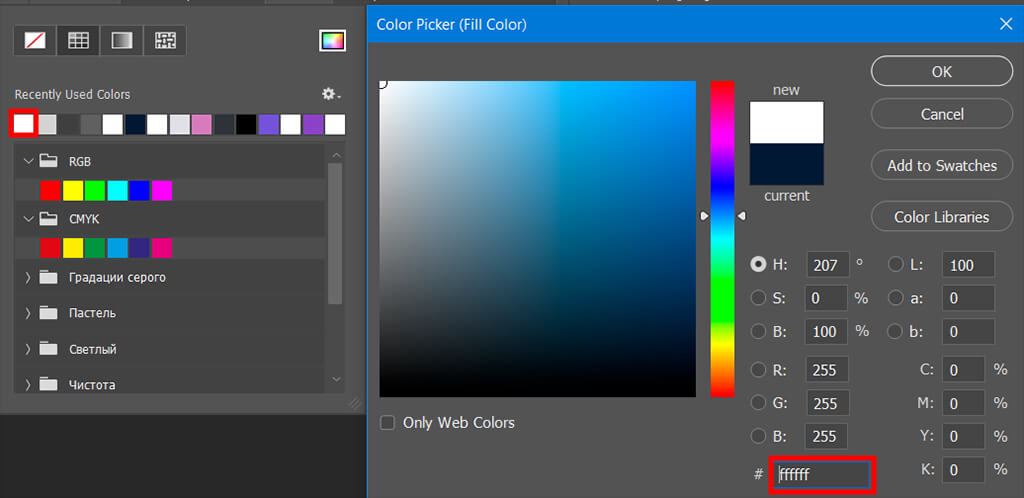
Set the fill color of the rectangle to white or whitish. To do this, refer to the Foreground Color picker in the Tools palette.
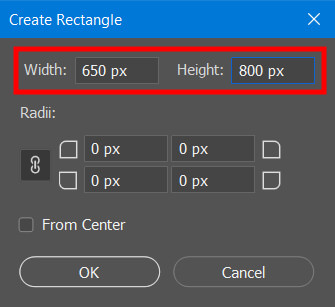
Create a new 650x800 px rectangle that will correspond to how big the Polaroids are, namely their total area. Click on your document to bring up a dialog box in which you can enter the width and height of your future rectangle. When you have entered everything, click OK.
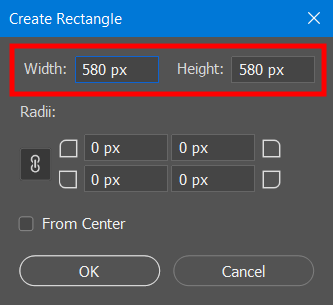
Create a second 580x580 px rectangle that matches the Polaroid pic size, i.e. its photo area.
Center the second rectangle inside the first one. To do this, refer to the menu bar and find the Align horizontal centers button there. After you click it, your picture will move horizontally and be centered from left to right.
Next, you need to click the Align vertical centers button. It does the same as the previous button, but vertically and from top to bottom.
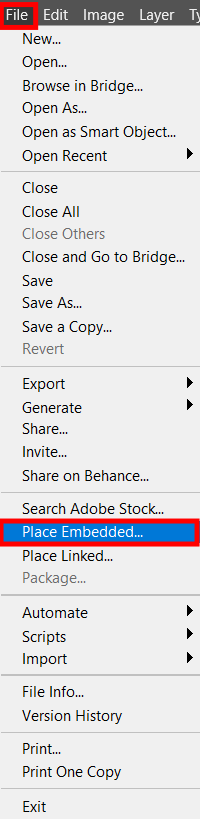
Add an image to your project on top of the rectangle layers corresponding to the Polaroid camera picture size. Click File > Place Embedded and find your photo in File Explorer or Finder. Once you have selected the one you want, click “Open”.
The Clipping mask is one of the most important tools in Photoshop designed to control the visibility of your layers. It can mask several of your layers at once, making the creation of the necessary shapes possible.
Of course, you can’t do without this tool to create a stunning Polaroid-like picture, knowing what are the dimensions of a Polaroid shot.
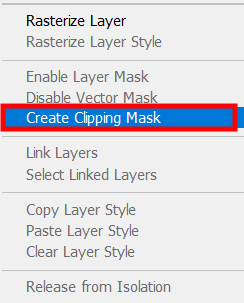
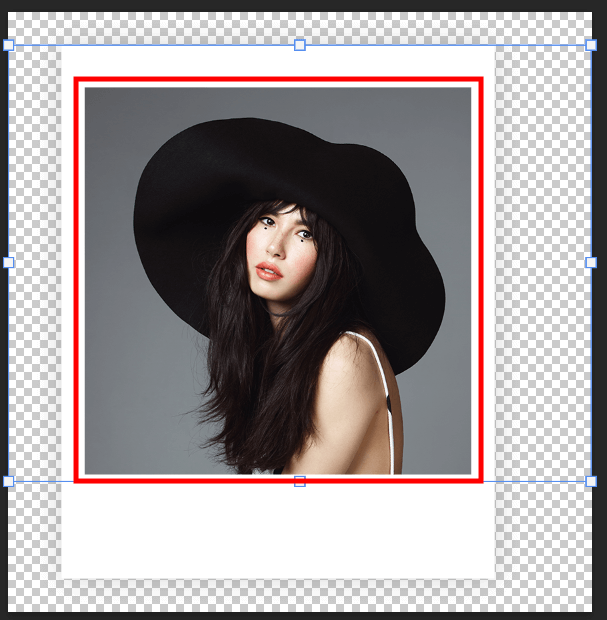
You need this option to place your photo in the middle of your white frame. To mask in Photoshop, right-click on the image layer and select “Create Clipping Mask”.
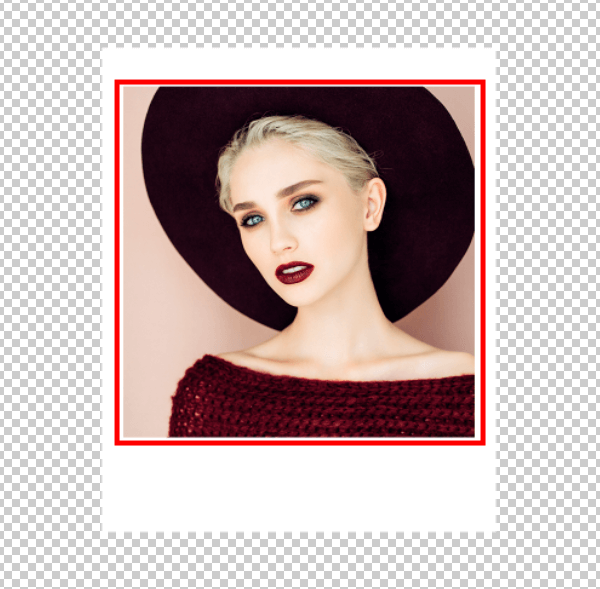
Place the image in the rectangle so that it looks like a Polaroid.
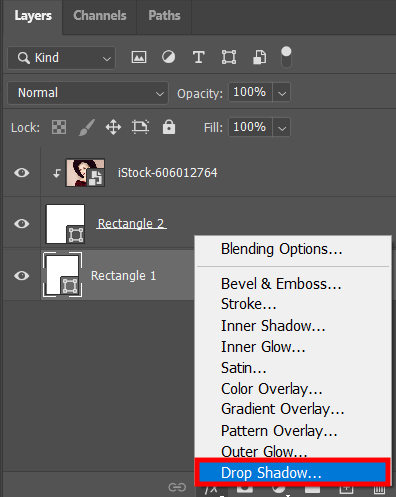
Add a shadow to your Polaroid to give the feeling that one layer hovers over the other below and casts a shadow on it. This will help create a 3D look for your designs and make them more realistic.
To add a drop shadow in Photoshop, click “Drop Shadow” in the pop-up menu by right-clicking on the required layer before that.
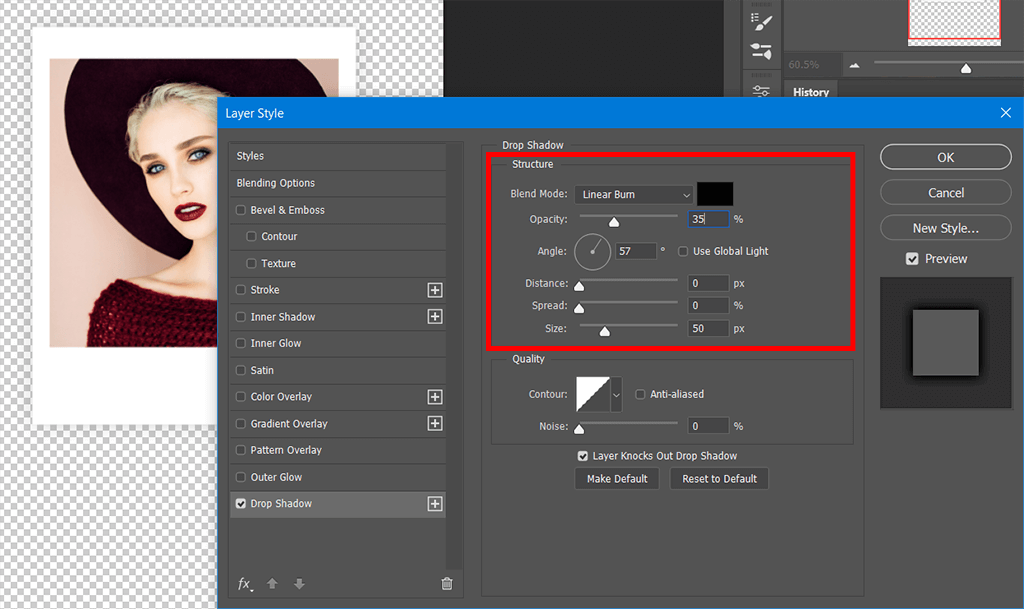
When the Drop Shadow Layer Style dialog box appears in front of you, find Structure and Quality effects to customize the shadow. Set the angle so that it is mostly straight.
Pro tip
I recommend lowering the opacity to around 35% to make the shadow look realistic.
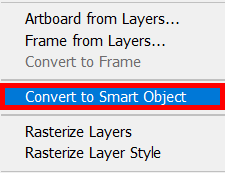
You can create a Smart Object for the Polaroid template to move it around as you like. A Smart Object is a Photoshop feature that is a layer carrying the same data as regular layers. The only difference is that with a smart object, non-destructive editing becomes available to you.
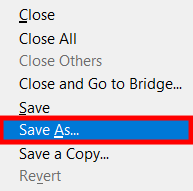
Save a copy of the template as a PSD so that the next time you want to enhance your photo in the same way, you don’t have to create the rectangles and enter the size of a Polaroid photo again. While your project is open, click File > Save As.
In the dialog box that opens, write the file name and specify its location. Don’t forget to name the file differently to avoid losing the original file.
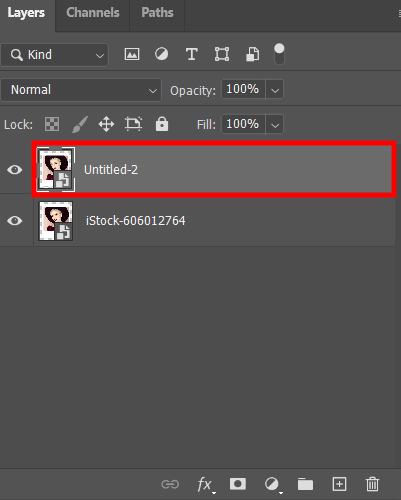
Open the template in a new window and double-click on it.
Replace the photo with a new one and press Ctrl+S/Cmd+S to return to the main document.
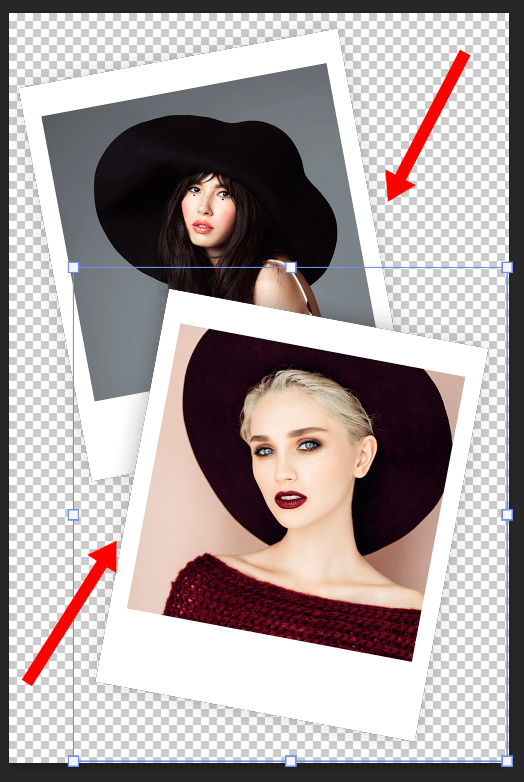
Arrange your Polaroid photos whatever you like. You can locate them near or on top of one another.
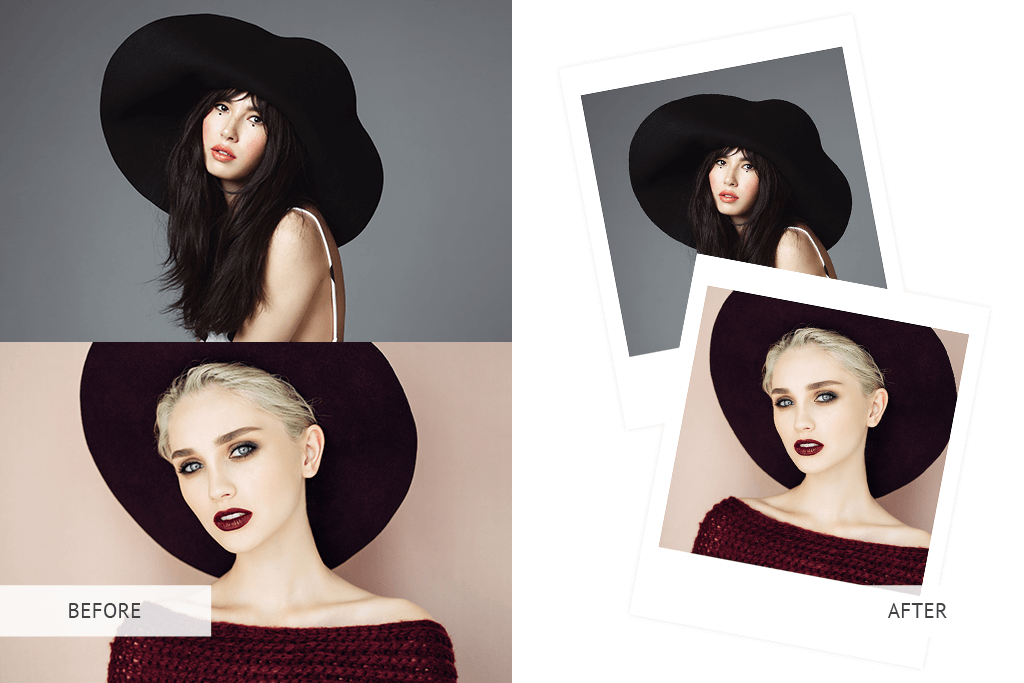
You did it! Now that you know what size are Polaroid pictures and how to create them in Photoshop, print them out and make attractive and creative Polaroid picture display ideas to decorate your room or the entire house with them. If it seemed to you difficult and long, but you still want such cute photos, contact the experts.
They can add Polaroid effects to your photo, put them in a Polaroid frame, and manipulate your photos to make them look like it was taken on a vintage camera.