How to Add Drop Shadow in Photoshop

Adding drop shadow is an important technique for both: photographers and graphic designers. If you often cut your subjects or objects out of their background and Photoshop them into a picture, you need to know how to recreate their shadow. This will make the image realistic, by adding depth to it.
1. Make a Selection
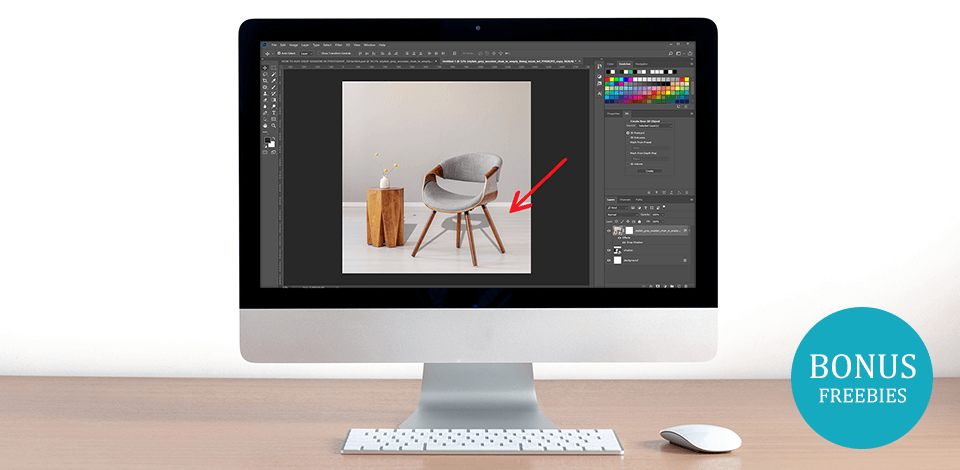
First, you need to make a selection around the shape of the object. In my case, it’s a chair. You can use any method that is the easiest and most effective for you. Photoshop offers many selection tools. For simple selections, use the Rectangular Marquee Tool or the Elliptical Marquee Tool. For more complicated objects, use the Lasso Tool.

2. Copy to a New Layer
Next, we need to copy the object to a new layer. Use the Photoshop keyboard shortcuts - Ctrl + J (Cmd + J).

3. Create a Layer and Fill it with Black
Use the shortcut Ctrl + left mouse click on the layer’s thumbnail (Cmd + left mouse click) to select the object once again. Create another layer and fill it with black, by going to Edit > FIll.

4. Position the Shadow
Move the shadow layer below the layer with the cut-out object. Transform its shape by clicking Alt + Ctrl + T (Option + Cmd+ T). This will activate the Transform Tool. Then, holding down the points, press and hold the Ctrl (Cmd) key and drag in the desired direction without breaking the perspective.

5. Create Shadows for Different Objects Separately
If there are several objects in the photo, it’s best to create shadows for them separately, using different layers.

6. Make the Shadow Less Defined
Now, we’ll lower the shadow’s opacity, by going to the Filter menu and selecting Gaussian Blur. Increase the radius, until it looks realistic enough. I’m going to use a radius of 4,5 pixels.

8. Done! Save the File
Your shadow is ready. Now, you know how to successfully Photoshop someone into a picture and recreate their shadow.
If you have a photo spoiled by shadows, don’t worry! There’s also a super simple way of removing shadows in Photoshop.
Adobe Photoshop Freebies

Make sure that your photos always look their best with this collection of freebies. It consists of actions, overlays, and brushes that will come in handy when you need quick and professional results.


