Photoshop offers lots of fonts to choose from but if you need a unique and creative typeface, you’ll have to install it. Today I’m going to show you a simple and brief tutorial on how to add a font to Photoshop. Follow 3 simple steps below to install any typeface you want.
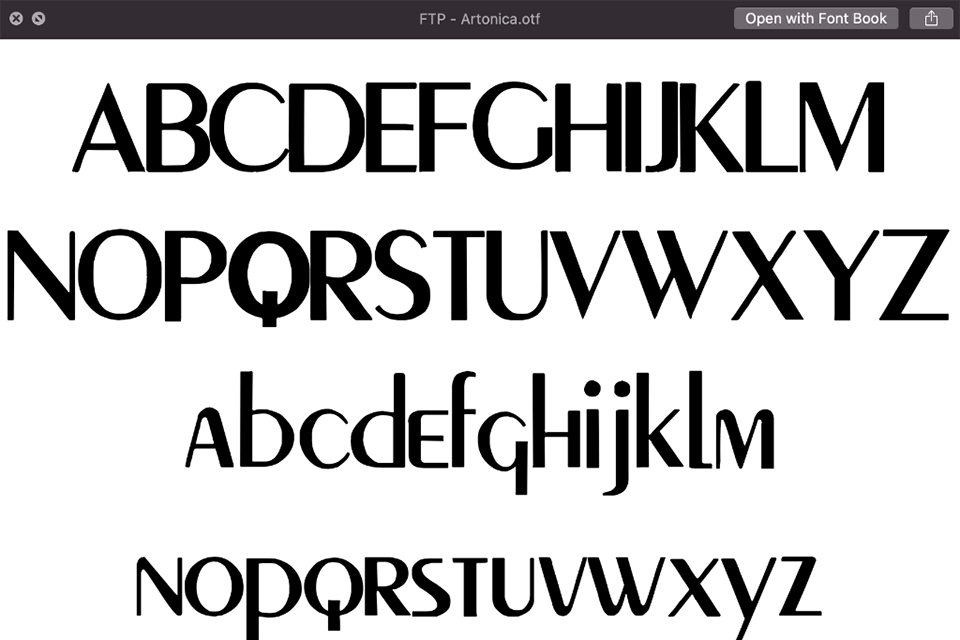
Download the typefaces you like from the internet. There are tons of websites that offer free fonts for Photoshop. Unzip the archive with the font. In the preview you can see the layout of all font options.
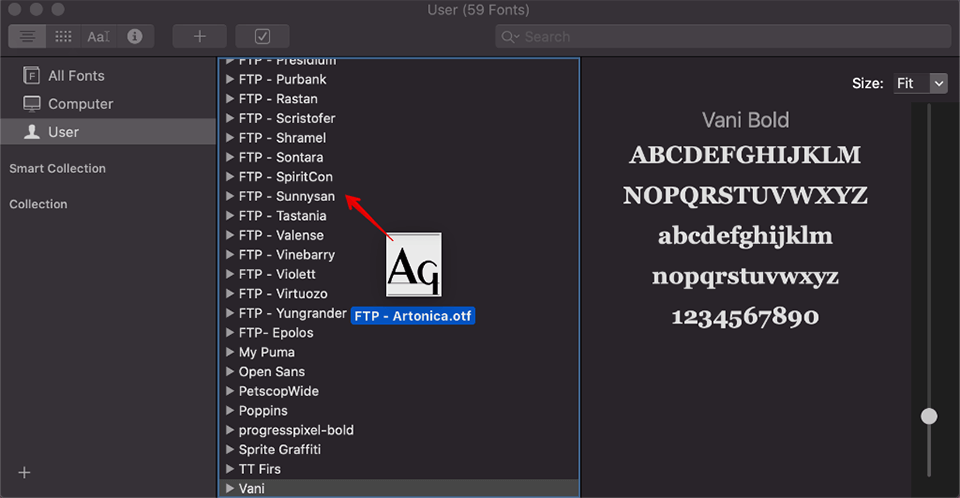
Open the Font Book folder and move the new typeface there. Now the font is within the Adobe library.
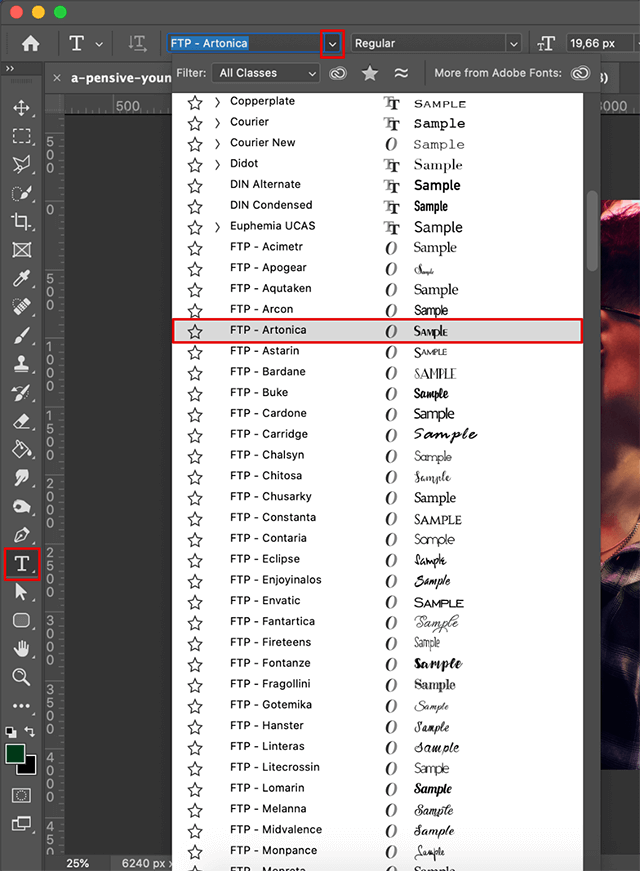
Finally, all you have to do is launch Photoshop and select the Type Tool in the toolbar. You should find the font that you just downloaded in the dropdown list in the top left of the screen. Adjust the size and color to match your preferences, and enjoy the new font!
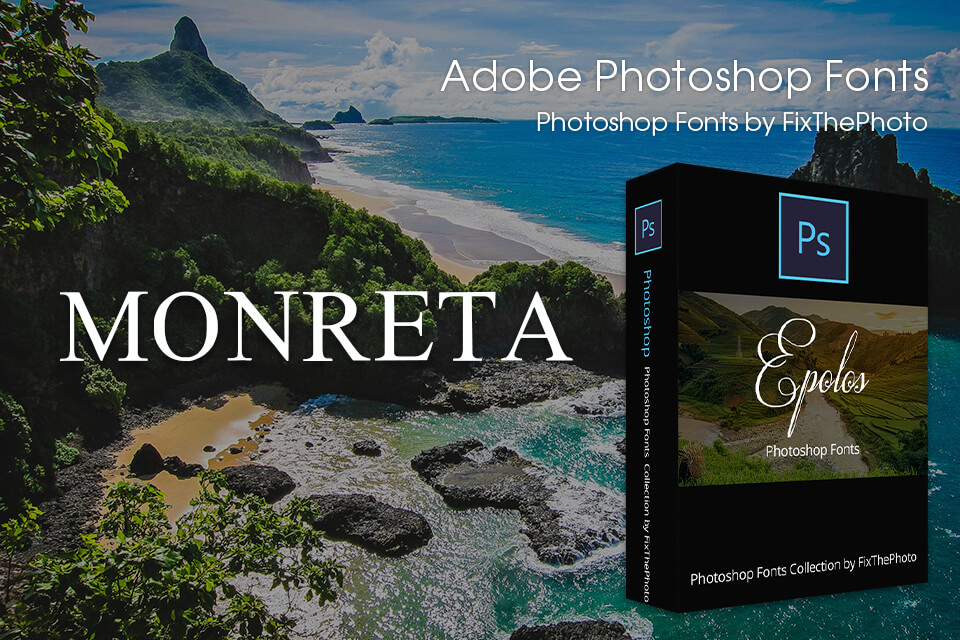
Tired of free Adobe fonts and looking for original fonts that match your creative vision? Here are 5 universal and absolutely free typefaces you can use for your next project.


