Would like to attract more viewers to your YouTube channel? Custom banner is a very important piece of your branding, as it’s one of the first things that potential subscribers see when they find your channel.
It’s a simple way to instantly grab their attention, as well as communicate exactly why your viewers should subscribe. I’ll run you through simple steps of how to make a YouTube banner in Photoshop for your channel.
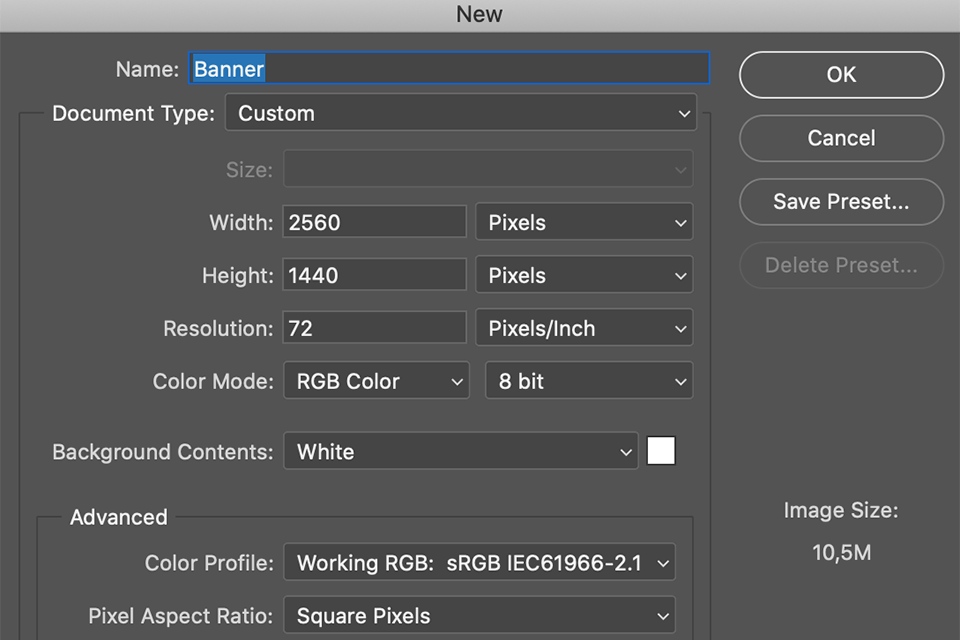
First, create a new file by choosing File → New → Blank File, or using the shortcut Ctrl + N (Command + N). Enter the size: 2560 x 1440 px, and the resolution: 72.
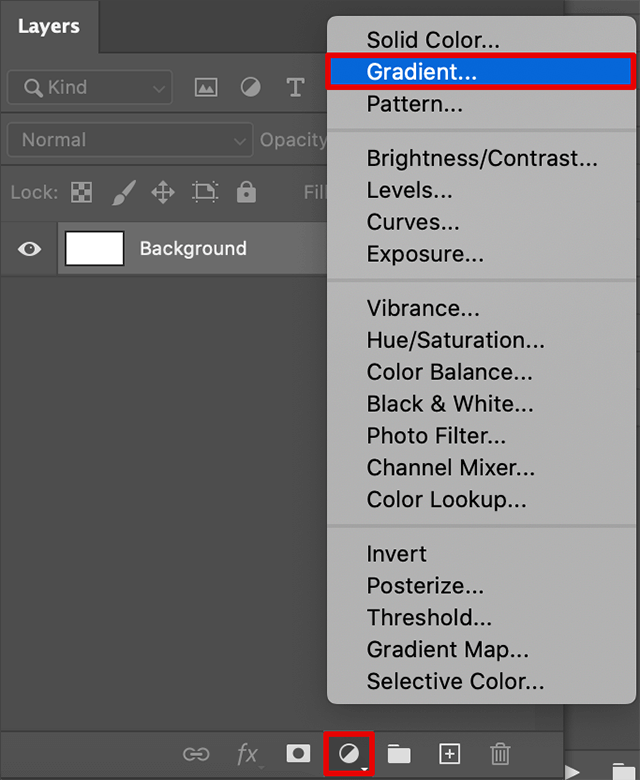
Click on the New Adjustment Layer icon at the bottom of the Layers palette and select Gradient from the list that appears.
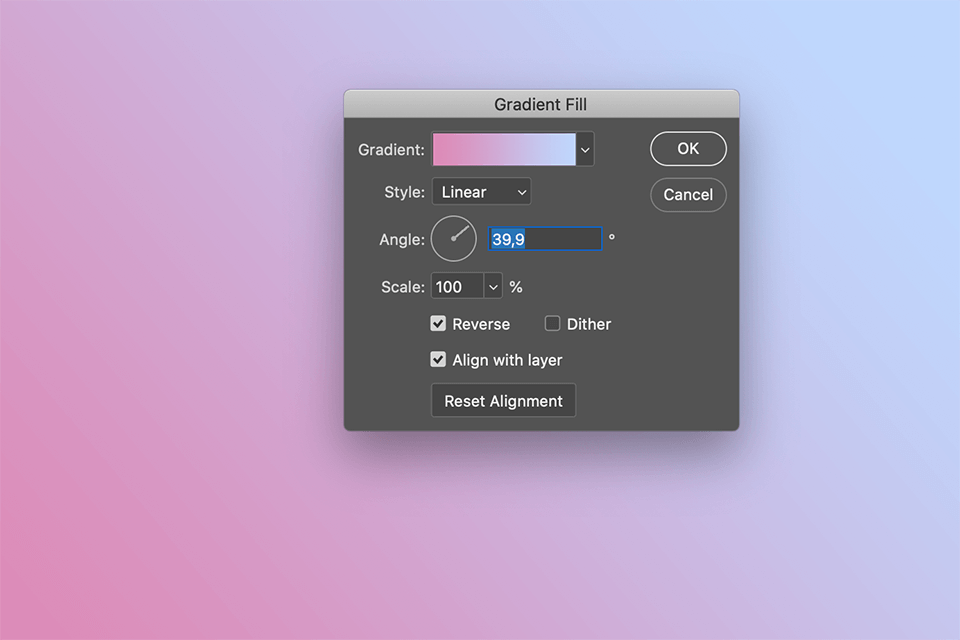
Click on the gradient to choose its typeand color.Then, specify the angle at which you want the gradient to be applied.
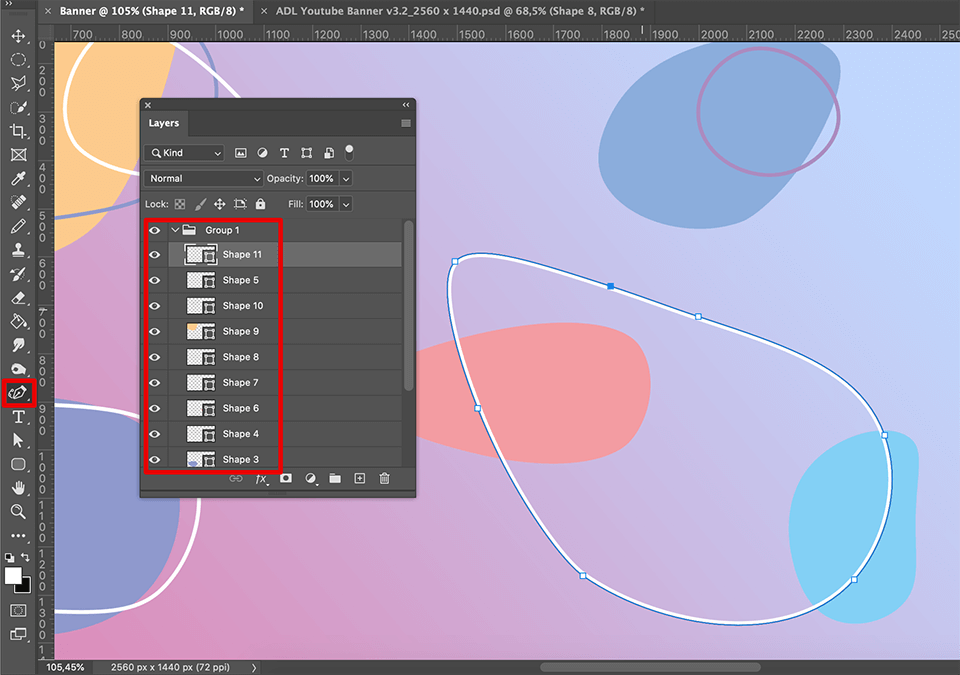
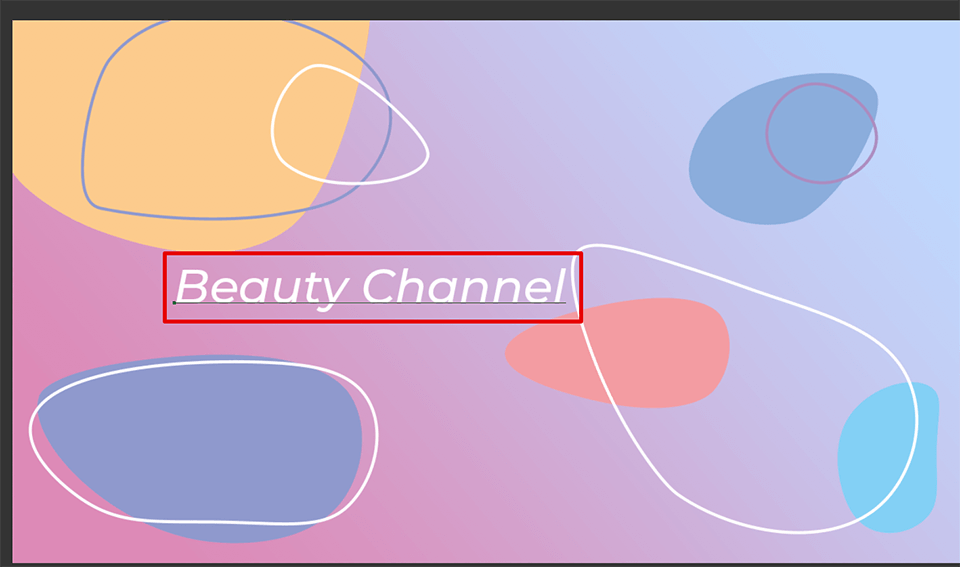
Draw different shapes using the Pen Tool (P). You can either leave them as line drawings or fill them with colors.
Select the Text Tool (T), and click where you want your text to go. Use the menus at the top to select the text color, font, font size, and style.
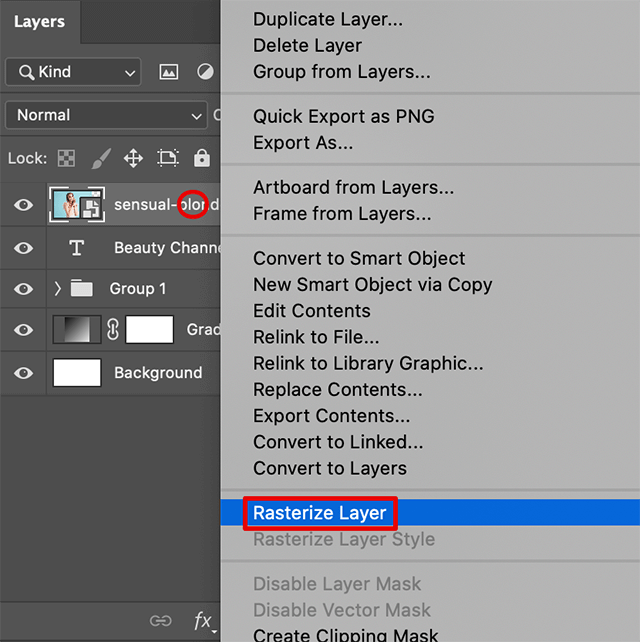
Add images to use as a background or logo in your banner, by dragging them to your Layers Panel. Thenright click on the layer with the image, and select “Rasterize Layer”.
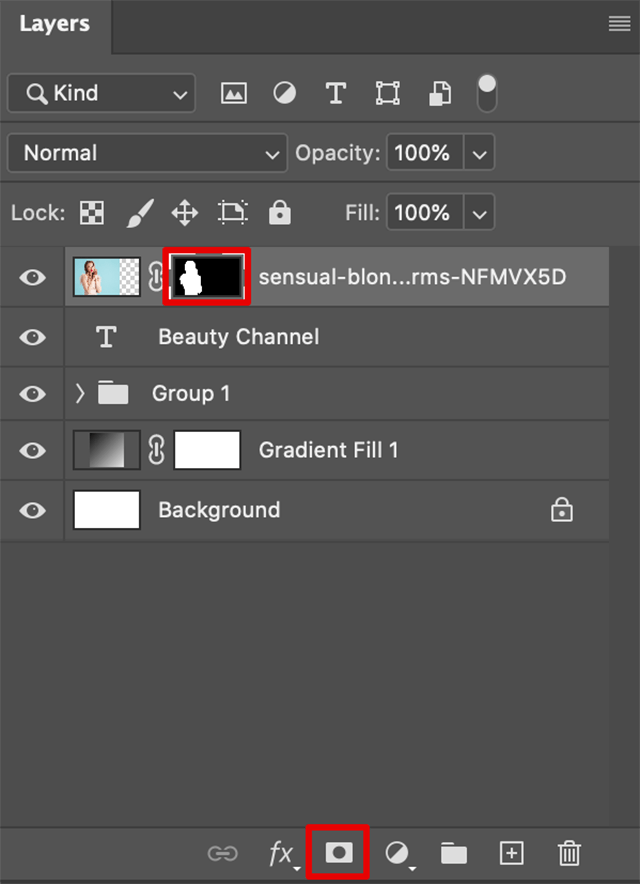
Select the object in the photo, by using the selection tool of choice. Next, create a layer mask with your selection for further convenient image adjustments. Finally, adjust the position of the photo on the banner. Add more photos, if needed.
It's a good idea to save your YouTube banner in its native PSD file format in case you need to edit it later on.
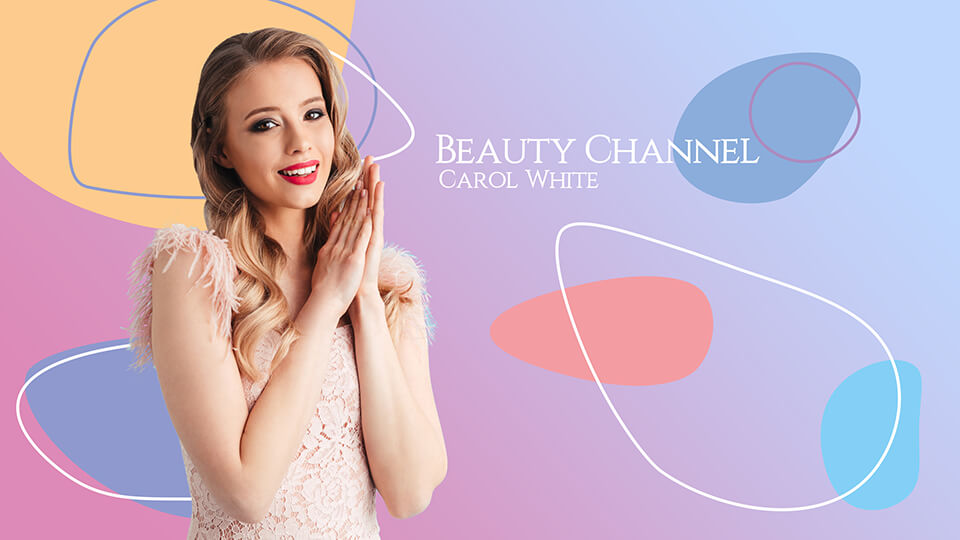
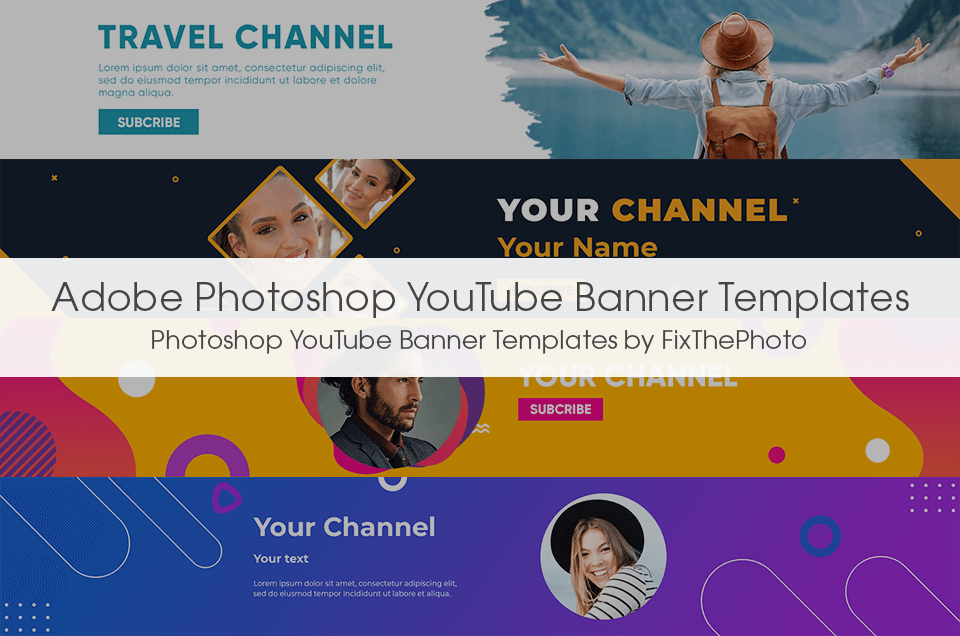
Don’t have the time or skills to make a banner in Photoshop from scratch? Use these professionally designed free templates to create a unique, and engaging banner in minutes.