Superimposing images using Photoshop photo editing software for PC allows you merge different layers, add a new logo to your product photos, or create a professional-looking collage.
If you have never done this before, first, you need to download Photoshop free from the official site. Then, follow the steps described below to achieve this effect.

In this Photoshop tutorial, I will tell you how to create a superimposed effect by following several simple steps.
First, you need to open two images and superimpose them one on top of the other. To open photos quicker, you can use Photoshop shortcuts – Cmd/Ctrl + O. Before superimposing photographs, organize the layers in a way that an image that you want to add to the top will be put above the background image.
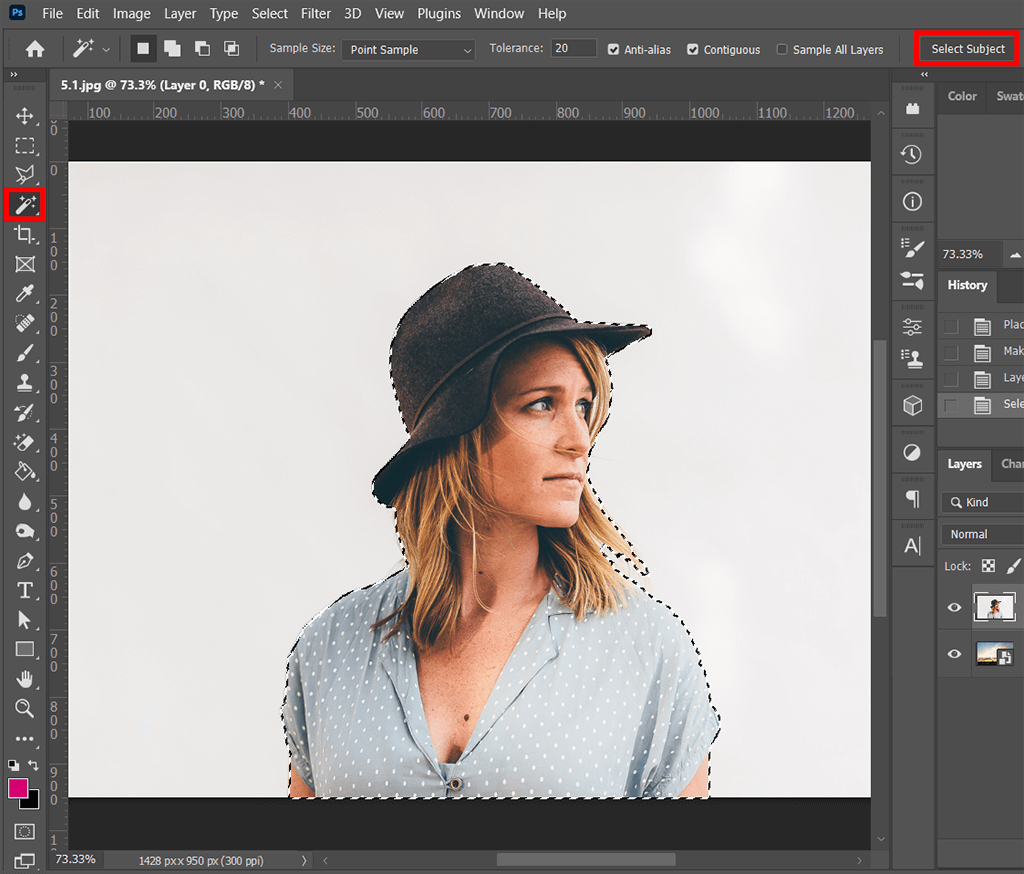
At this stage, it’s important to remove the background of a picture from the top layer.
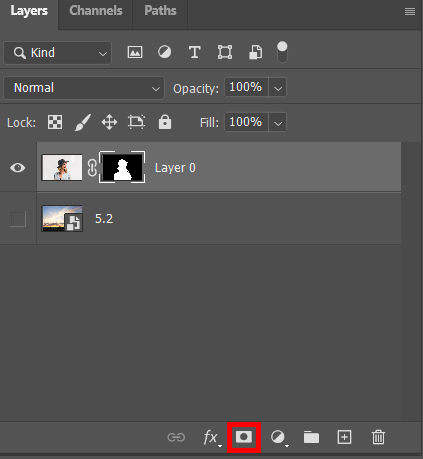
For those who want to get superimposed images Photoshop offers an automated tool. Click Remove Background to quickly delete the background from the top image layer and create a new Layer Mask. It will allow you to make the selected area invisible without deleting it.
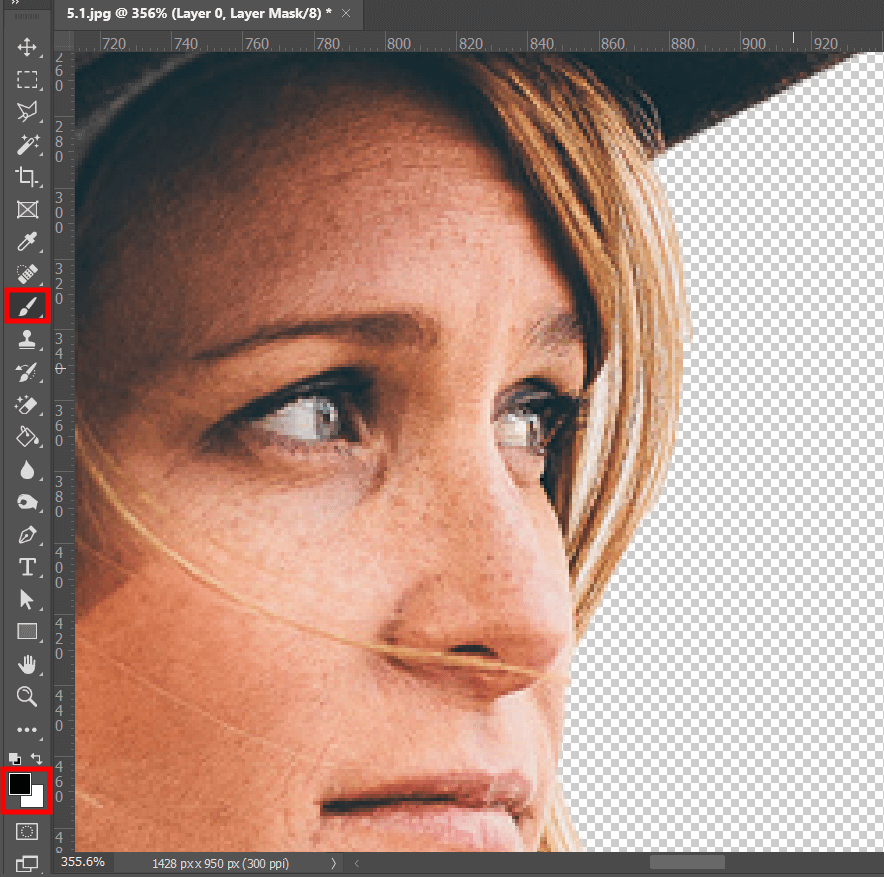
Once you have created a mask in Photoshop, make sure to edit it a bit further to achieve the most realistic effect. Start by editing the edges of the mask using the Brush Tool. Find it on the tools panel or press to select the B tool automatically.
By drawing on the mask using black, white, or other colors, you can create subtle gradients and slightly merge two images.
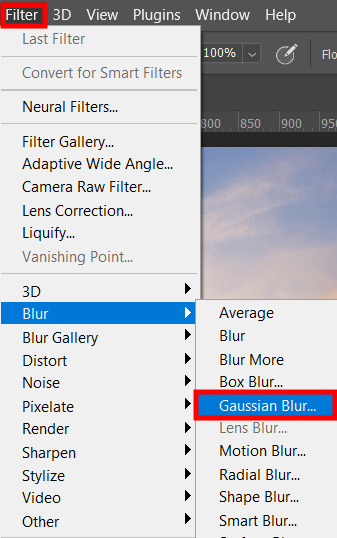
You might notice that the objects in the background look slightly blurred. It happens because of an insufficiently deep depth of field. This issue is common for situations when a camera is focused on the object in the foreground. You can add extra depth of field by applying the Gaussian Blur effect.
To make the background of the picture blurry, select it and then click on Filter > Blur > Gaussian Blur. After applying the effect, you can customize it to your liking by changing its intensity. It will allow you to create the necessary difference in depth.
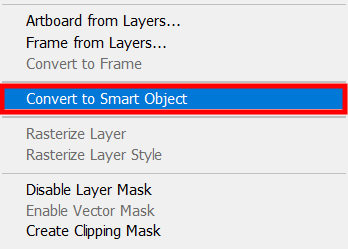
A Smart Object is a special container for storing one or multiple layers. By converting your layers into smart objects, you can perform non-destructive editing, add a distortion effect, apply filters, and transform your image.
After creating a smart object out of your layers, you can edit it as one image. To do it, you need to click on the Convert to Smart Object option.
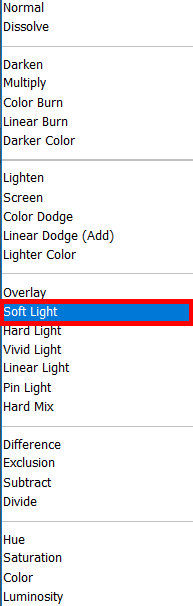
Click on the Color Overlay and select the most suitable option for bringing your idea to life.

After superimposing a picture, you can edit multiple layers as one image. It allows you to fix contrast issues, adjust the temperature, and change saturation to give the final touches to your photo. Pay attention to the transparency settings as they will impact the quality of your effect.
Then, save your image in the highest quality image format, such as PNG or JPG. It will allow you to optimize it before posting it online or uploading it to your portfolio.

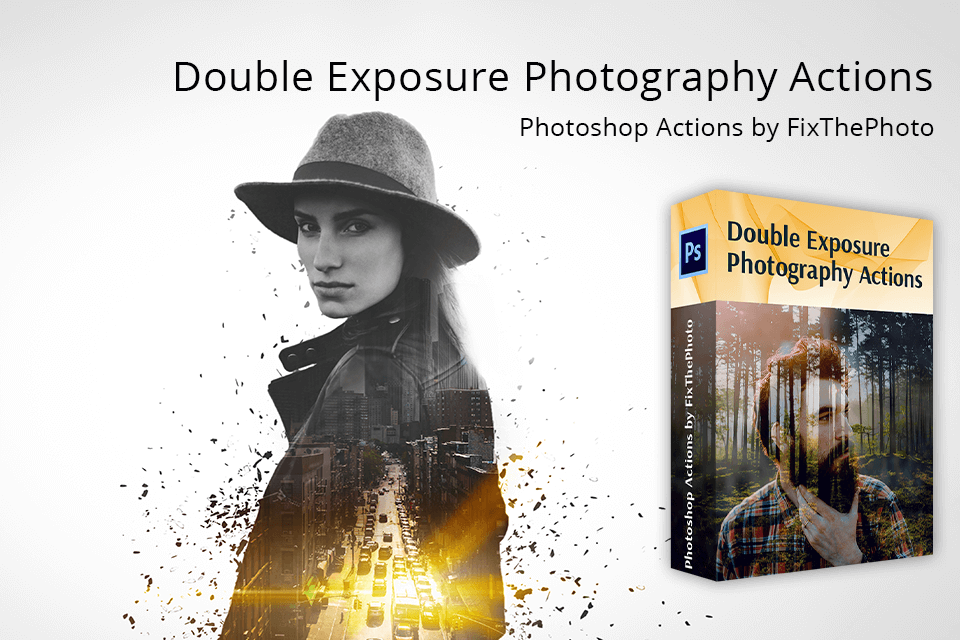
In case you want to add a double exposure effect to your photos or fix some issues with your superimposed pictures, take a closer look at this bundle of effects. In a few clicks, you can create a mesmerizing superimpose effect and customize it.
You can quickly install Photoshop actions on your device and use these effects to give your photos a professional feel.
When selecting images for superimposing in Photoshop, it is important to consider the composition, lighting, and perspective of both images to ensure they align seamlessly. Selecting images with similar resolutions and color tones can help in achieving a more realistic and cohesive superimposed result.
Yes, Photoshop offers advanced features like Content-Aware Fill, which intelligently fills in missing areas when superimposing images and helps create seamless blends. There are various plugins available, such as Topaz ReMask or ON1 Perfect Mask, that provide specialized tools and algorithms specifically designed for intricate image superimposing tasks.
The biggest challenges are matching the lighting and color tones between the base and superimposed images for a realistic blend, as well as ensuring proper perspective and alignment. Another pitfall can be the presence of fine details or intricate edges, which may require careful masking or refining techniques to avoid noticeable artifacts or inconsistencies.


