The Healing Brush tool in Adobe Photoshop Lightroom is used for removing minor imperfections and retouching small details. To use it, click on the area that you want to edit, and the program will automatically fill it with the pixels from the source area nearby.
If you aren’t fully satisfied with the result, you can experiment with selecting different source spots. This tool is perfectly suitable to remove objects in Lightroom in a few clicks.
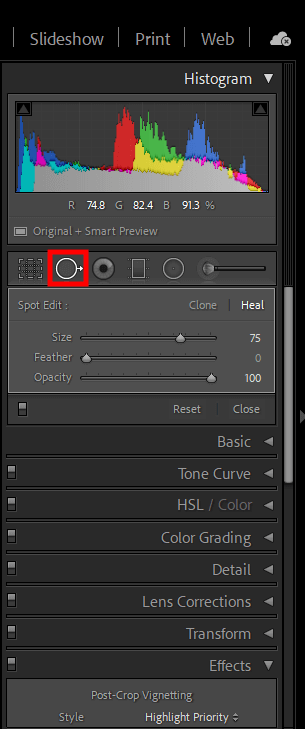
After opening your photo in Adobe Lightroom software, find the tool under the «Develop» menu under the histogram. Its icon looks like an adhesive bandage. Click on it and select «Heal» in the parameters of the «Brush».
Size: select a size that is a bit bigger than the spot that you want to hide.
Feather: to make subtle edits, select a higher number. If you want to make precise edits, opt for a lower number.
Opacity: in most cases, it’s better to set its value to 100 unless you want to make a percentage of the healed area visible.
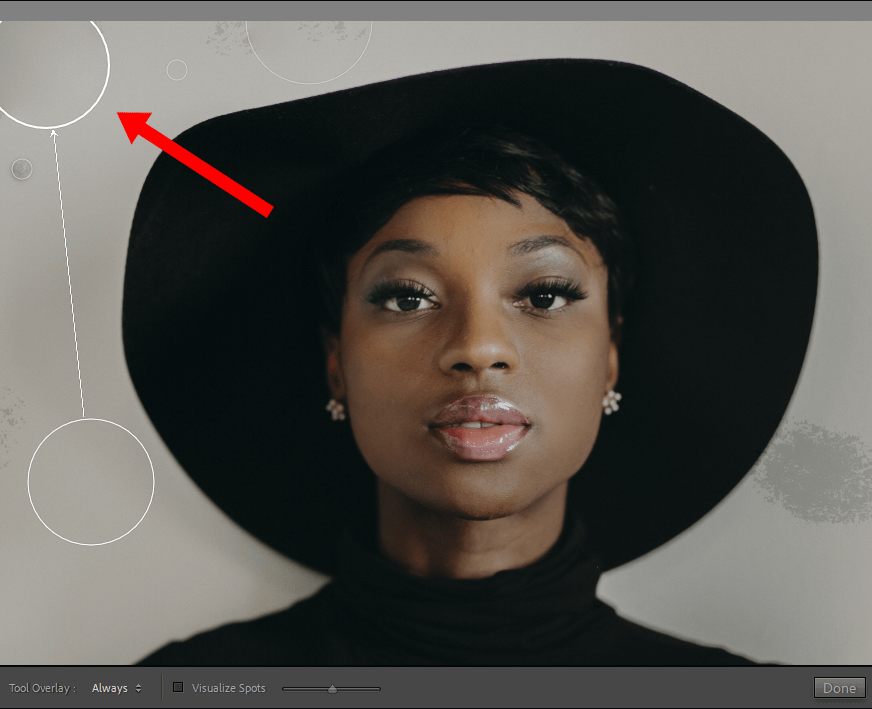
Click on the dusty area (as you can see in my example), and Lightroom will automatically select an area nearby to use it as a source area for healing the spot.

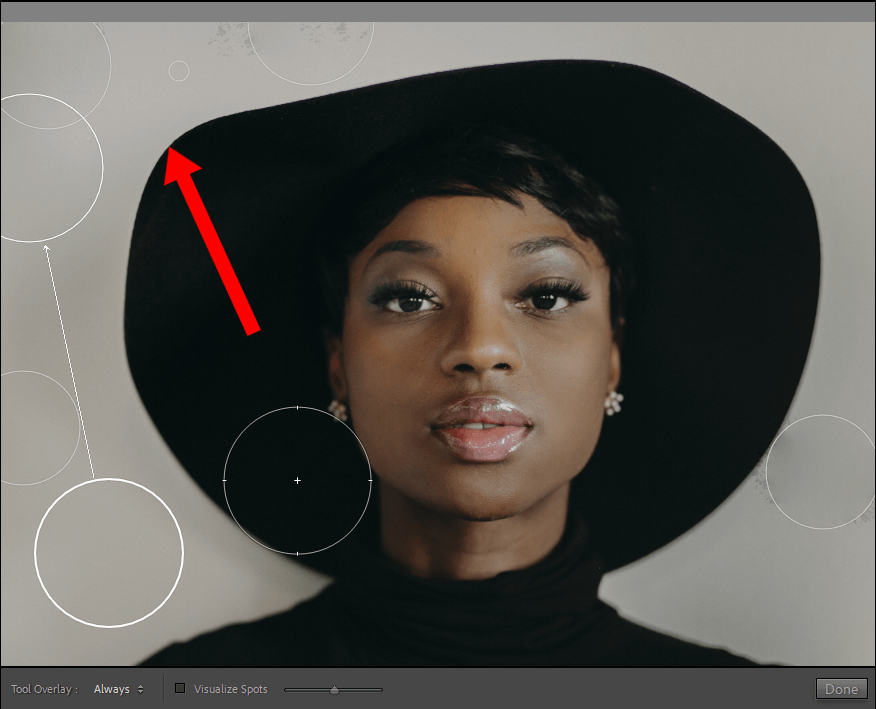
Now that you know how to use Lightroom Healing Brush, you can keep editing your image until you are fully satisfied. If you don’t like the result, you can select another source spot by moving it to a different area of the photo.
If you need to delete the effect created by the Healing Brush, just click Delete on the selected area.
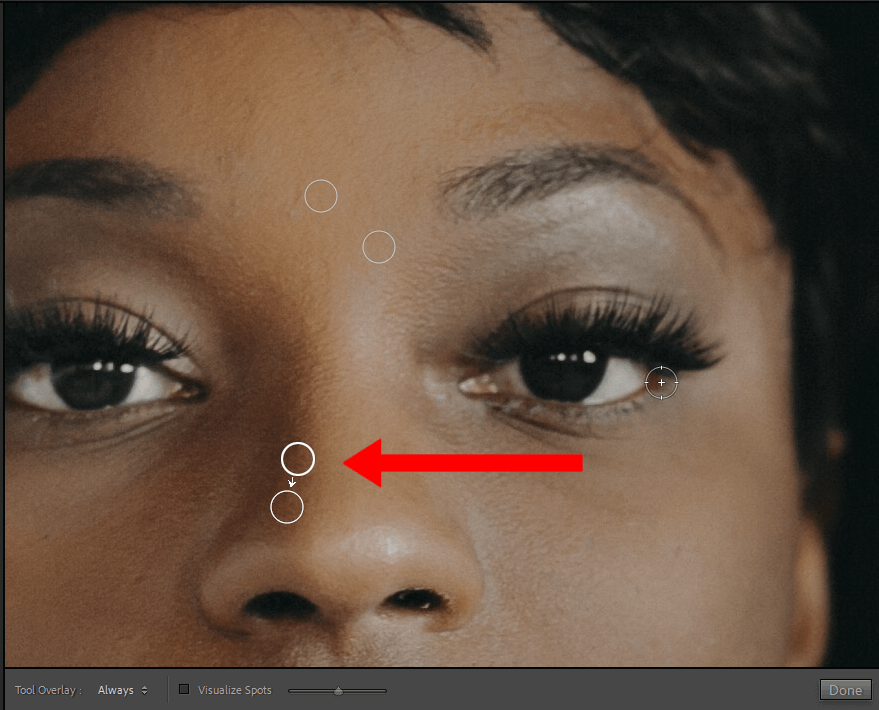
You can also use this brush for retouching.
To fix this problem, try covering the object with a color that is similar to the surroundings and then add some detail to the texture by using the Healing Tool Lightroom.

In case you want to edit photos in Lightroom like a pro without wasting much time, take a look at this collection of presets that will help you give your photos an attention-grabbing look.
You can use them for editing RAW and JPEG photos in a few clicks. These presets are fully compatible with Lightroom 4-6, Creative Cloud, Classic, and Mobile.
It’s one of the most widely used tools for skin retouching. Lightroom Healing Brush will come in handy for those who want to remove pixels from a selected area and replace them with pixels from other areas. In simple words, it allows photo retouchers to get rid of defects and imperfections with little to no effort. This tool is based on an advanced algorithm, which ensures its smooth functioning.
Healing Brush is used by default for situations when you need to improve the quality of your image by removing a variety of defects. Spot Removal Tool is more suitable for quick imperfection removal as it uses clone areas to hide defects. It doesn’t require you to find a source spot. When using the Healing Brush, it’s important to click on the source point first and then apply the brush to the area that you want to edit.
Some issues might be caused by the settings of the source layer. If it is indicated as the “Current Layer,” change it to the “Layer below all layers”.


