If your goal is to learn how to get accurate Canon colors in Lightroom to receive the same tones you would from camera-rendered RAW photos, then you came to the right place.
Sadly, Adobe Lightroom alters the colors instantly upon import, as the added photos are re-rendered with the help of standard color profiles. Once that process is complete, your images might end up looking bland, void of contrast, or having entirely different colors. You can deal with all of those issues by performing the following steps.

You can start by importing the desired Canon RAW photo into Lightroom. Now, go to the “Develop” module.
Once in the Develop workspace, find the “Camera Calibration” section. This is where you have to locate the “Profile” submenu. Accounting for the common photographer’s desire to have colors that match the ones rendered by their camera, Adobe has developed various camera color profiles based on the colors produced by rendered JPG photos.
The science that goes into developing such camera profiles is rather complicated and deals with taking pictures of various color charts in JPG format and then attempting to replicate those colors when rendering RAW images.
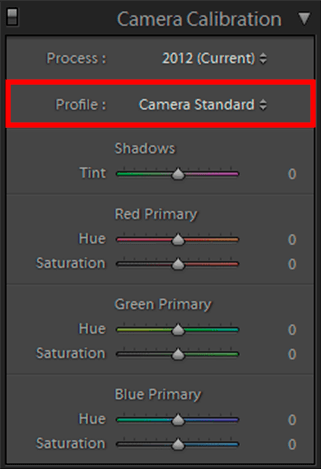
Adobe did a fantastic job creating Canon camera matching color profiles, namely Camera Faithful, Camera Landscape, Camera Neutral, Camera Portrait, and Camera Standard. The software lets you pick any option you need, but remember to choose a color profile that matches the one set on the camera.
If you don’t want to follow this step, you can simply tweak the colors in your photo manually to achieve the specific result you have in mind.
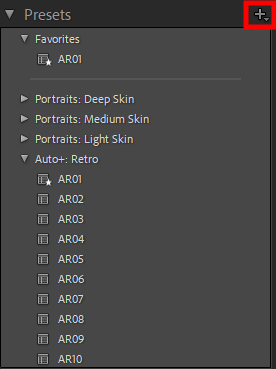
Find the “Presets” section on the left-side panel and click on the “+” symbol to add a new preset. You’ll be greeted by a special pop-up window.
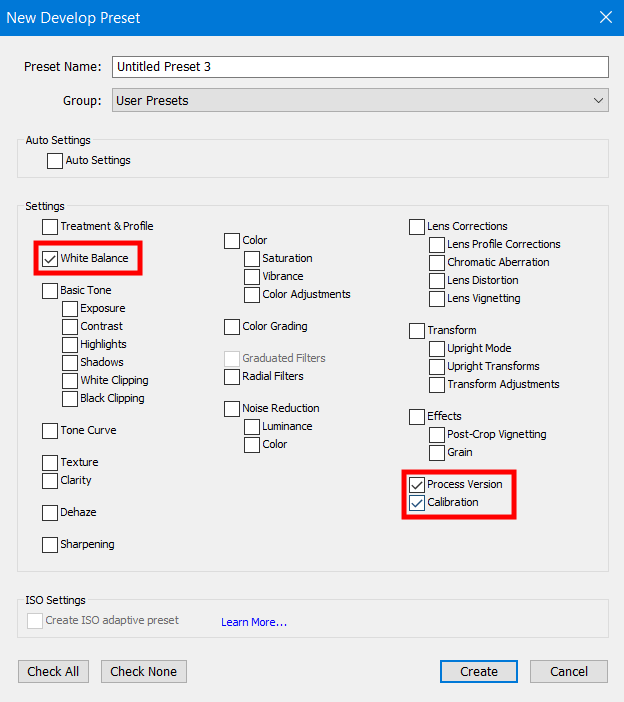
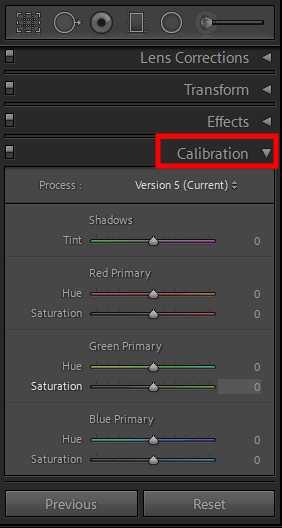
Type in the name for the preset. You can either save it to the standard “User Presets” folder or create a custom one to make navigation more convenient. It’s important to only enable “White Balance”, “Process Version” and “Calibration”.

Once you’ve performed the previous step, press “Create”. The newly added preset can now be found in the general Presets menu inside the chosen folder. This preset will be particularly handy if you tend to batch edit in Lightroom a lot.
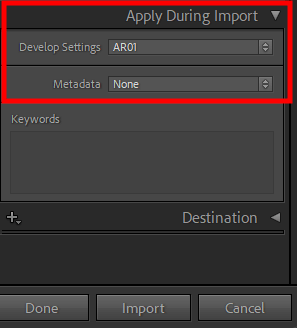
The last thing you have to do to achieve your goal of getting accurate Canon colors in Lightroom is applying your preset when importing photos. Open the Import Window and find the “Apply During Import” section on the right. Open the “Develop Settings” dropdown menu and choose the freshly added preset.
Once you do that, all photos that you will import from this point on will automatically have the desired camera profile that will match the one selected in your camera.
This tutorial taught you how to get accurate Canon colors in Lightroom and add your own presets. That said, if you don’t have the image editing skills necessary to accomplish this task properly, you can take advantage of premade presets that can be applied in a few clicks. These tools were created by experienced photographers to ensure you can make the necessary enhancements in a single click. The only thing you have to do is add presets to Lightroom and apply them when needed.
Before the age of digital photos, when all photographers used film, it was regular practice to pick a film that was tailored for specific subjects. Whendigital cameras were initially released, they all offered the same color reproduction. You could tweak different settings but there was no simple method for doing so. As time went on, more and more manufacturers began introducing color profiles to their cameras.
It’s possible to use color profiles both in-camera or in Lightroom. In-camera profiles are primarily there for people who shoot in JPG. If you’re one of them, it’s vital to pick the desired profile before you take the photo since it cannot be changed in Lightroom later. If you’re shooting in RAW, then you don’t have to worry about that since you can experiment with Canon color science freely in Lightroom whenever you want.
Canon cameras are all equipped with different Picture Styles. The default color profile is called “Standard” and it is the one most frequently used by photographers. It’s generally recommended to not tweak Picture Controls since all the changes you make can affect your RAW photos as well (for instance, choosing high values for Contrast, Saturation, and Color Tone).


