Regardless of your level of experience, you can use Lightroom keyboard shortcuts to save time and edit your images like a pro. While there is a variety of Lr shortcuts, it’s impossible to remember and use all of them. This is why it might be a good idea to memorize only the most useful shortcuts that will help you edit your photos more quickly.

This shortcut is one of the most used in Lightroom as it allows you to view your images in a grid. Press G to access the Grid View mode quickly. After editing your photo, press the G key again. This option streamlines navigation.

Regardless of the module you are using, you can quickly switch to the white balance settings by pressing 'W'. It will allow you to adjust the white balance in a few clicks. This tool will select the eyedropper which you can use to edit your image.
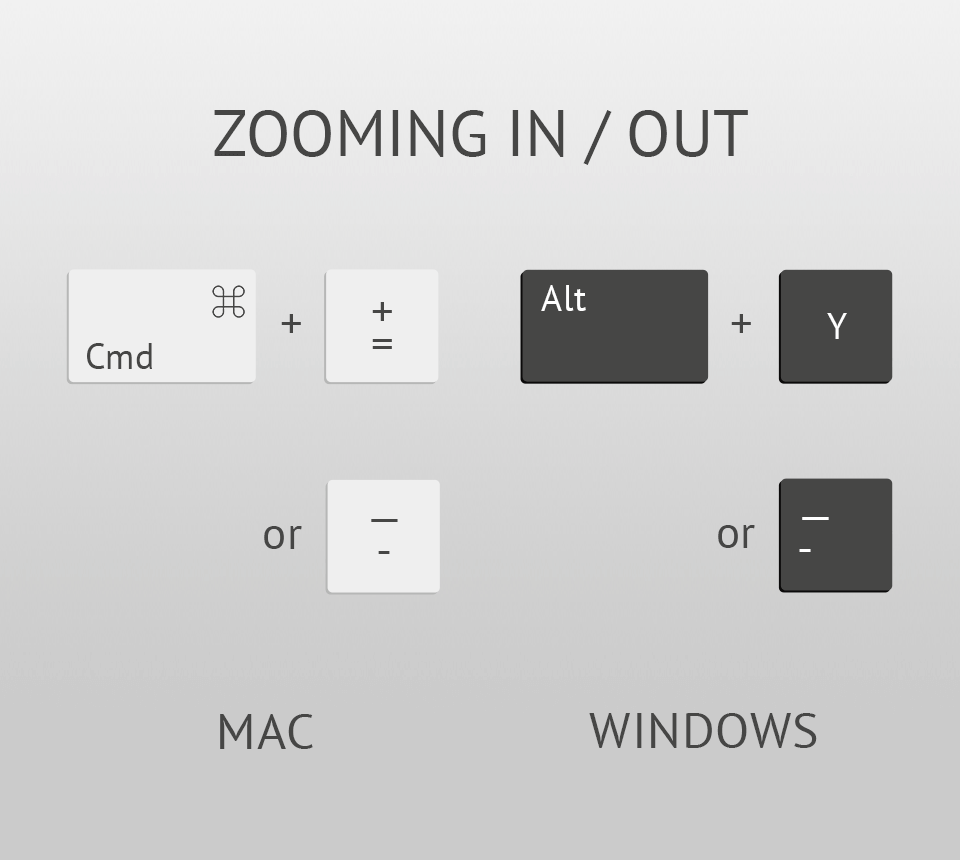
If you need to zoom in or zoom out, use the Ctrl+=/Cmd+= shortcut. It allows you to zoom by 25% quickly. By using it repeatedly, you can significantly enlarge your image or make it smaller. When zooming out, use the Ctrl+-/Cmd+- combination, which will reduce the image size by 25%.
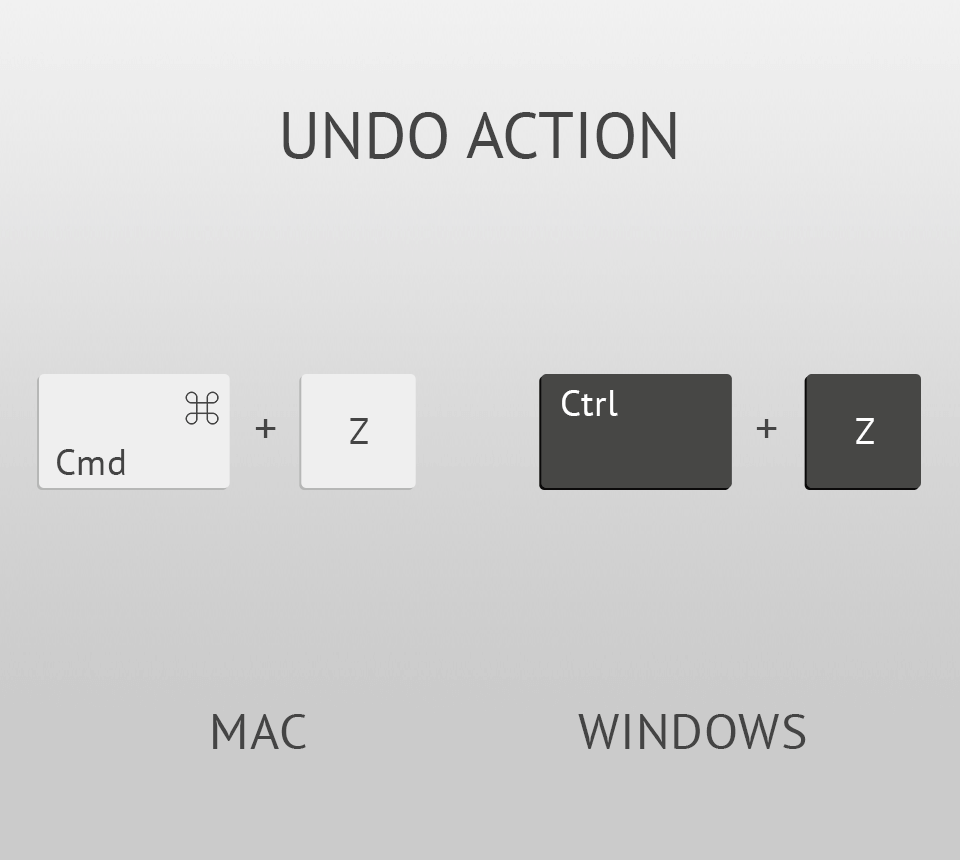
In case you aren’t satisfied with the results of your edits, you can Undo them and restore the previous version of a photo. There is no need to look for the Undo option in the Edit tab. Use the Ctrl + Z/Cmd+Z combination instead. It will allow you to undo your last edit regardless of its time. If you use this shortcut again, it will undo another step. You can undo all your edits until you restore the original image.
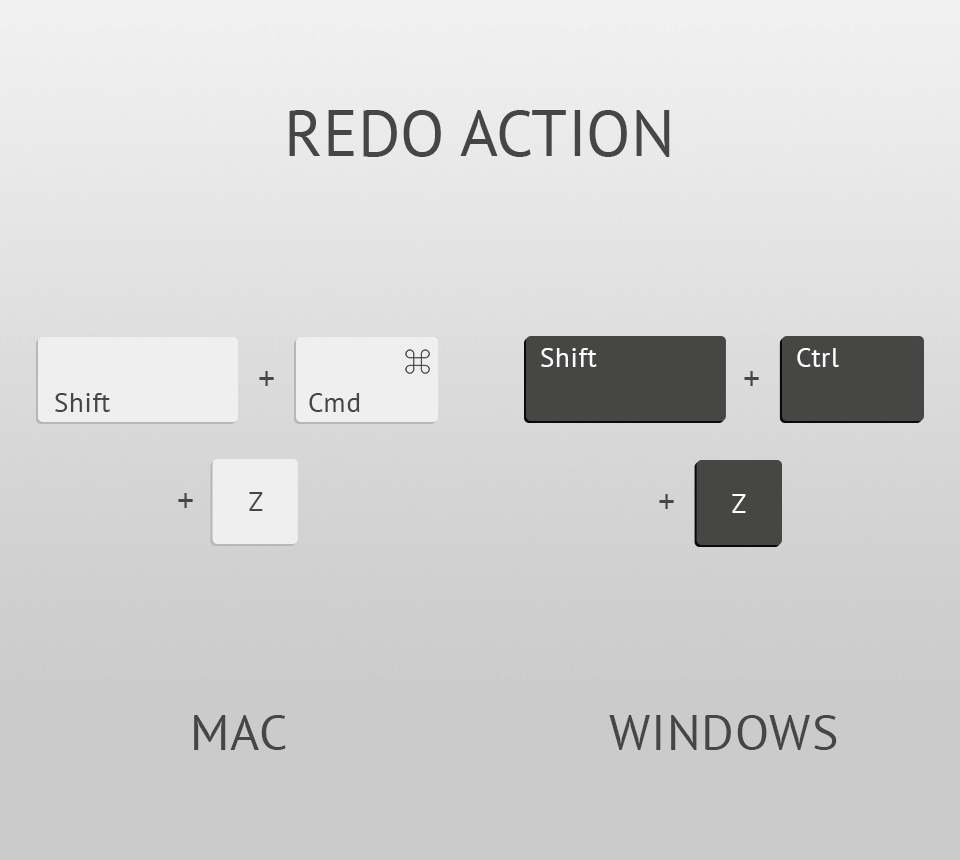
To redo your last edit, use Shift+Ctrl+Z/Shift + Cmd+ Z. You can also use the Ctrl+R/Cmd+R combination to reset all the settings that you changed when editing your picture and restore default values. Such Lightroom Classic shortcuts will help you speed up your workflow.
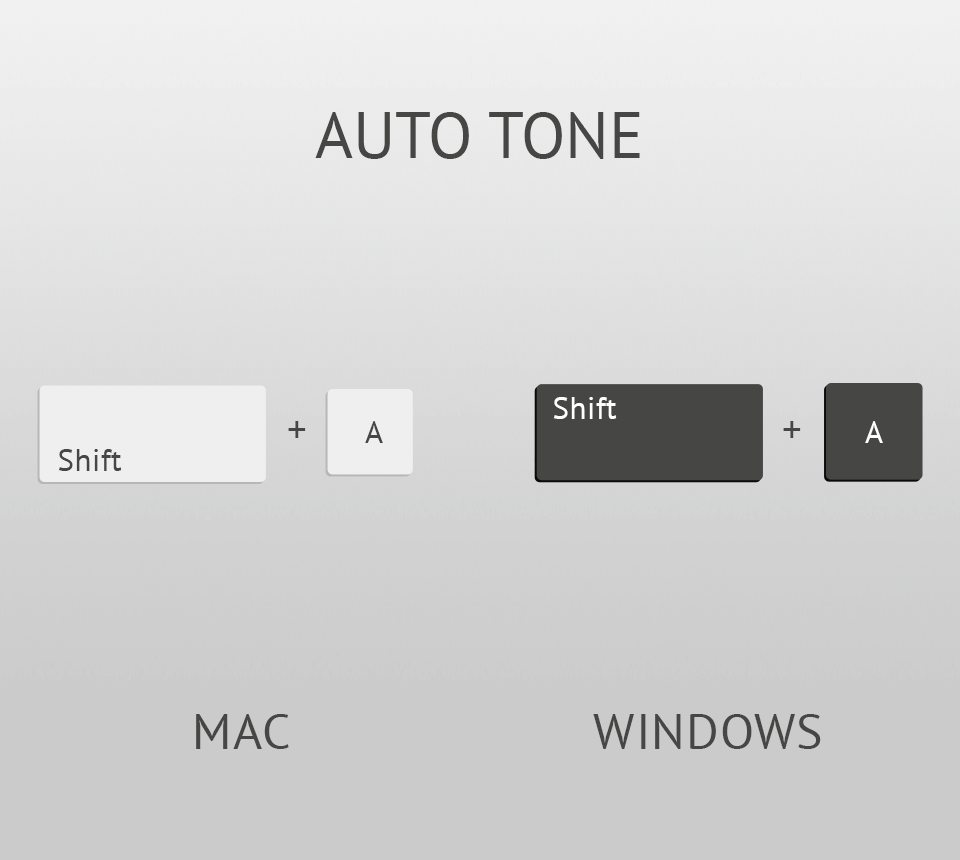
This tool allows you to adjust the exposure automatically. You can also use the Shift+A combination to automatically adjust other settings, such as contrast, highlights, blacks and shadows. Auto Tone allows you to speed up your editing routine.
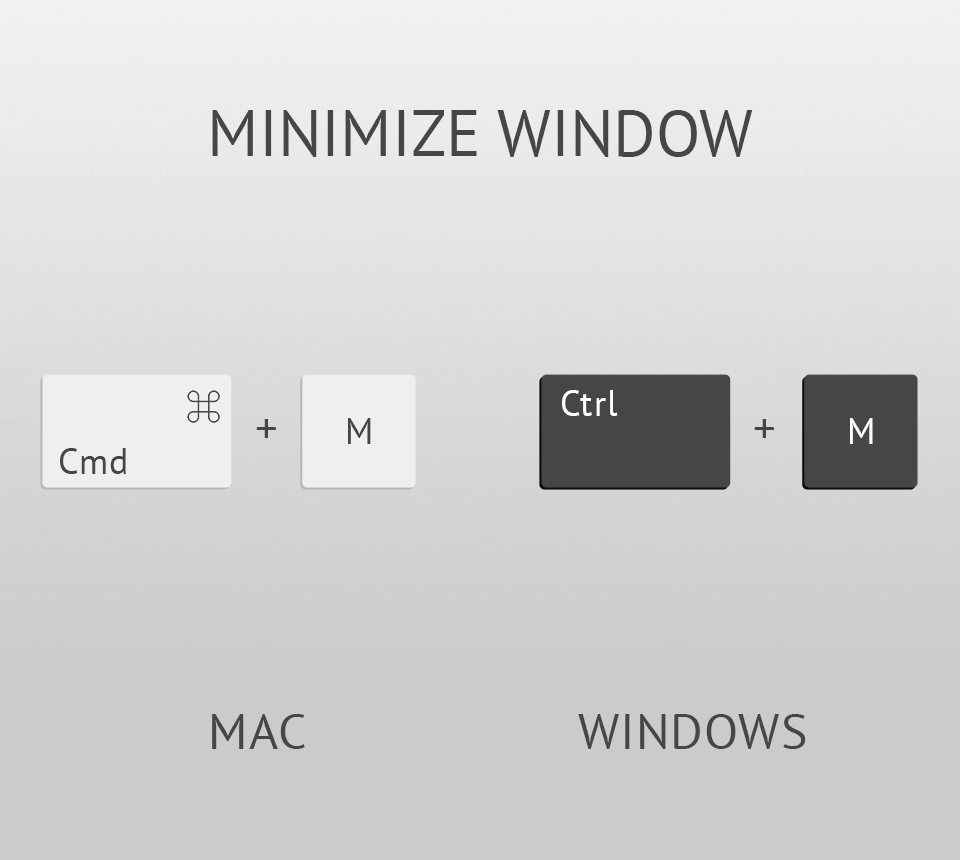
In case you don’t want to be distracted by open windows and want to hide the Lr window while leaving this software running, use the Cmd+M/Ctrl+M shortkey. It will allow you to access other programs without closing Lightroom.
When working in Windows, you will notice a button in the taskbar that allows you to access the minimized window. In Mac OS X, you will see this icon on the right.
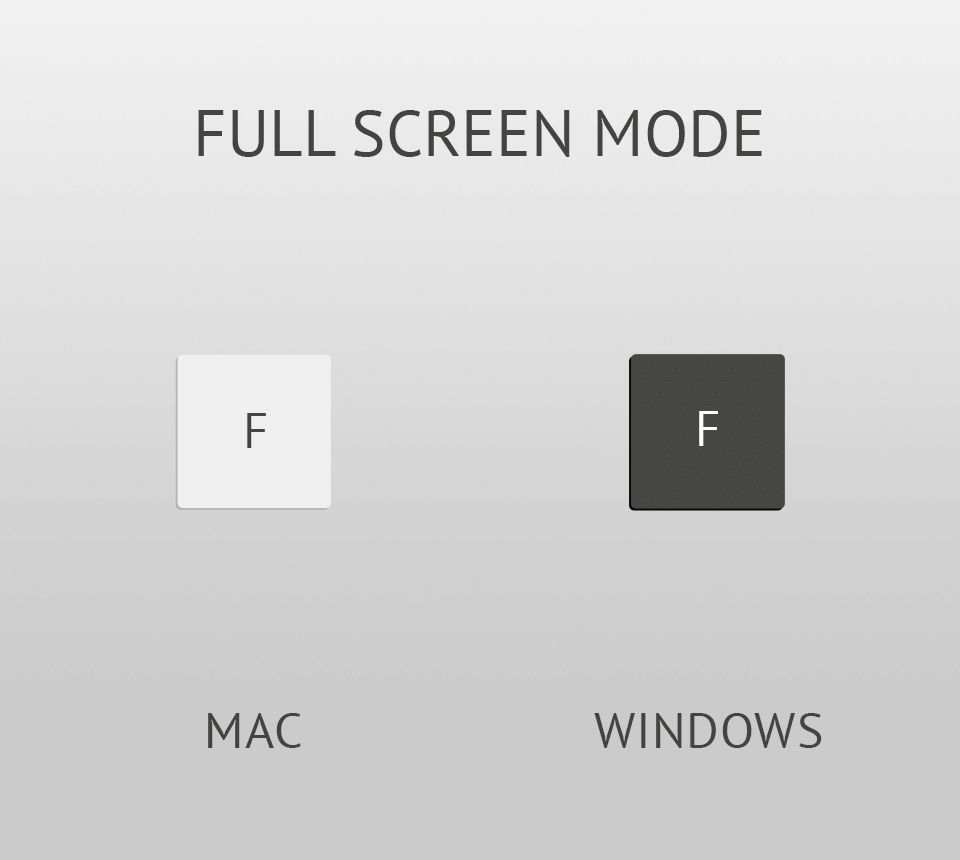
If your image requires professional editing, you might need to view it in full size without being distracted by toolbars. Use the F key to preview your image in the Full-Screen mode. It will allow you to hide the menus and panels to see your picture against a simple black background.
With the help of the left/right arrow keys, you can preview the next or the previous image.
If you select only one image and decide to view it in the Full-Screen mode, you will be able to look through the entire collection of the images in the same folder using the arrow keys. However, if you select several images, you will be able to preview only them.

This shortcut will be especially useful for those who need to quickly access the copy and paste tools when working in Lightroom. To get started, select a picture that you want to copy. Then, use the Cmd+C/Ctrl+C shortkey. To paste an image, you need to use the key Cmd+V/Ctrl+V combination. If you are interested in batch editing in Lightroom, hold Cmd/Ctrl and select several pictures to apply your edits to them.
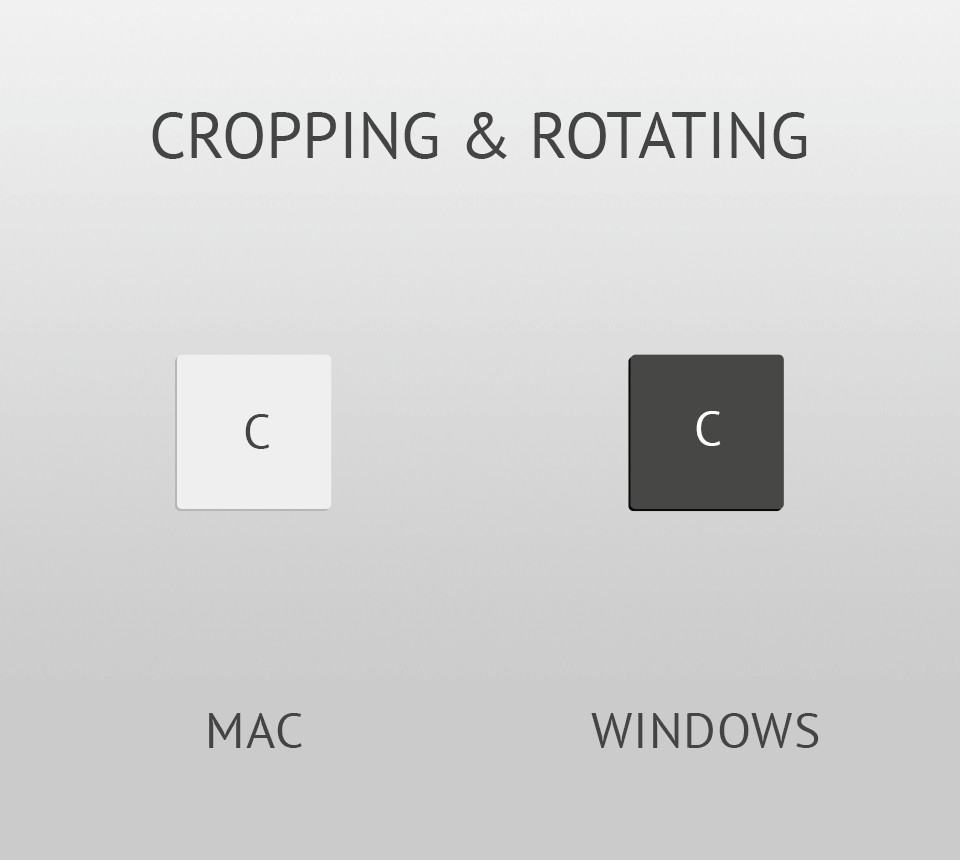
To improve the overall composition, you may also need to crop or rotate your images. With the help of the "C" key, you can quickly access the Crop Tool. Similarly, you can use shortcuts for rotating your images. When everything is ready, press the "C" key to close the tool.
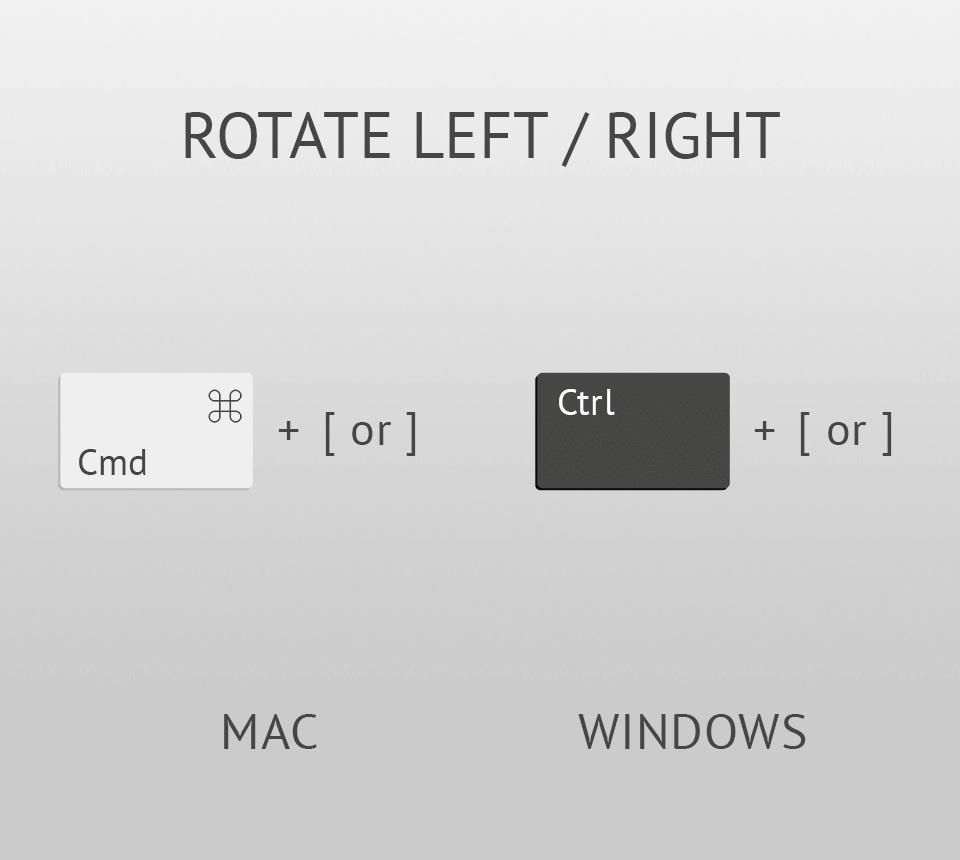
In some cases, you might need to change the orientation of your footage. Use the Ctrl+[/Cmd+[ Lightroom shortcut keys to rotate your picture to the left. You can use it several times until you are satisfied with the result. Alternatively, you can use the Ctrl+]/Cmd+] key combination to rotate your photo in the opposite direction.

As it might be a time-consuming task to add many keywords to your images in Lightroom, the developers introduced convenient shortcuts for speeding up this process. With the help of the Ctrl+K/Cmd+K shortcut, you can quickly access the Keywording menu and open the field where you can enter your keywords.
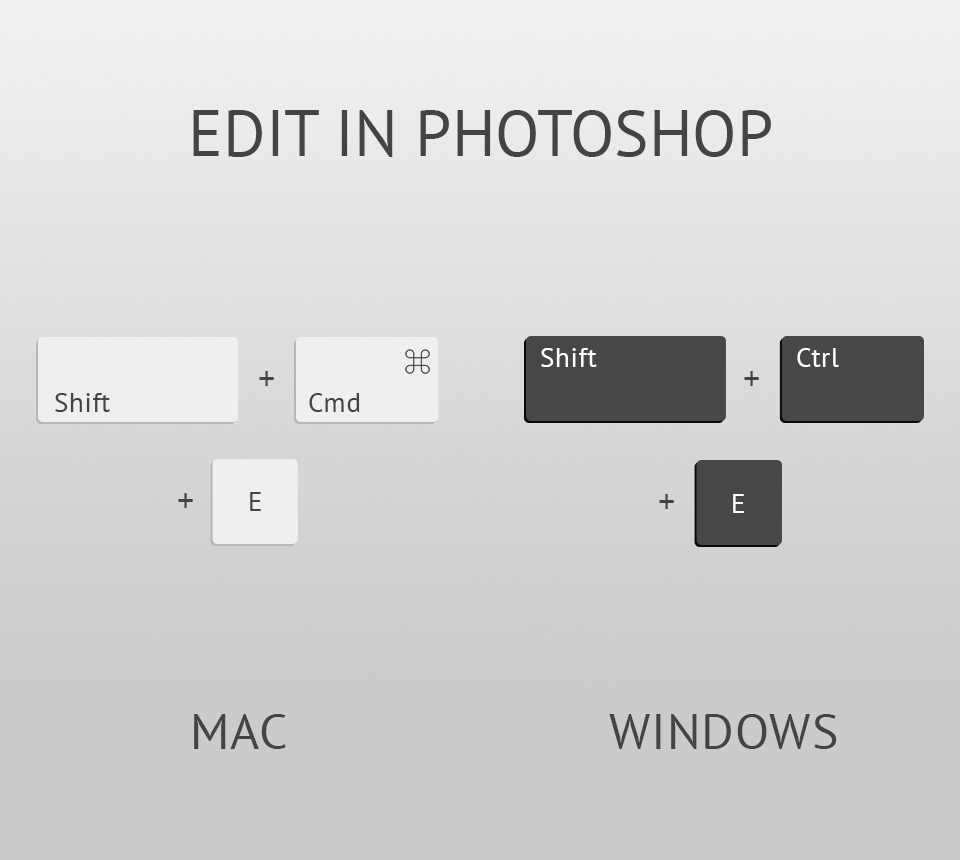
In some cases, you might need to continue editing your images in Photoshop to solve more advanced tasks. There is no need to save your picture and open it again in Photoshop. You can just use the key Shift+Command+E/Shift+Ctrl+E combination to export it. It will allow you to further improve your photo by adding various actions and overlays available in Photoshop. To speed up your workflow even further, you can use Photoshop keyboard shortcuts. When you are fully satisfied with the result of your editing, you can press Ctrl+S/Cmd+S to save the results. You will see your image in Lightroom with all the edits applied to it in Photoshop.
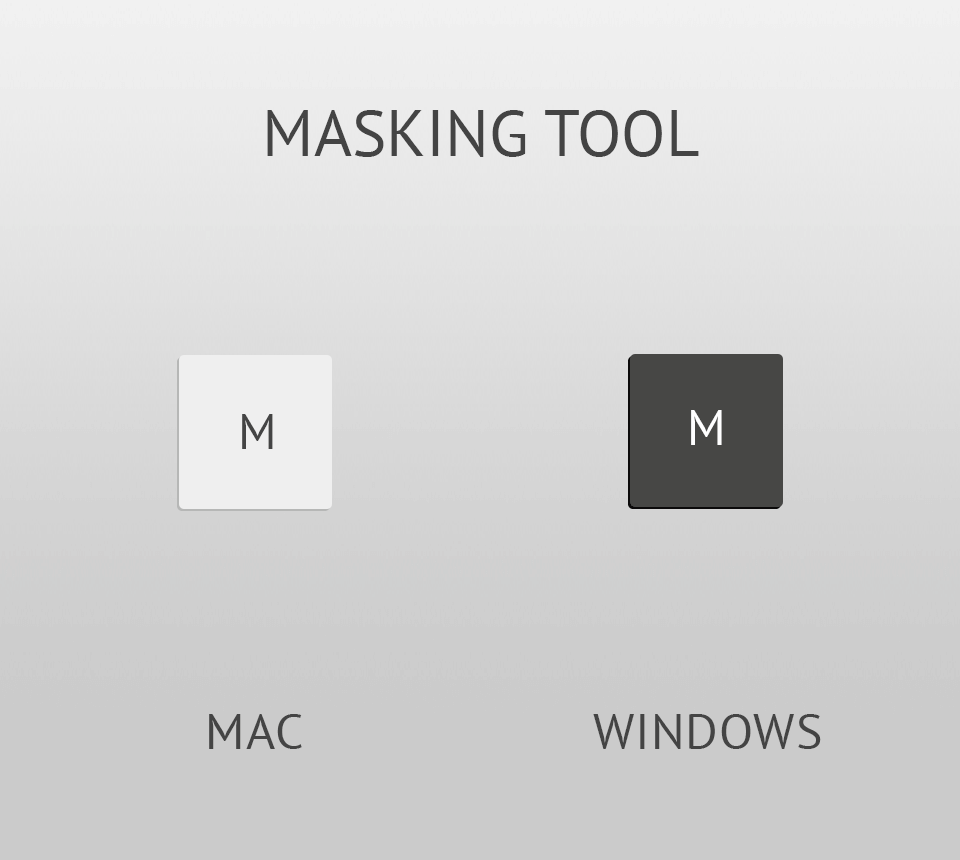
If you are interested in non-destructive editing techniques, you may use the masking tool that allows you to edit your images with high precision. For instance, you may use it to whiten teeth in Lightroom while leaving the exposure levels in other parts of the image without changes. To use this tool, press "M". By clicking this key again, you can close it. You can also press “O” to make a mask overlay visible or hide it. Using such Lightroom shortcuts Mac and Windows users can save a lot of valuable time.
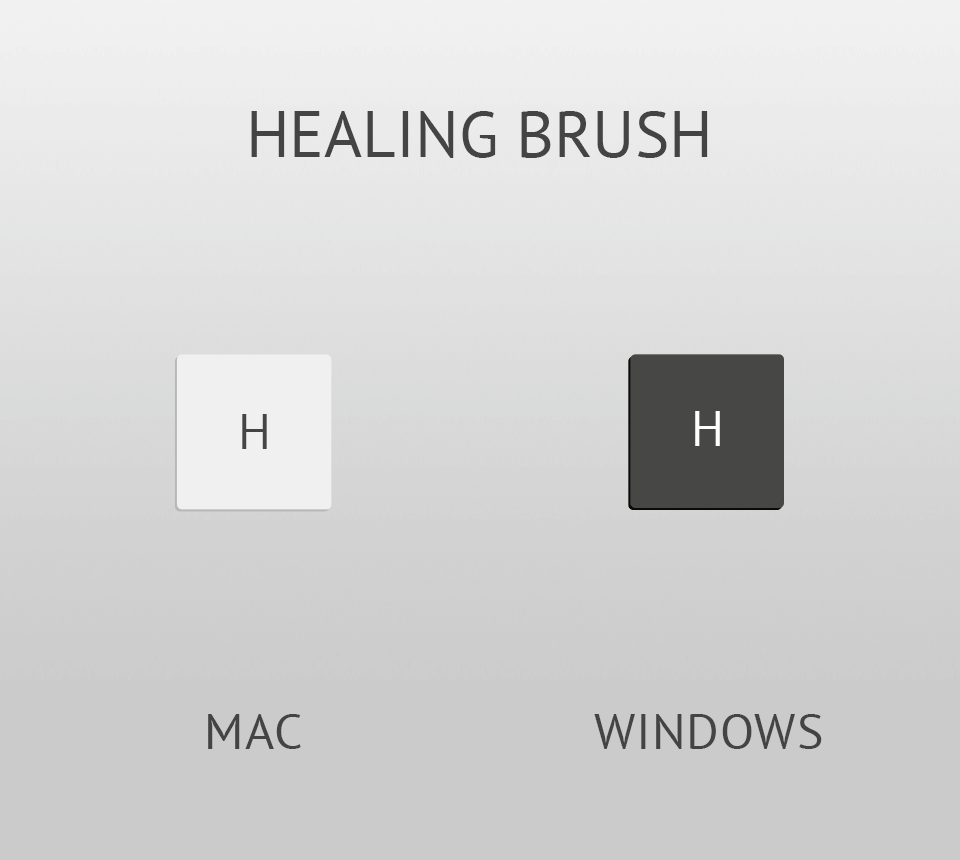
With the help of the Healing Brush, you can effortlessly remove objects in Lightroom and get rid of small imperfections that spoil the composition in the frame. Press the “H” key to access this handy tool quickly. You can also use the Shift + T key combination to switch between Clone and Heal modes.
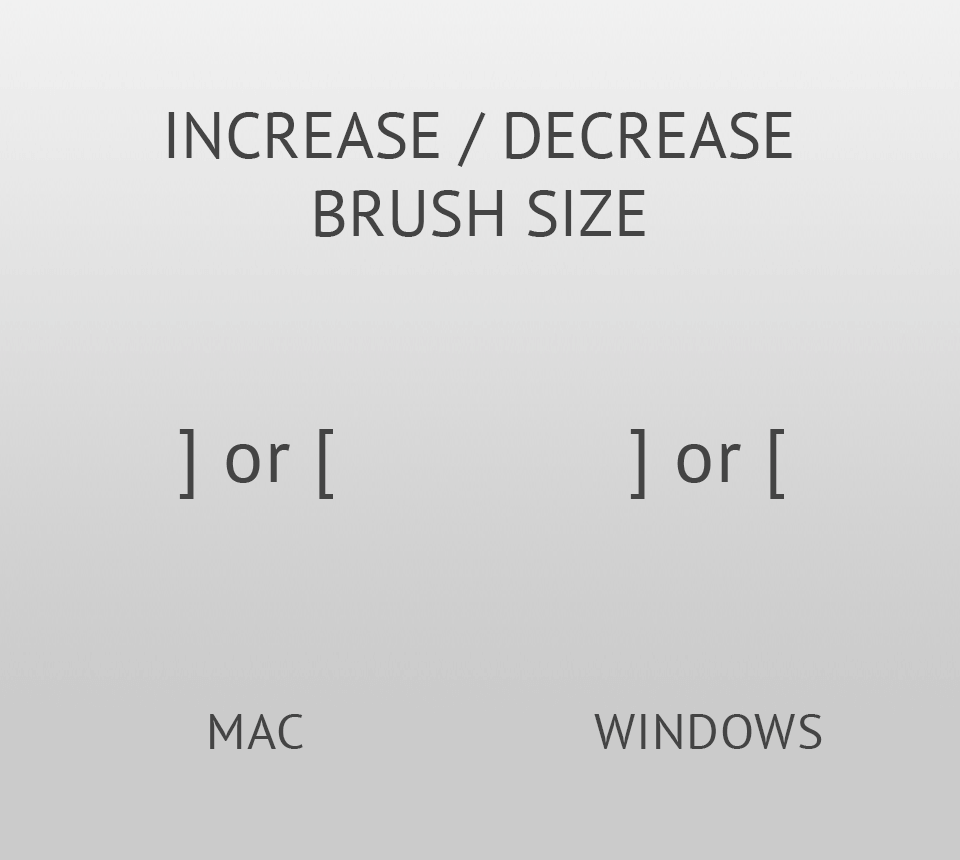
This option will be useful for those who often use the Adjustment Brush or the Spot Removal tool. Press the "[" if you want to make the size of your brush smaller and use the "]" shortcut if you want to make it larger.
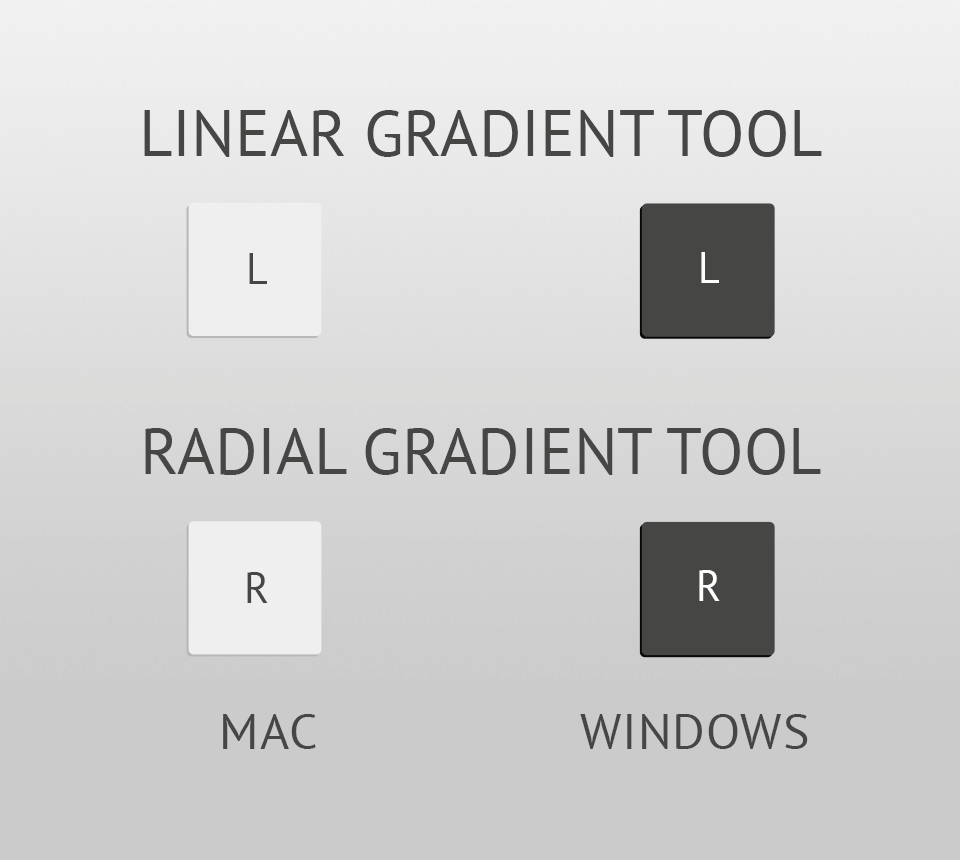
With the help of the Graduated filter, you can adjust the exposure to give your photo a well-balanced look. It allows you to recreate the effect of an ND filter placed by professionals in front of the camera lens. You can use a graduated filter in Lightroom thanks to the convenient shortcut. To apply it, press "L."
If you are looking for the Radial Gradient Tool, you need to use the "R" shortcut. These filters differ in shape. The former is linear whereas the latter is elliptical. If you learn these keyboard shortcuts Lightroom will become easier to use.
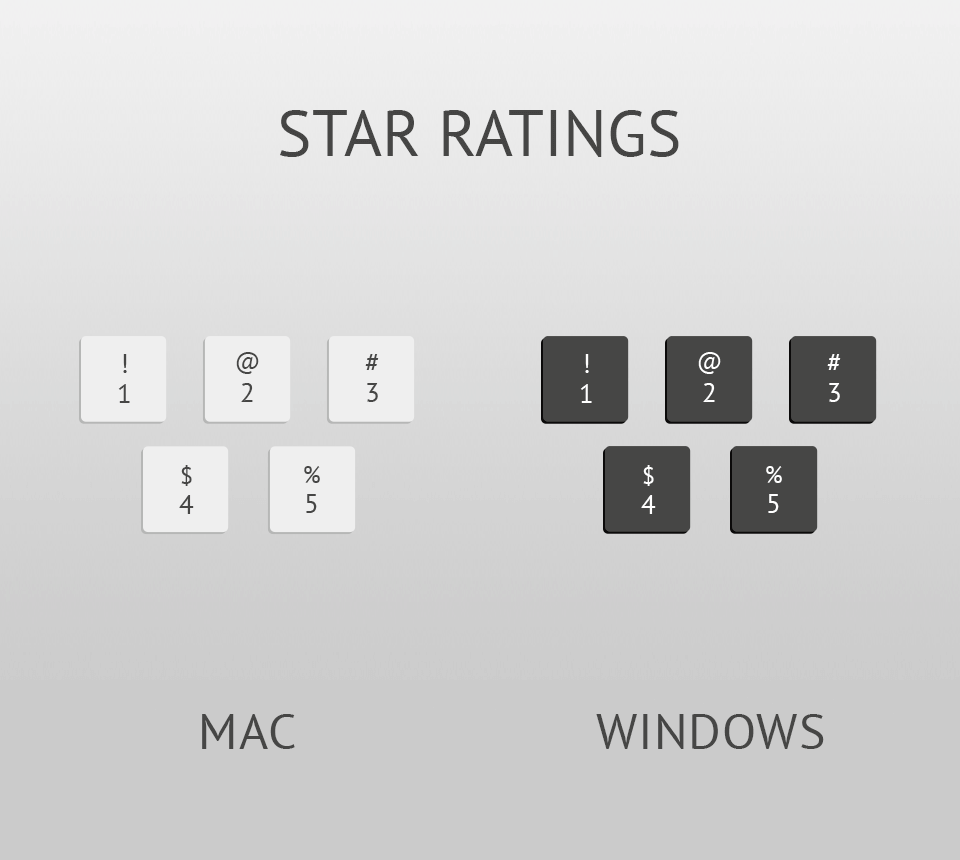
If you are looking for an easy way to create a list of favorites and organize your collection of images, you can give them start ratings. By rating your pics on a scale of 1 to 5, you can make them easier to find later. In case you aren’t satisfied with one of your images, you can give it a 1-star rating by pressing the "1" key. Similarly, you can press "2" for two stars and "3" for three stars. To view your pictures, go to Lightroom modules and display photos with a specific rating.
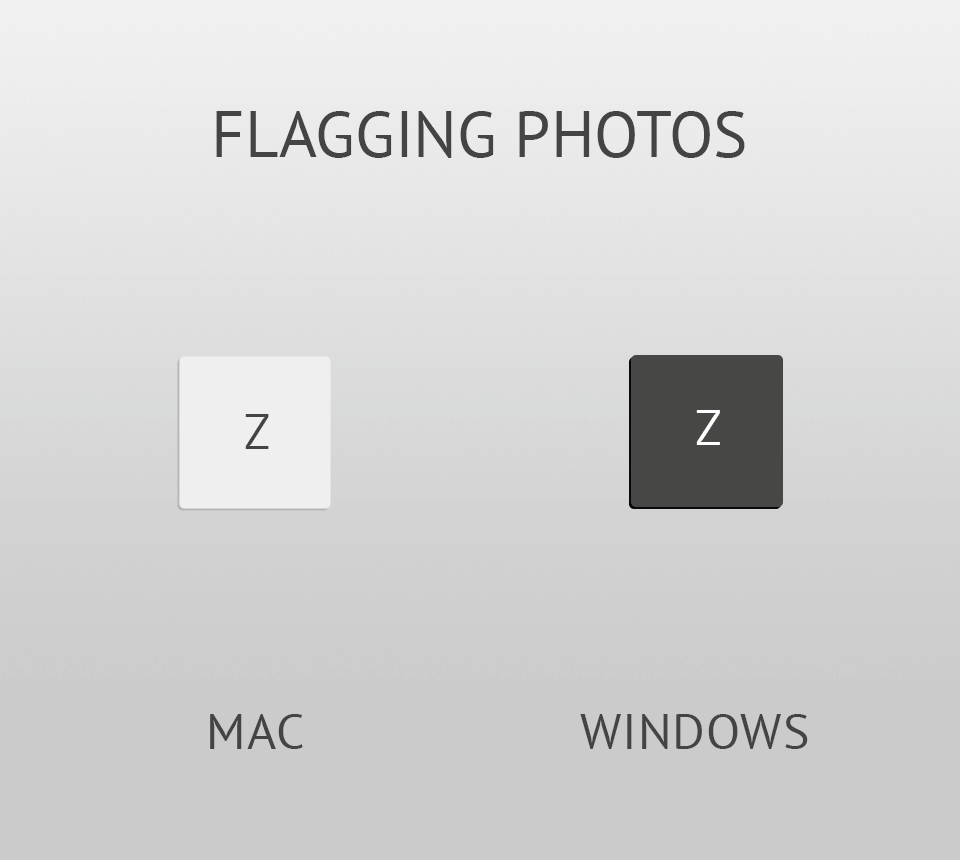
This handy Lr shortcut was created for those who need to quickly mark their favorite images after looking through the collection of pics. Use the "Z" key to flag photos in Lightroom. Then, you can go to the filter bar in the Lr modules to view the photos that you added to your favorites.
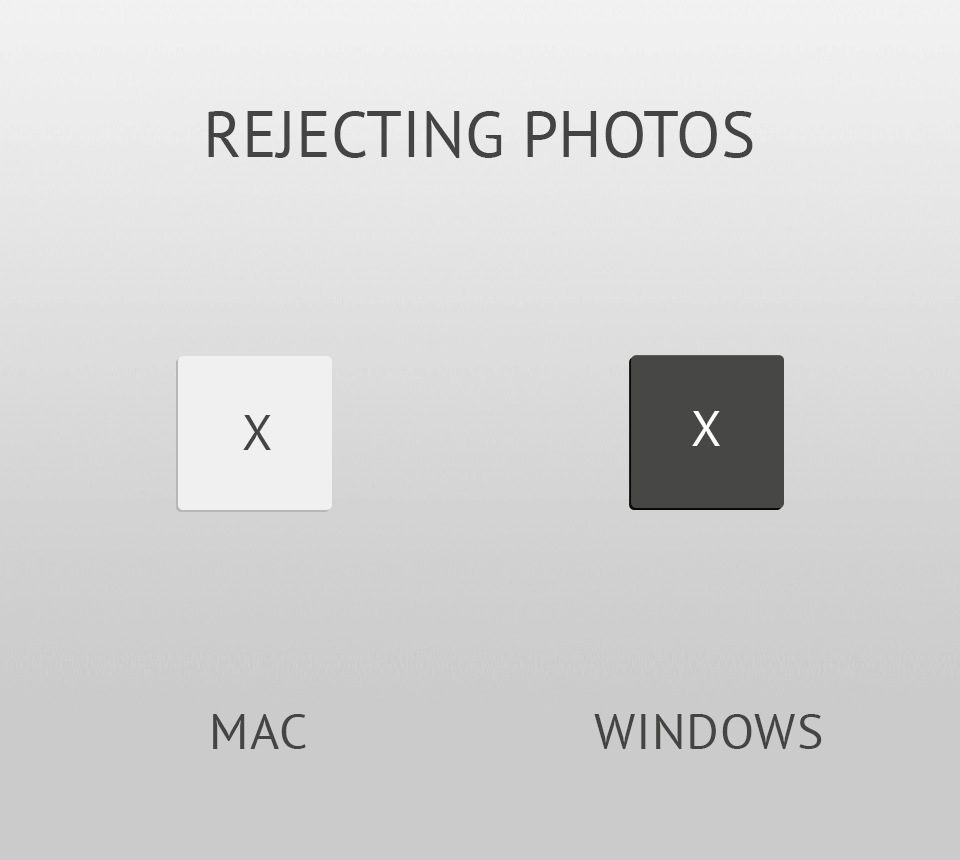
In case you are not fully satisfied with the result of your editing, you may click the "X" key to discard your edited picture. Using the filter bar that can be found in different Lightroom modules, you can see what images you rejected. After looking through them, you can delete the ones that you aren’t going to use in the future.
To spend less time editing your photos manually, you may also use presets created by seasoned specialists. Using them, you can make the colors pop and emphasize hues even if you don’t have extensive experience in color grading. They are perfectly suitable for advanced editing tasks and allow you to get the result you need in a few clicks. To start using them, you need to install Lightroom presets on Mac & Windows and apply them to your photos.