Surely many of you have come across a situation where you publish your photo, pre-improved in Lightroom, but as soon as it was published, it became blurry or its quality deteriorated significantly. This is because, Lr is not like its analogs, saving all edits in the program, and not in the file.
How to make sure that your photo is published the same as you see it in the pic editor? The answer lies in Lightroom export settings for Facebook and Instagram. Be aware that all the following settings apply to the desktop version of the program. If you’re using Lightroom Mobile, you’ll need to make other settings.
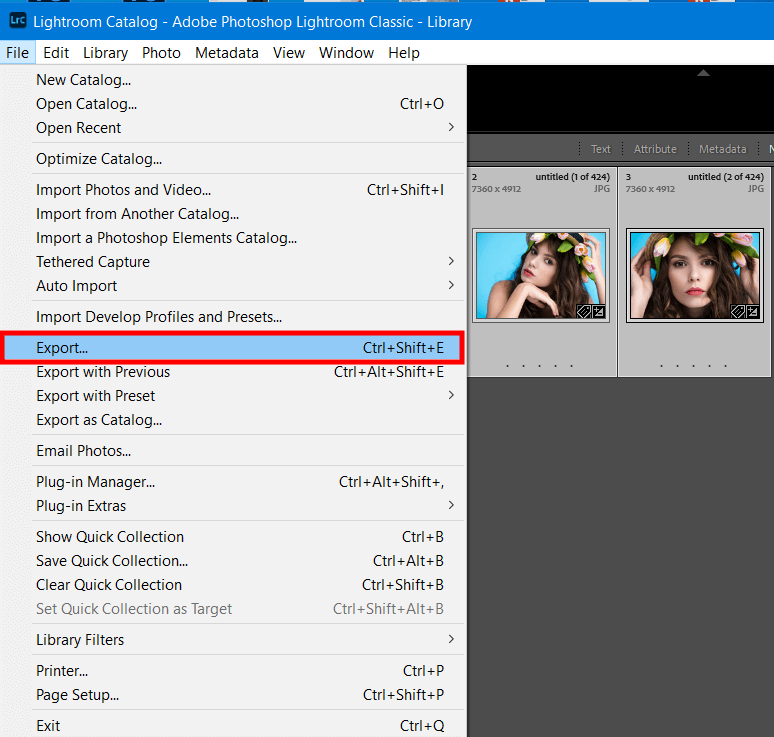
Once you’ve selected photos to post to Facebook or Instagram, upload them to Lightroom. Open the Export dialog box in any of the following ways:
Choose the handiest way for you to get to the Export Dialog box.


Select an export location to prepare your images for Instagram and Facebook. When the Export Dialog box opens, go to the Export Location section. You can send your photos to the hard drive, email, or CD/DVD, however, I recommend using the hard drive in this case.
If you have selected a hard drive for storing photos, you need to determine which folder the images will be stored in. It can be the same folder where the original is located, as well as another one.
You can also use the default destinations like Desktop, Documents, Pictures, and more. All of them offer practically all the same options that I described above.
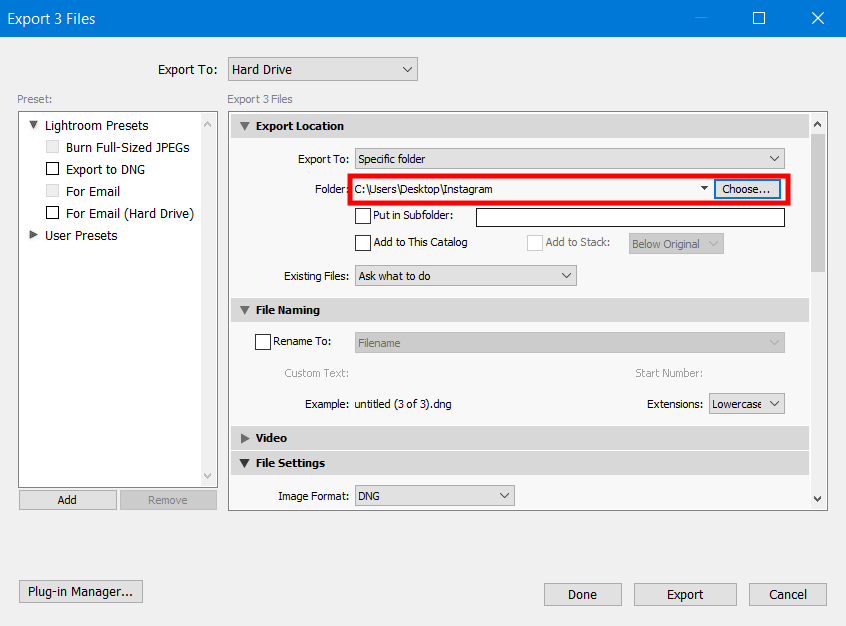
Following this Lightroom tutorial, you need to create a folder to save your photos with the appropriate Lightroom export settings for social media. As mentioned above, you can save the photo in a folder along with the original, but I recommend saving it in a separate one. This will make your job easier when you create export presets.
So, I create a new folder and name it Instagram for my convenience.
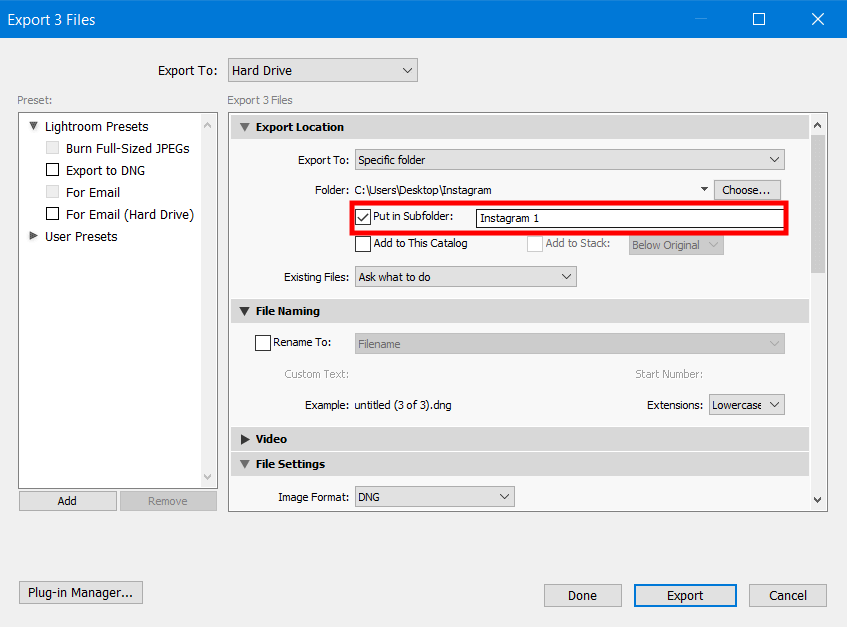
Create and name a new subfolder. Check the Put in Sub Folder box. I call it Instagram 1. Below you will see the Add to This Catalog checkbox. I recommend leaving this box unchecked to avoid creating duplicates in the catalog.
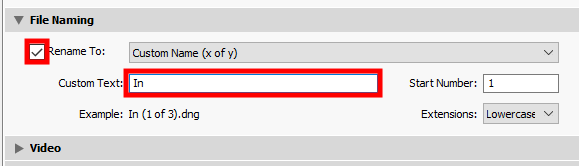
When creating suitable Lightroom export settings for Instagram, try adding a suffix (for example, FB) to quickly find photos for each specific social network. Find File Renaming and check the box next to Rename To. Next, select the Custom Name (x or y) option from the drop-down list and enter your suffix.
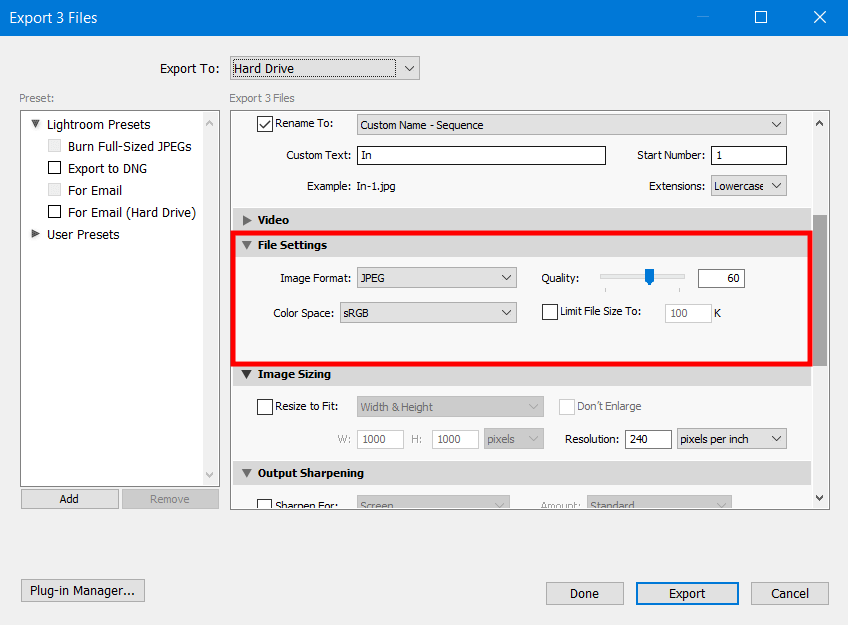
You can create several types of images, but I recommend selecting the JPEG option as the image format and sRGB for your color space. These options meet the requirements of the majority of web apps.
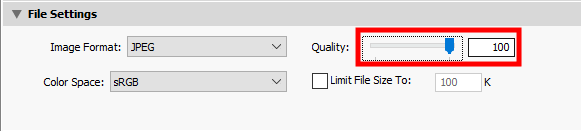
Use the slider to set the desired photo quality. Keep in mind that the file size will depend on the selected quality. It is usually recommended to set the quality to at least 76% for proper settings of Lightroom export to Facebook and Instagram.

To resize your photo, go to the Export Dialog box found in the Image Sizing section. Facebook and Instagram have some size limits. This must be taken into account, because if your photos are more than the set limit, they will be compressed during publication and, of course, will lose quality. To prevent this from happening to your cover, make sure your image is no larger than 100KB.
In case your pictures are outside the limits set by Facebook or Instagram profile photo requirements, you need to reduce their size. Go to the Lr export dialogue box, find Resize to Fit there, and adjust your Long Edge according to Instagram or Facebook standards. After that, set the necessary values in pixels, based on the same standards.

While it’s better not to sharpen your picture when preparing for printing, it’s best to do it for sharing on online apps like Facebook and Instagram. Find the Output Sharpening tab to select Screen and Standard options there.
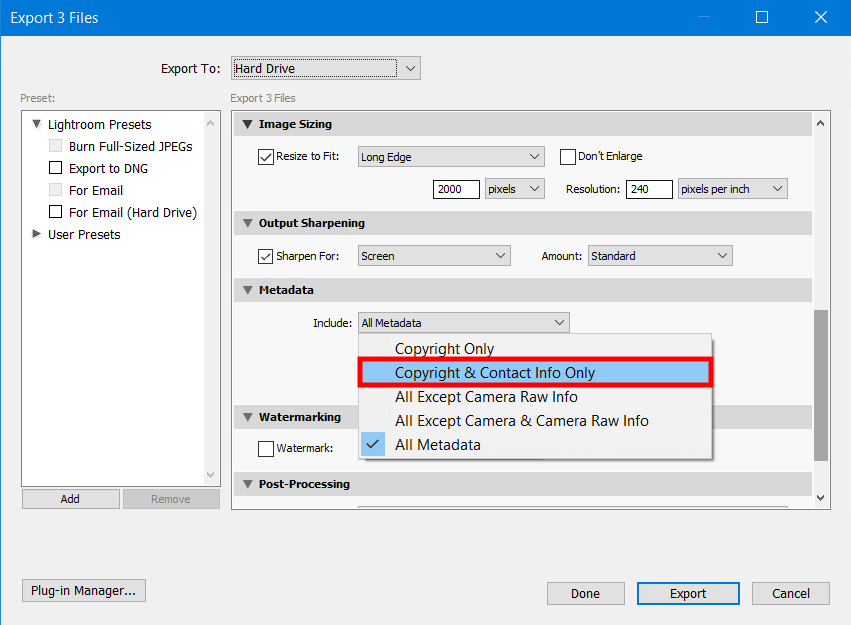
To minimize the risk of someone grabbing your social media photos, choose which metadata to include. This can also be specified in Lightroom export settings for Instagram and Facebook. For these social networks, I advise adding copyright metadata. In the dropdown menu, you need to select Copyright Only or Copyright & Contact Info Only.
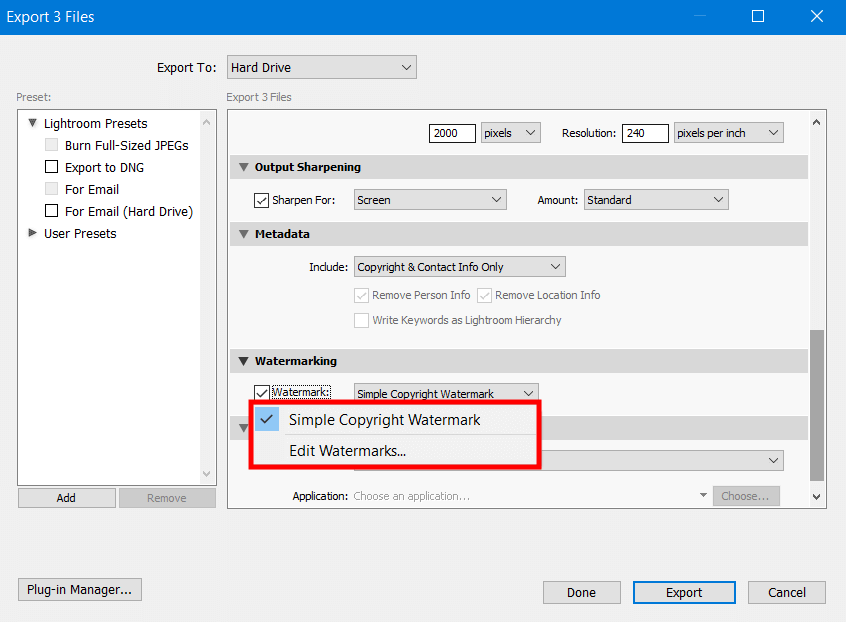
It can also be a good idea to watermark your image before exporting it to social media. Adding watermark in Lightroom can be done in two ways.
Select the Simple Copyright Watermark option if you have created a watermark in advance. Otherwise, find Edit Watermarks and click.
In the window that opens, you can choose which watermark to accompany your photo – text or graphic. In the latter case, you will need a ready-made file with your watermark picture. It’s best if it’s a PNG file with a transparent background.
Set all the necessary parameters so that the watermark has the look you need – size, opacity, location, and more. When done, save it in case you need it again when adjusting Lightroom export settings for Facebook and Instagram so you can do it faster.
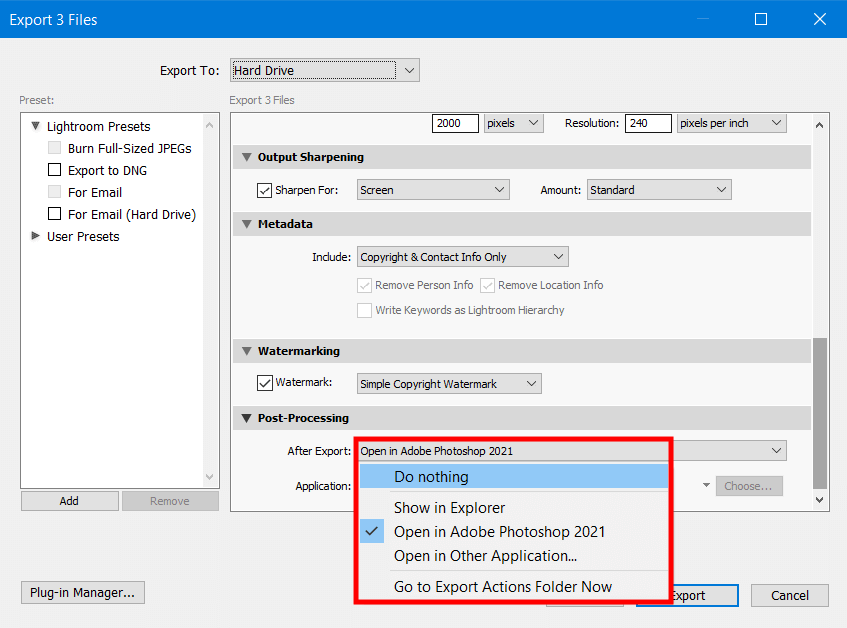
Now that you’re almost done, it’s time to edit photos in Lightroom if you’d like. Find Post Processing and select the suitable option.
Do nothing is an option for those who do not need editing, but just need to publish it as soon as possible. In case you want to pre-edit the photo, click on Open in Adobe Photoshop 2021 or Open in Other Application. If you need the pictures ready quickly, click on Go to Export Actions Folder Now so you don’t have to search for images for a long time.
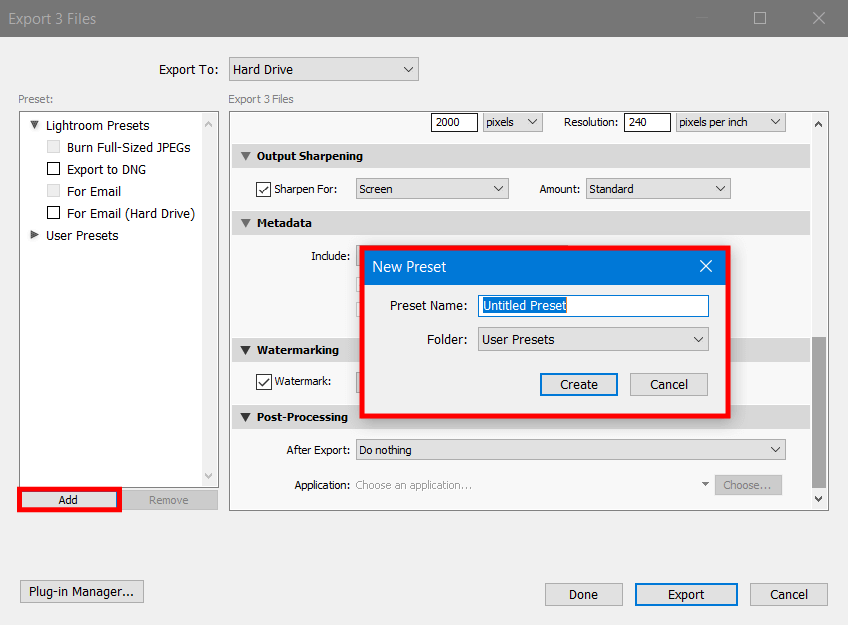
You can save your Lightroom export settings for social media as a preset for later use. In the Preset field, find the Add button and click to select New Folder next. After adding your preset to a new folder and naming it, click Export.
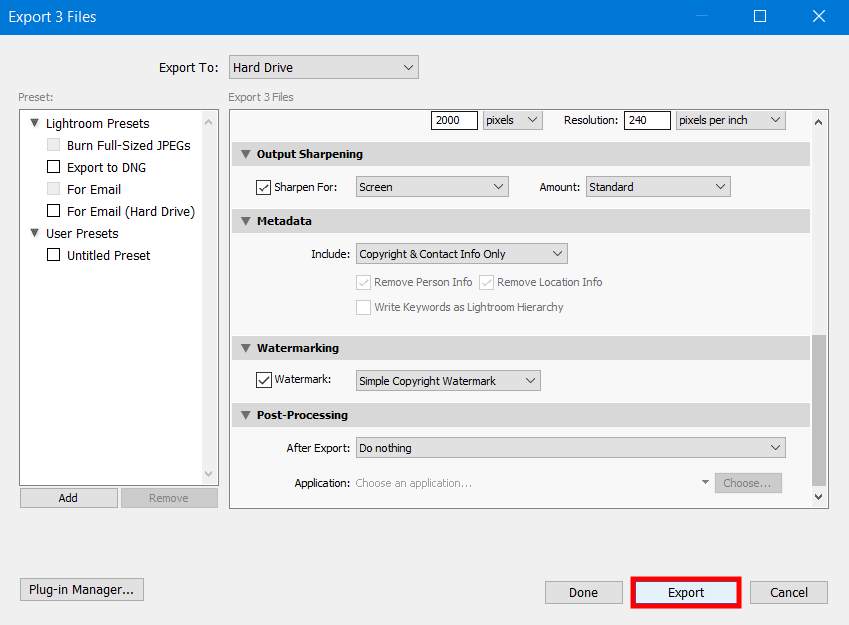
Now that you have completed all the necessary settings and your picture is completely ready to be published on the social network in the proper form, click Export, thereby confirming your actions.