Vanishing Point is a Photoshop filter allowing subjects and alterations in your picture to be scaled and placed correspondent to the picture’s perspective. With the help of this tool, you can correct the images’ perspective to make an outcome closer to reality as one that greatly reflects the scene’s perspective.
This is a must-have editing tool for real estate photography. Using filters can help insert furniture or décor in interior photography, or add the details to the exterior image. All you need is to download Photoshop free and repeat the following steps.
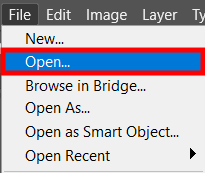
If you are prepared to begin putting image in perspective in Photoshop, first of all open the picture you wish. Choose Open in the File tab.

The next action in this Photoshop tutorial would be selecting the Vanishing Point option in the Filter panel.
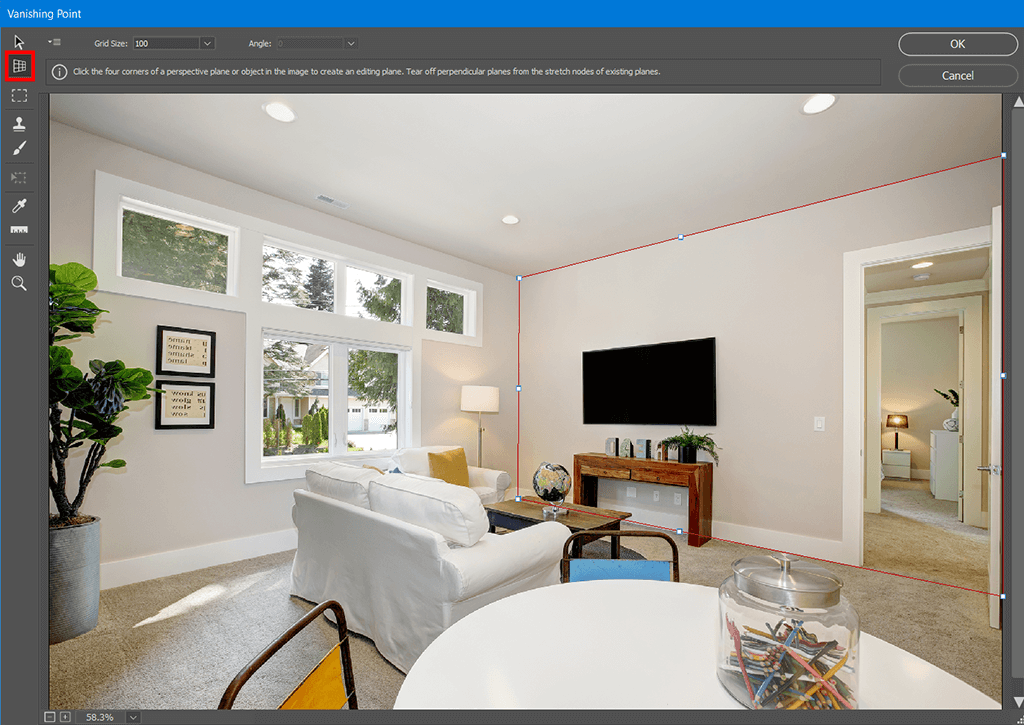
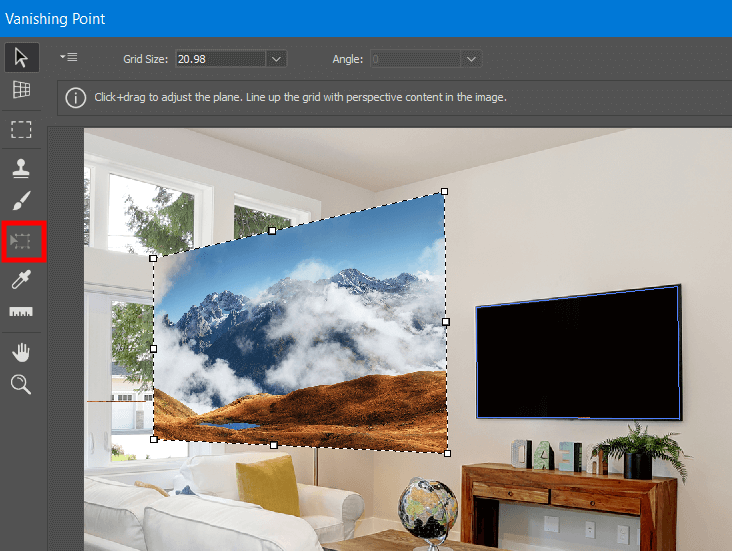
If, for instance, you wish to place a picture on the wall, you have to firstly highlight the wall with the help of Create Plane Tool.
It is much more customer-friendly and easier than applying the specialized virtual staging software, especially if you’re not a photographer.
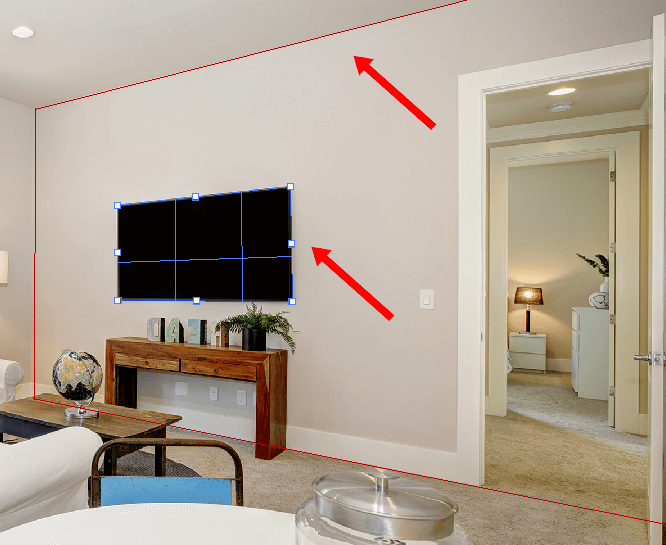
Now when the lines making a plane are blue, it means that everything works properly.
Pro Tip
Yellow or red lines mean that Photoshop does not accept the outlined plane.
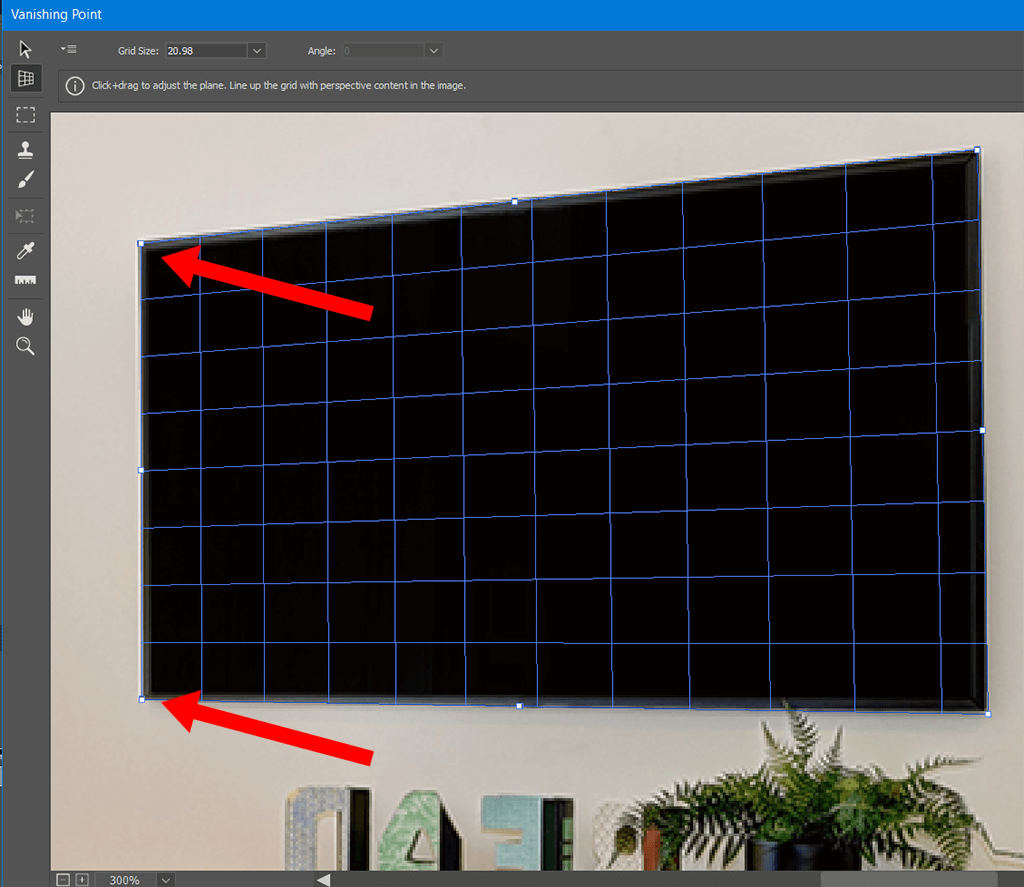
After you created the plane, try to move the corner dots until you achieve the desired result. You can increase the scale if you need to be more precise.
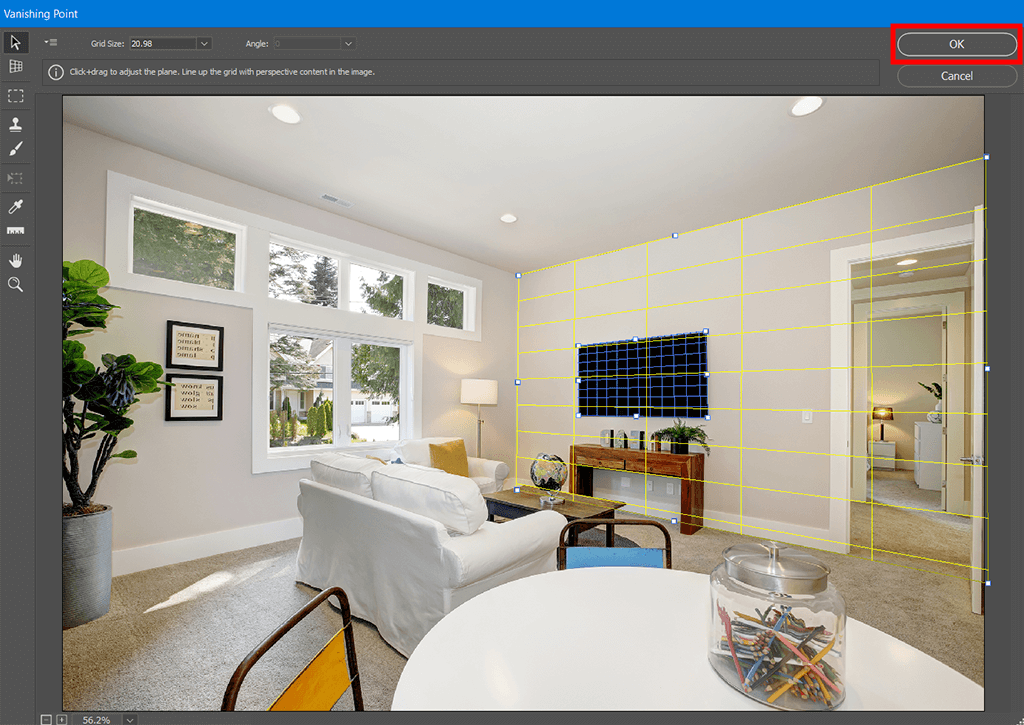
After you finish working with Vanishing Point, press OK (in the right upper corner), to accept the changes. It will add a perspective plane as a part of your file.
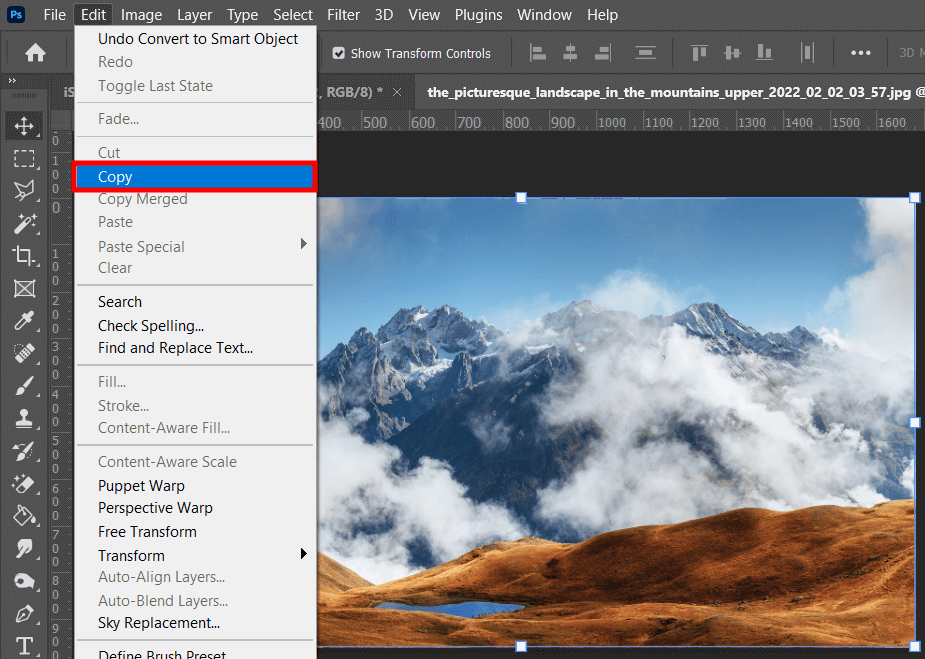
After that you need to open the pi you are going to put on the selected plane in the Photoshop manipulation tutorial. Copy it to the buffer exchange tapping on Edit > Copy.
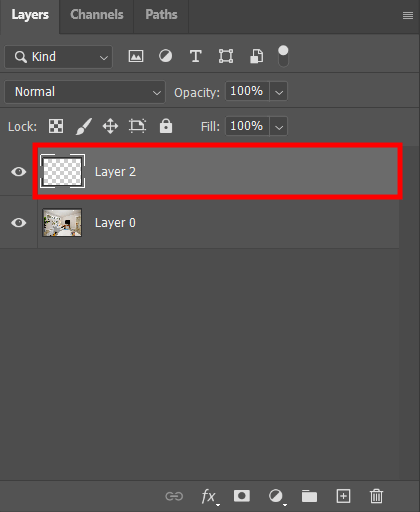
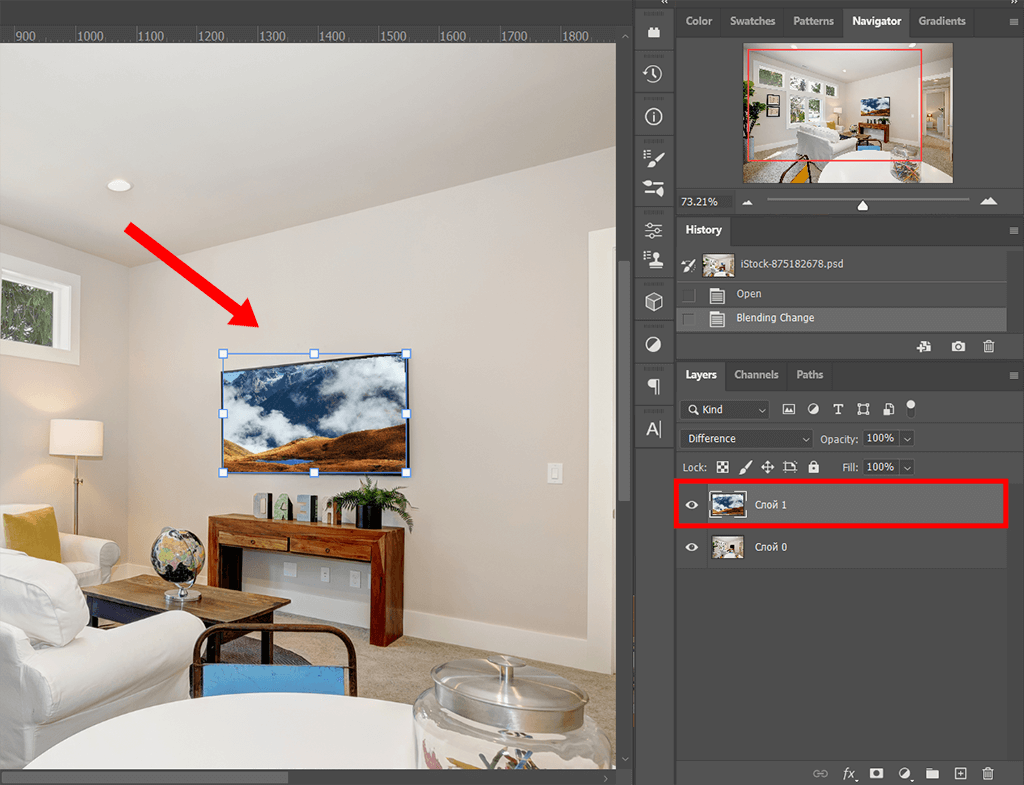
Create a new empty layer in the working document. It is possible if you press on the Plus icon on the Layers board, in the right bottom corner.
As an option, you can use Photoshop keyboard shortcuts: Ctrl + Alt + Shift + N (Mac: Cmd + Option + Shift + N).
Select the Vanishing Point Menu again and press Ctrl + V, to insert the second image.
On the Tools board, you have to select the Transform Instrument. It will enable you to change the scale of an image and realize any forced perspective photography idea without any fees for costly services of virtual home staging companies.
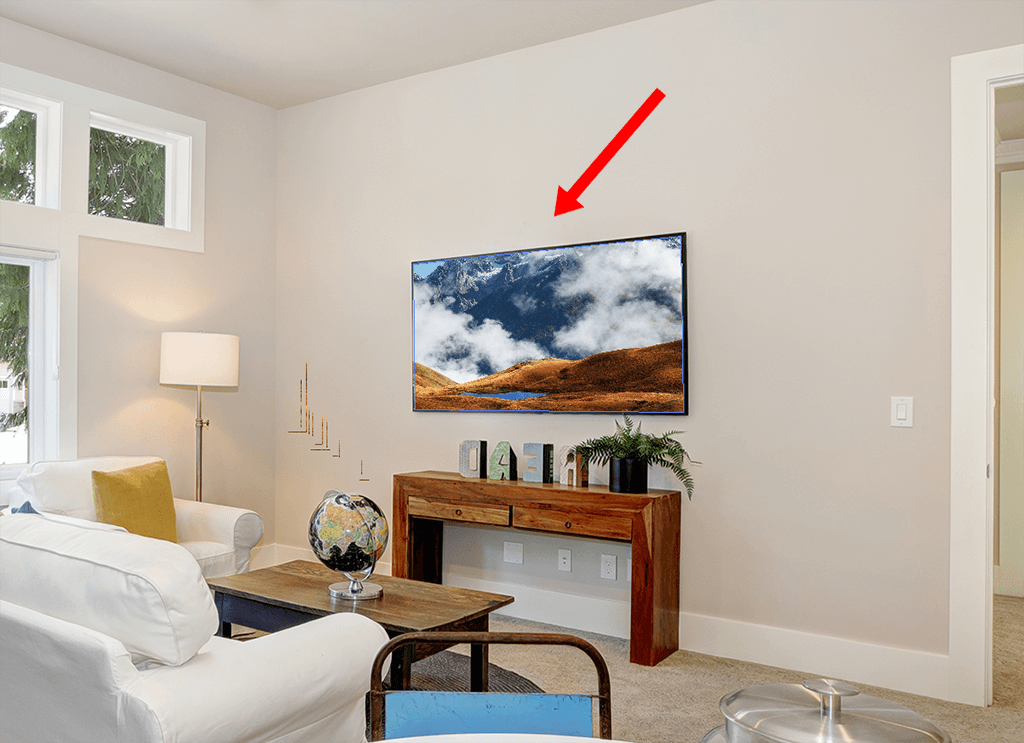
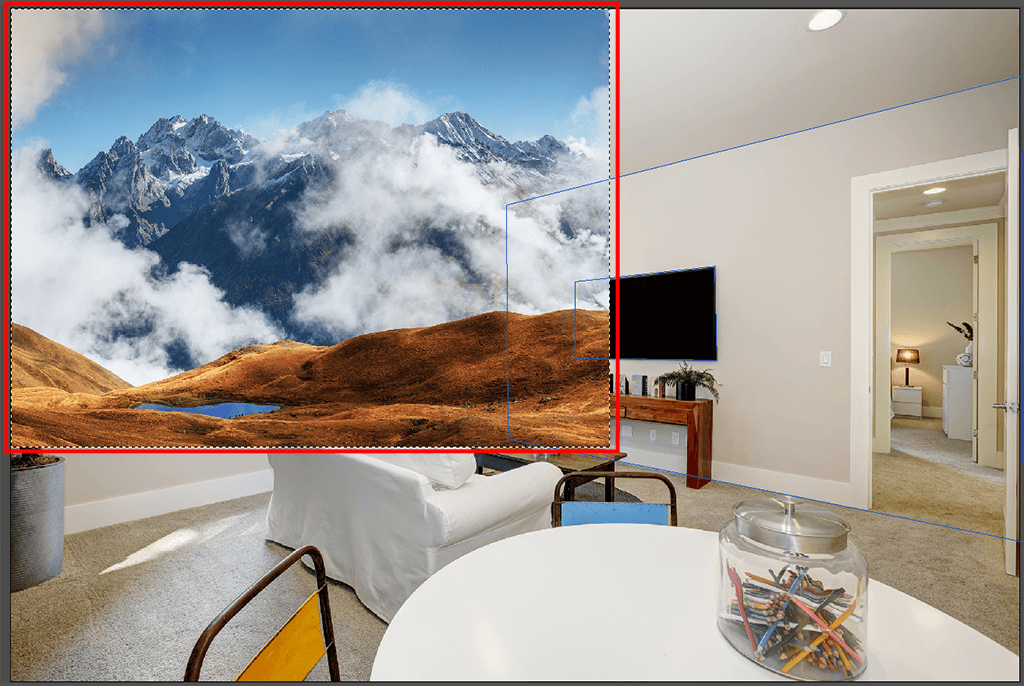
Now you need to to drag your picture to the perspective area. Place it in the outlined area so that the image is inside. This way is effective even for high end real estate photography, which requires the highest precision.
Now your image has appeared in the new layer. If you are not content with the outcome, you can just undo or redo some actions in Photoshop or order professional virtual staging services.


If you wish to improve your photos with real estate or other objects after using the Vanishing Point filter, you can take advantage from this collection of actions. In some steps, you’ll adjust the colors, fix lighting, increase contrast for voluminous image, delete slight imperfections, etc.
Besides, you may also get rid of the superfluous objects on your commercial real estate photography.


