Unless you're a professional photographer, it might be difficult to select the right perspective. We want to tell you how to do perspective in Photoshop to show a product in different environments. It’s especially important if your client can see only pictures of a product.
In this article, we will demonstrate how you can cut out various elements in Photoshop. You can place objects in different scenes to showcase the product from various angles.
The Vanishing Point filter is the most commonly used perspective tool in Photoshop. It helps you define a perspective and then insert a layer into it. By following the instructions in this article, you can enhance your product photography.
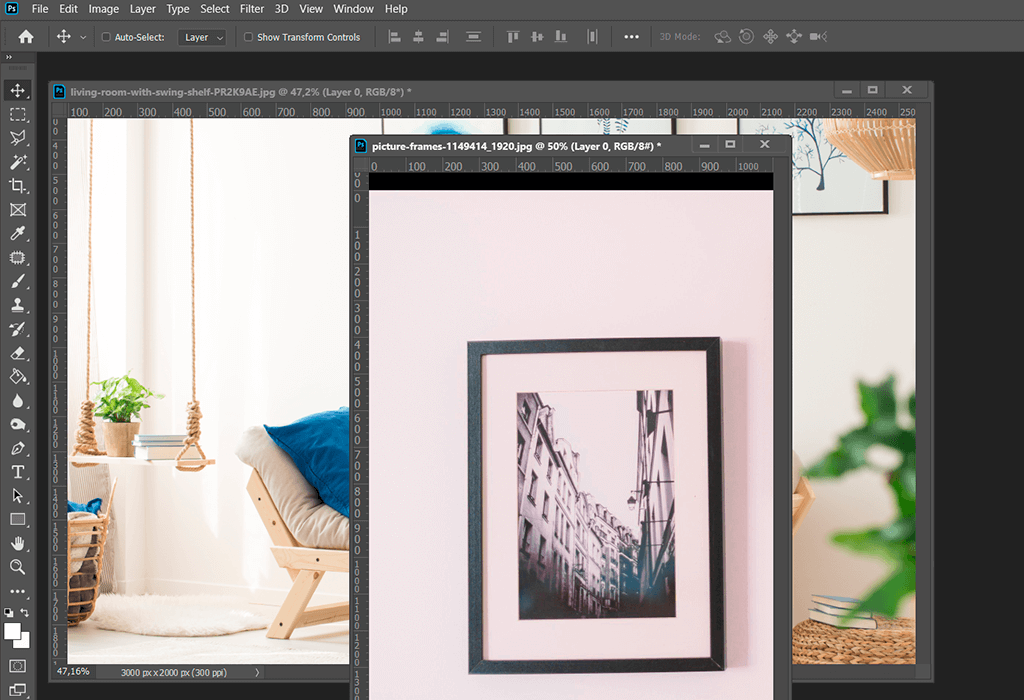
You need to select the photos that you want to edit and launch Photoshop. To open a file, you can either choose File-Open or use Photoshop keyboard shortcuts, such as Ctrl + O/Cmd + O. For example, in this example, we need to edit a framed art photo on the wall and a picture of the interior.
The framed photo was captured straight on while the wall and sofa were shot from an angle. We wanted to add the framed photo to the wall and improve the perspective.
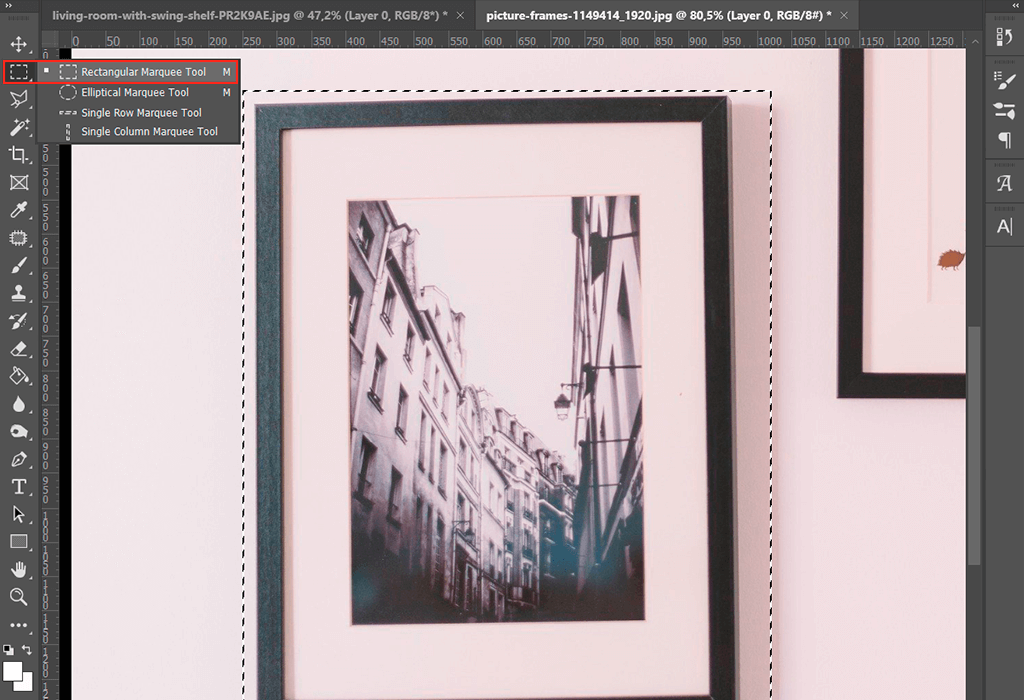
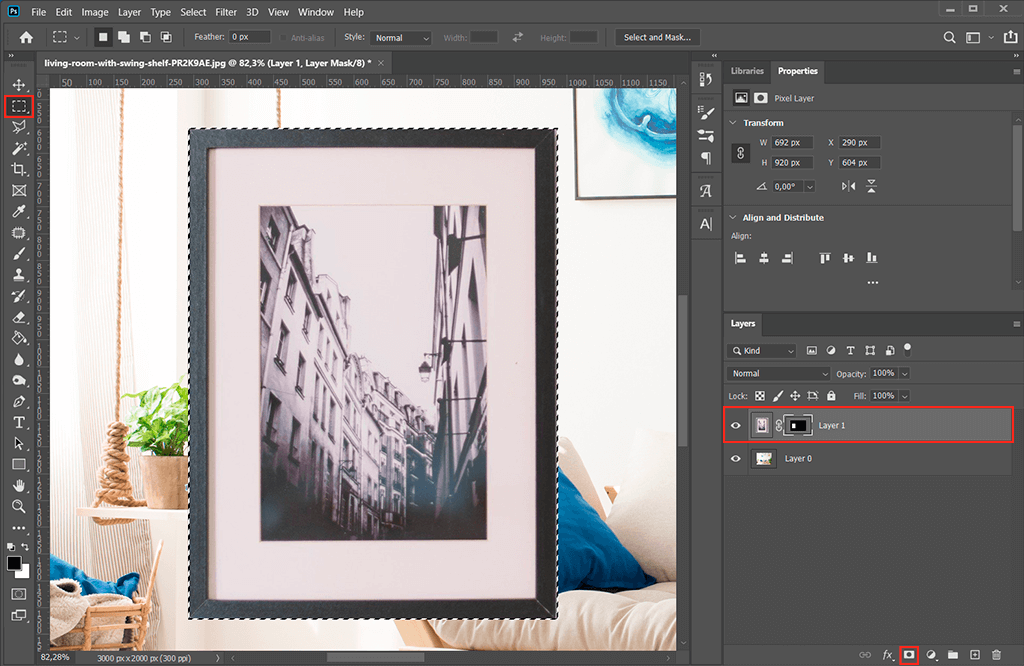
You've probably tried to Photoshop someone into a picture and remember that you need to select an object first. The task is simple because the photo is captured straight-on and has perfectly straight lines. With the Rectangular Marquee Tool, you can quickly cut out this element. For more complex shapes, you can use the Magic Wand in Photoshop.
First, create an area around the edges of the frame. You can refine them later. Move the Marquee along the inner edges of the frame to select a big area.
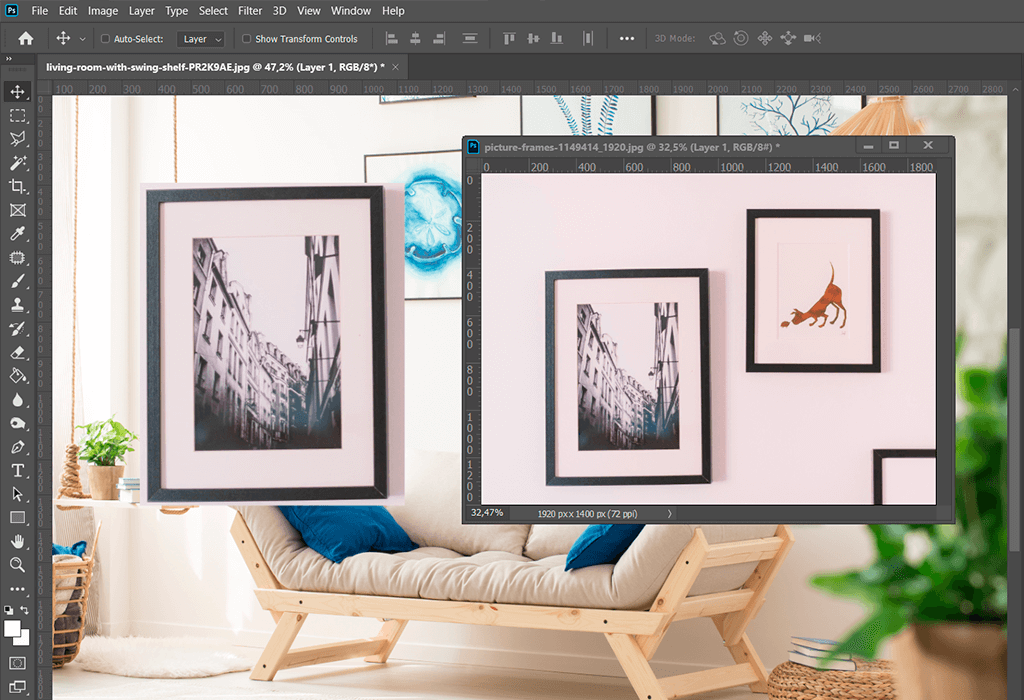
After completing the selection, make a copy of it so that it appears on a new layer. Alternatively, you can use Ctrl + J/Cmd + J hotkeys.

Hold and move your layer to another file. Then, you can close the original photo.
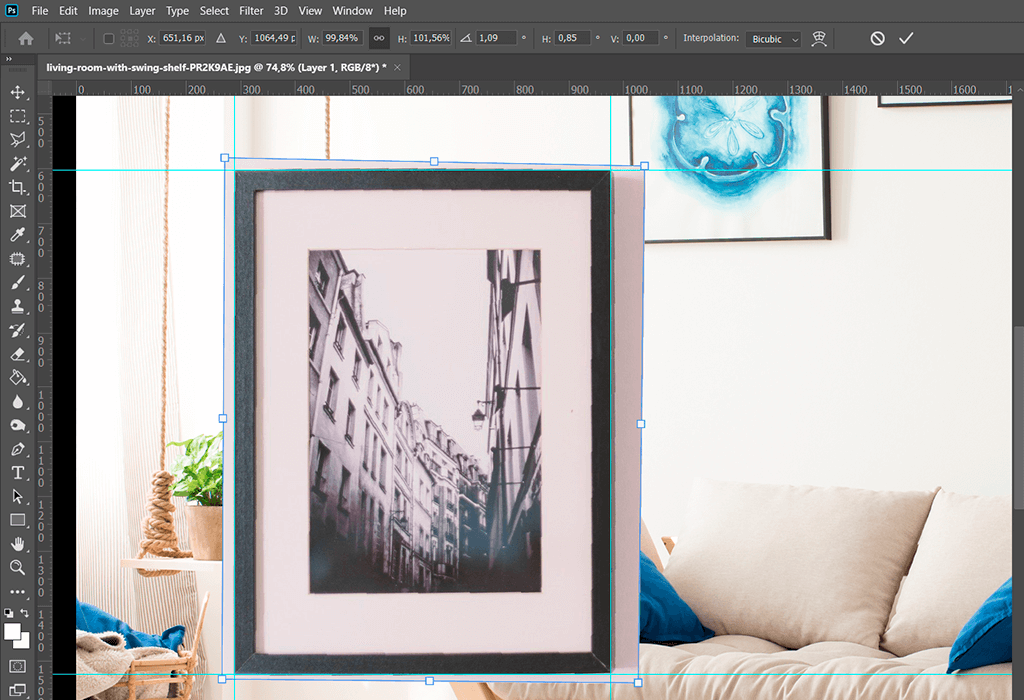
If you want to figure out how to put image in perspective in Photoshop, you need to make sure all the edges are straight. To make things easier, use the Guides. Create horizontal Guides for the top and bottom edges of the frame and two vertical Guides along the right and left edges.
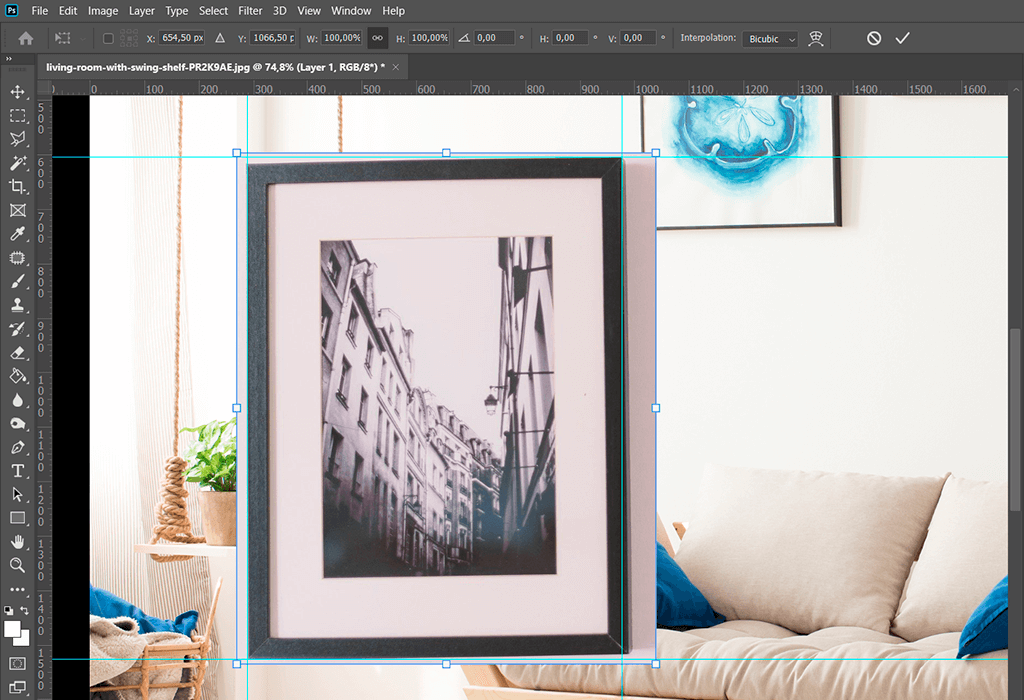
Though not all the angles will fit perfectly, you should try to get them as close as possible. After setting the guides, select the Transform Tool. By holding Ctrl/Cmd, move the corners of the frame. Your goal is to align them with the corners of the Guides.
While editing night sky photos, you may be inclined to boost details in particular regions of the shot. To do that, apply local adjustments in Lightroom. Try the Gradient tool to raise the brightness of the foreground or bring the entire sky to the spotlight in the shot.
One more effective tool that belongs to the list of local adjustments is the Adjustment Brush tool. Basically, it has all the power of the Basic panel but lets you apply the tweaks to a certain area, not to the whole shot.
Play around with such parameters as Clarity, Exposure, Contrast, Shadows, Saturation, Brush Size, Flow, Density and Feathering for greater control over the size and strength of the brush strokes.
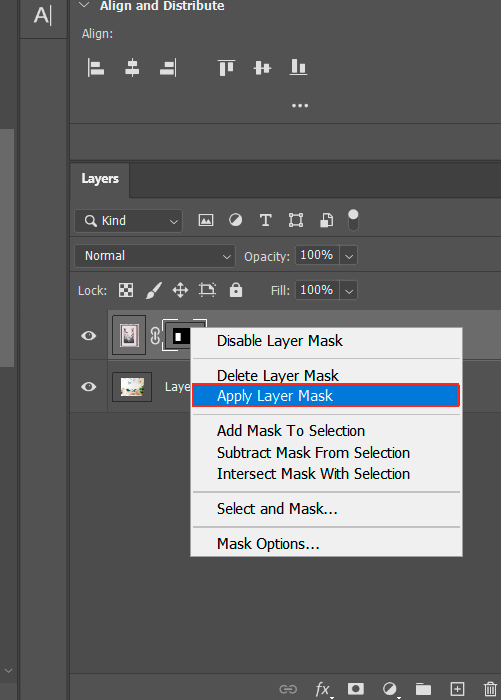
If you want to change anything, you need to right-click on the layer and select Apply Layer Mask.
Duplicate the frame and make it invisible. Then, you need to open a new layer. Click on Layer> New> Layer or click on New Layer in the Layers panel menu. After setting parameters and names, click OK.
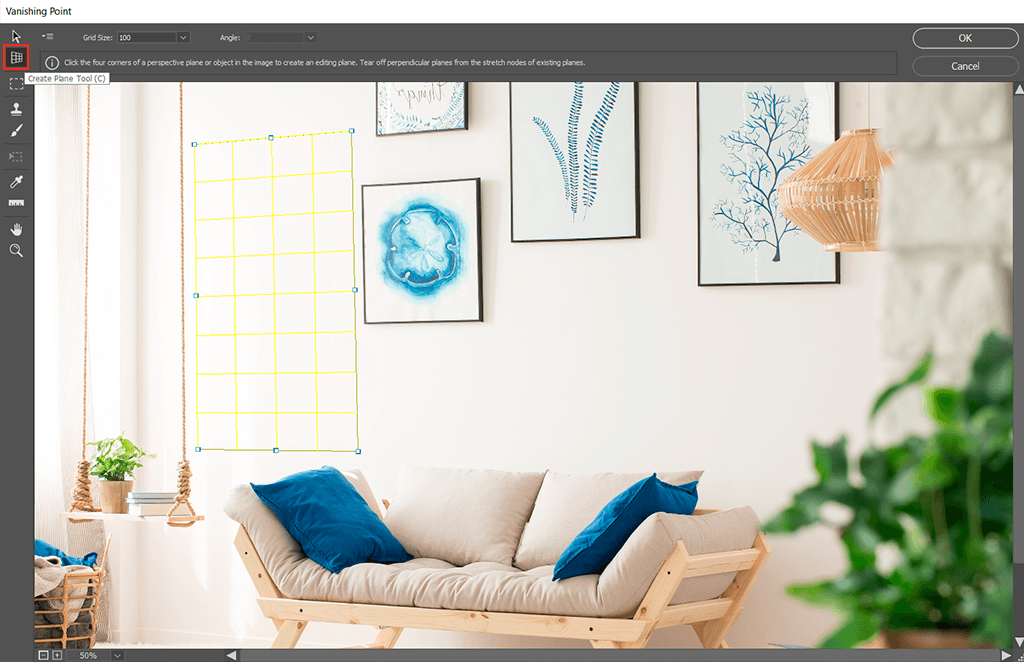
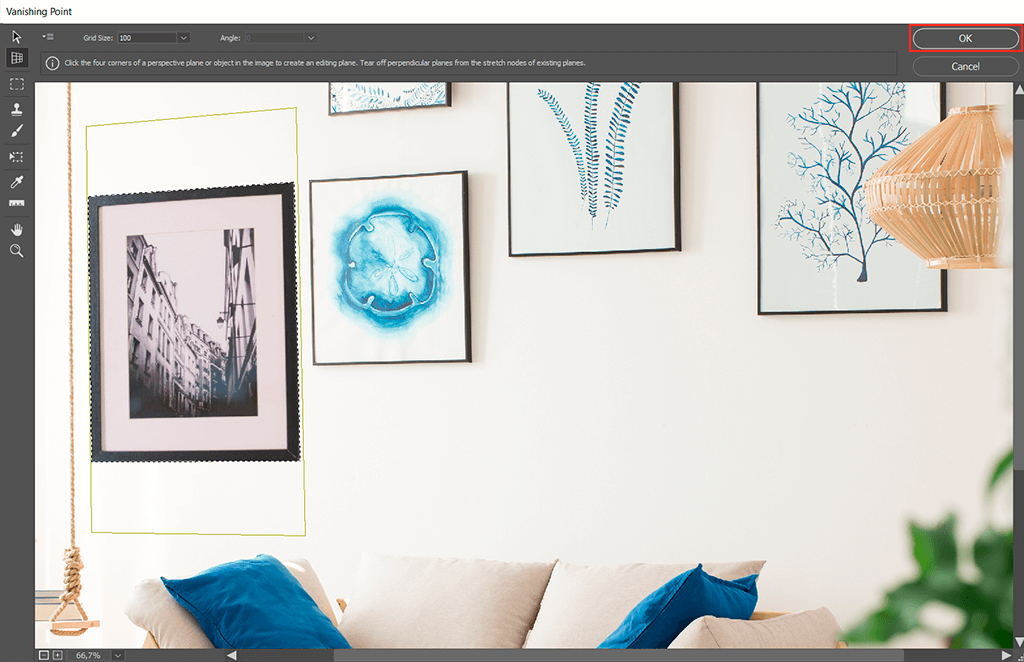
To access the Vanishing Point dialog box, click Filter> Vanishing Point. Alternatively, you can use the keyboard shortcut Alt + Ctrl + V/Opt + Cmd + V.

If you want to apply a filter, click on corners and edges in the image where the frame will appear. After adding the four corners, you will see the mesh in the specified perspective.
If you want to reshape the perspective plane, you need to drag a corner node. We added two corners along the top edges of the sofa and then placed two more above them. This helped us draw a line that is parallel to the back of the sofa. While working, we took into account other paintings on the wall. Make sure the created perspective fits the frame.
You can insert the frame by holding Ctrl + V/Cmd + V. Then, press OK. If you don’t like the result, you can adjust nodes until the object perfectly fits.
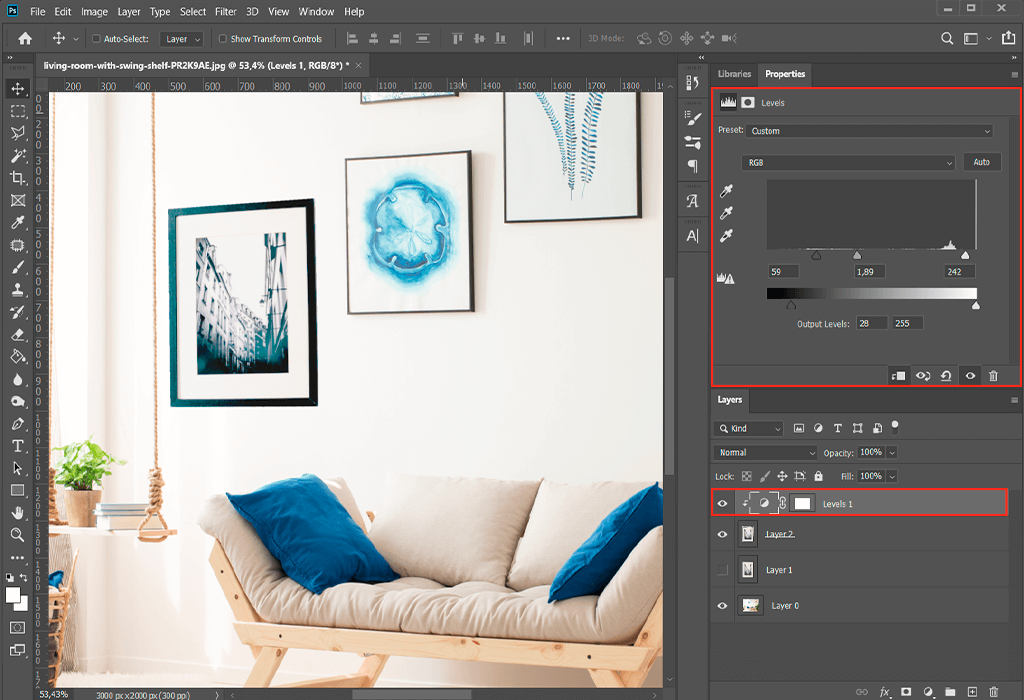
Though the frame doesn't fit the sofa image, you have adjusted the perspective. The edges of the photo have a darker tint. To fix this, click on the adjustment layer icon at the bottom of the Layer panel and open the Levels adjustment layer. Alternatively, you can use the Levels tool icon in the adjustments panel. You will find it above the layers panel.
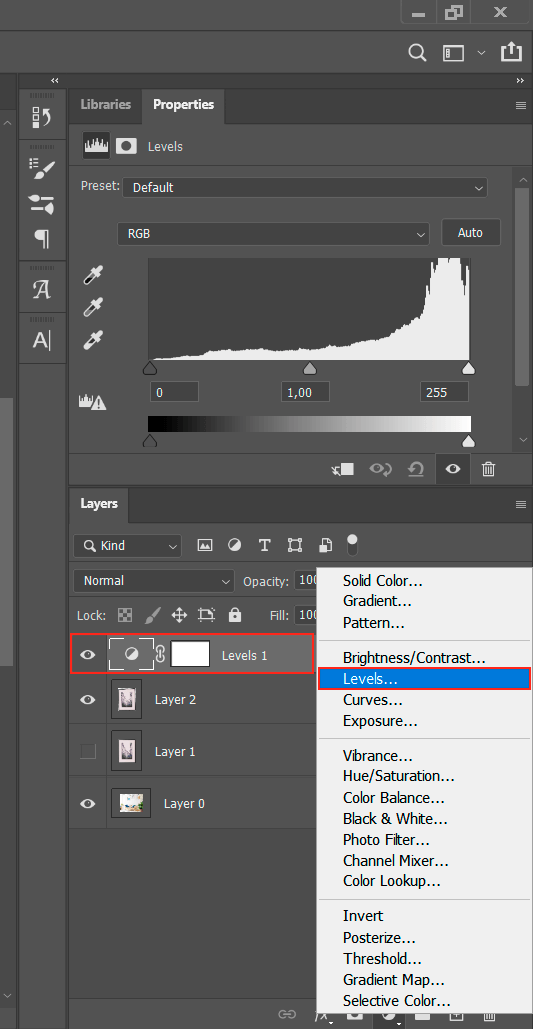
Adjust the parameters of the frame layer by holding Alt/Opt. At this stage, you need to lighten the frame. If your photo has several similar objects, you can align your object with them.
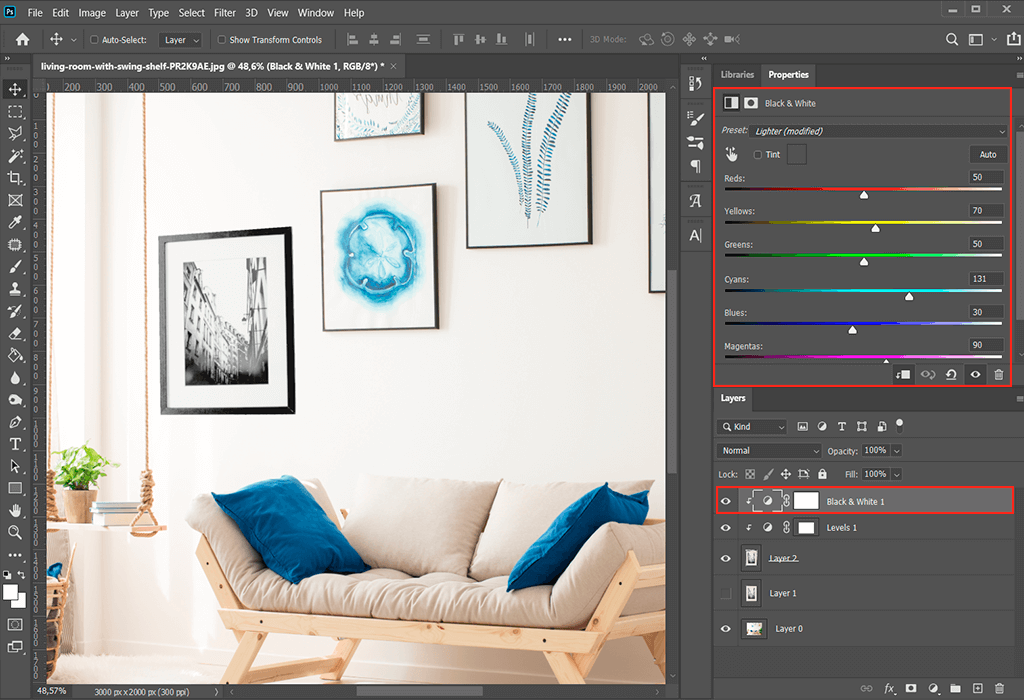
Once we’ve bleached the edges, a bluish tint appeared. To fix it, you need to create a black and white adjustment layer. Go to Layer > New Adjustment Layer > Black & White. Then, you should adjust the parameters to make the frame black and white.
If you look at the image of the sofa, you will notice that the light is coming from the left side. However, there are some shadows on the right. We need to create a shadow that will match the objects. We recommend learning how to add a drop shadow in Photoshop to complete the task.
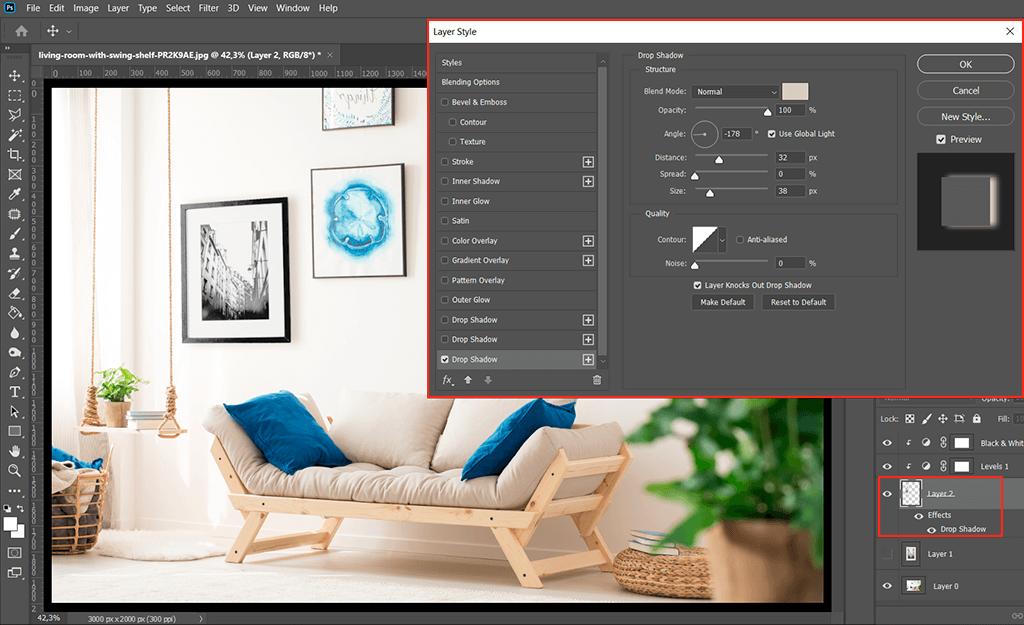
Choose the fx icon under the Layers Panel. Select the Drop Shadow tool in the Layer Style window.
You need to set the parameters correctly to get the desired result. Experiment with the Opacity, Distance, Spread, Blend Modes, or sample a color from an existing shadow with the Color Picker.
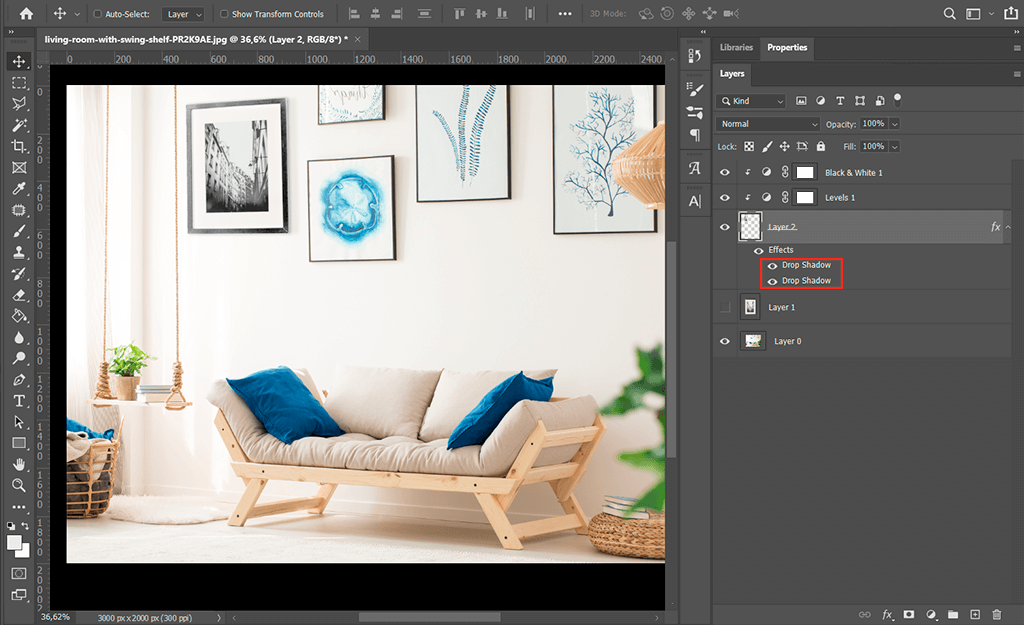
To make the light look natural, we used two shadows. Then, we moved the frame up and that’s it. We have inserted the object into the image. You can read other Photoshop tutorials to upgrade your skills.
If these manipulations seem too complicated or you just want to save time, contact our professional enhancement service. Our specialists will deliver fast results. They can insert any object into any photo while paying attention to perspective, lighting, depth, and color.
Take a look at this collection of tools that will help you enhance your images. This set of actions will help you tweak colors, fix exposure, improve color grading, remove defects, etc. If you strive to get attractive and clean product shots, this collection is your choice.


