If silhouette photography seems appealing to you, and you wish to keep this effect on your images, you have to be aware of the several strategies on how to make silhouette in Photoshop. Employing this detailed tutorial, you will be able to produce silhouettes easily as the main compositional & stylistic facilities, and also correct the poor lighting in such an original manner.

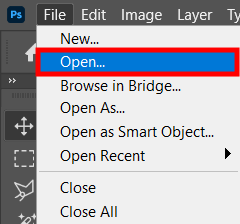
The first action in my Photoshop tutorial is to import a picture with the silhouette-to-be. To do so, you have to open Photoshop, go to File, select Open and find an image on your PC.

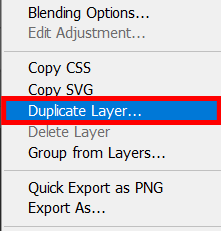
Duplicate an image (a background layer) on the layer panel. Select a background layer and press Command + J (Ctrl + J for Windows) in order to duplicate it.
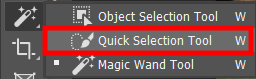
On the instruments dashboard choose Quick Selection Tool. You can also select this tool, pressing W.
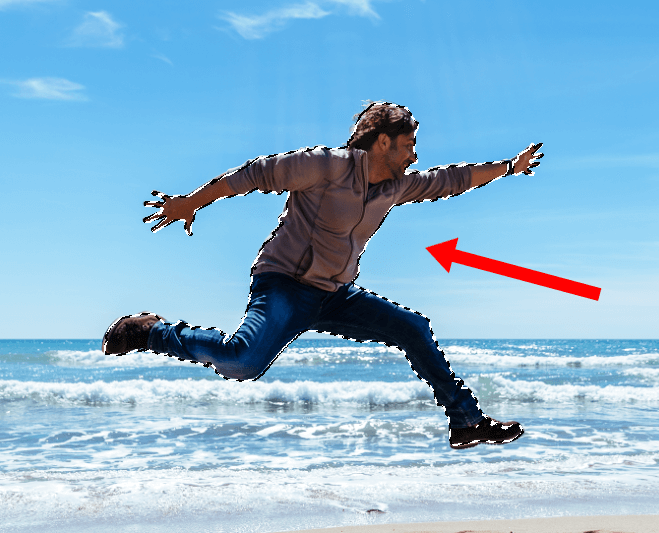
Tap on Quick Selection Tool and drag it over the picture rapidly to choose the object.
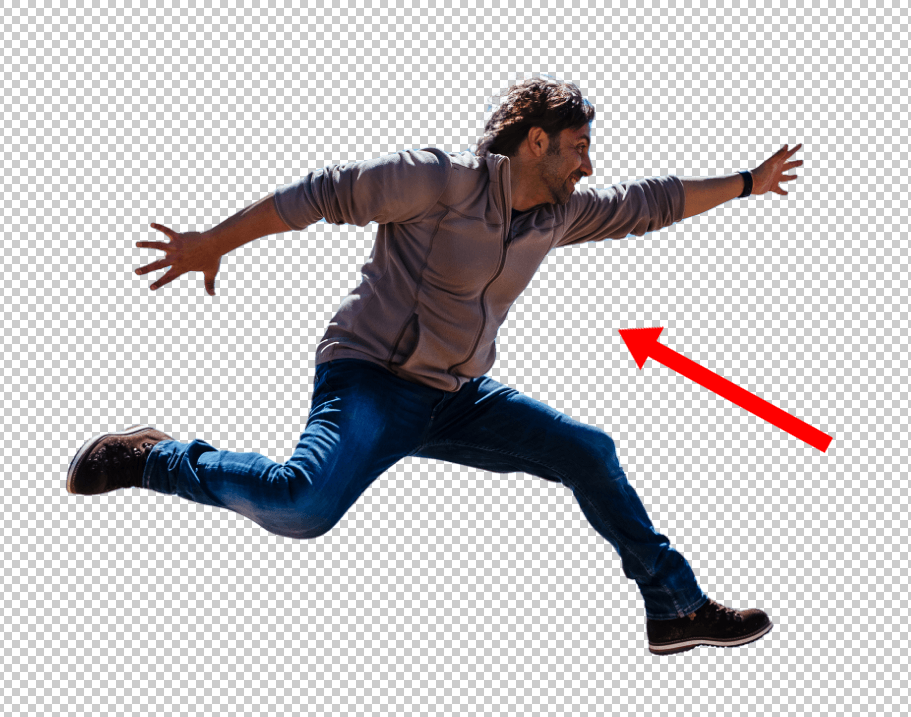
Now you are prepared to remove the background of a picture in Photoshop. Beforehand, ensure you outline the object in a right way.
In order to re-select or deselect components of the chosen area, opt for a brush with a minus sign and paint on the field to delete the selection. After that, you can revert to re-select. Tap on Delete.
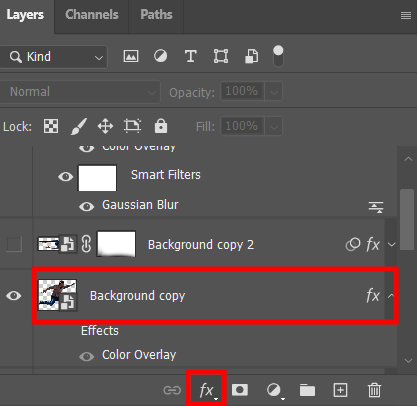
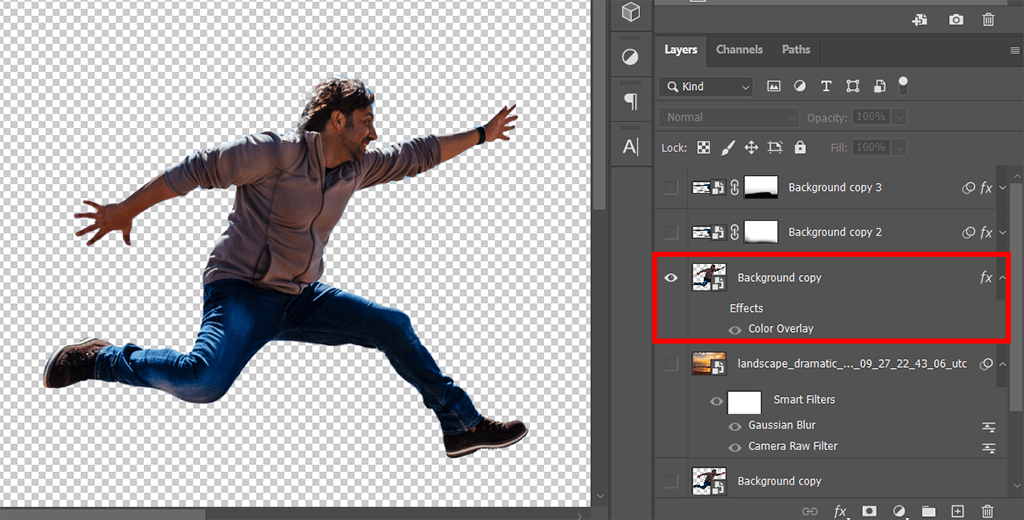
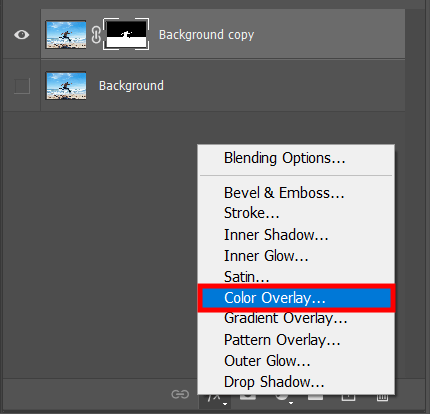
Double tap on the layer using the layer panel, and you will open styles of the layer for the preferred one.
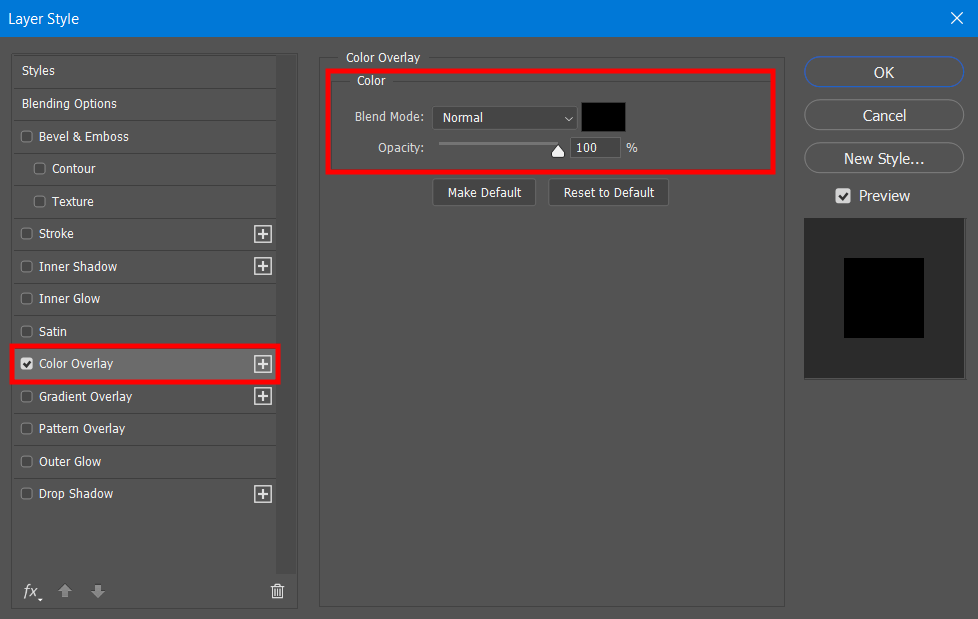
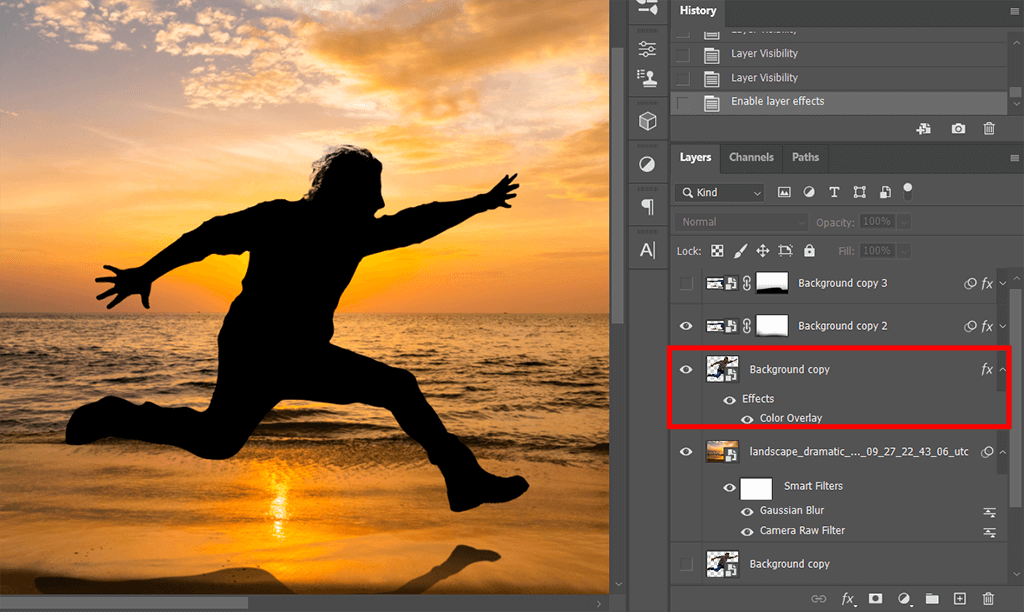
To produce a black silhouette, select the Color Overlay and the customize the settings of Normal and 100% Black. That’s it!

One more technique of a silhouette photoshopping is to apply the Pen Tool, which will enable you to make a perfect Photoshop cut out. This technique is widely used for creating plain shape silhouettes.

Use the same action as in the strategy before – open the picture you wish to use for your silhouette.
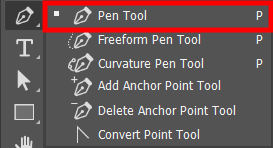
On the tools dashboard choose the Pen Tool. As an option, you can do so tapping on P.
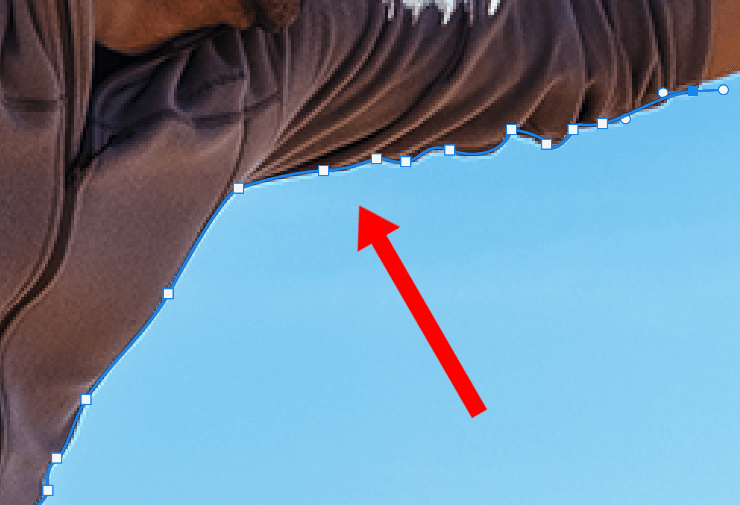
Utilize Pen Tool to outline the area you want to make silhouette from. Do not forget to close the line and connect the first and last dot.
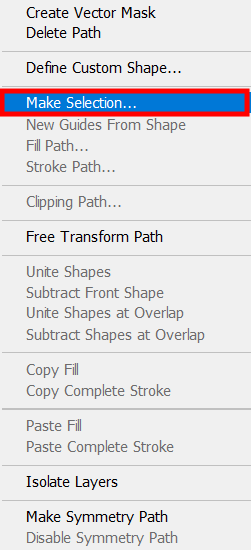
Click right mouse button on the path and opt for the Make Selection. You will see a settings window and you will be able to add Feather Radius to the edges or leave everything as it is and press OK.
Press Command + J (or Ctrl + J if you’re on Windows) to outline and copy the chosen area (Pen Tool path) to a new layer. You can conceal the background picture layer to make the background transparent to evaluate the result.
Double click on the cutout picture on the Layers dashboard and choose Color Overlay to insert black or another color to the silhouette. That’s it.
This technique is not as comfortable as the two previous methods. If you are too confused and all methods mentioned didn’t work for your image, select one of these simple silhouette photo apps.
Open the picture in the program.
Now duplicate the layer by using the common Photoshop keyboard shortcuts. Click Command + J (or Ctrl + J for Windows).
The next steps will be completed applying a mask. Choose an image on the Layers dashboard. Press the symbol to mask in Photoshop.
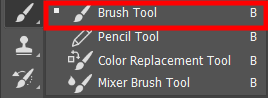
Using the tools panel select Brush Tool or just hit B.
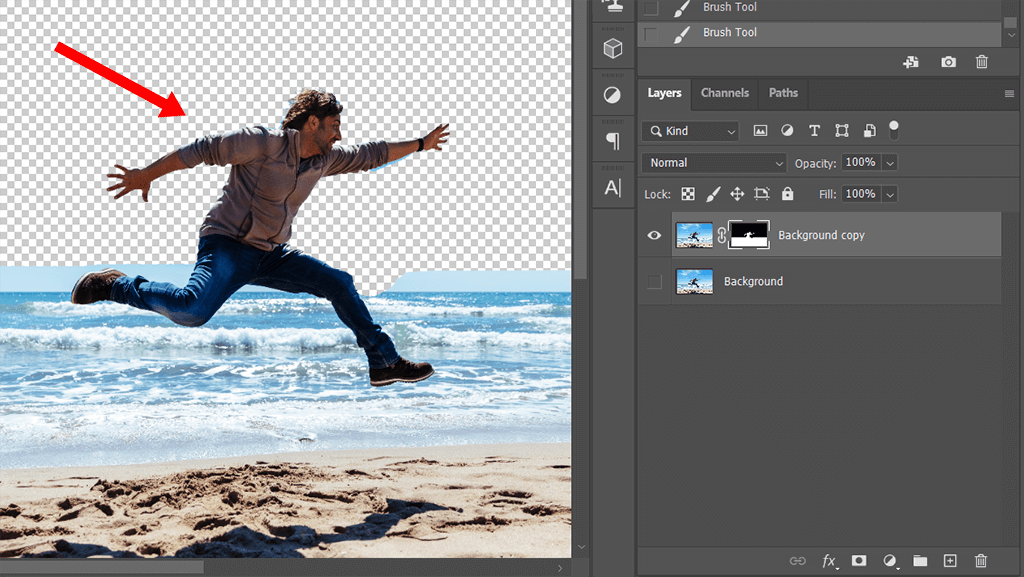
Choose the foreground color to black and draw the areas you want to remove the background.

Select the layer and add Color Overlay.

Select the color (it is usually black) for your silhouette. Ready.

If you want to enhance your image after you created a silhouette, use the ready-made bundles for Photoshop. You should simply install Photoshop actions on your PC and try them on your shots. They will come in handy for the shades and light correction, adding contrast, color adjusting, etc.


